When we bought Fixer #2, we didn’t plan on doing much to the living room. Every single other space needed major work, and this was livable so we left it for a little while. This is how we updated this old living room without spending much money.
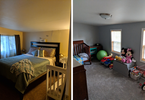
Walking into the living room when we first saw this house, some thoughts were:
- This is a pretty good sized room. A little awkward.
- Carpet is cushy and looks pretty new. Annoying seam perpendicular to the stairs.
- What’s with that weird makeshift gate on the stairs?
- That huge window… is it DIY? Is it even glass?!
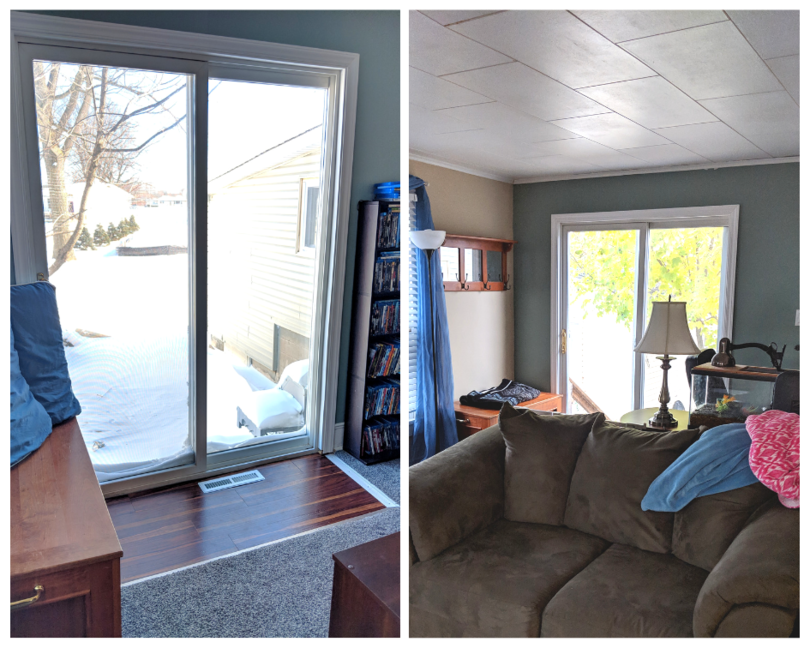
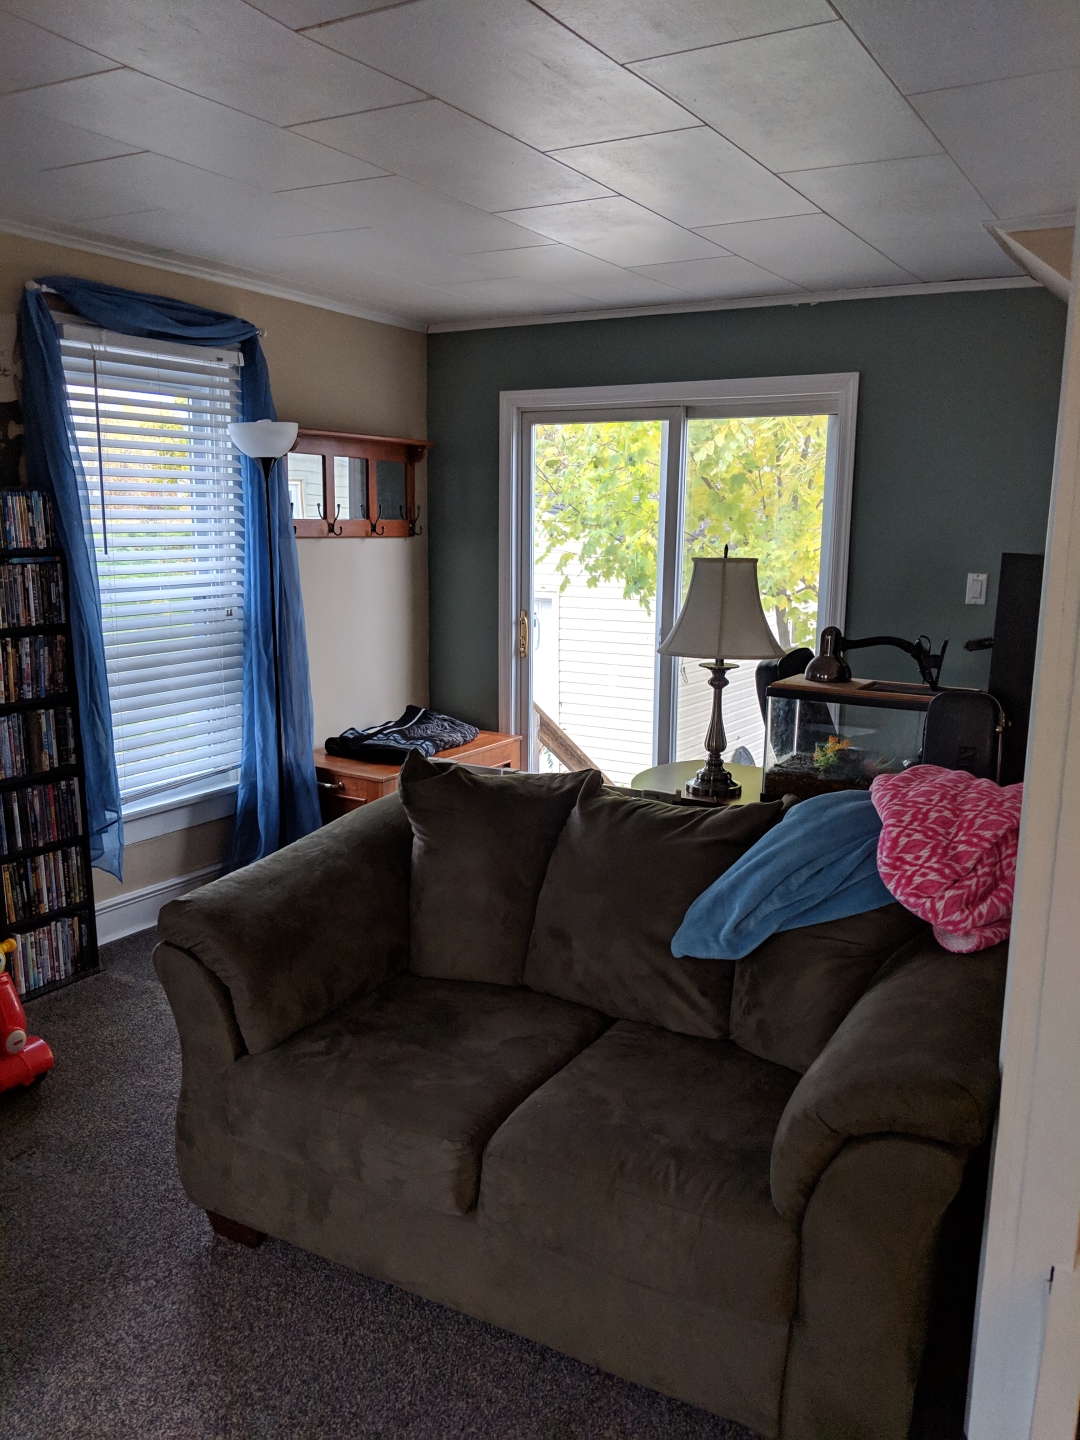
The Living Room – Before
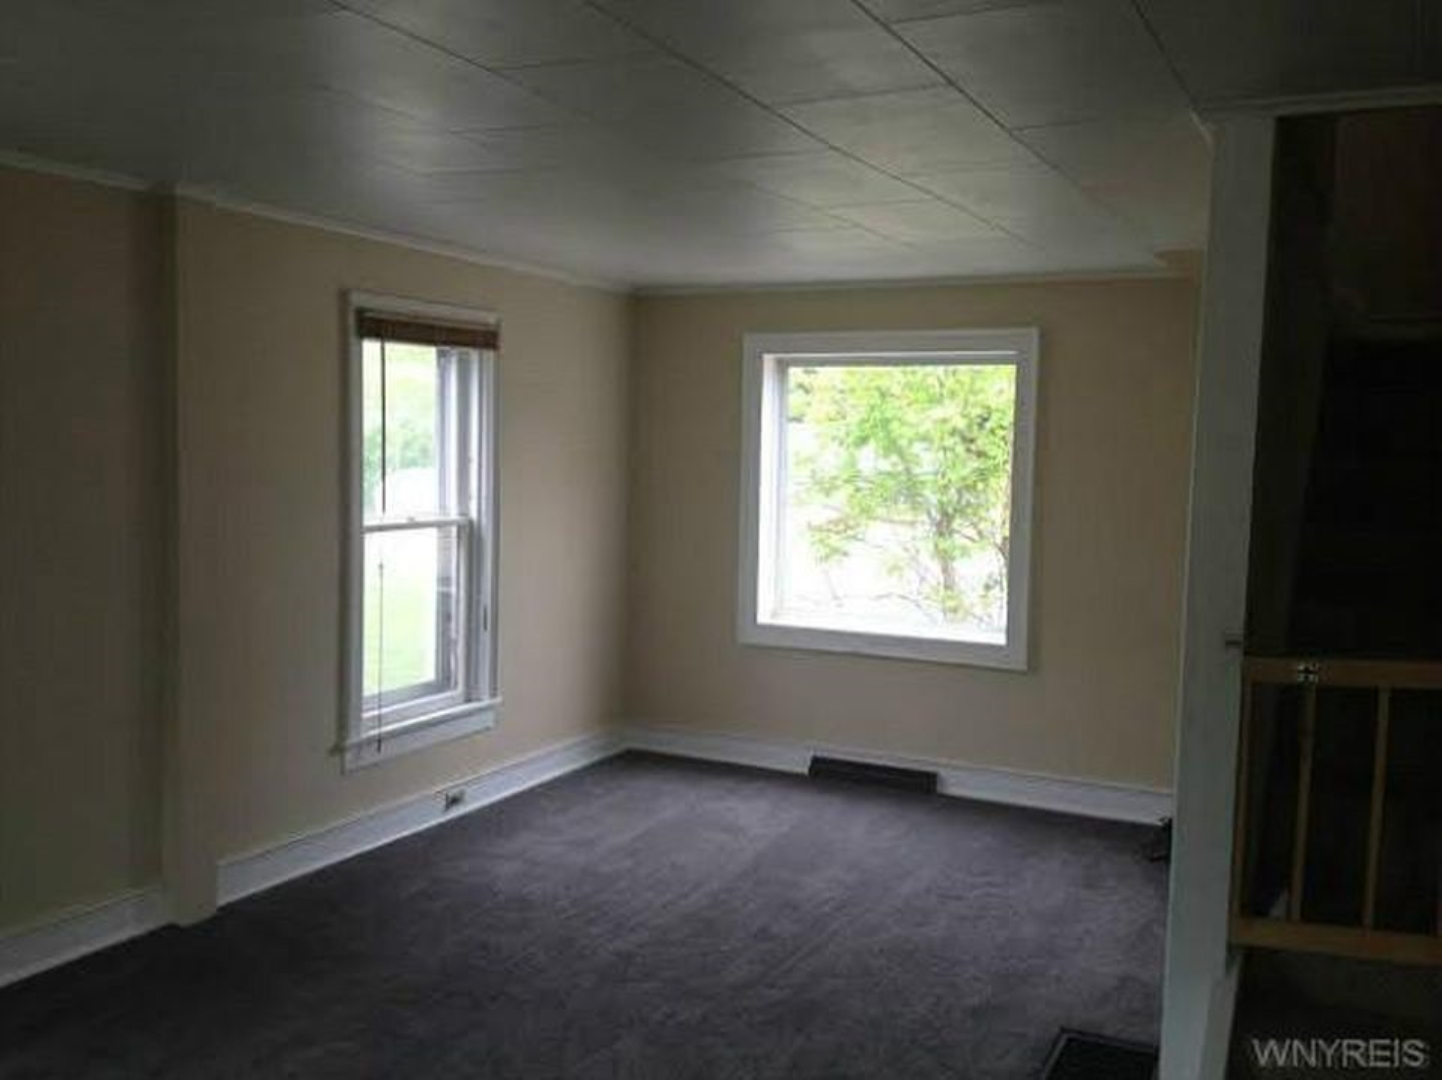
These two windows (above) in the house were ancient. The window to the left we replaced, the other three in the room (out of the picture to the left side) were newer vinyl so they stayed.
When we closed off the back entry by making it into a bedroom, that left us with only the front door to get to the backyard. Let me tell you, that was a pain in the NECK for birthdays. You had to go out the front door, out the porch door, down rickety stairs, around the side of the house and across the yard to the picnic table.
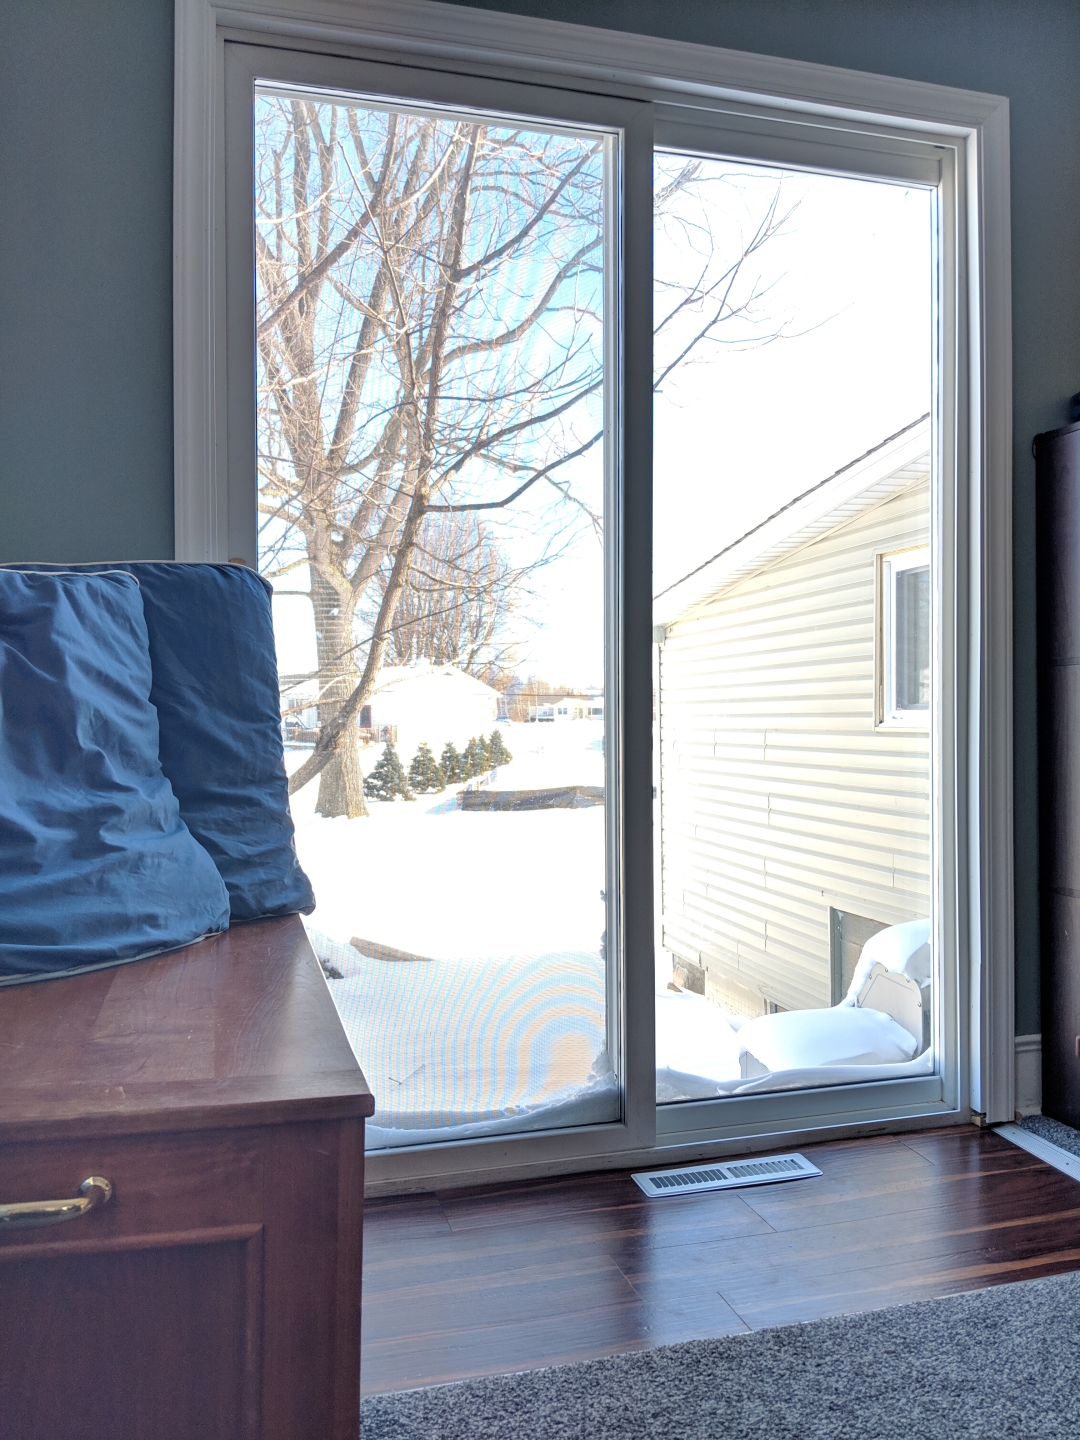
So we decided to put a patio door in where the huge window was.
As we were pricing patio doors, Ryan’s Aunt and Uncle were deciding they wanted rid of theirs. So we got a totally functional patio door for free!
Demo Day on the living room project
When Ryan started demolishing the wall for the patio door, we realized the carpeting in this room was ALSO DIY.
They didn’t anchor it to the far wall at all. It was basically just floating on top of an old layer of carpet. (Same as in the dining room, however it didn’t reek like the old dining carpet did).
That made it extra cushy, however it was clearly another cut corner in this house of cut corners.
Can you find the chubby little legs in this picture?
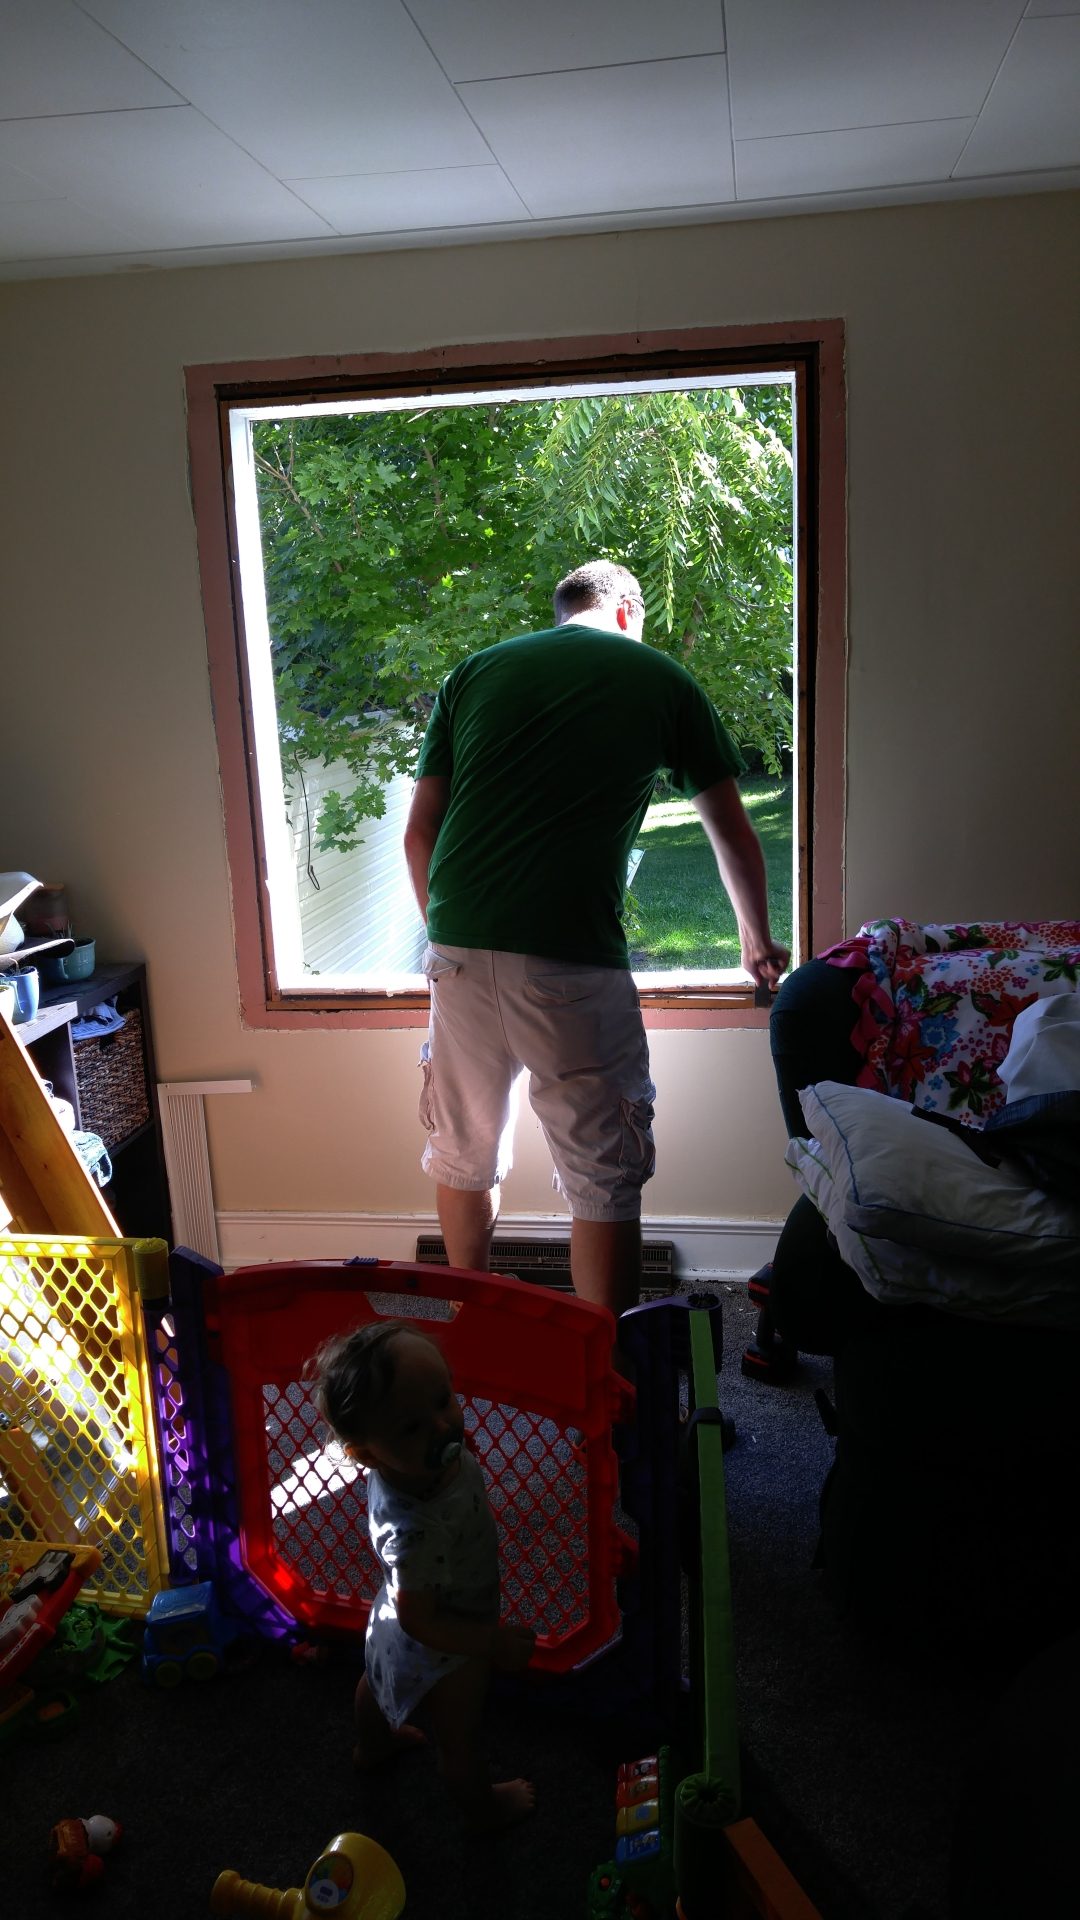
This is a terribly lit picture, however it shows a tiny bit of what we lived with for 2 solid years while working on these major projects around raising babies, hubby being gone 50+ hours a week for work and being active in our church.
Also, it’s proof that I got much use out of the kids play yard I shared over on our fixer upper tools page!
In other words – we lived with piles of stuff everywhere because things couldn’t be stored where they belonged. Not. Easy.
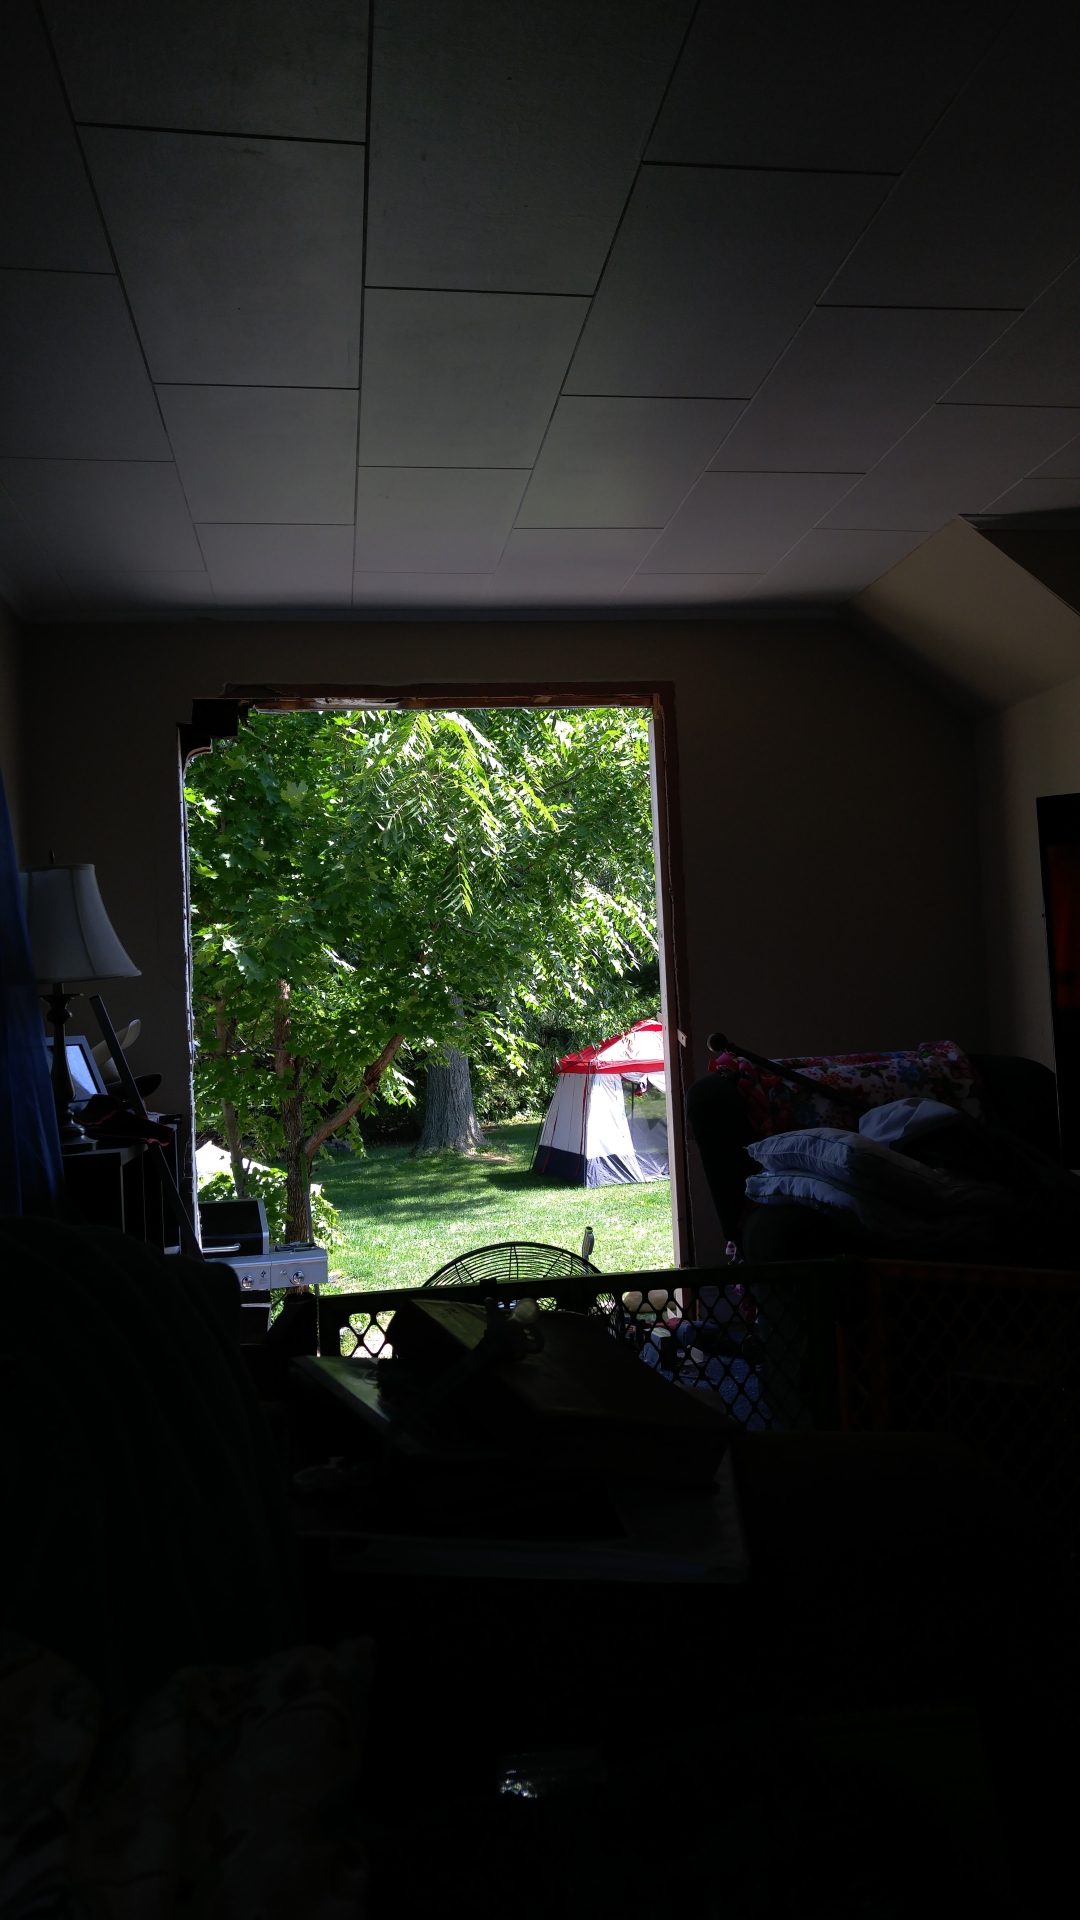
Notice the carpet loose at the edges of the door? If you look extra close you can see the second layer under the dark blue.

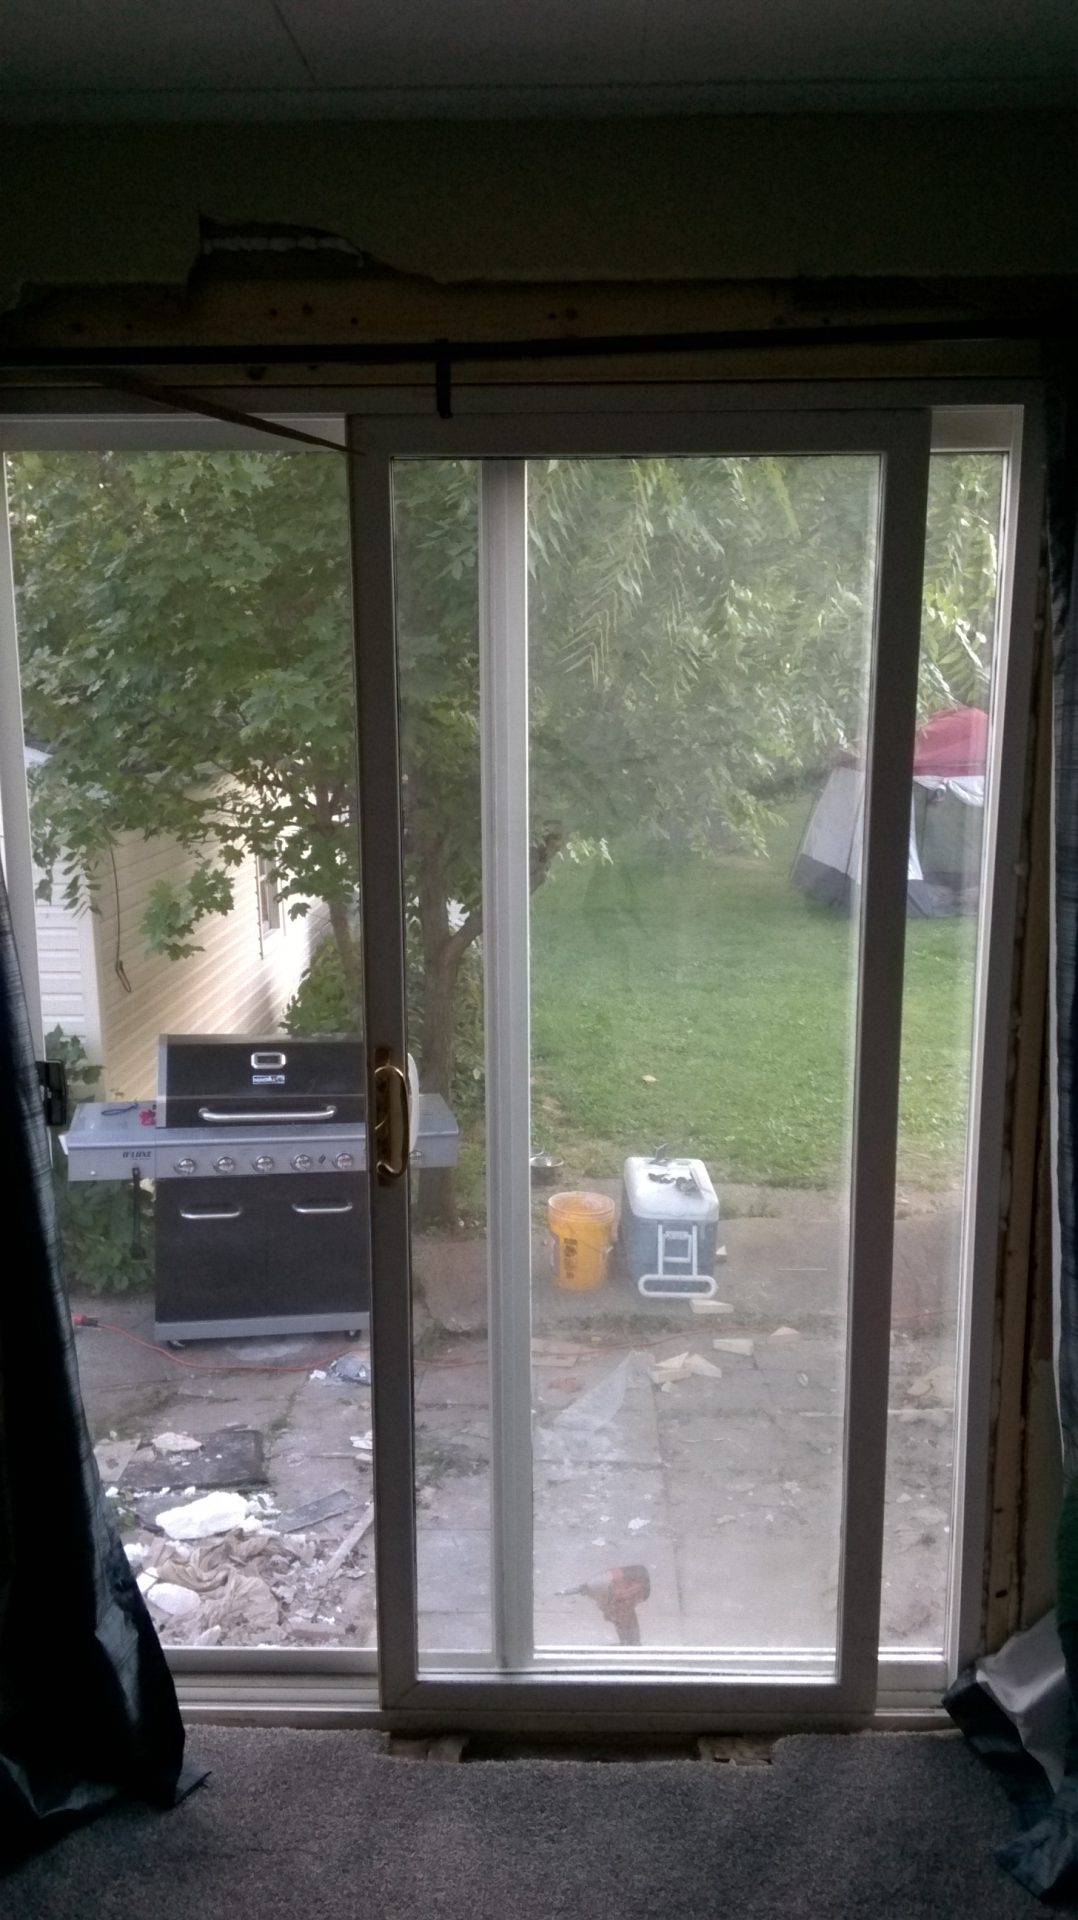
Here’s a shot of the carpet and the header Ryan had to put in for the door.
The window he took out, as with every other door or window we took out or modified in this house, did NOT have a header.
Also, if you look closely, it’ll give you an idea of how loose the unsecured carpet by the door was. It was a trip hazard and the worst kind of flooring to have at an outside entryway.
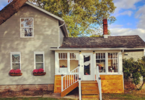
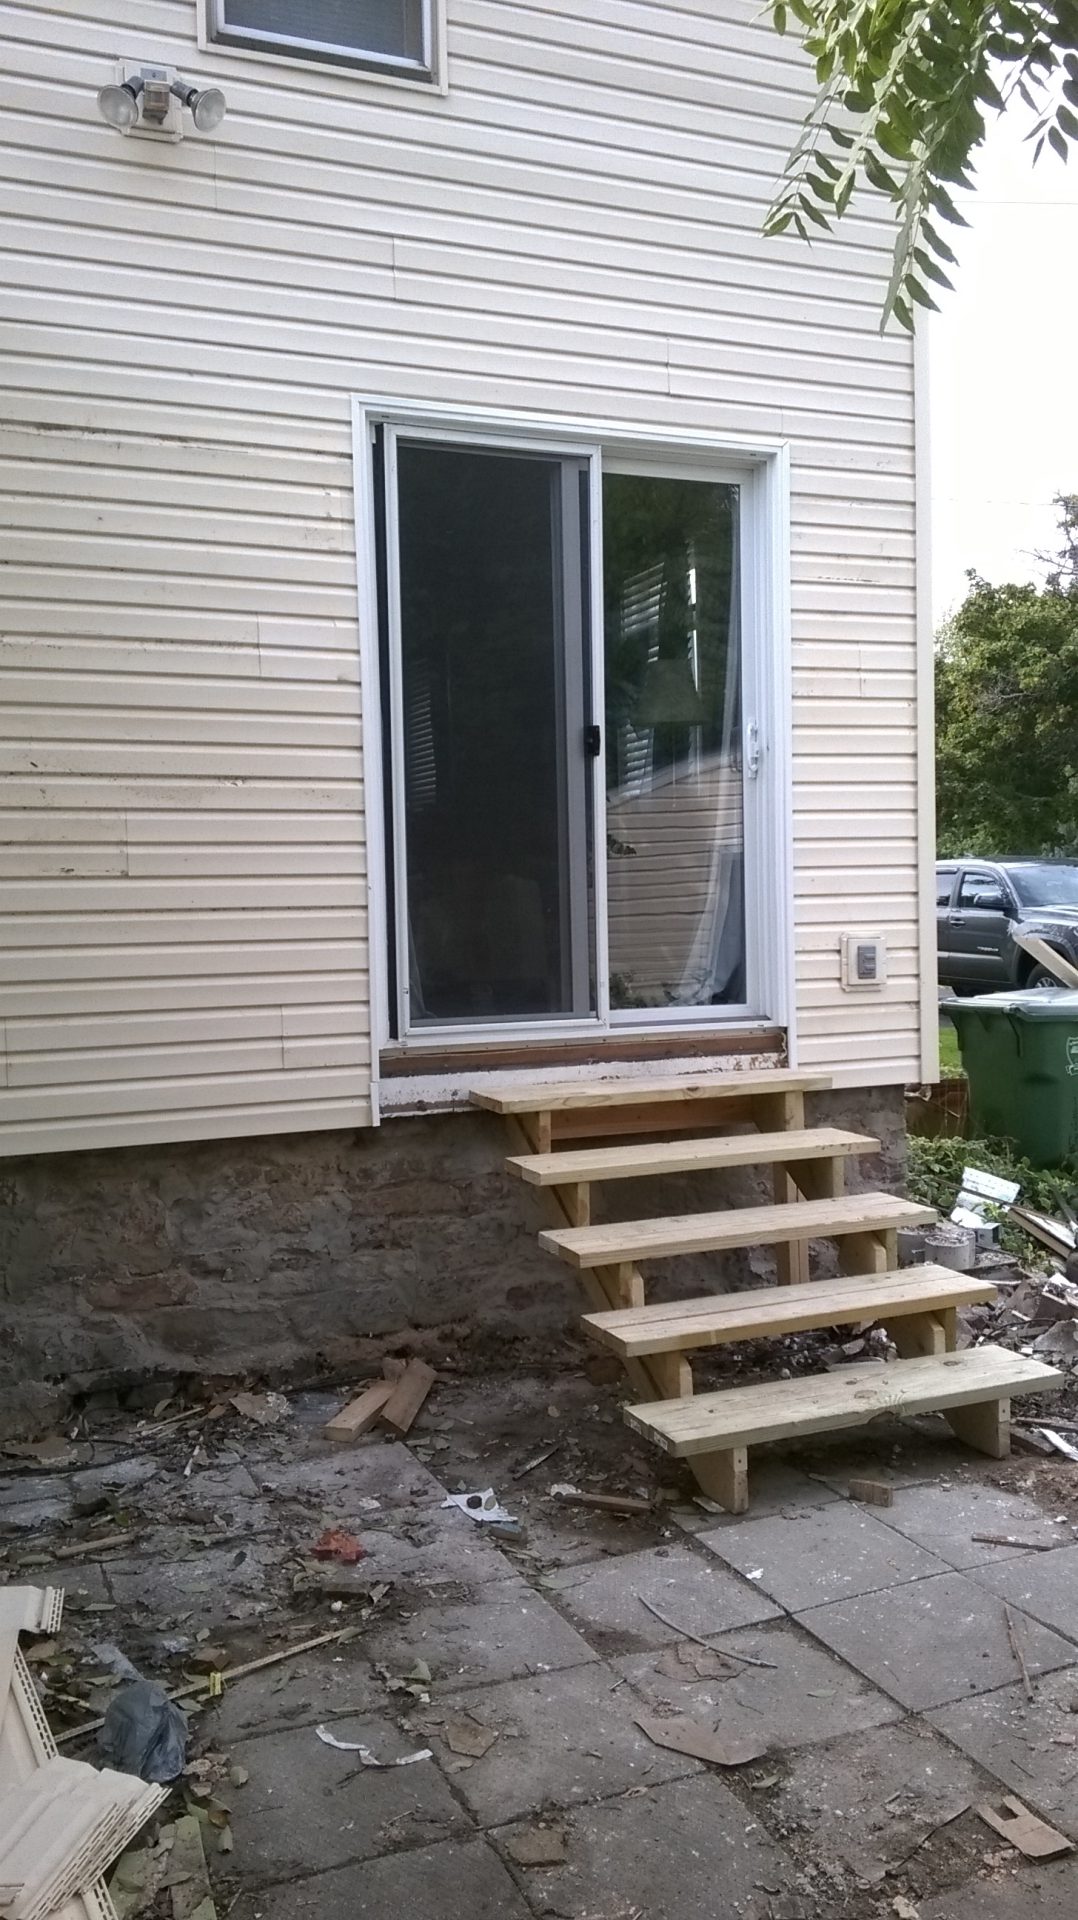
And here’s an outside shot. Ryan and our friend John had to take all the siding off and rearrange it to get a uniform look.
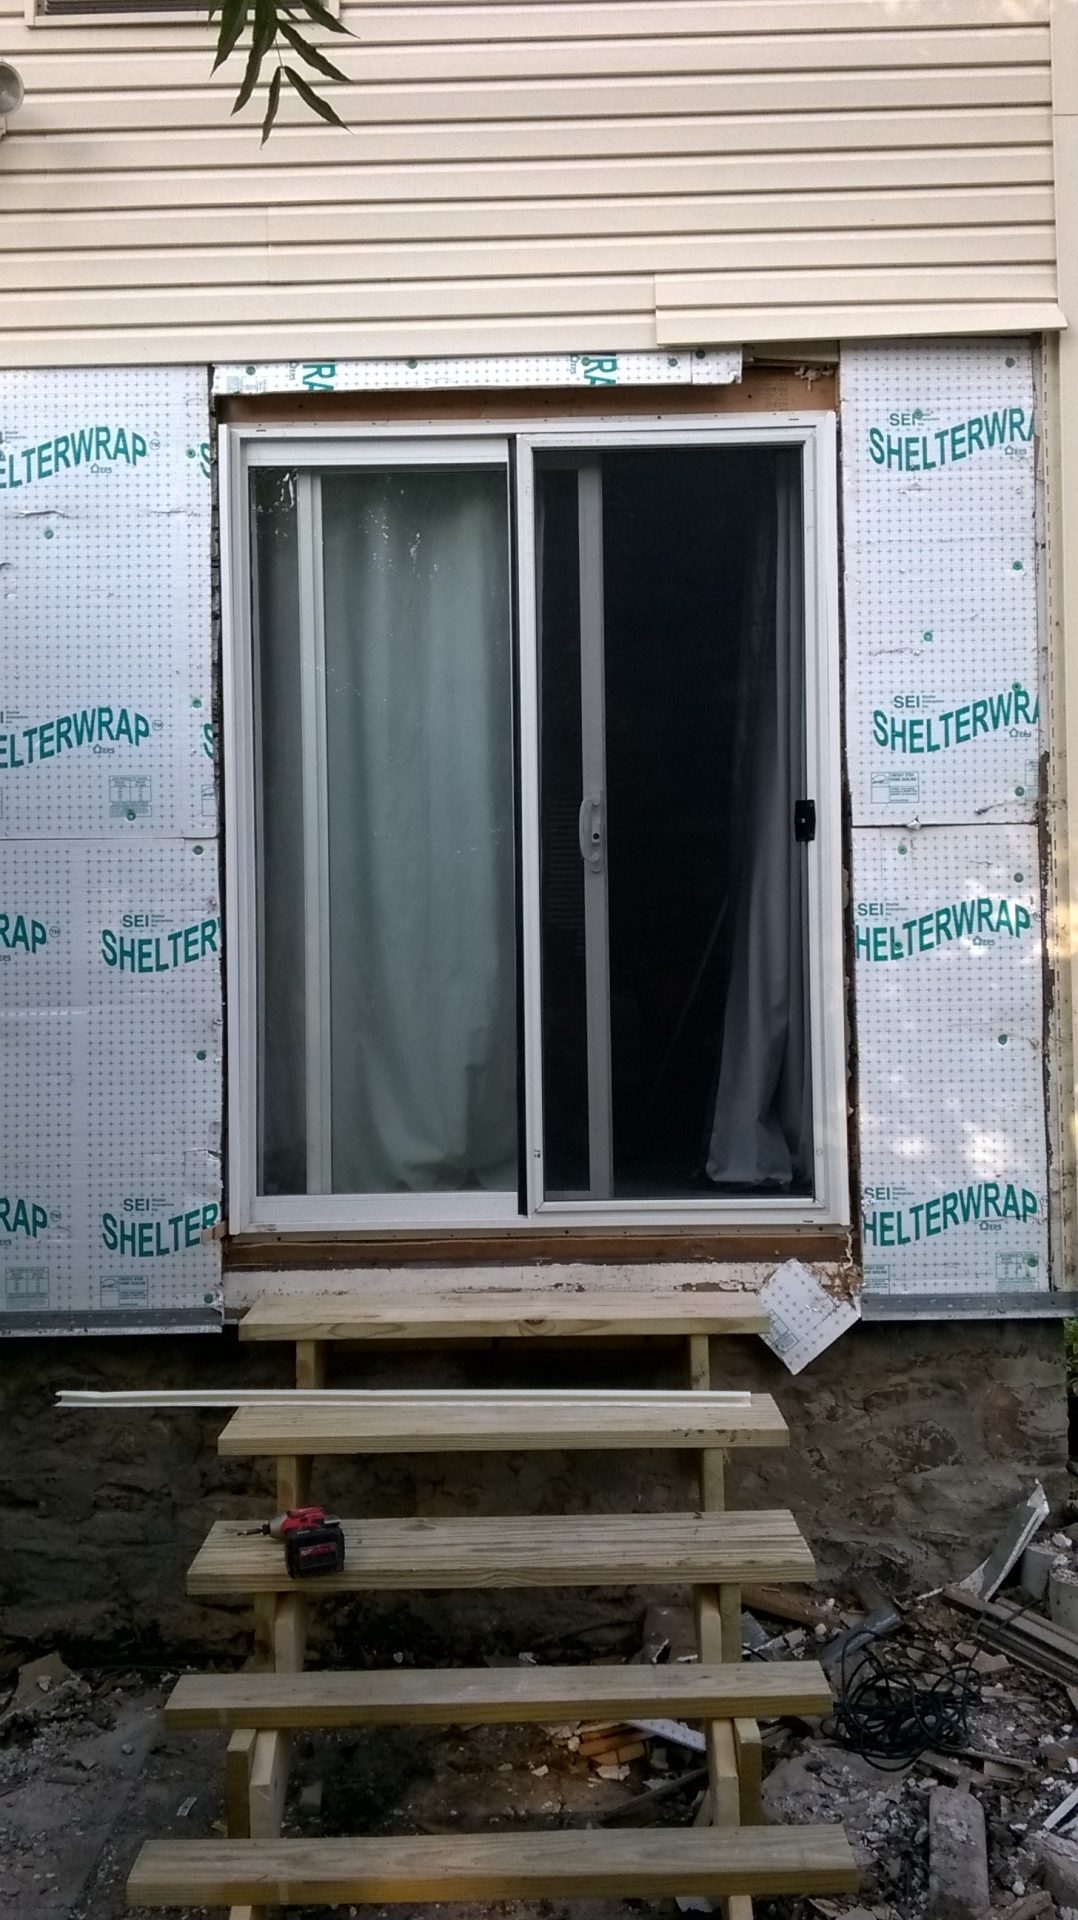
This is shortly before Ryan pressure washed the entire house, then painted the siding and replaced the upstairs window.
How did I not get a picture of outside once it was completely finished?!
How we updated our living room without spending much money
We took the trim down and repainted it.
The entire back wall that was damaged from putting a new header in was lath and plaster, so we had to rip that down and Ryan drywalled and mudded. We added a colored feature wall to give the room more character.
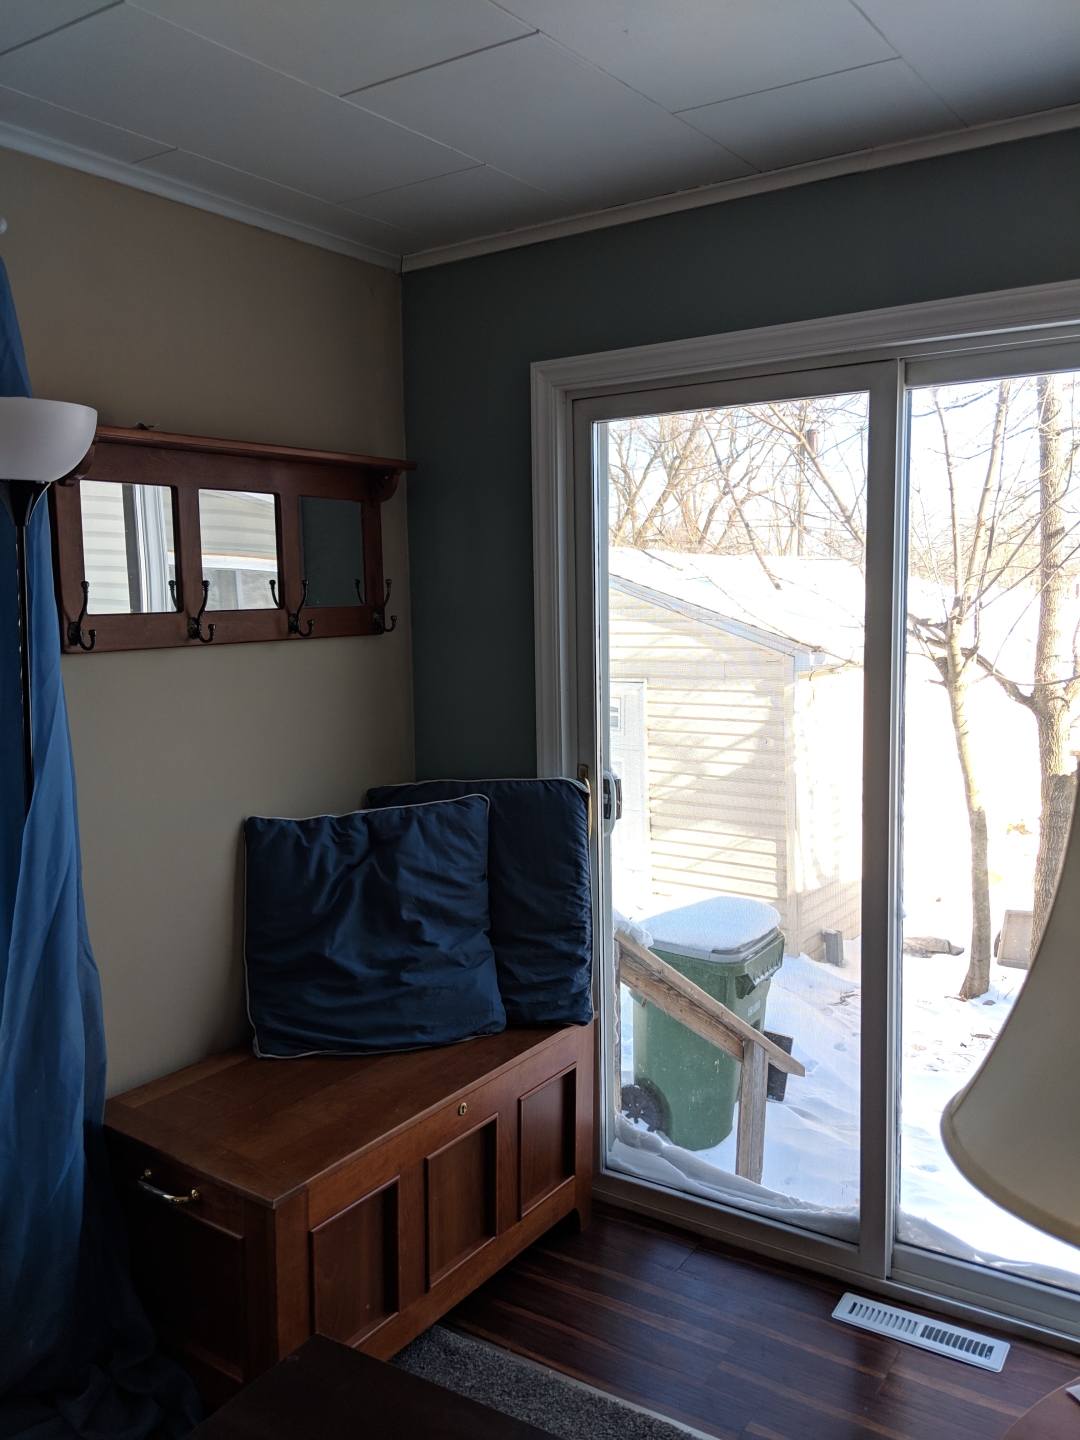
We picked this color on a whim without looking too much at any thing else. I loved it so much it became the main color in the new kitchen and a feature wall in the family room of Fixer #3! (And yes, there was a spot above the door that needed touched up).
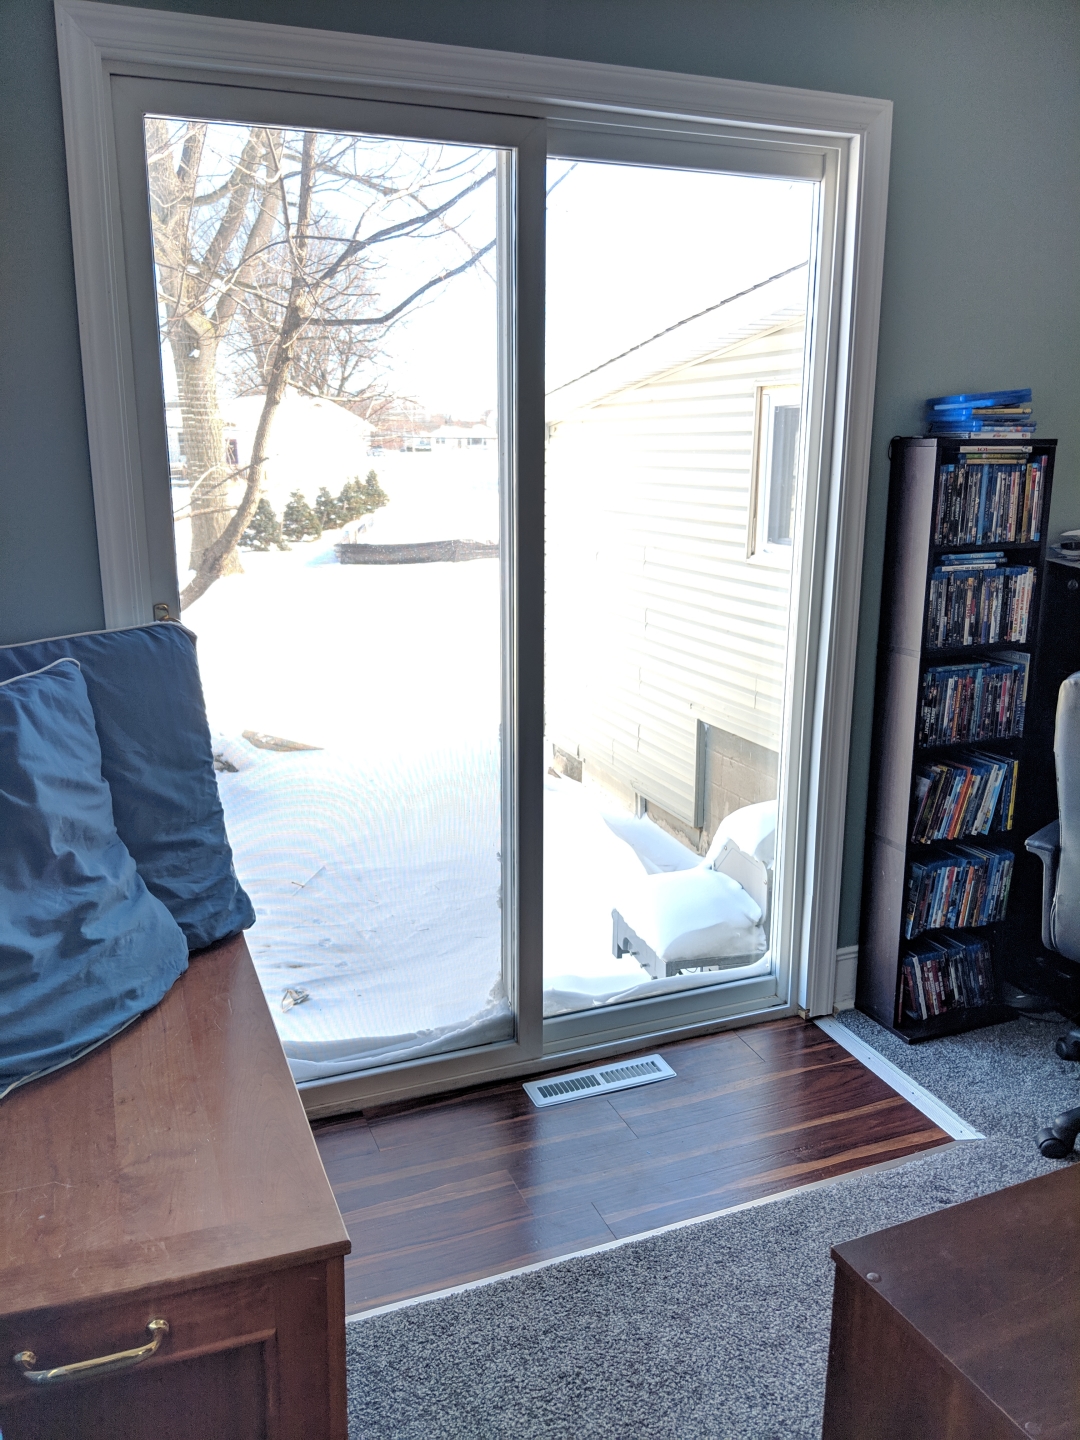
We had JUST enough flooring left over from the dining / kitchen / hall area to put this entry way in for the patio. It made the back door so much more functional. Coming in from the rain we didn’t have to worry about ruining carpet.
We were so happy with how this completed the room.
And there you have it. How we updated an old living room without spending any money other than paint, drywall and mud!
Check out the rest of Fixer #2 that got fixed!
- Downstairs Bedroom Remodel & Addition
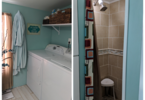
- Downstairs Bath & Laundry
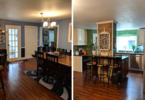
- Kitchen & Dining
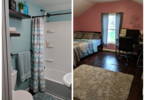
- Upstairs (Master Suite with full bath)
- Outside – Curb Appeal
Follow us on Instagram and get on our email list to watch as we renovate Fixer #3 – a big, old Victorian Farmhouse in the mountains of western/central NY!