
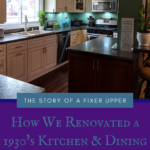
This is the story of how we gutted and renovated a dirty old 1930’s kitchen and dining room.
In late 2015, we were landlords. We had just finished most major renos on Fixer #1, our two-family home we lived in the upstairs of, Ryan had a high stress job and we had a 4 month old baby boy who screamed all the time and hated to sleep.
It was then that we decided we should buy a much WORSE fixer and rent both apartments of the first house.
Smart, I know.
But when you’re bitten by the fixer bug, you gotta do what you gotta do.
We wanted to be in a smaller, more family friendly town. We were tired of the lame, loud, weeknight drinking parties the apartment house next to us had often.
So we started searching for a single family home we could afford.
We always looked at finished homes, but:
- They were never our style, especially the kitchen.
- The price point made living hard – we could afford a mortgage and some groceries. That’s about it.
- We wanted to make it our own. A finished house that we could barely afford meant we were stuck with it the way it was.
This 1930’s house popped up for $42,000.
No, it was NOT love at first sight.
Stepping into this house, these were some of my first thoughts/words:
- This feels TIGHT. Whoa, look how low the ceiling is…
- There’s canned lights pointing at very focused spots… on the floor.
- There’s CARPET in the DINING ROOM.
- What is that funky smell?!
See, carpet in the DINING ROOM.
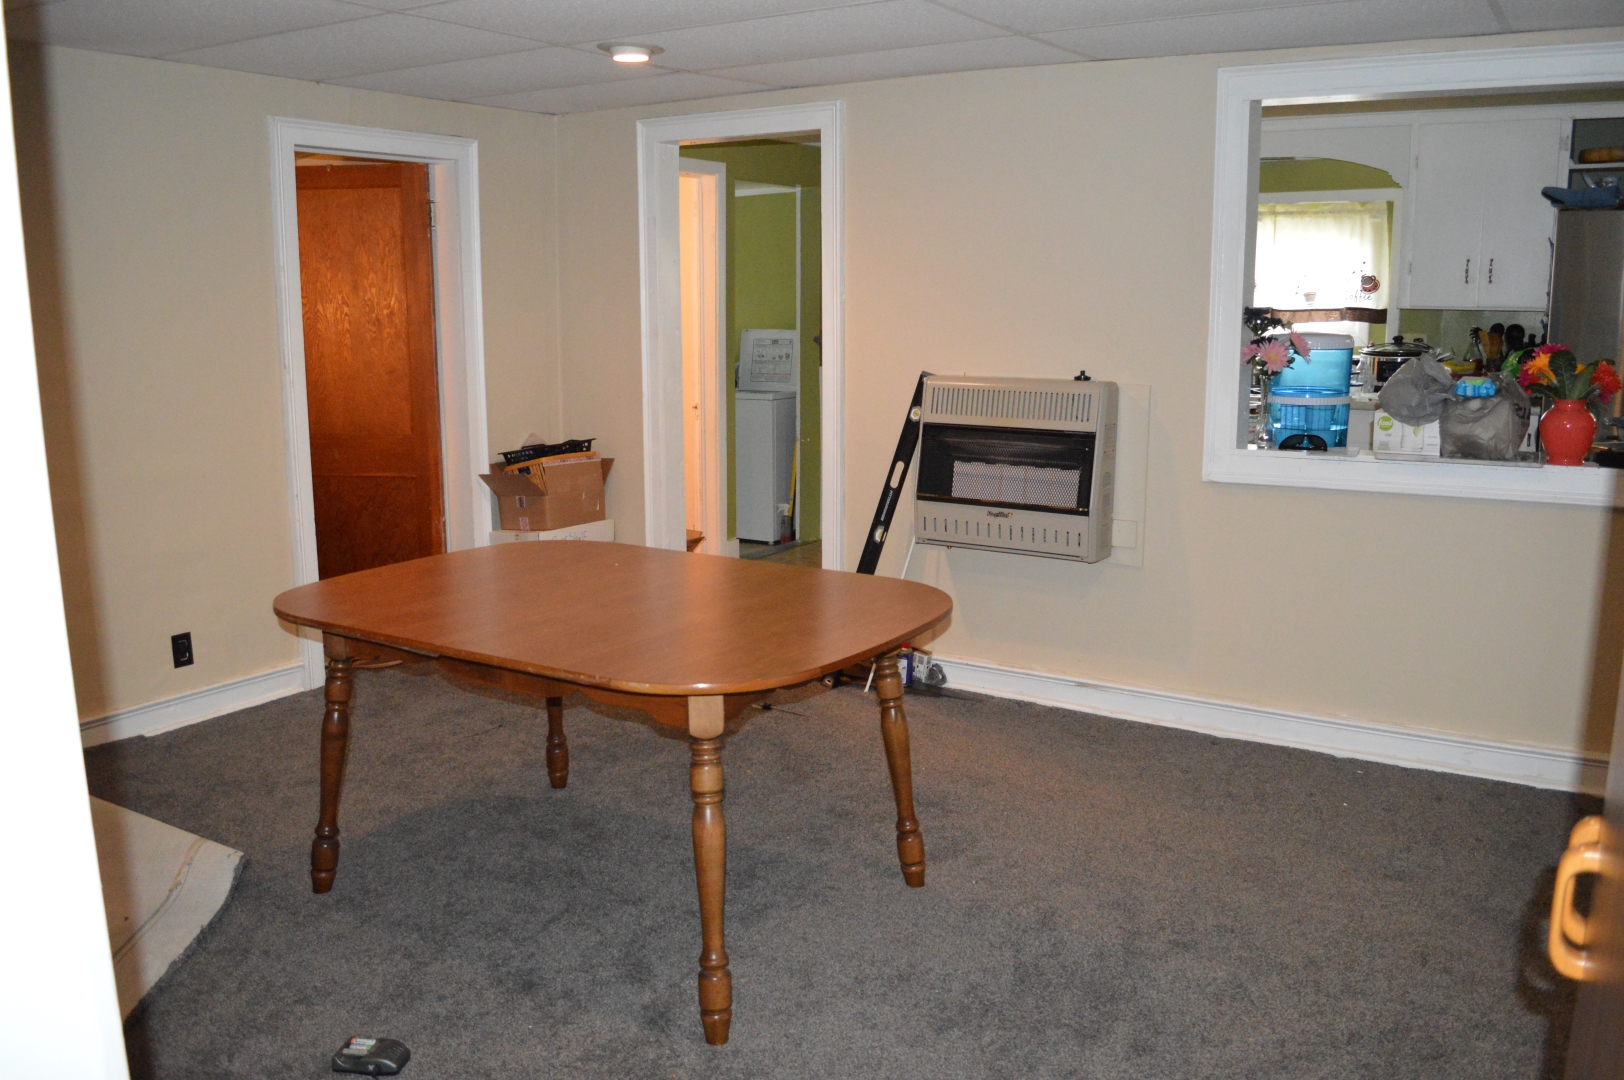
So with a 4 month old in tow, we bought the dump– uh, the house for $36,000 and decided to change all that.
How We Gutted and Renovated a Dirty Old Kitchen & Dining
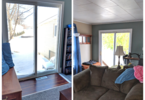
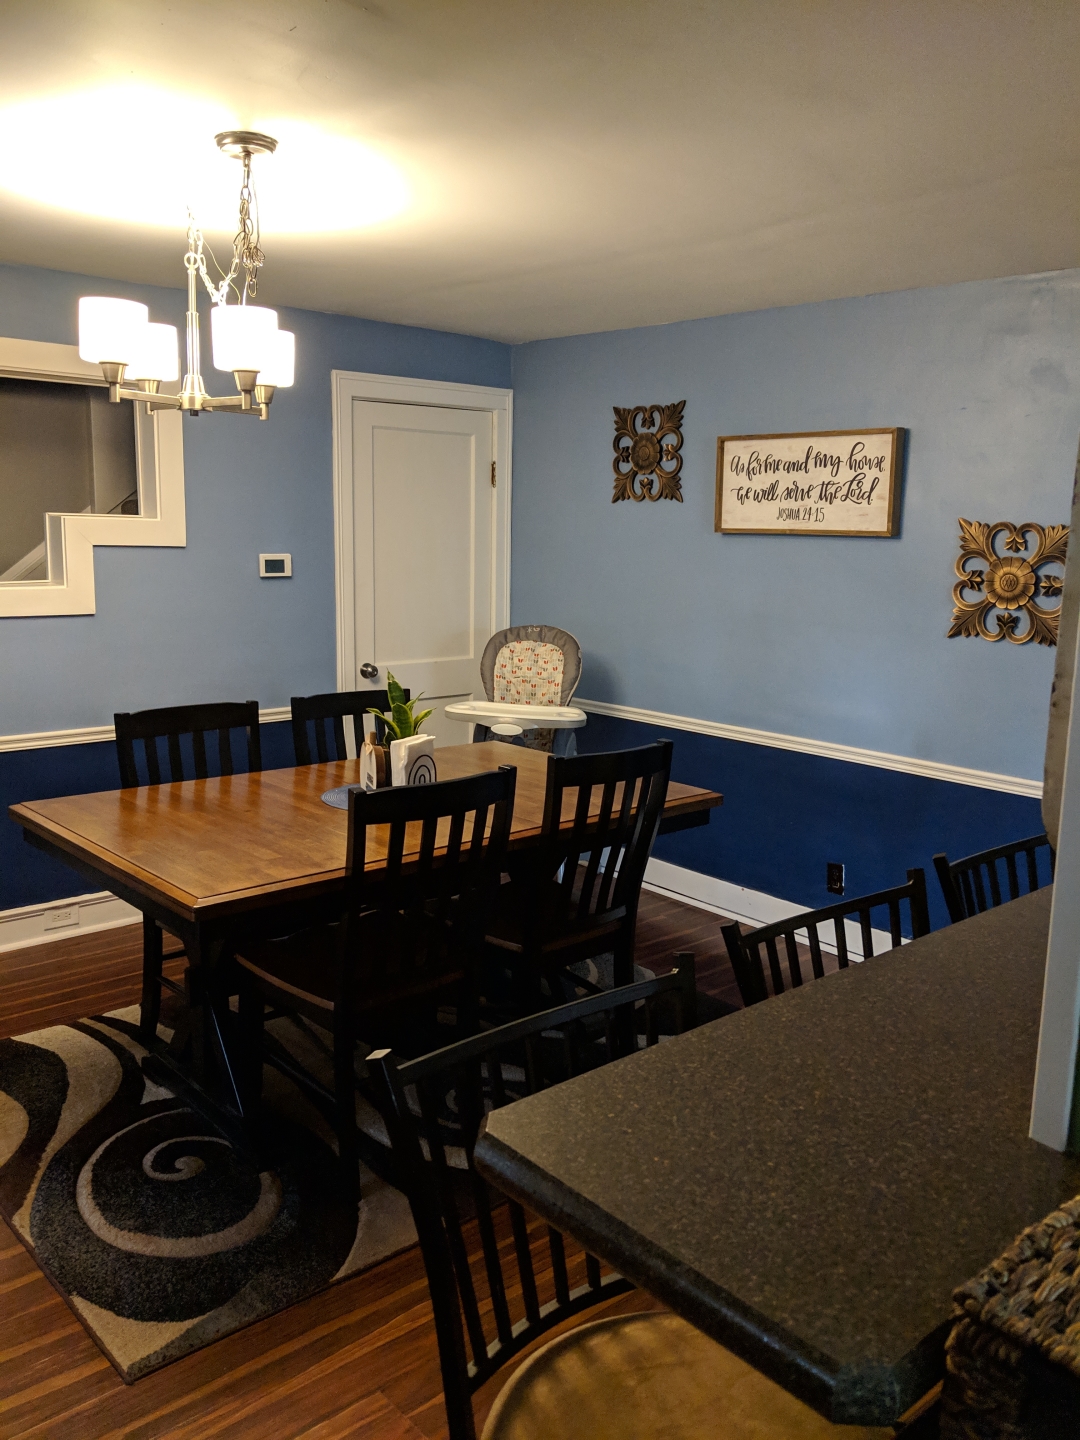
We ripped out the carpet.
To find another layer of carpet.
This carpet however was ancient. And disgustingly smelly.
TWO LAYERS OF CARPET.
In the DINING ROOM.
ICK.
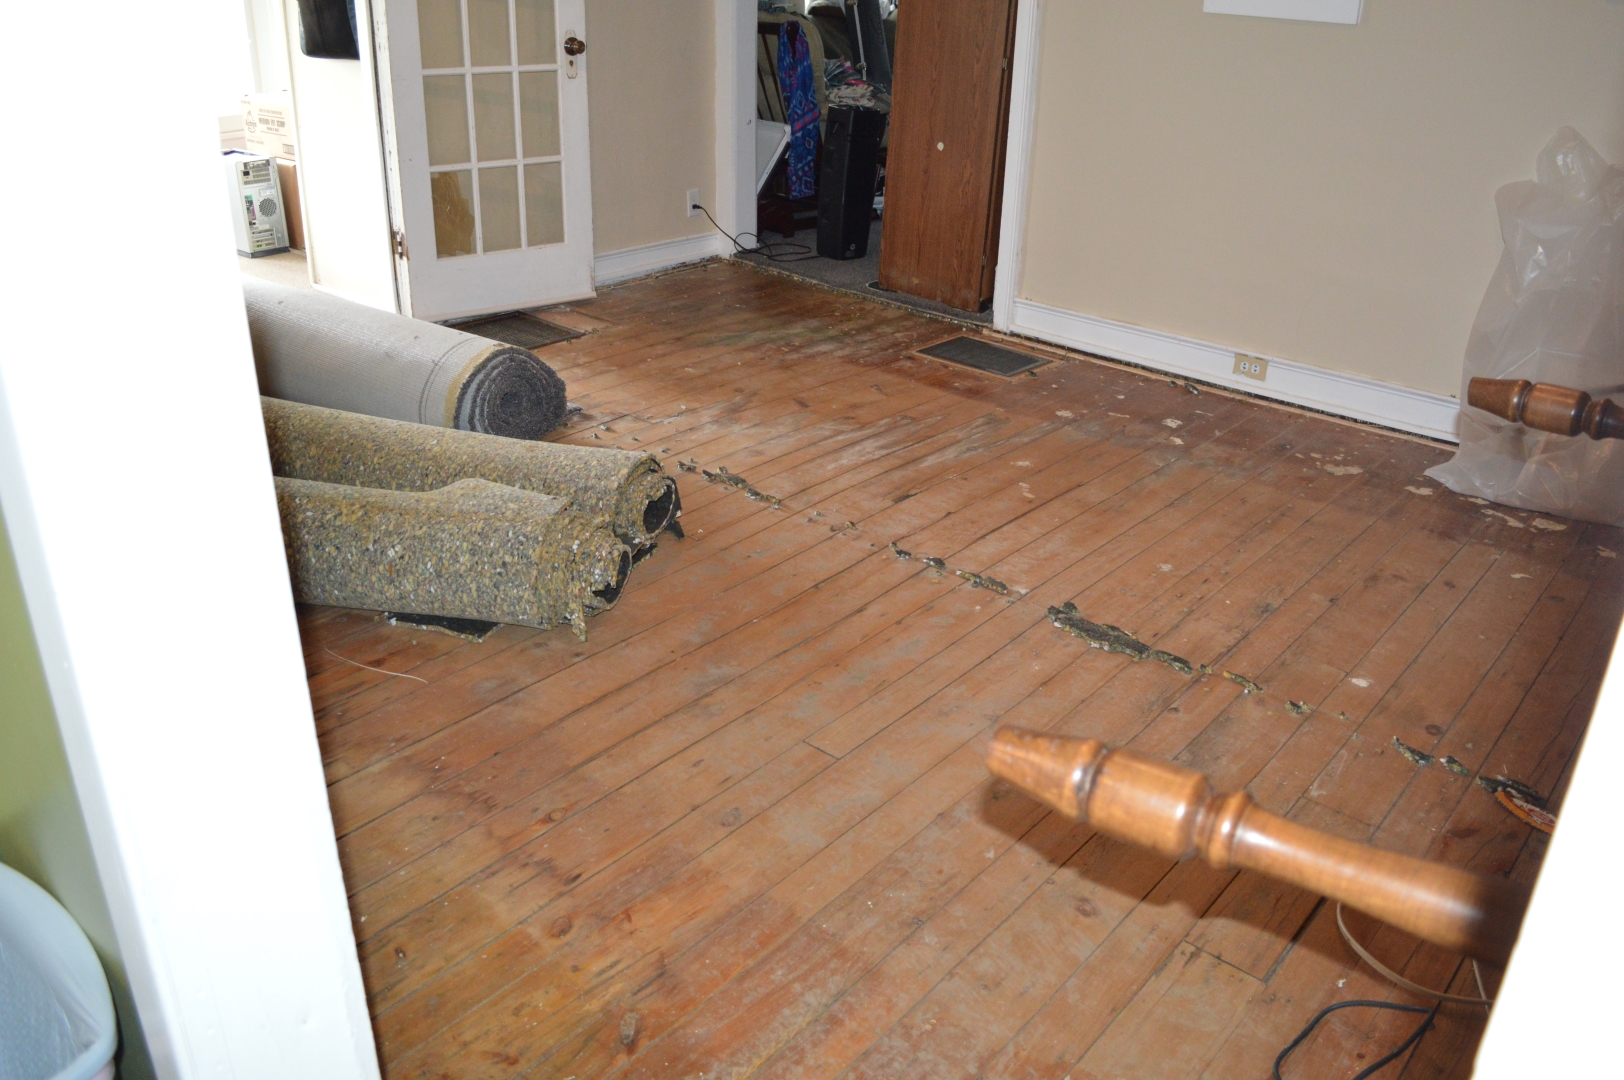
And did I mention it STUNK?
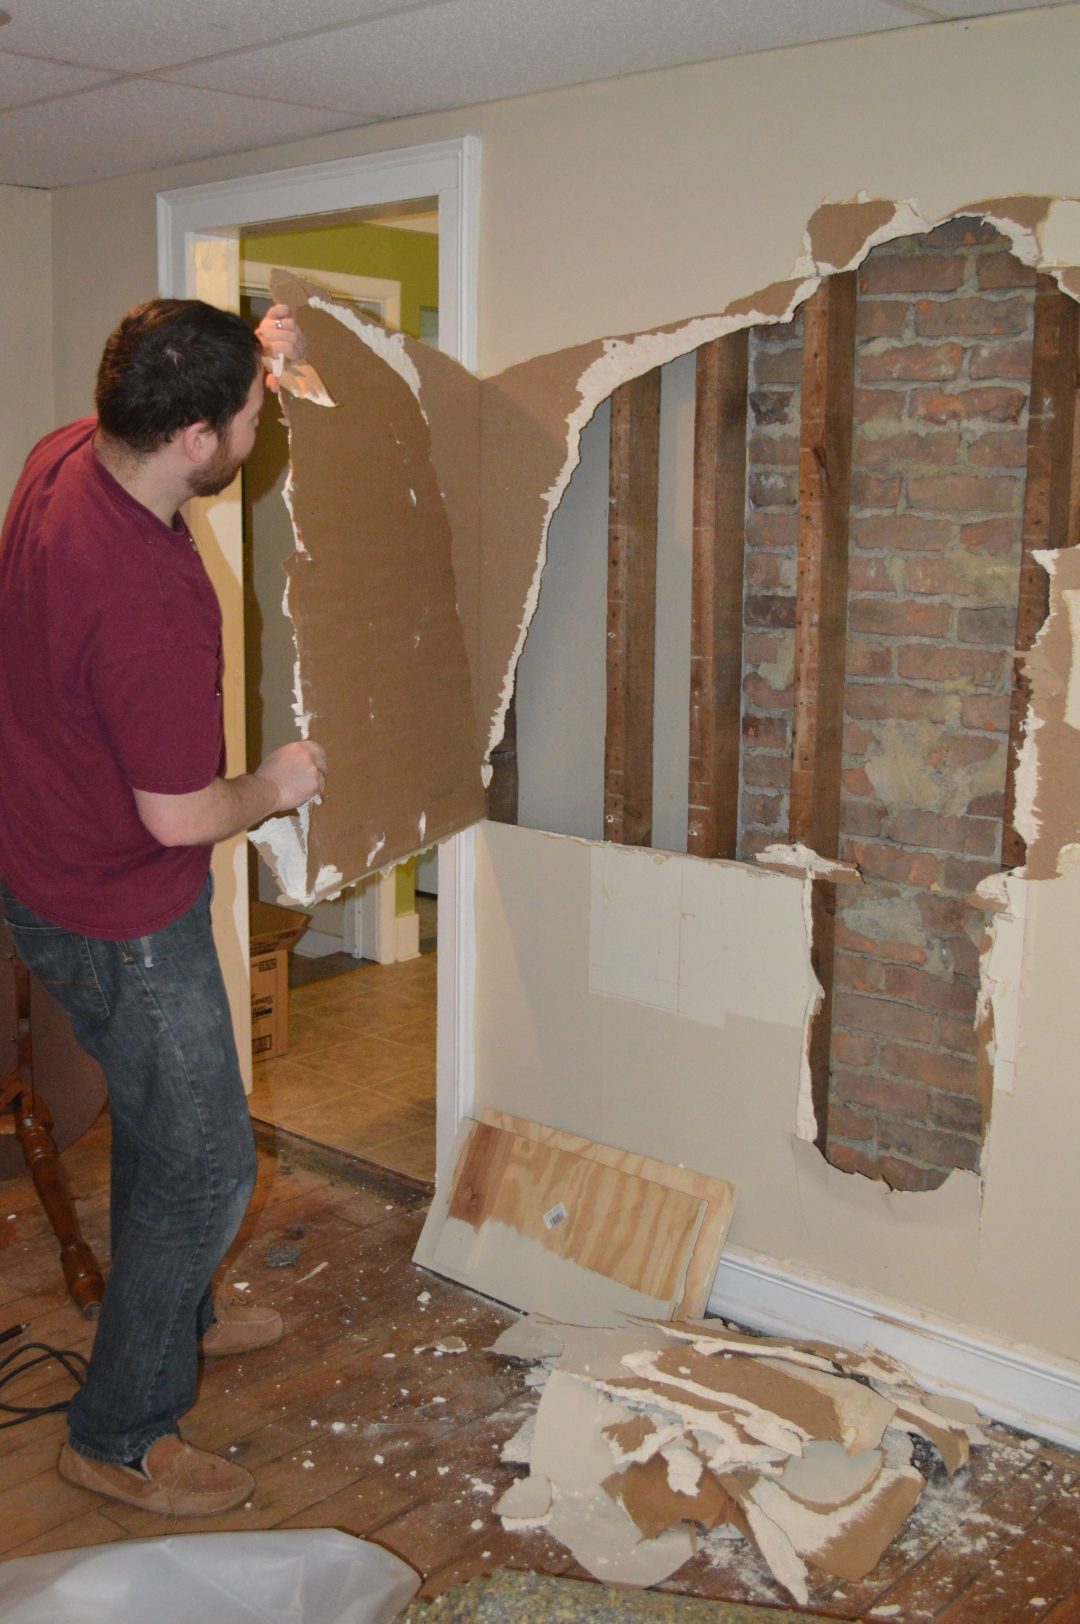
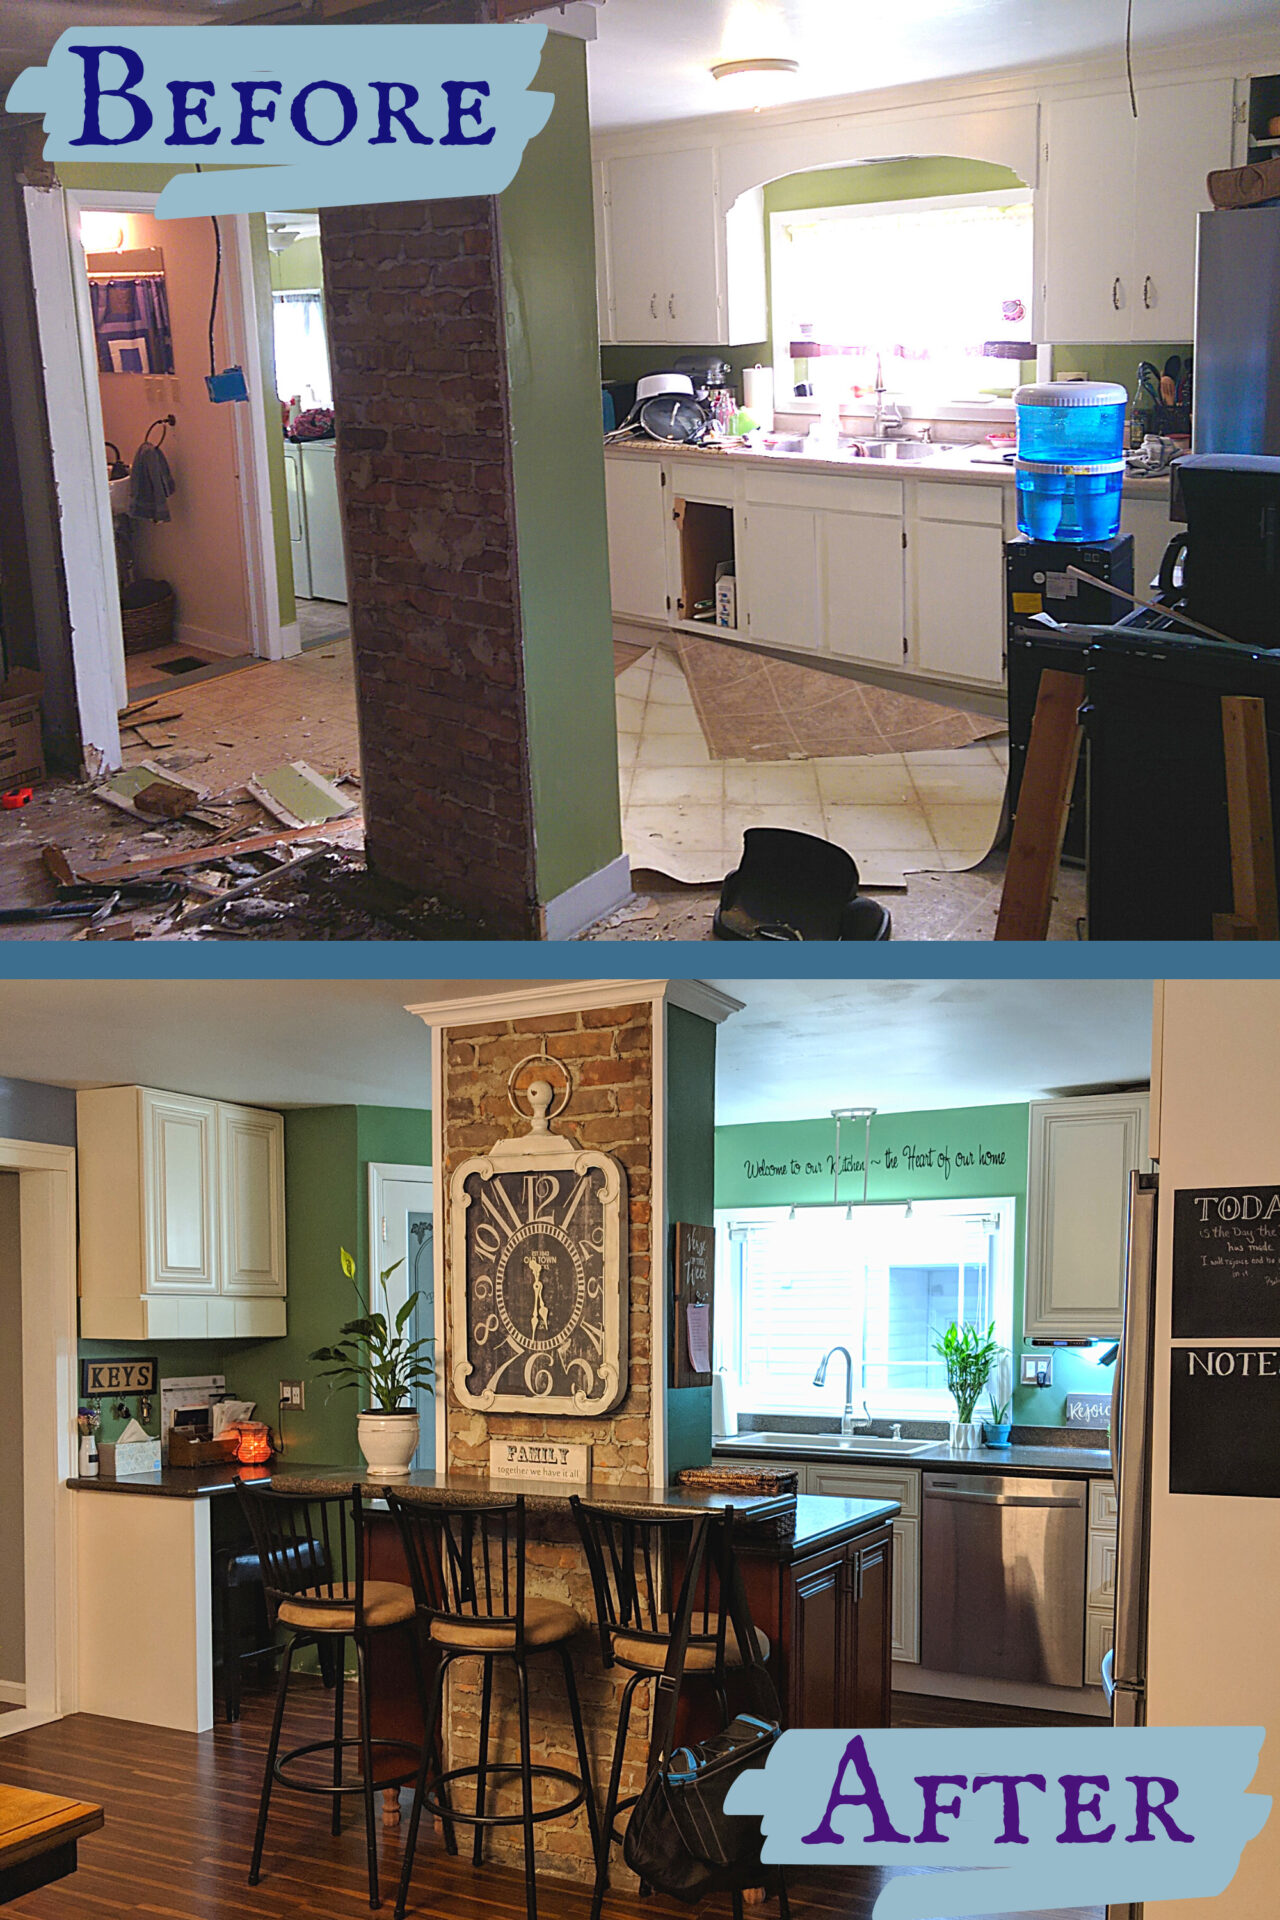
Then we found this super cool chimney behind the drywall.
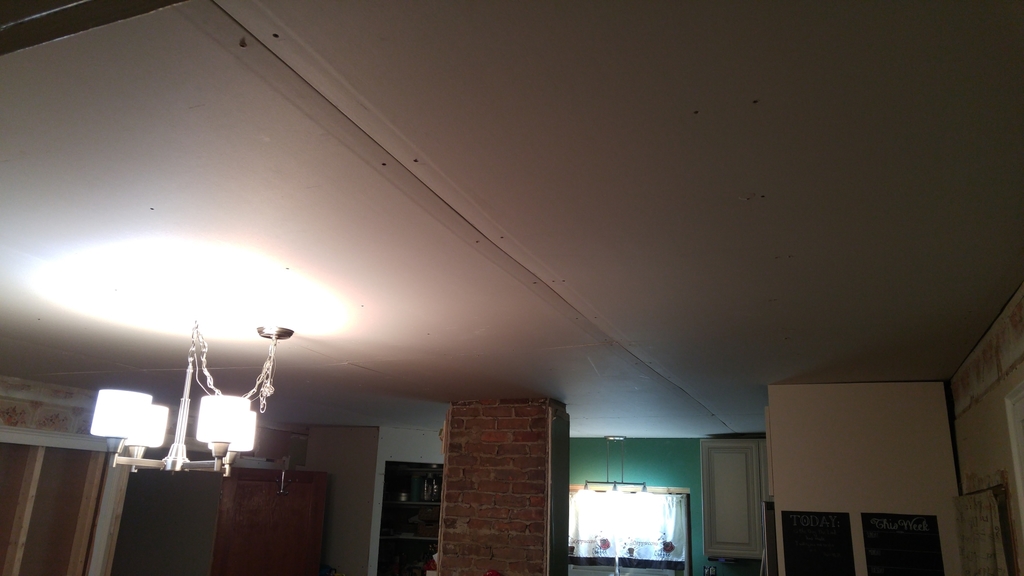
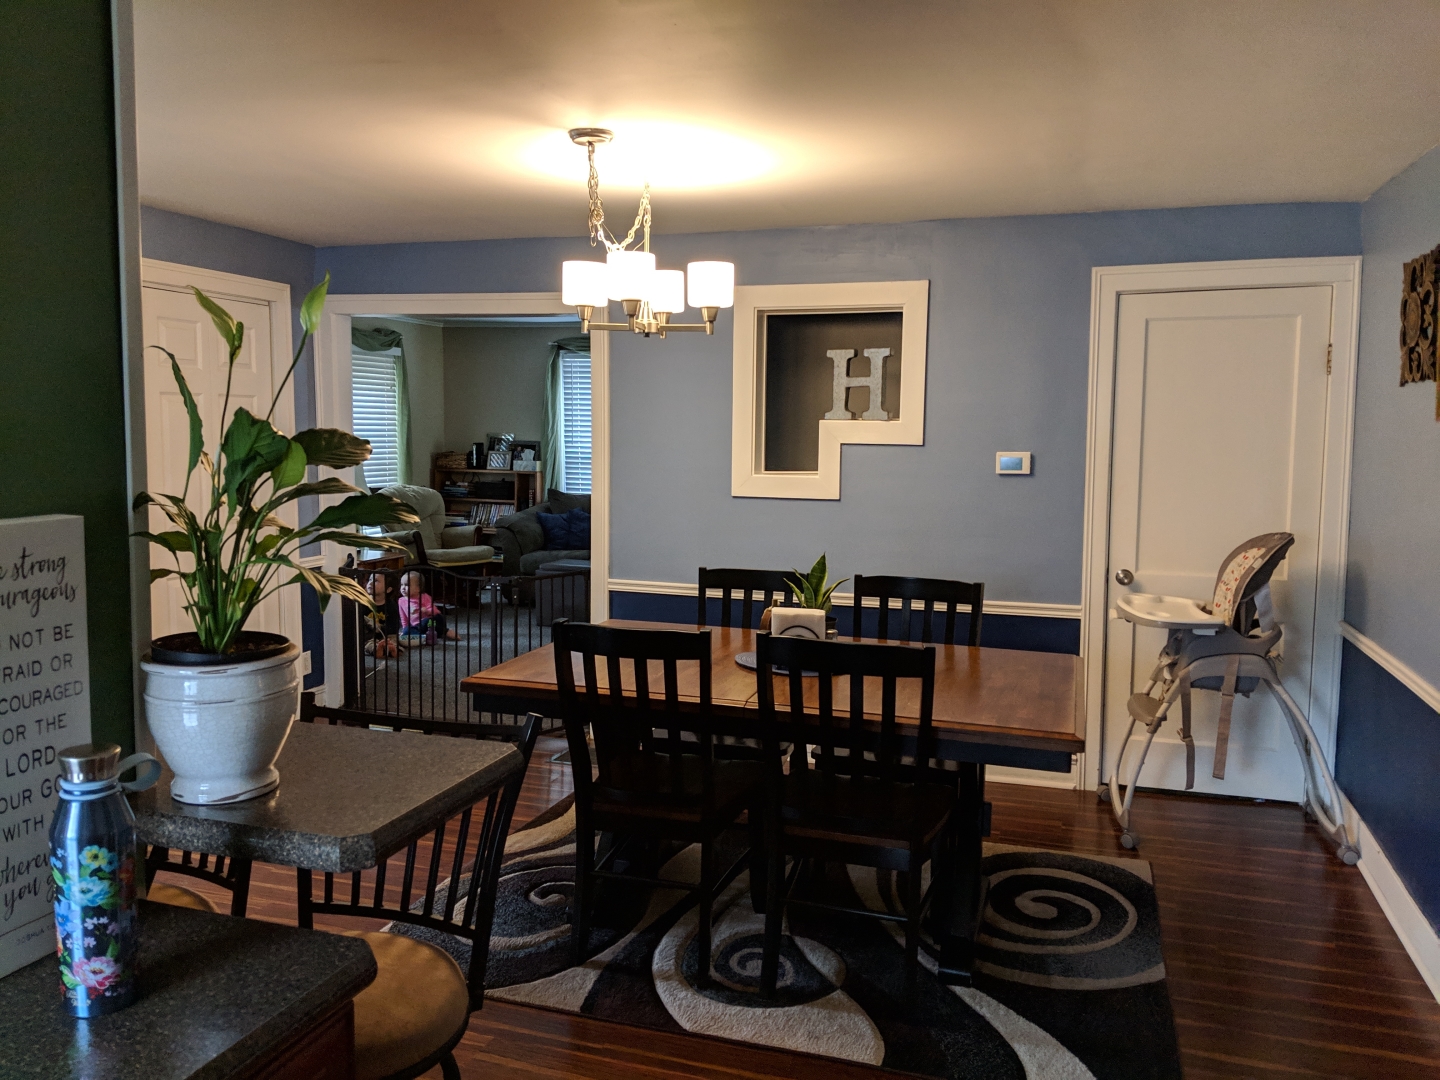
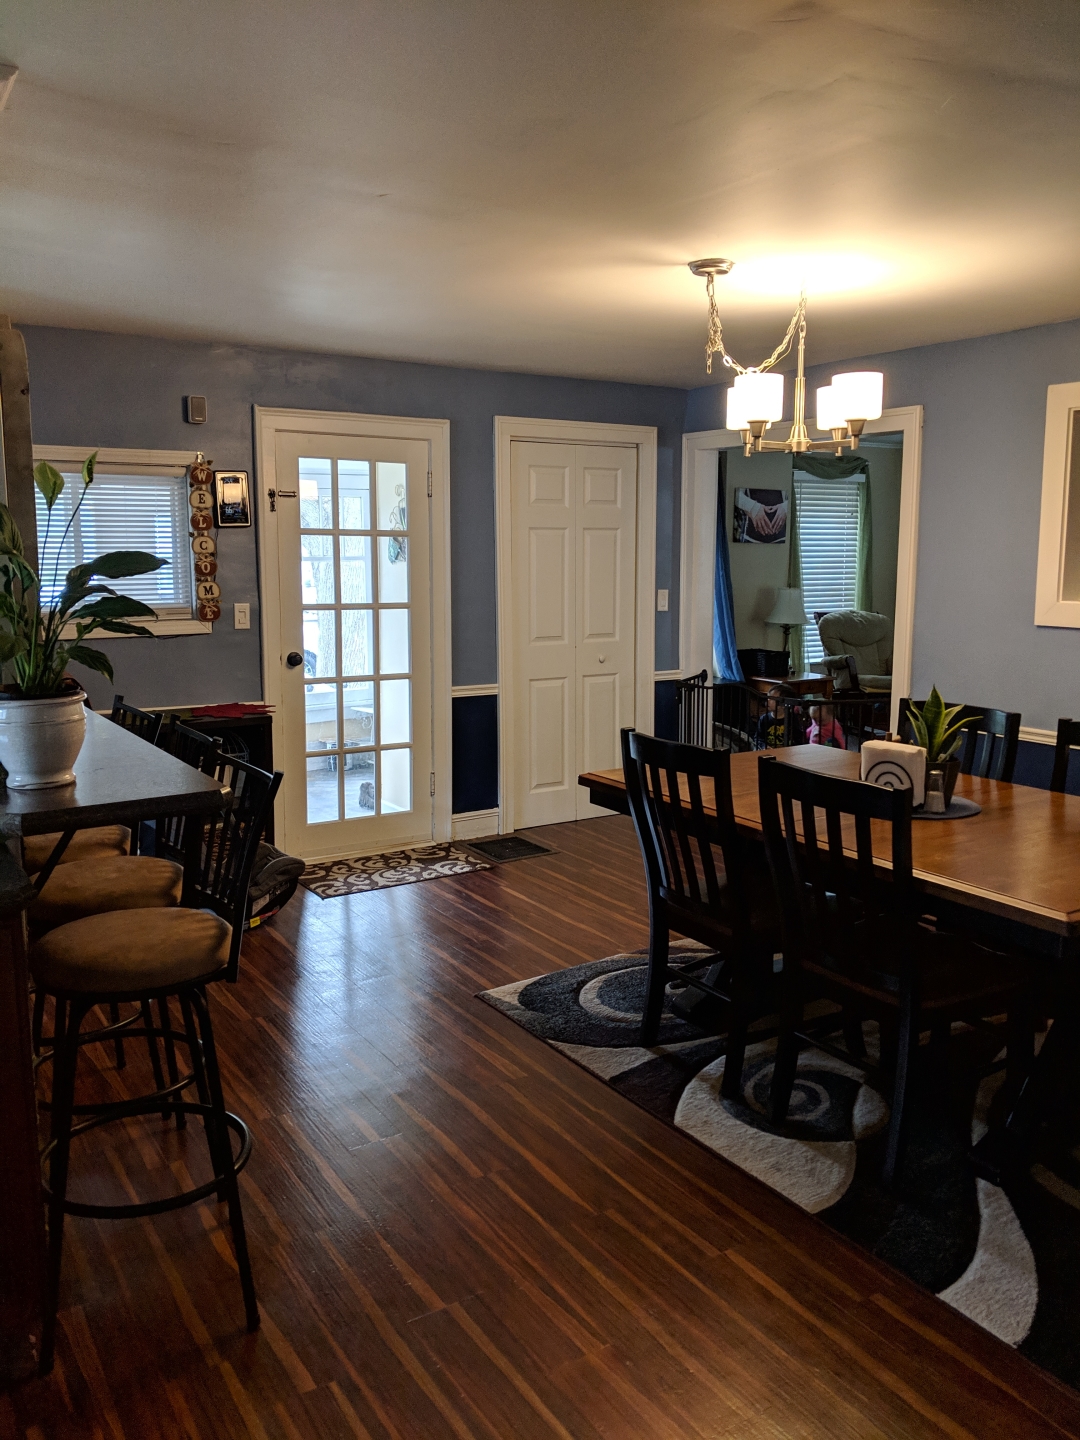
We ripped the drop ceiling and awful old canned lights out. That added a good 10 inches of headspace and became flush with the kitchen ceiling (which made it feel MUCH bigger).
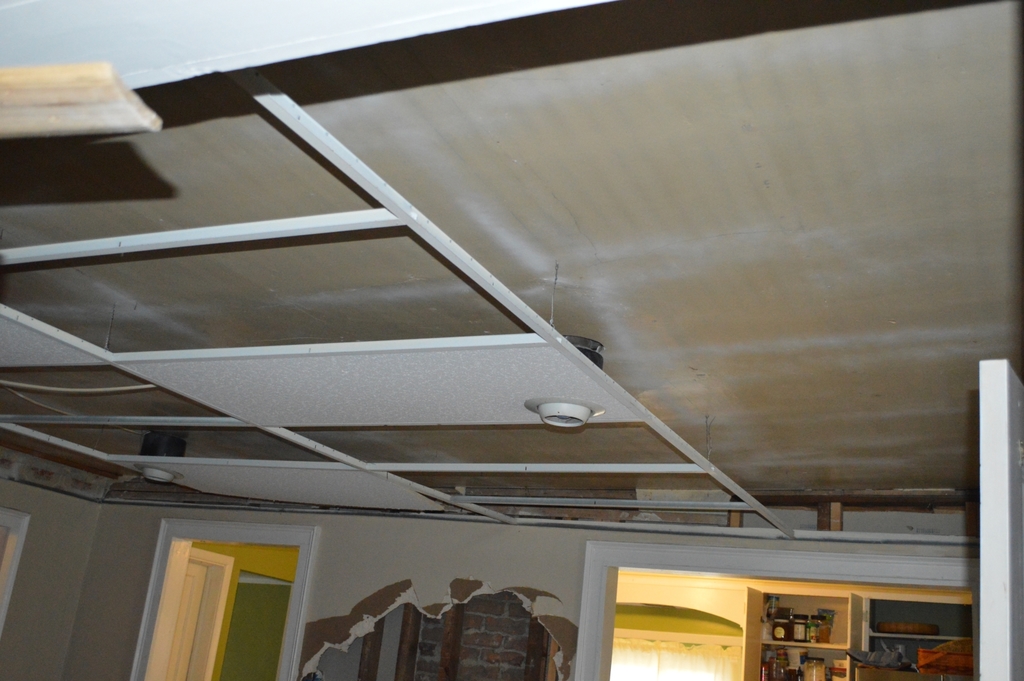
An after picture of the ceilings of both rooms.
Then walking through the dining into the kitchen, my first thoughts/words were:
- Uh… where does the stove go? (You could not fit both a stove and a fridge in the kitchen).
- Are these DIY cabinets?
- The window was clearly modified to be MUCH smaller than it originally was. (WHY?!)
- There’s that funky smell again!!! Or is it different?!

So we decided to change all that. (You’ll notice the theme).
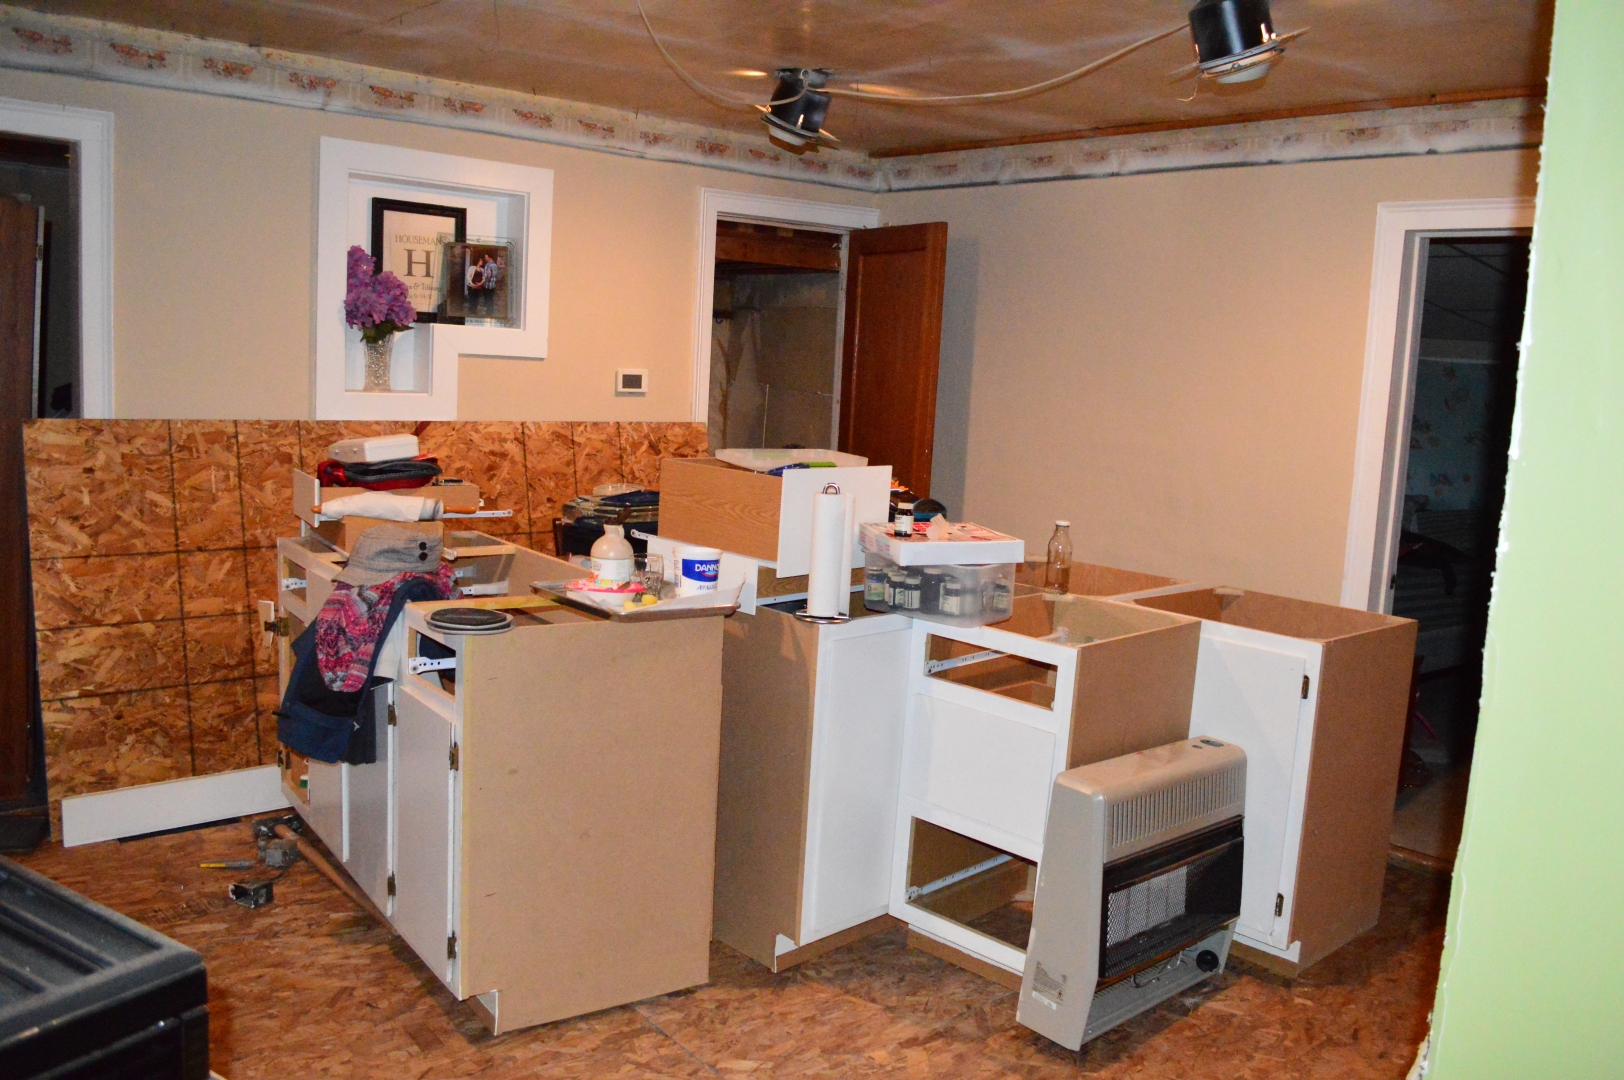
We demolished the wall between the kitchen and dining. Both of us kicked in sections.
So. fun.
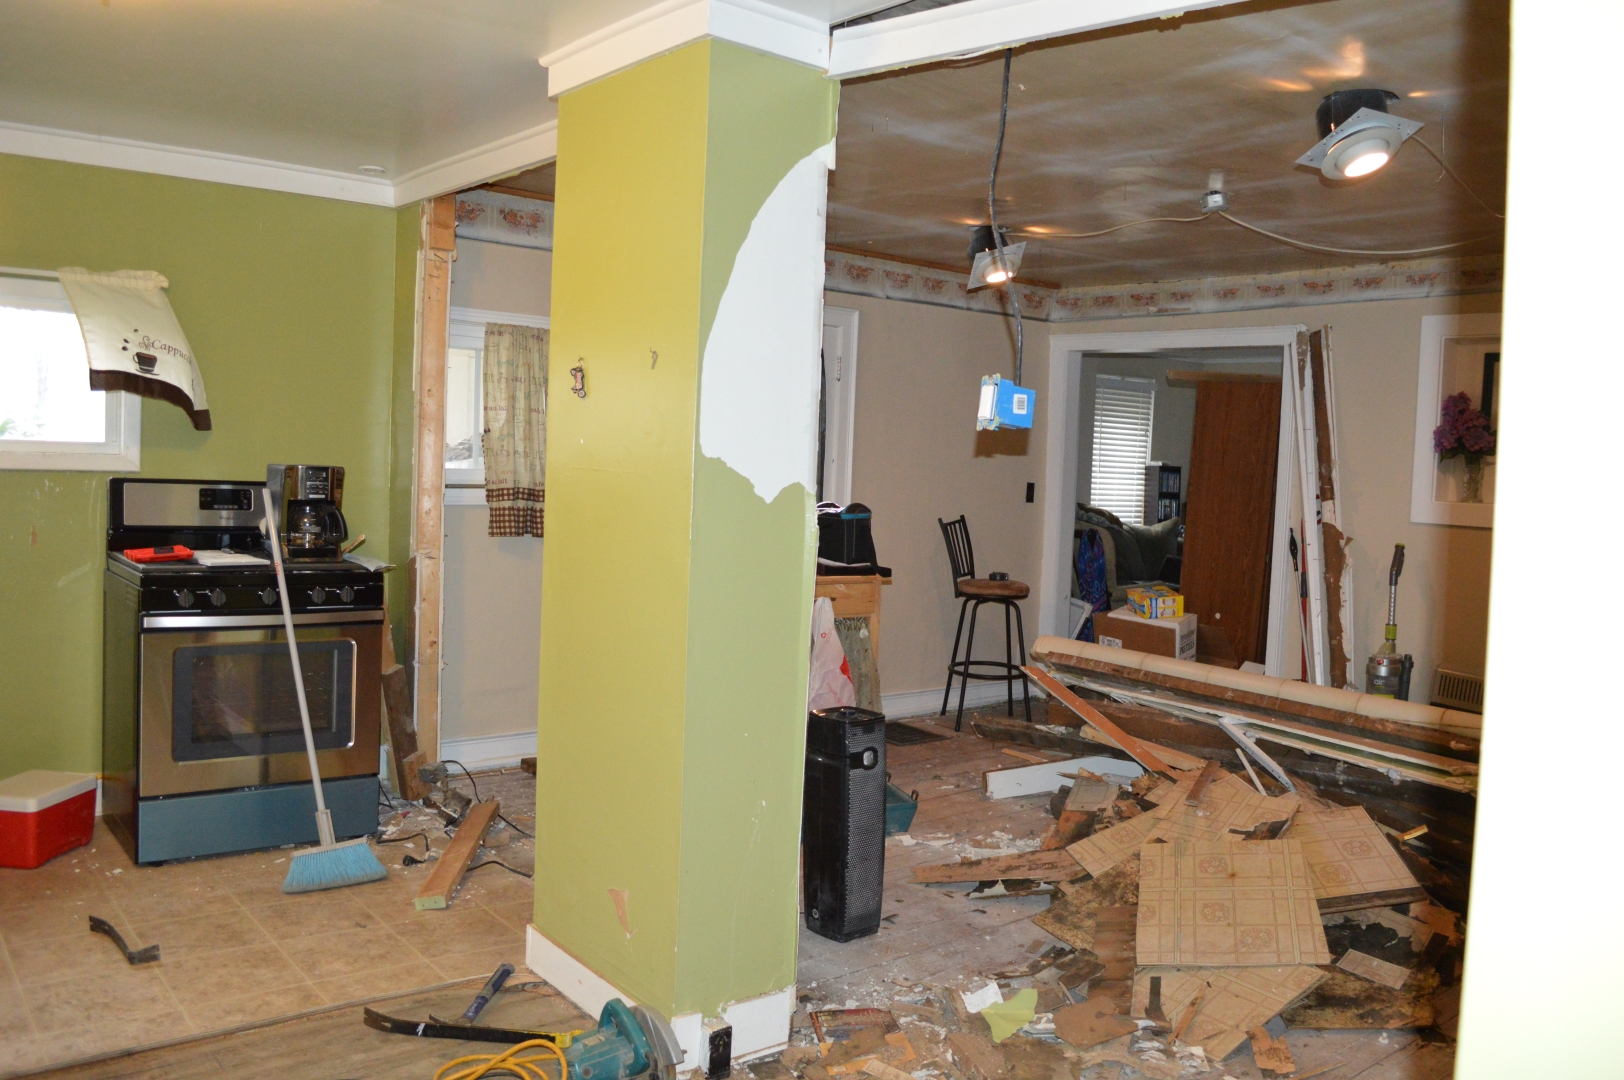
It made the space feel massive compared to the ill-designed previous layout.
Note the splotchy black stuff on the bottom of the flooring that was tore out. There was MAJOR water damage to the subflooring that rotted the wood and grew mold and mildew on it. THERE was the funky smell.
We ripped out (and Ryan dangled from), you guessed it, DIY kitchen cabinets. They were built INTO the wall and required ripping out all the lath and plaster to remove them.
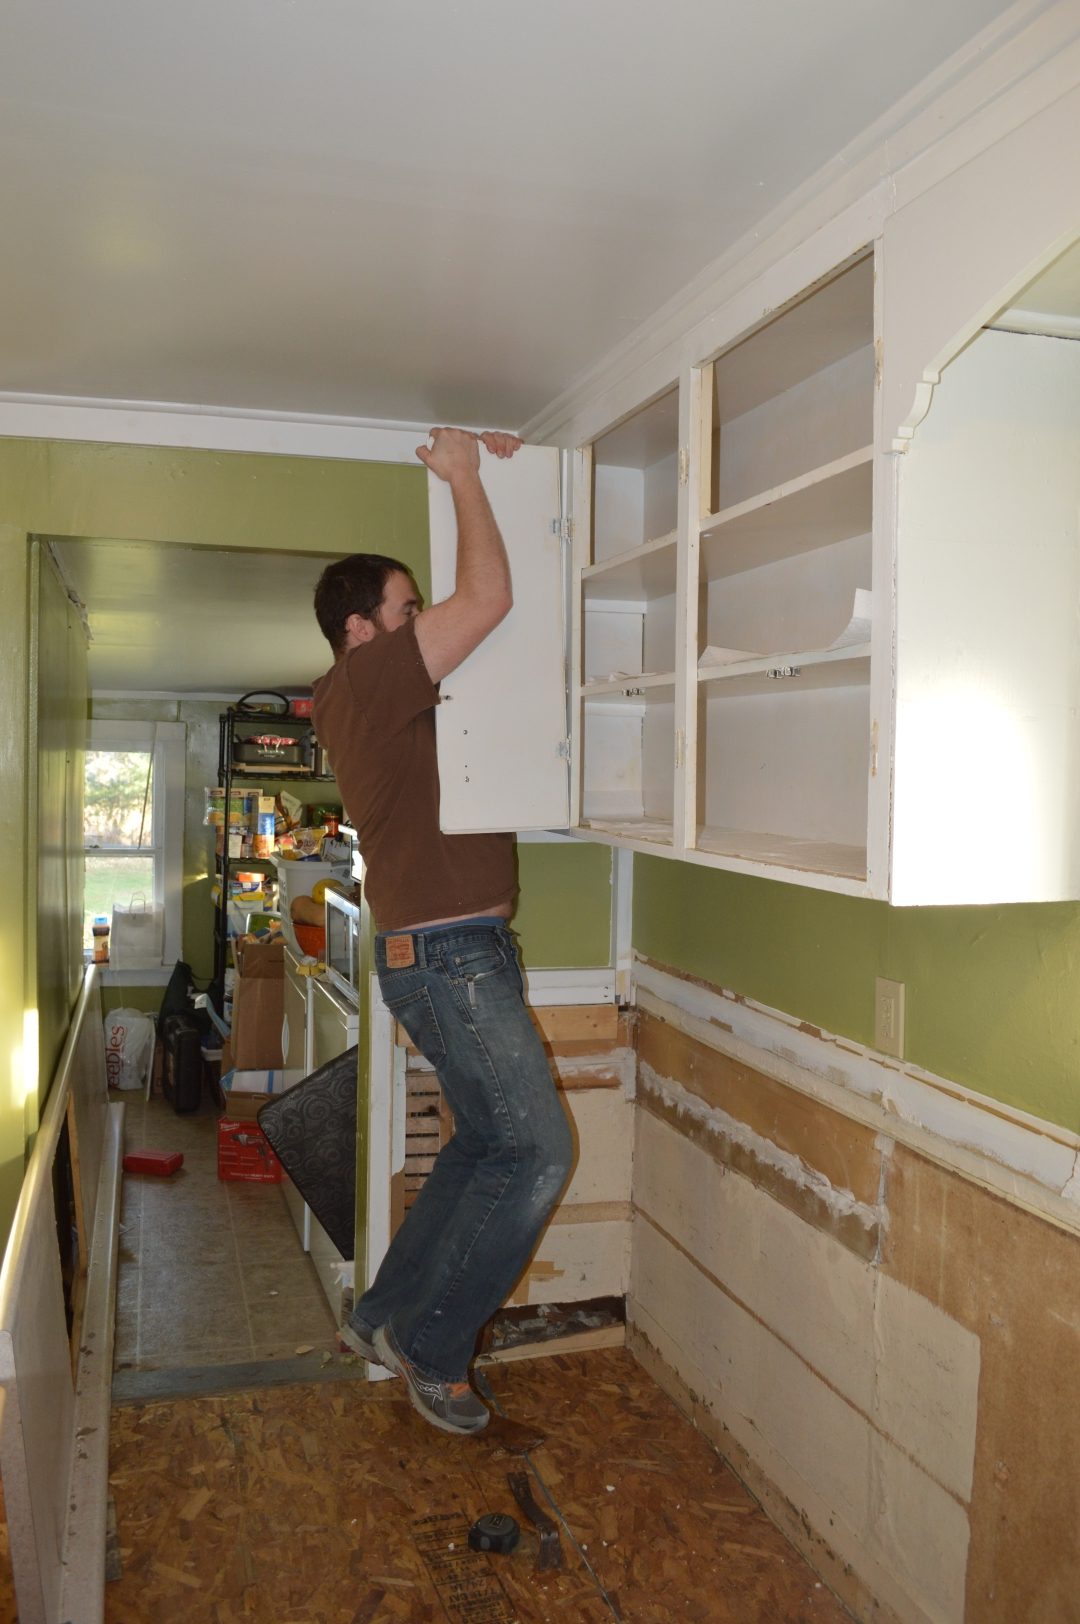
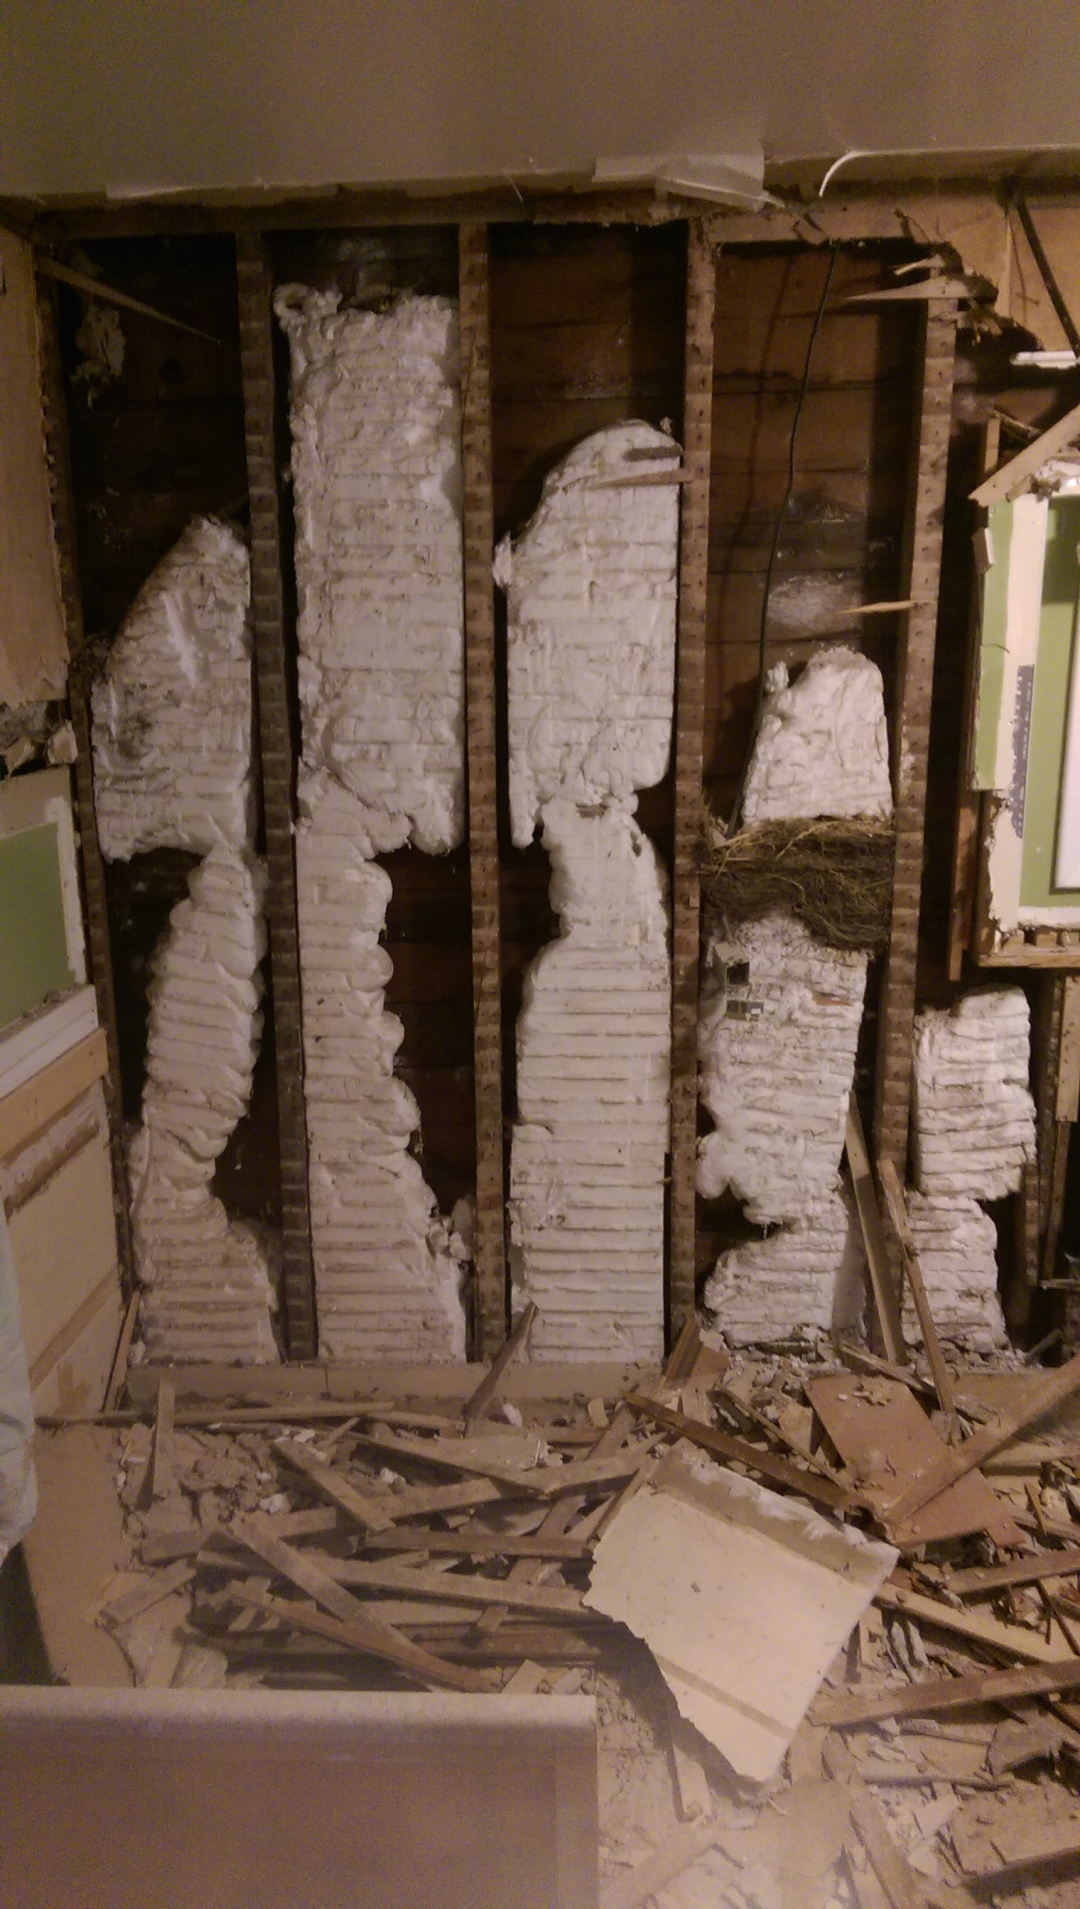
Which then exposed the fact that there was basically NO insulation in the entire room (house).
Note the huge mouse nest in between two studs.
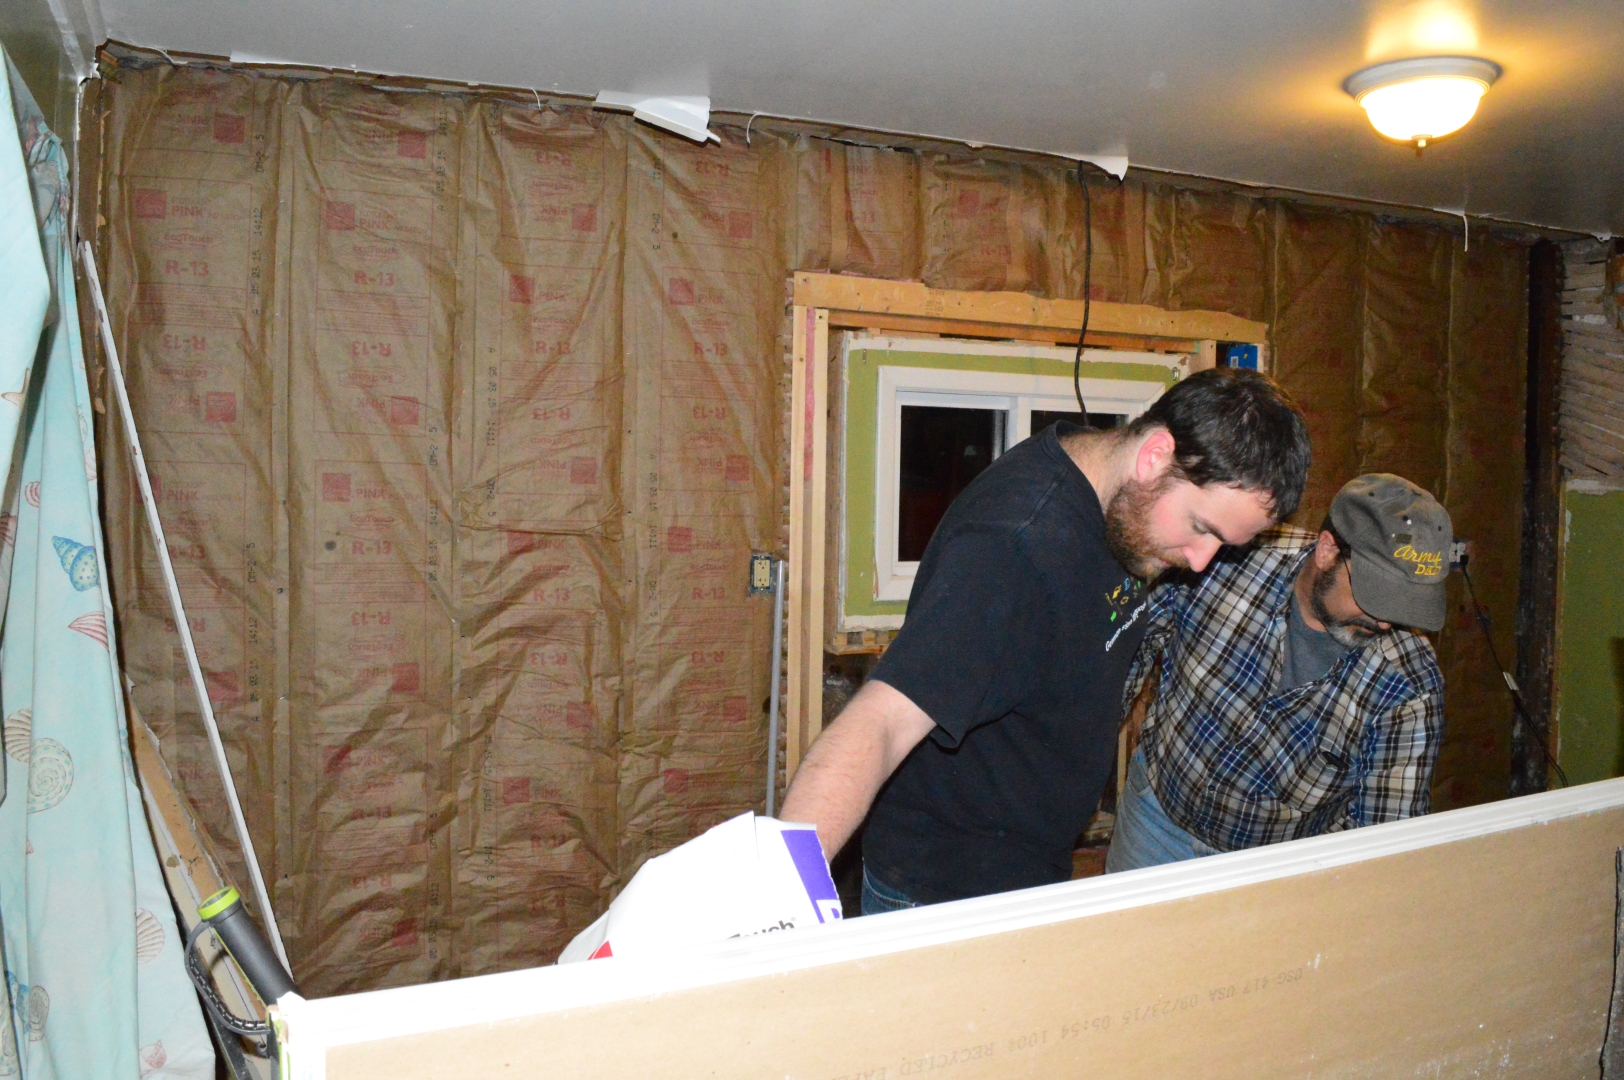
So we re-insulated. Immediately the draft was SO MUCH better and we weren’t smelling the neighbor’s pork smoking every night.
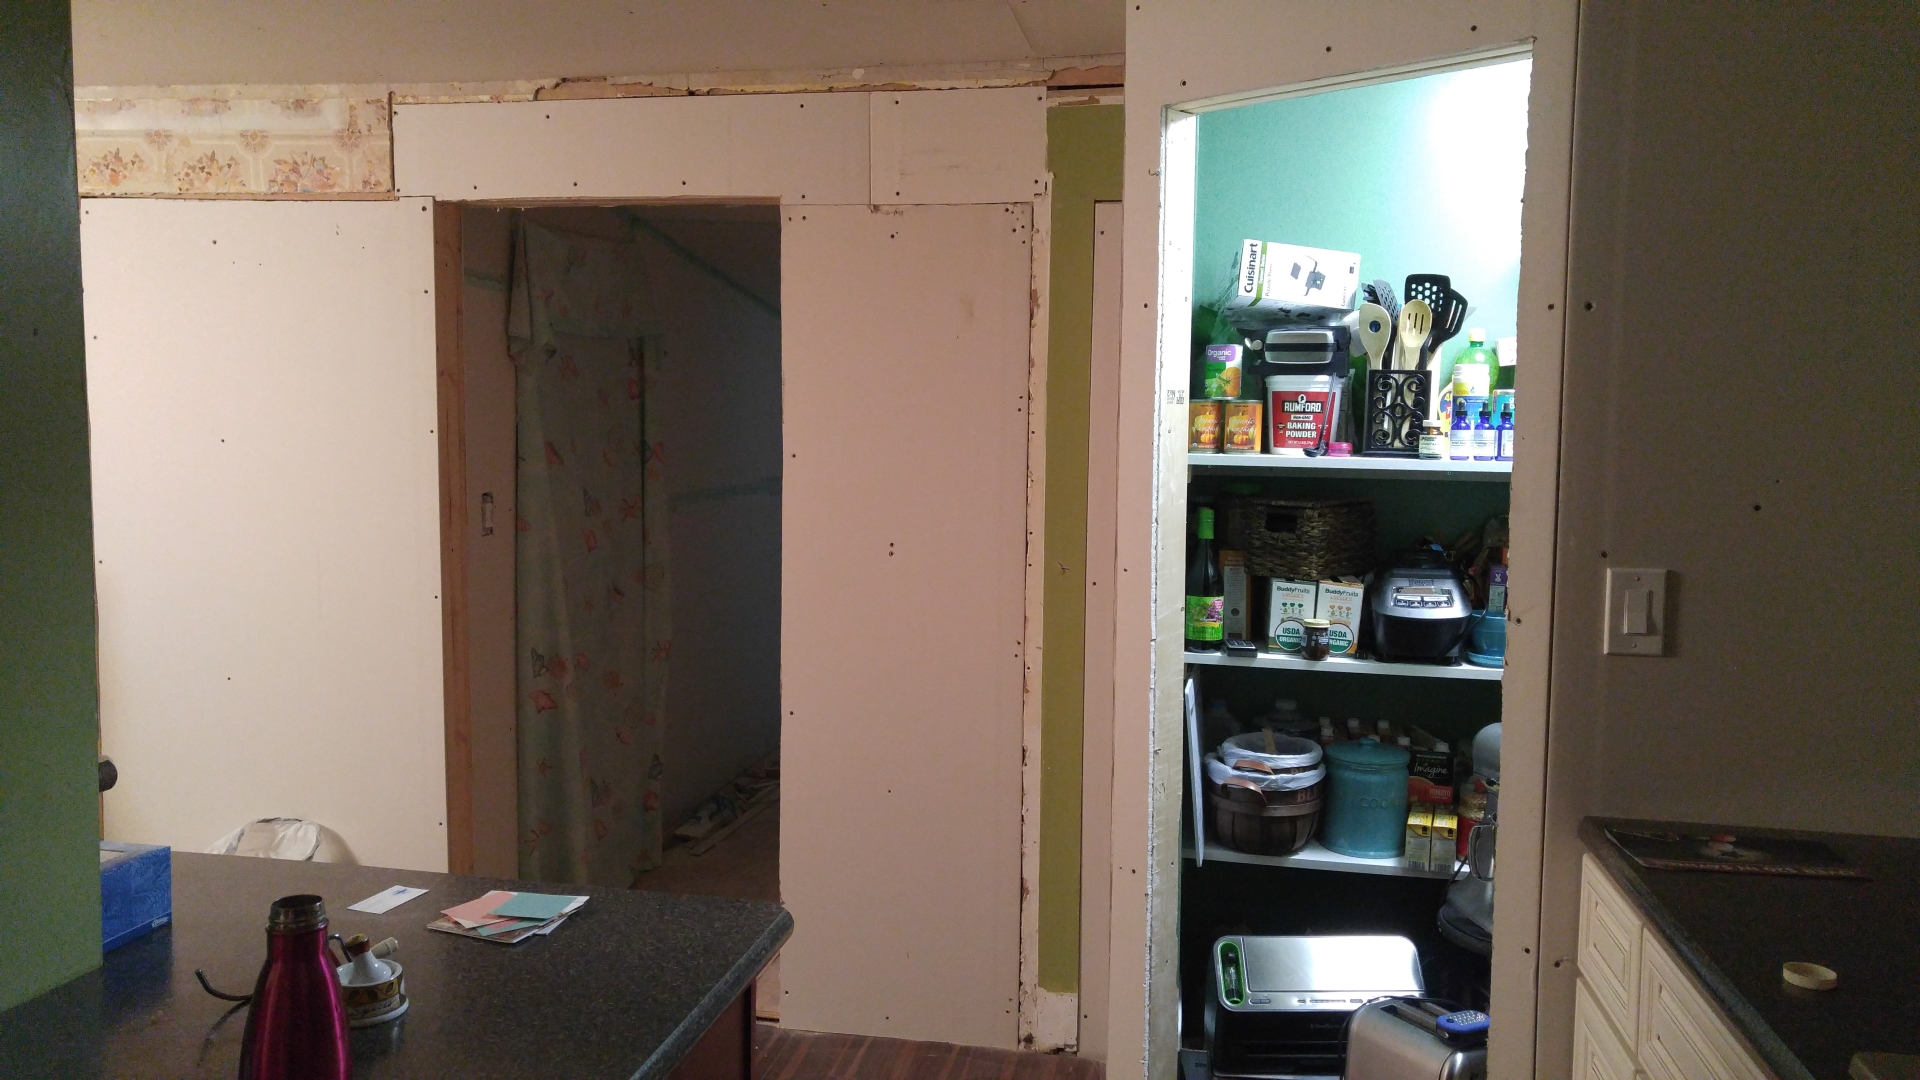
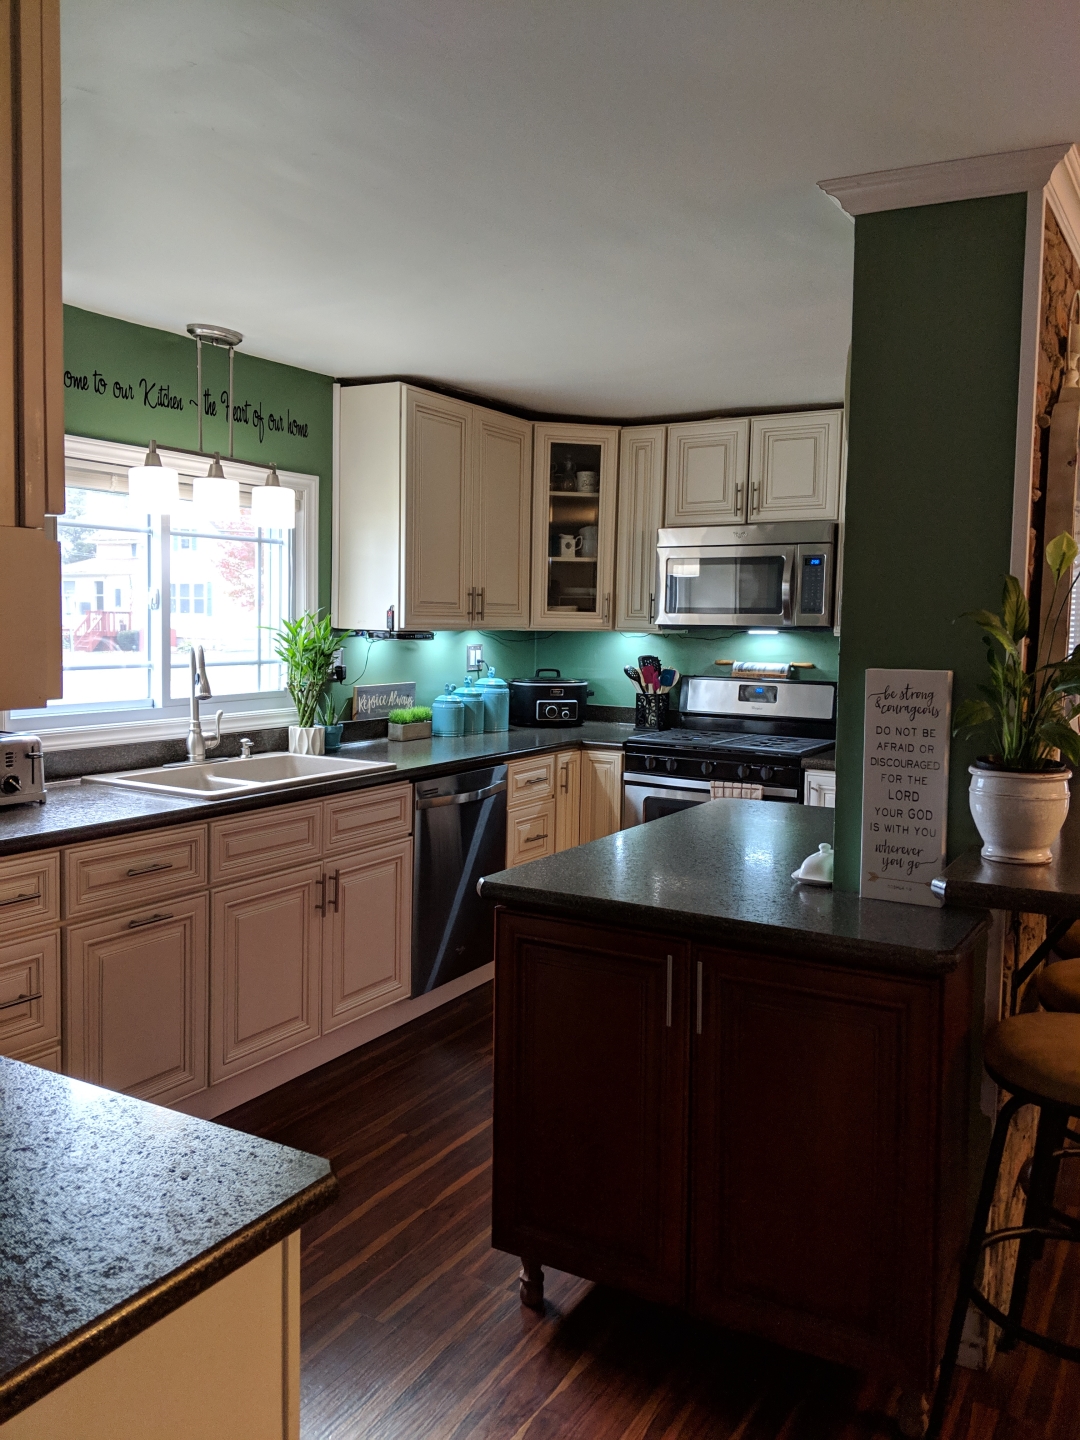
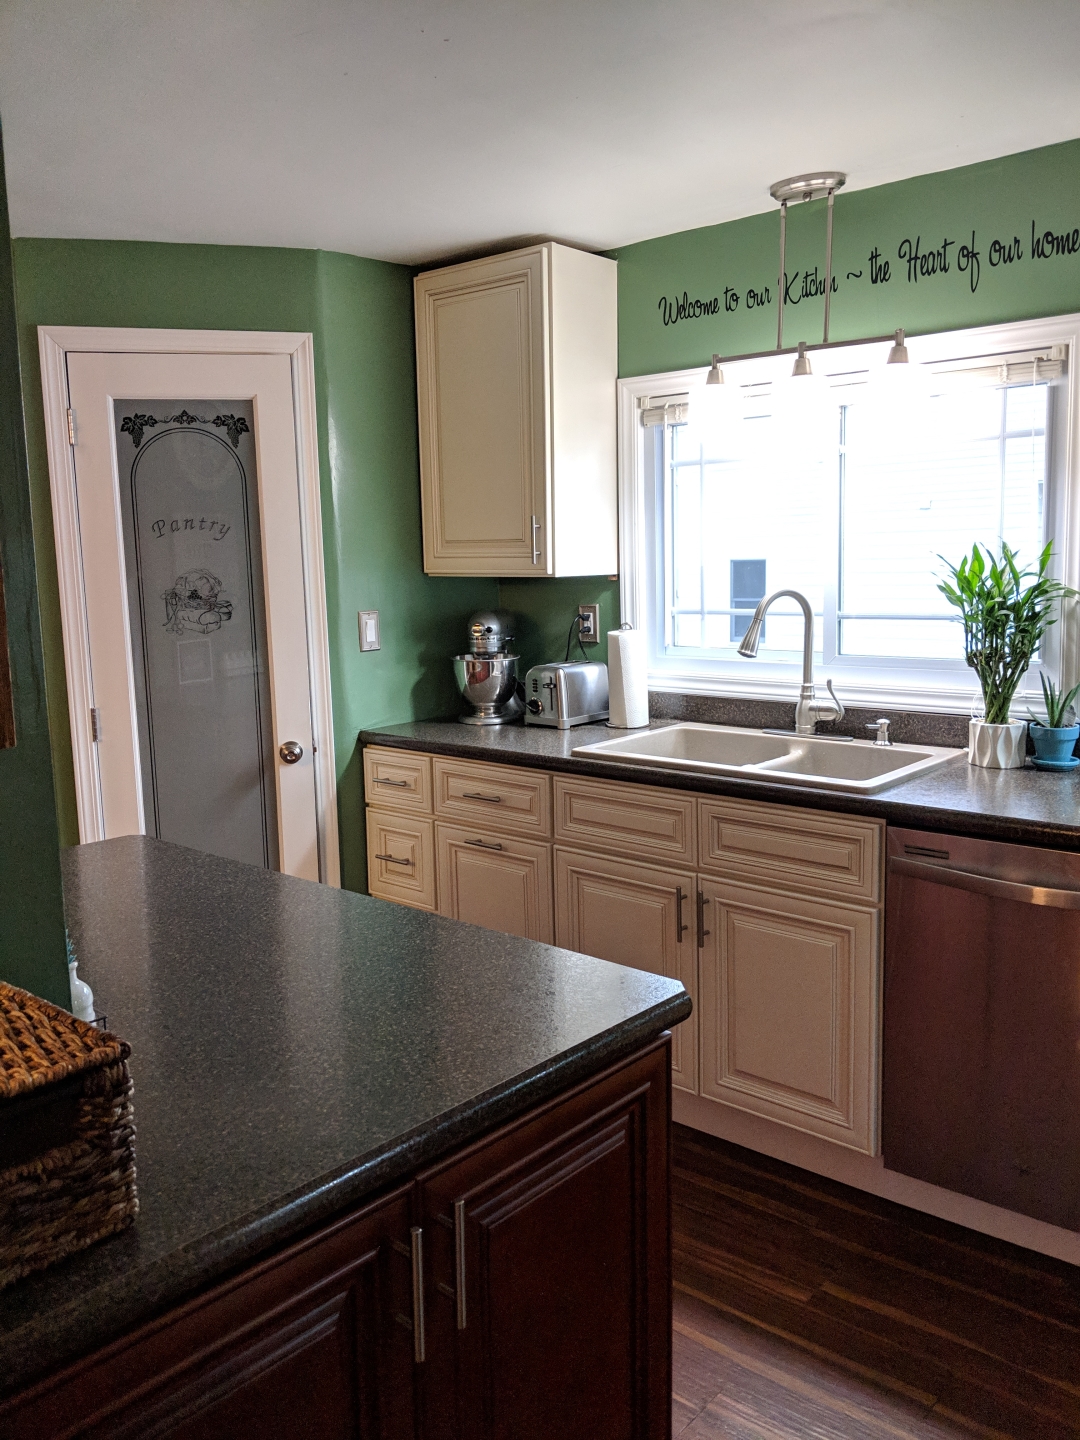
Dryall, paint, then we added gorgeous new RTA (ready-to-assemble) cabinets. Ryan built a (glorious) spacious corner pantry, which easily tripled the amount of original storage space we had.

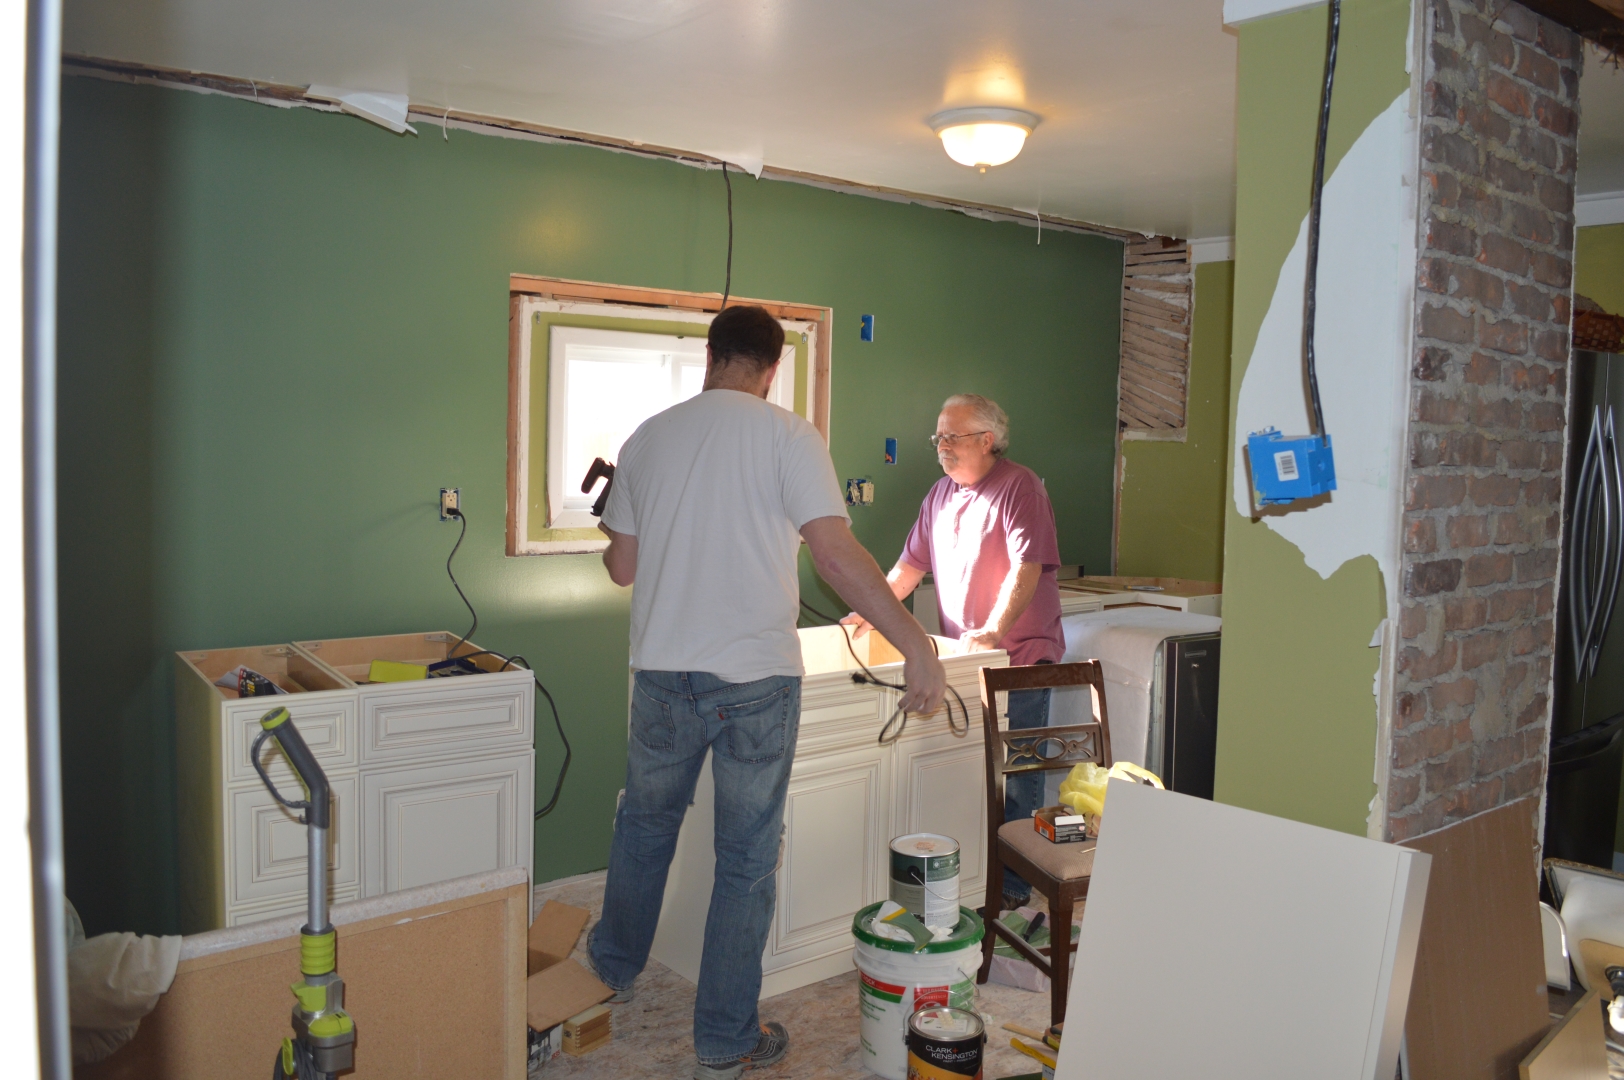
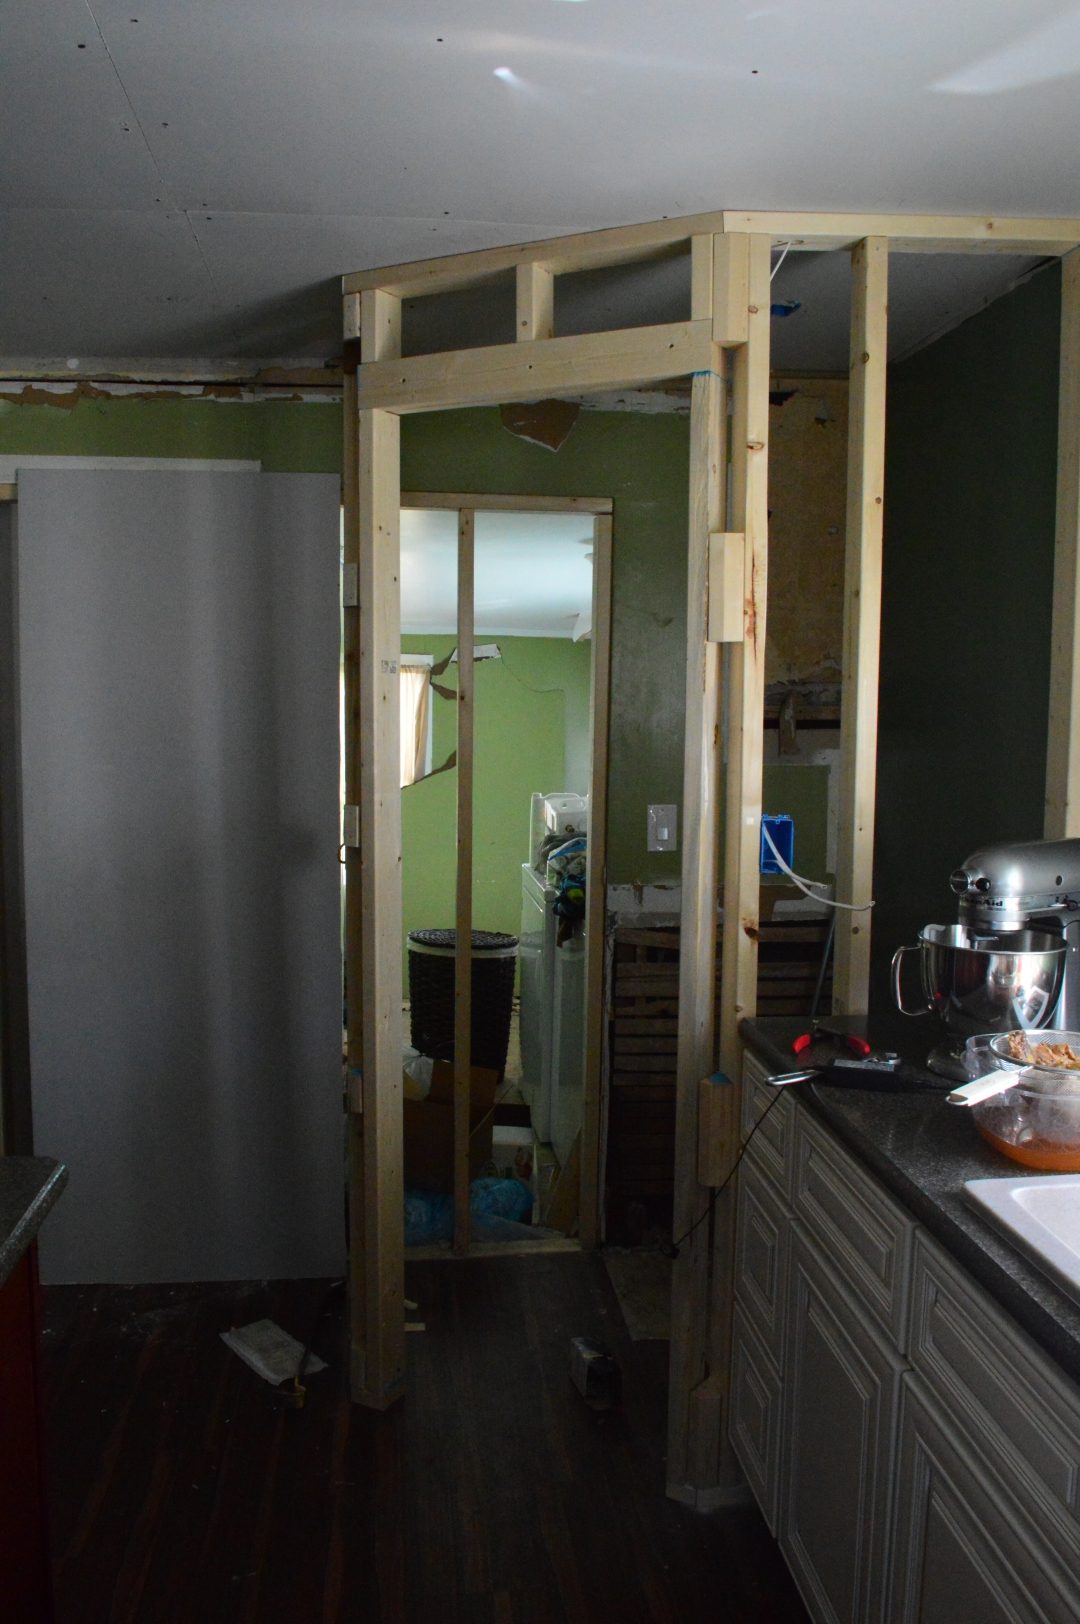


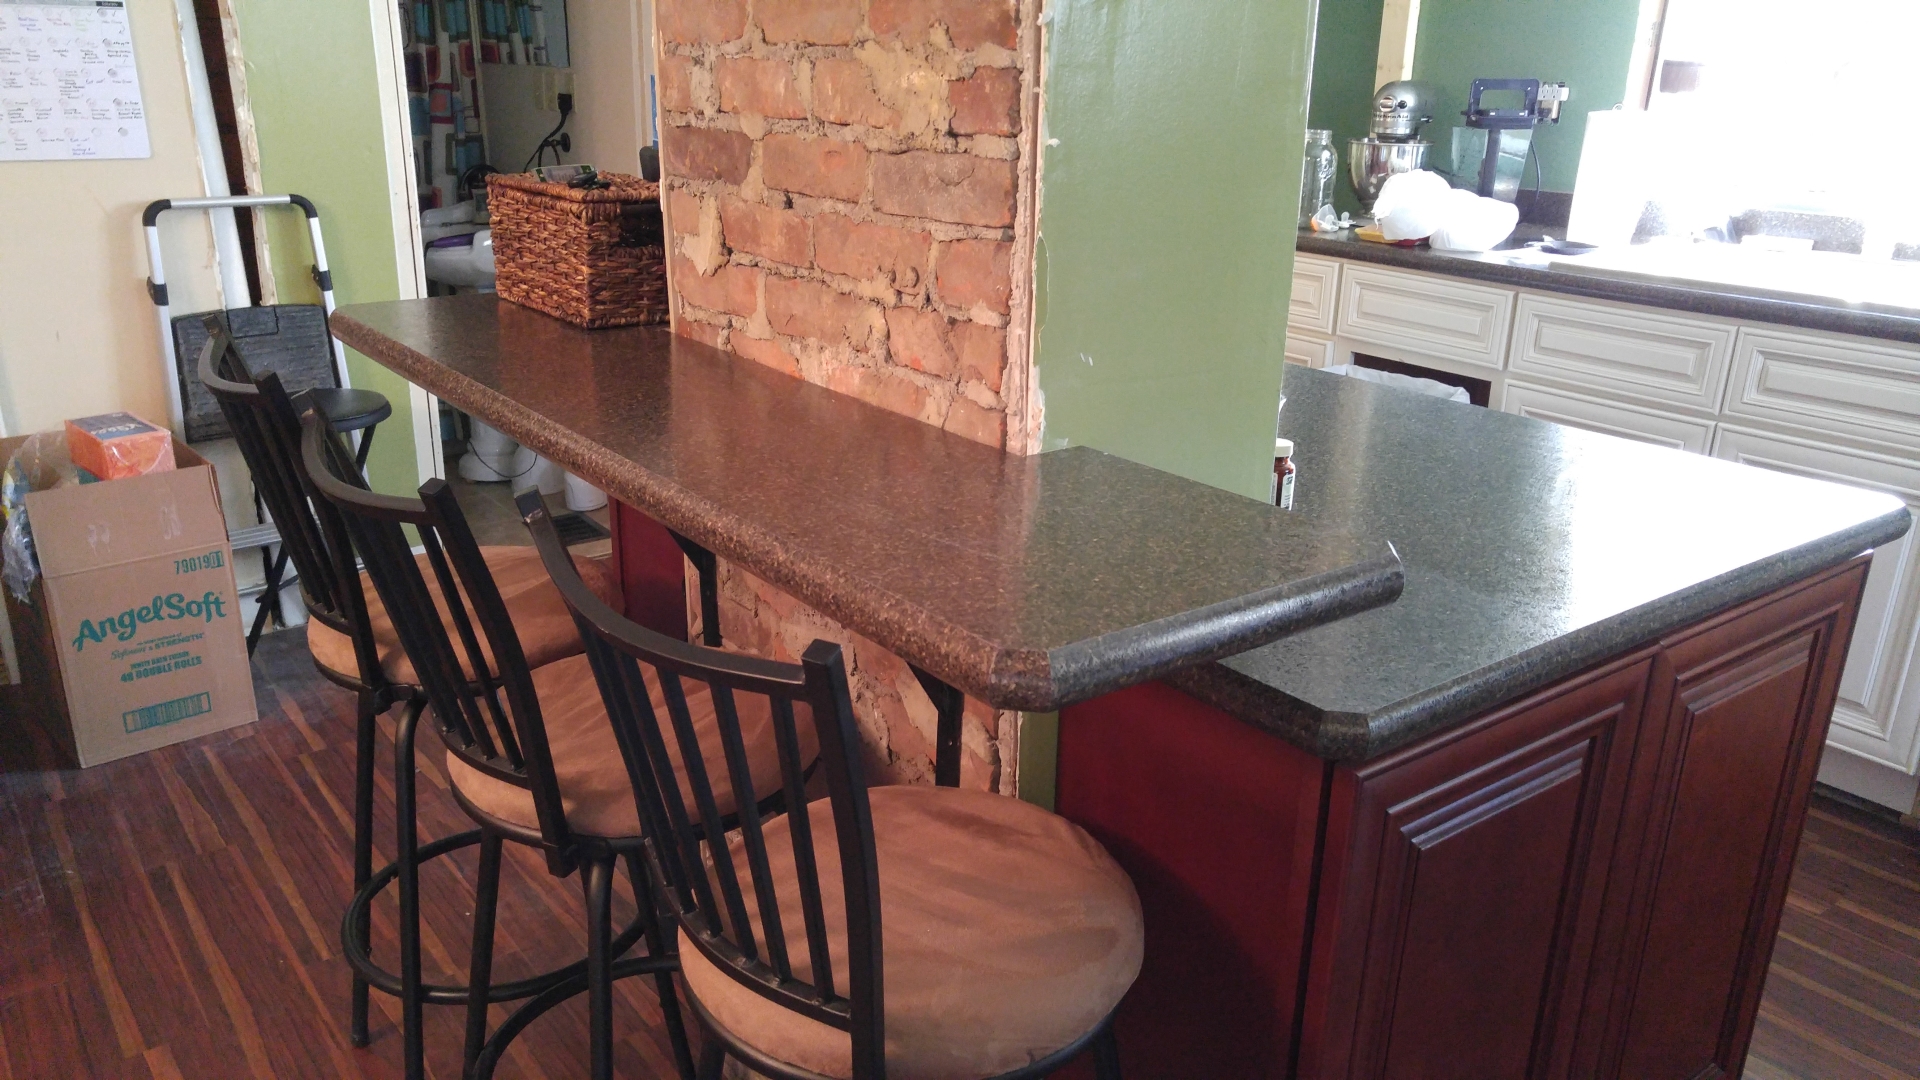
We framed the chimney and it became a character piece and focal point of the entire area. We built the island around it and added a 3 seat breakfast bar.

Look at that gorgeous brick feature wall. Who knows how long that character and charm was buried behind ratty drywall and lath and plaster.

Finally our new (much larger) kitchen window came (you can see below). As with EVERY door and window we replaced, Ryan had to add a header.
In other words, this house stood for decades without a single header in a window or door. Stew on THAT one!
Anyway, the huge new window improved the entire look of the house, inside and outside.
In the end, we improved:
- The feel of the entire space – it became open and spacious, with plenty of character AND functionality.
- The amount of storage space available: functional drawers, island cabinets, upper & lower cabinets and a huge pantry.
We also added to the space:
- a dishwasher (yay!)
- a fancy pantry door (see below, I still love it)
- the ability to have both a fridge AND a stove in the kitchen
- higher-end stainless steel appliances
- a command center with USB ports in the outlets
- new, updated lighting
- luxury vinyl plank flooring (completely waterproof)
- the highest end of laminate countertops available
We removed:
- the funky smell
- the dated, cheap fixtures
- the insulation issue making the house hard to heat
- carpet in the dining room
- the tight, cramped feel of the main part of the house
After almost 3 years of blood, sweat, and (many, many of my) tears, the main living area (everything but the master+bath upstairs) of Fixer #2 was finished and ready to show.
The Kitchen & Dining Room


And that was how we gutted and renovated a dirty old 1930’s kitchen and dining. We loved this little house for 3 years before it became someone else’s and we moved on to Fixer #3!
Check out the rest of Fixer #2 that we fixed!
- Downstairs Bedroom Remodel & Addition
- Downstairs Bath & Laundry
- Upstairs (Master Suite with full bath)
- Living Room Patio Door Addition
- Outside – Curb Appeal
Follow us on Instagram and get on our email list as we renovate Fixer #3 – a lovely, old Victorian Farmhouse in the mountains of western/central NY!