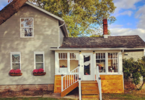

Our Master Bedroom and Bathroom Remodel
The upstairs of this 1.5 story house was something else. It consisted of an awkward landing and an odd shaped bedroom. It wasn’t technically a master bedroom and there WAS NO bathroom, but we decided to rework the entire floorplan and turn it into one.
How it looked originally:
- There was a ‘landing’ at the top of the stairs, wasting 1/3 of the entire upstairs space.
- Gross, beige carpet everywhere that’s old and stained by who knows what.
- Ceiling tiles – lots falling down, some missing, some SCREWED up and randomly overlapping.
- A large bulkhead in the center of the space, down most of the wall. (Bulk-wall?)
- Cables EVERYWHERE.
- A HUGE yellow jacket colony in the rotted window directly at the top of the stairs. (The window in the first picture below).
- A DIY closet (using hardwood that we repurposed) spanning the entire left wall of the bedroom. Someone drew creepy faced pictures all over it with chalk.
- An insulation problem – it was 450 degrees in the summer and 15 in the winter.
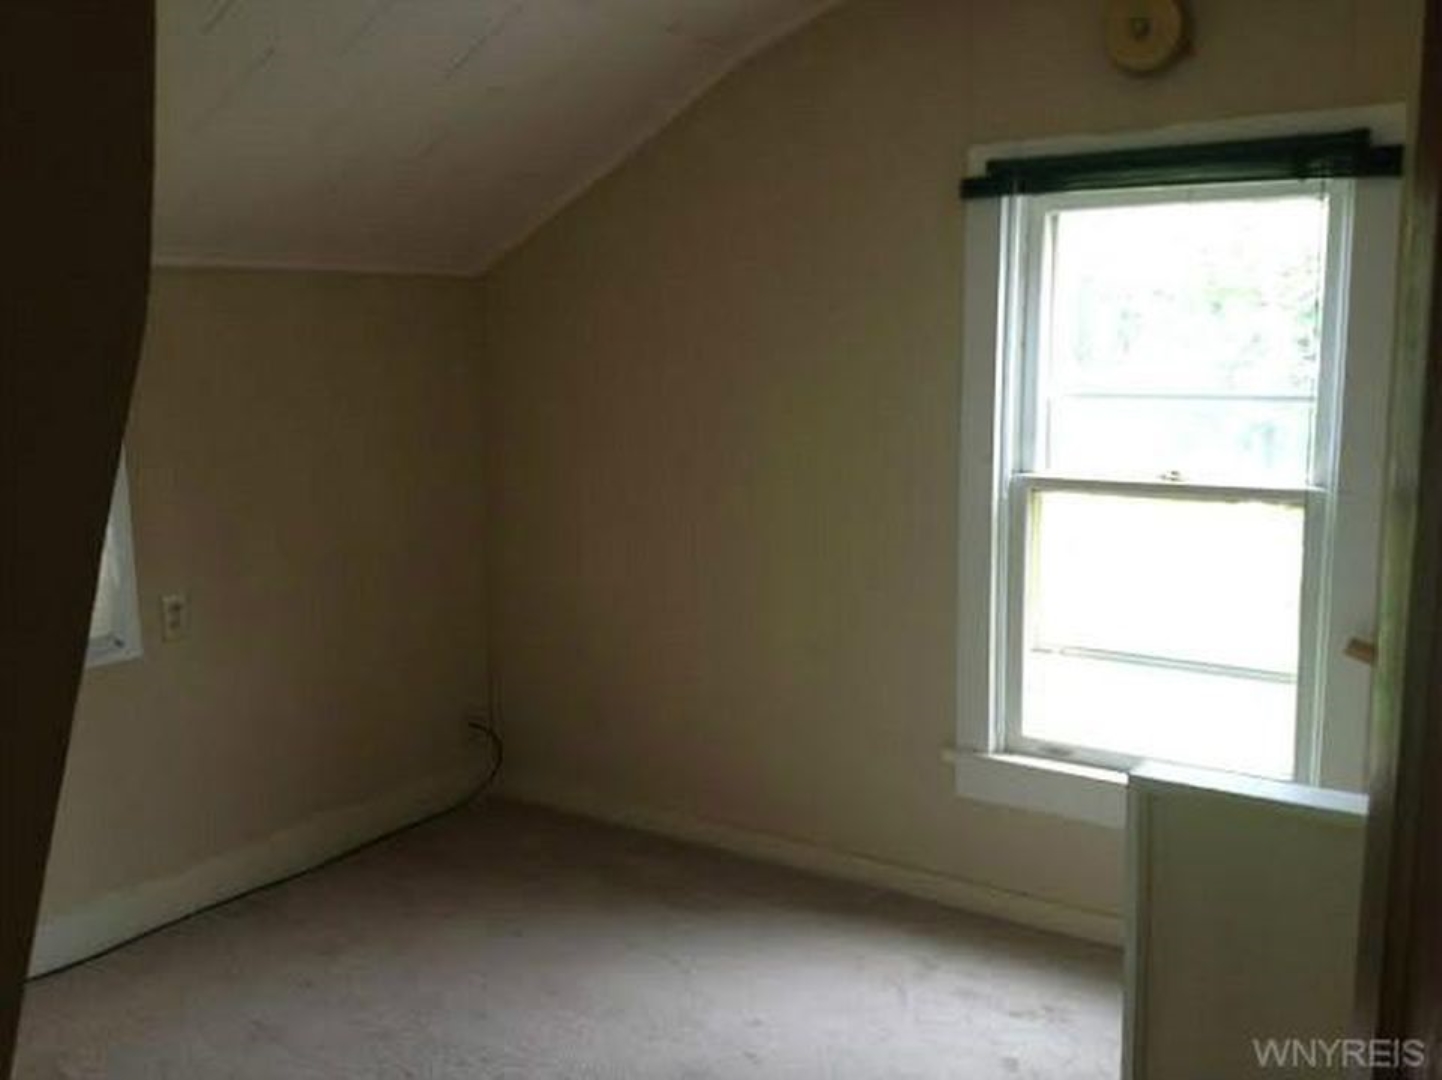
The landing
It was not nearly big enough to use as a loft or den, as it was listed on the appraisal. It was just big enough to seriously waste the space. Note the cable sticking out of the wall.
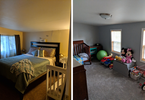
The Bedroom
We slept in this room when we were gutting Bedroom #1 and the bath/laundry area.
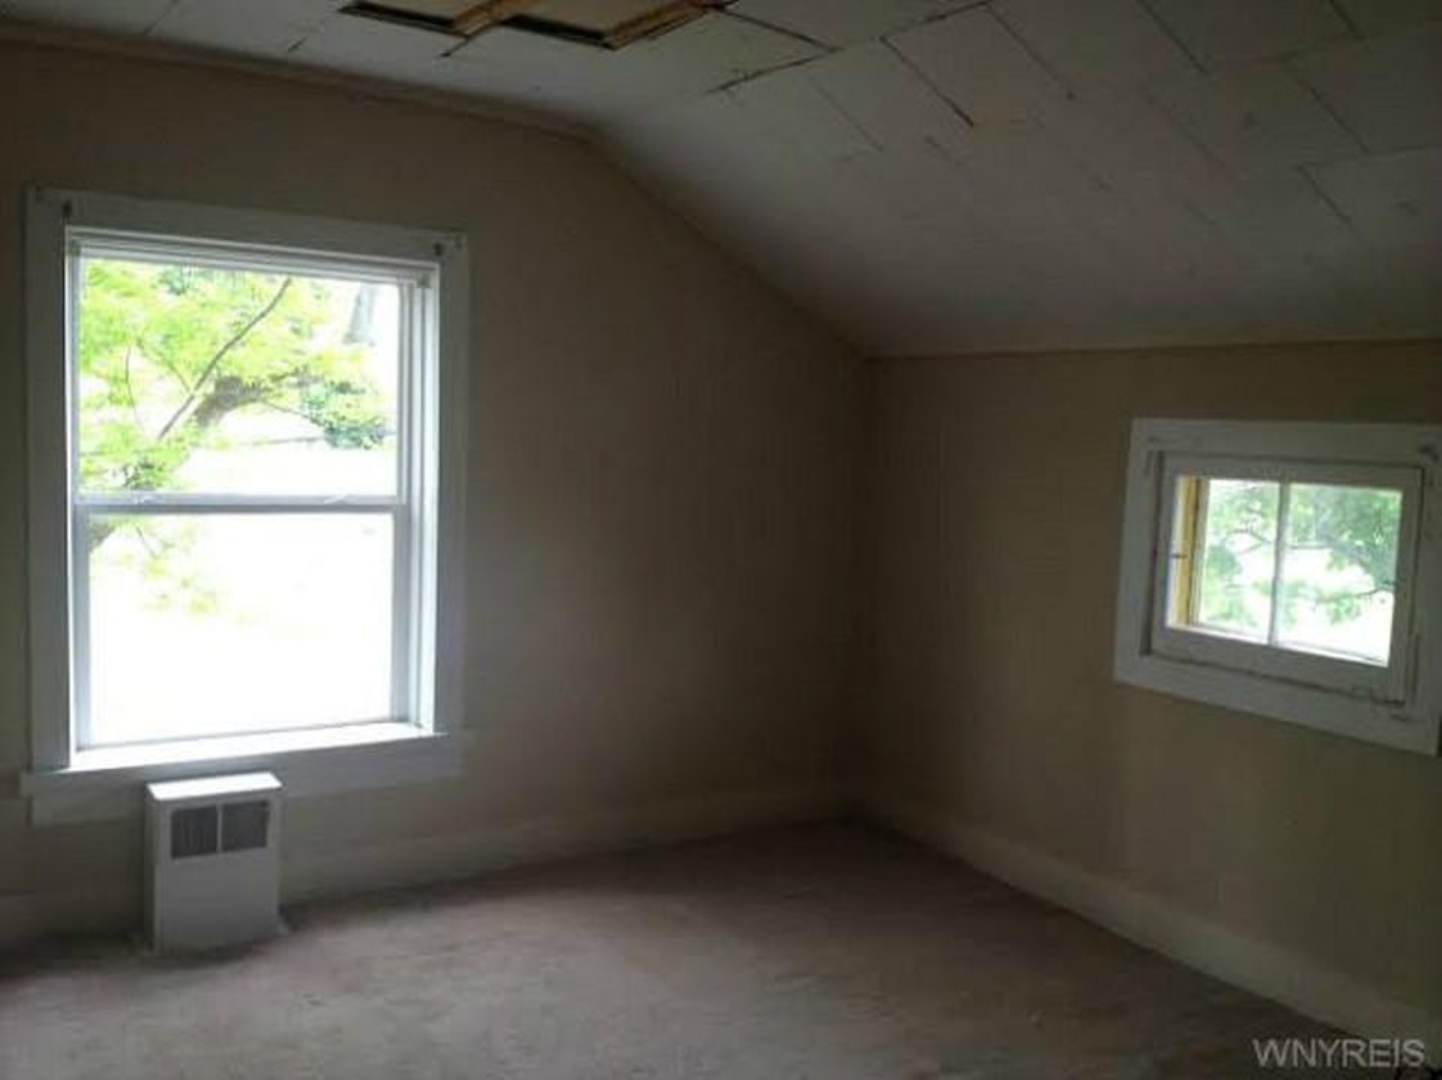
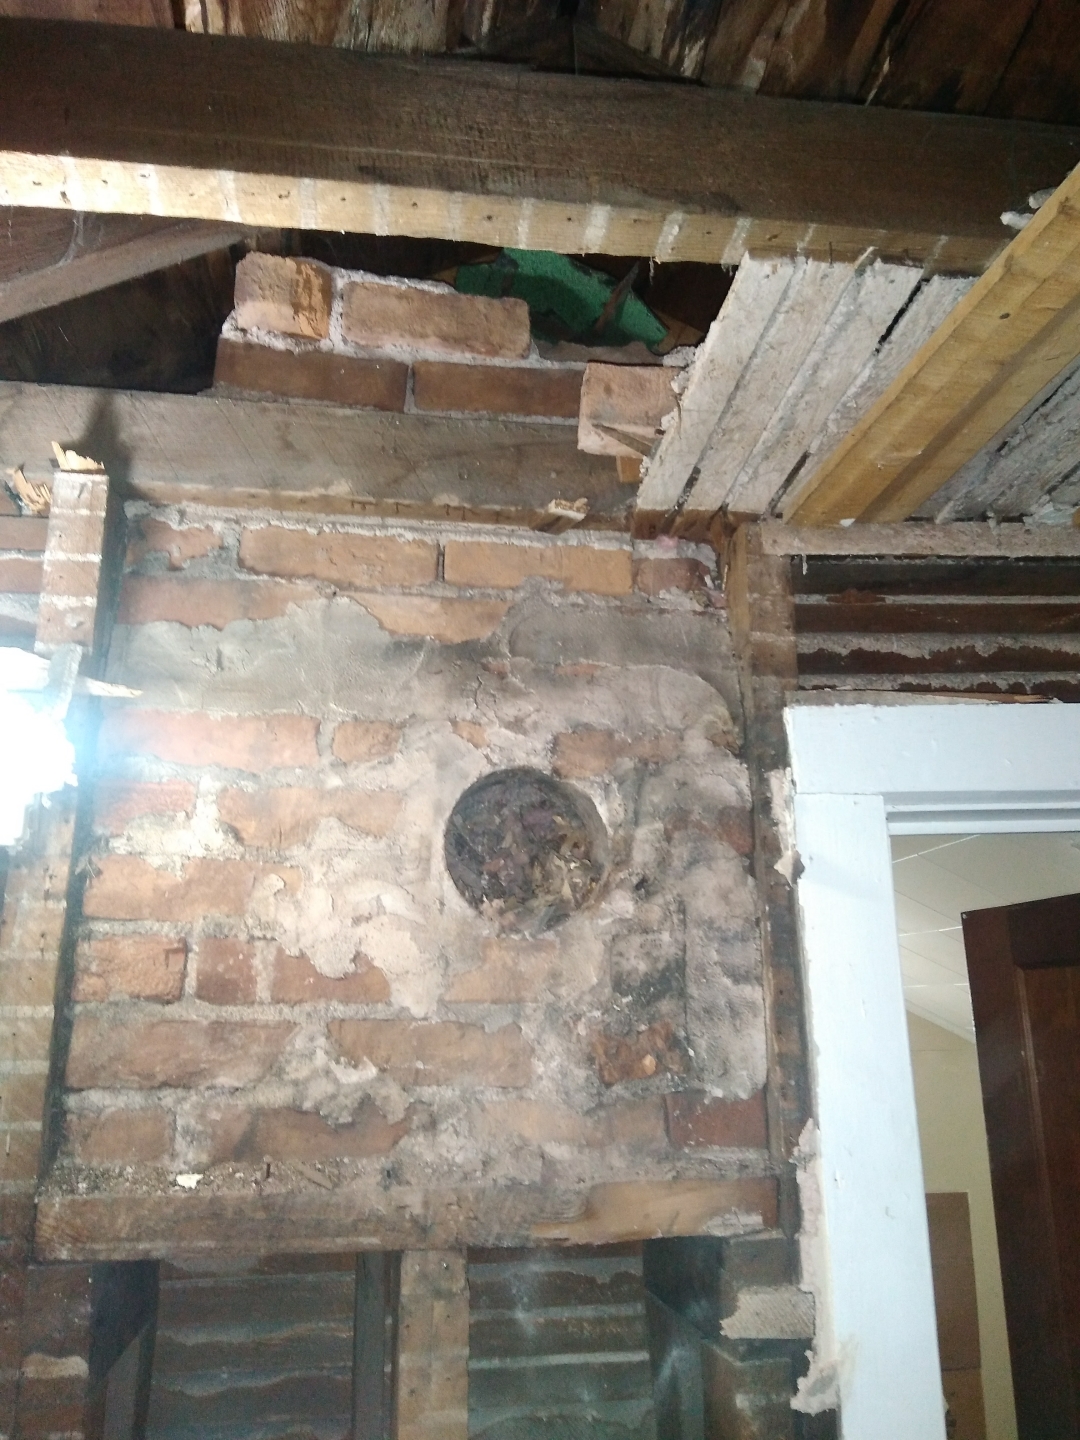
This was the bulkhead I mentioned. We assume that there used to be an old wood stove in the bedroom and this contraption held the bricks up for the chimney. (See below).
I’m really sad we didn’t have more time to work on this area. It would’ve been amazing to take the ceiling of the room all the way to the peak. However it was a time and financial expense we couldn’t afford and one that wouldn’t have paid off in resale.
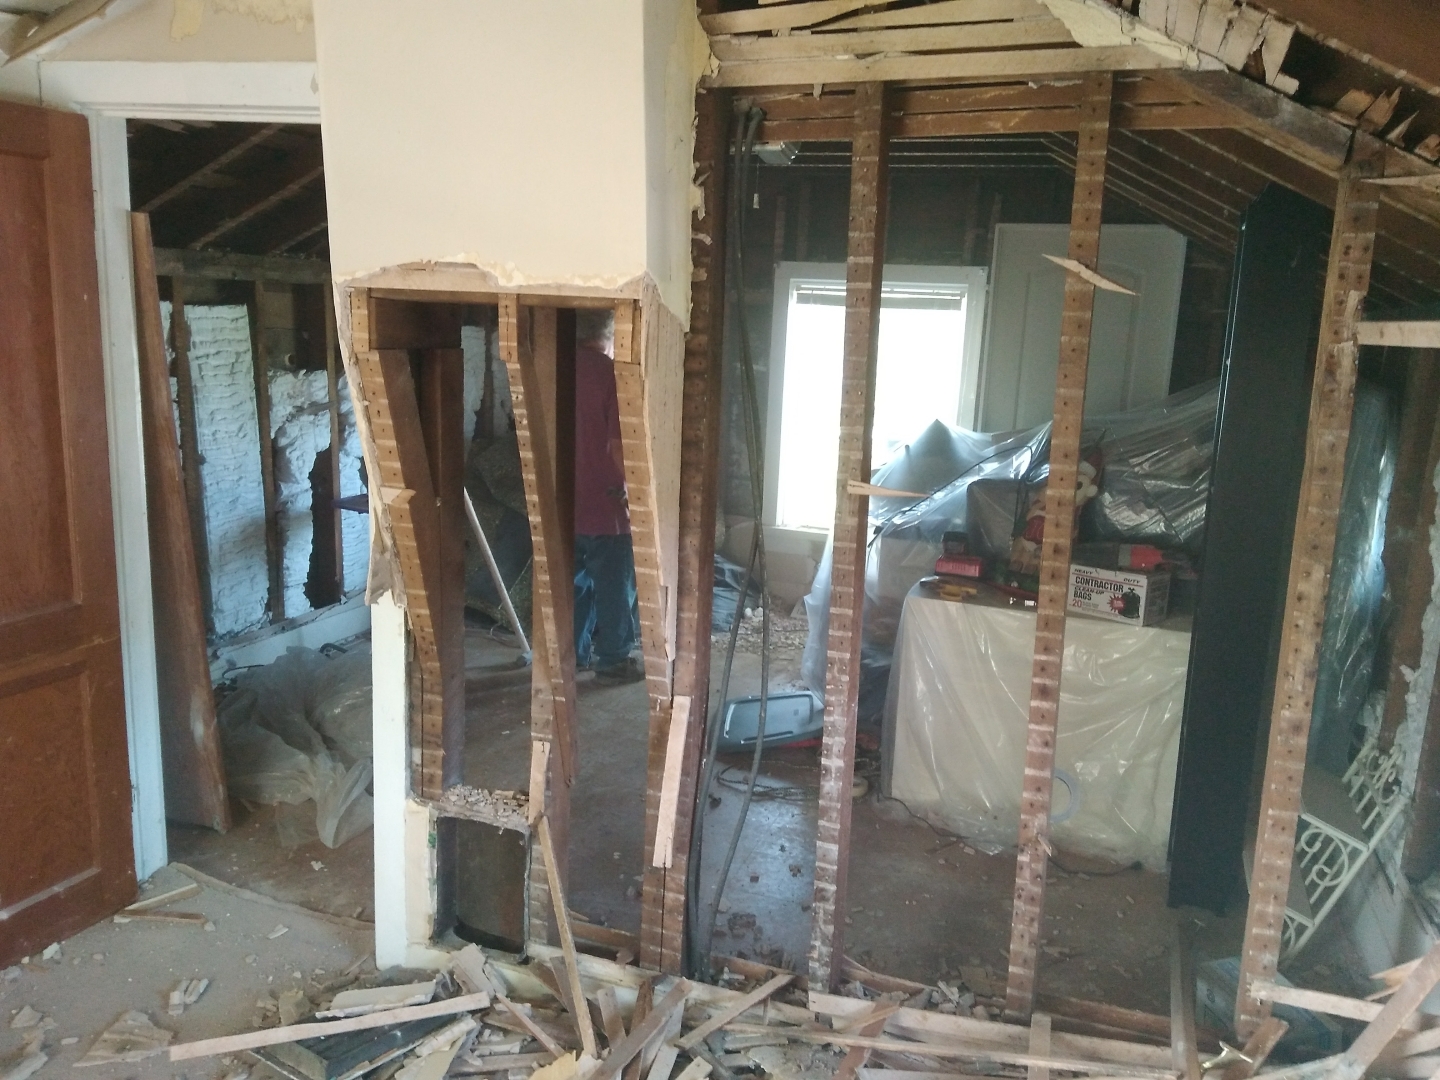
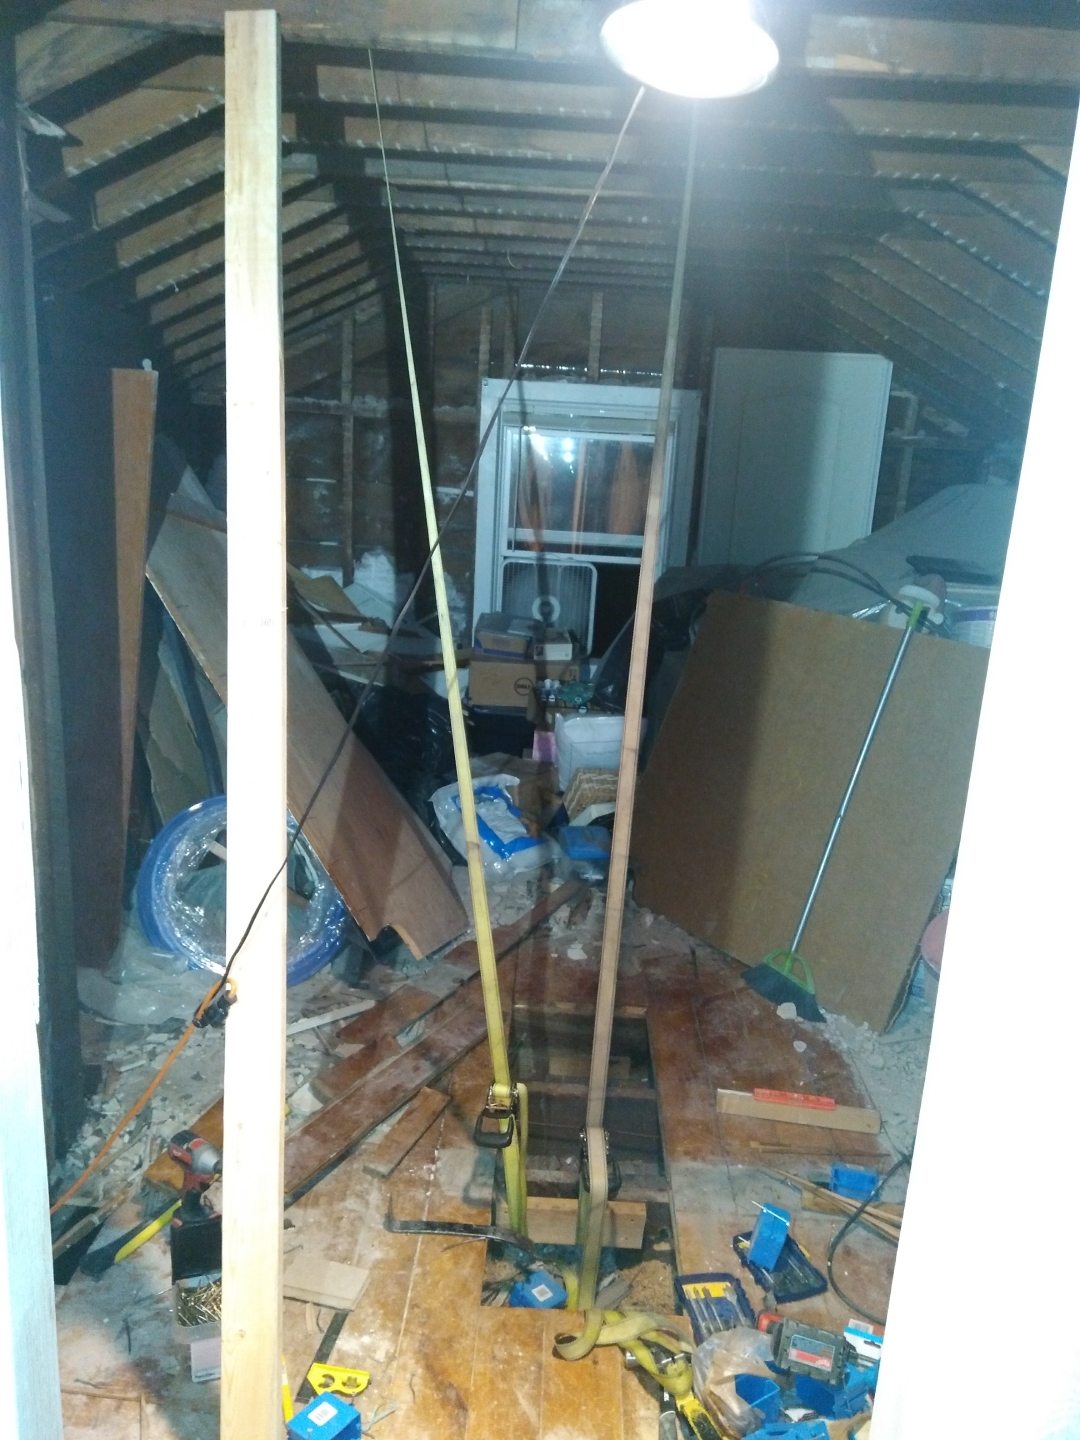
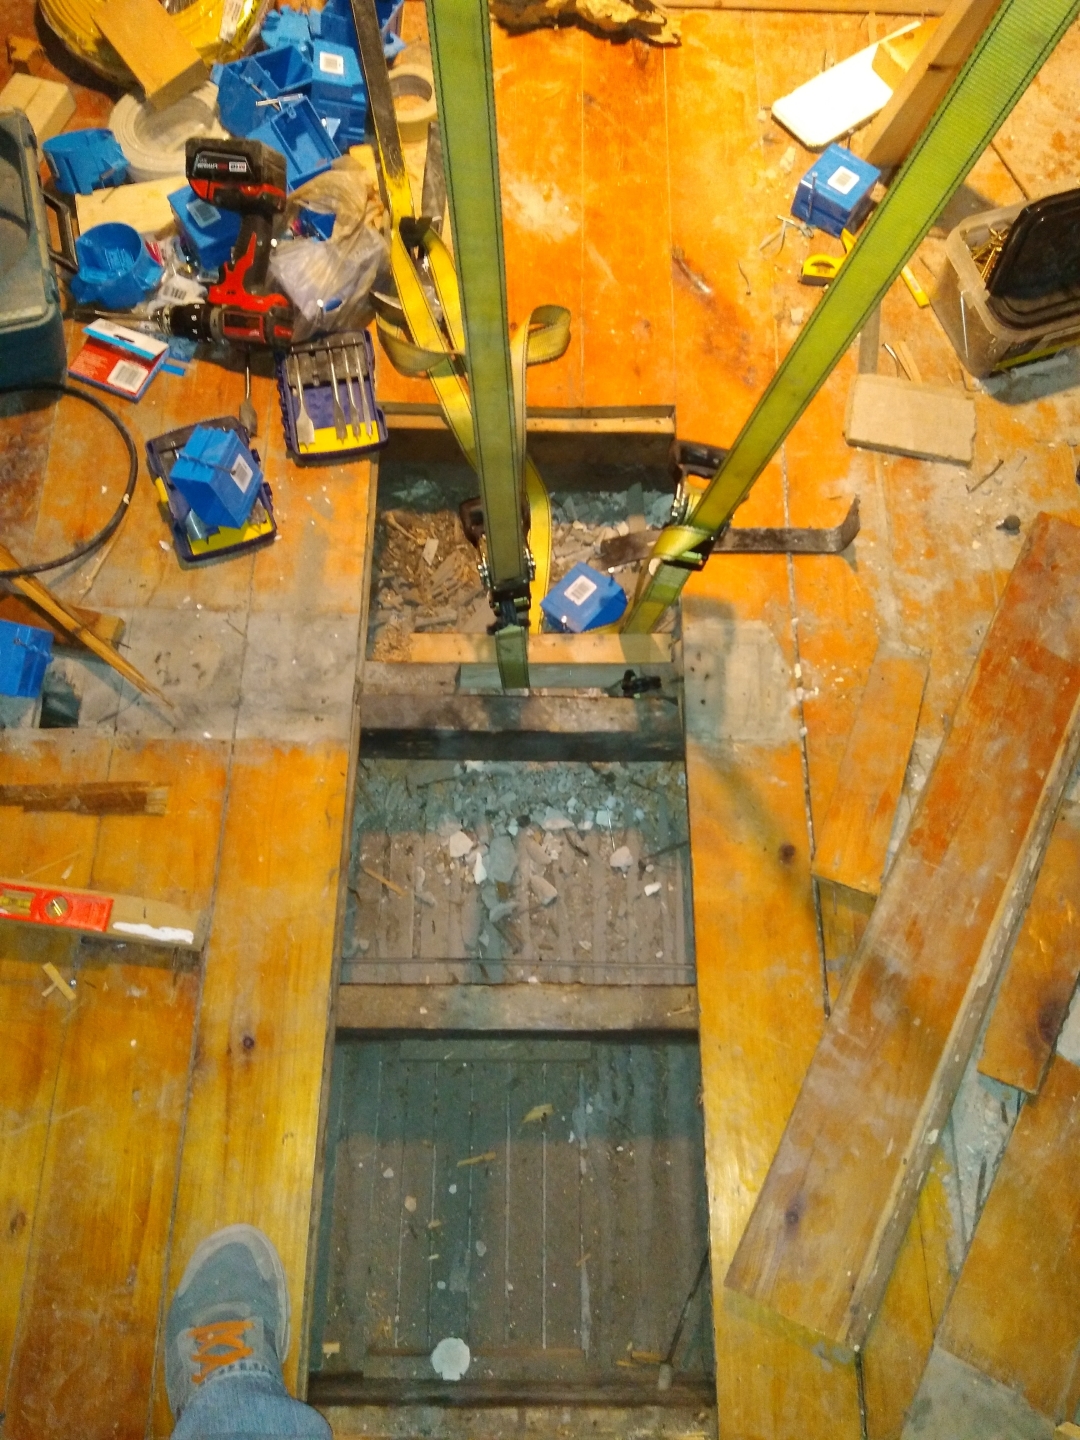
This is the second hardest part of renovating old homes. Two words: lath and plaster.
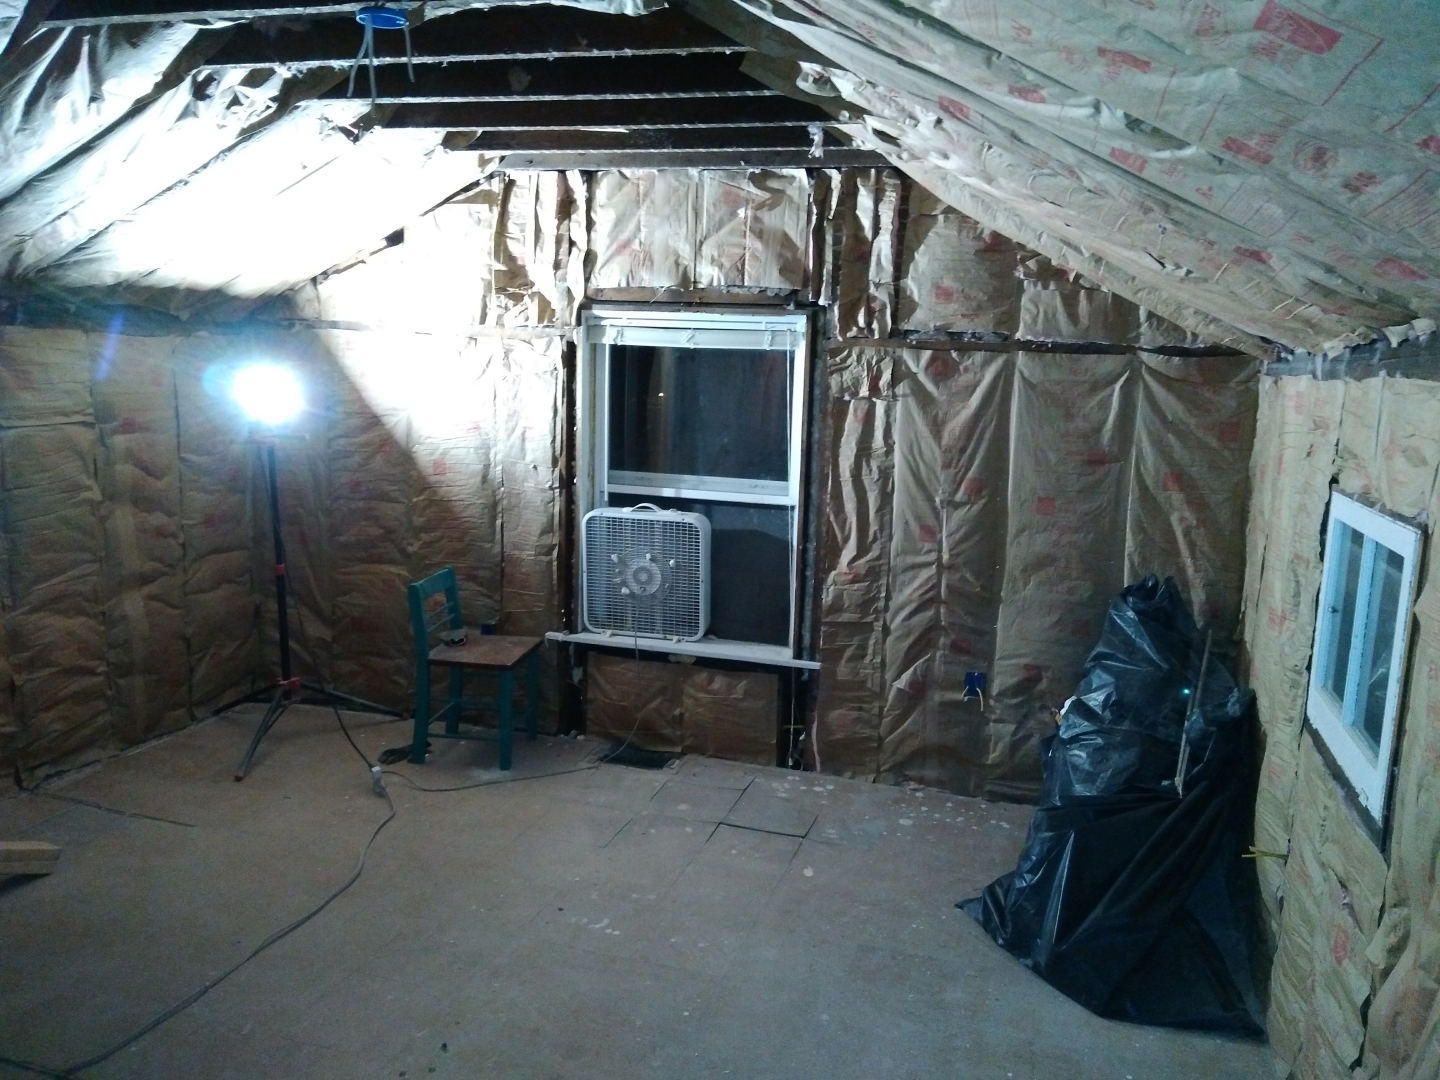
Also notice the almost nonexistent insulation in these walls? Absolutely none in the ceiling.

More shoddy work Ryan found and had to correct.
This immediately made a huge difference in the comfort of this room. Insulation is amazing stuff. 😉
This is the new wall separating the bath and bedroom. The sliding door you can see goes to the bedroom. The piles of junk behind the framed wall is the new bath.
When we discussed the updated floor plan for this space, having two swinging doors (the bedroom and new bathroom) so close in such a small space, made it feel extremely tight. The idea for pocket doors was a godsend and completely solved the problem.

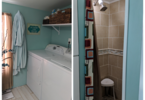
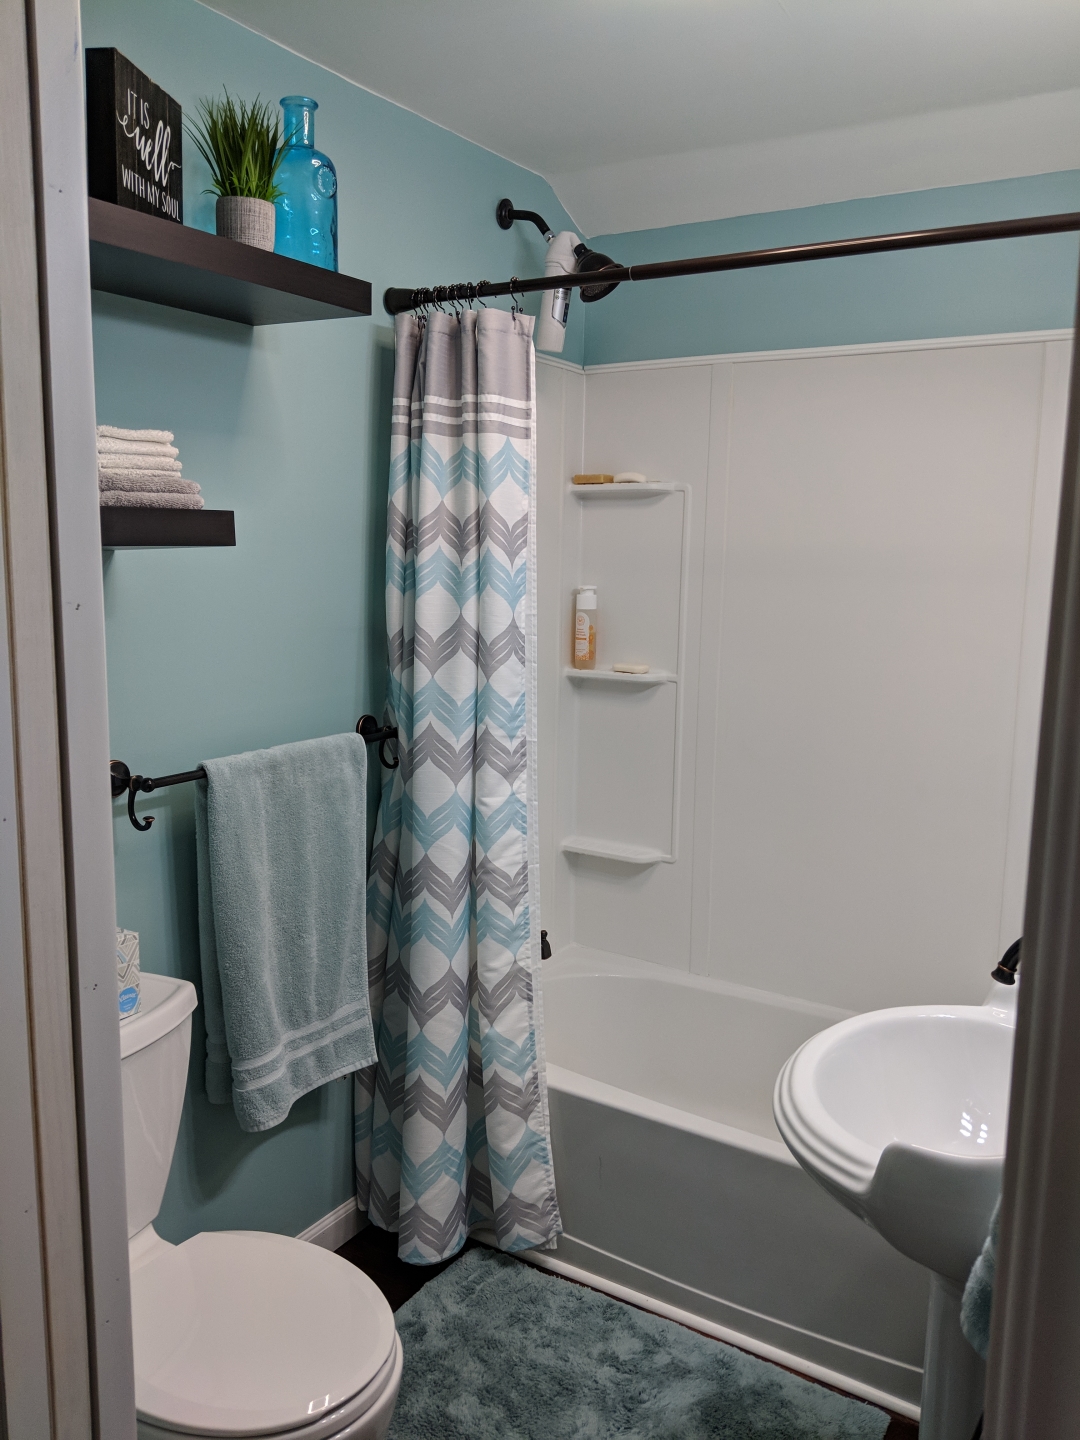
The New Bathroom
It was so exciting getting close to having two toilets again! The new toilet went where the black tote is.

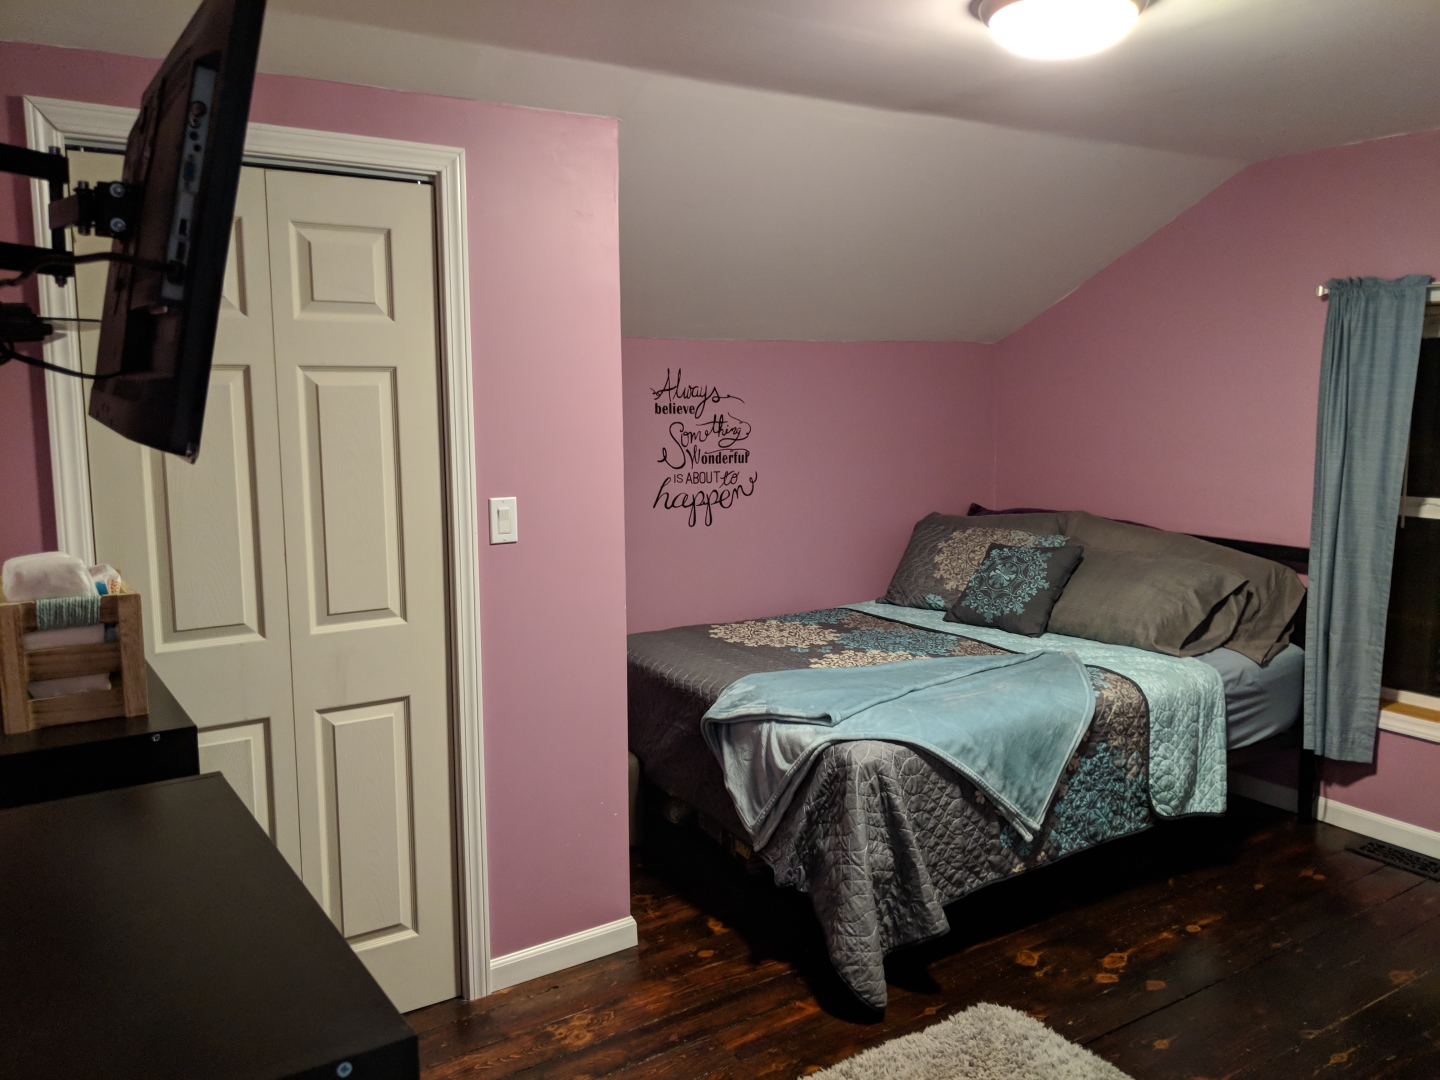
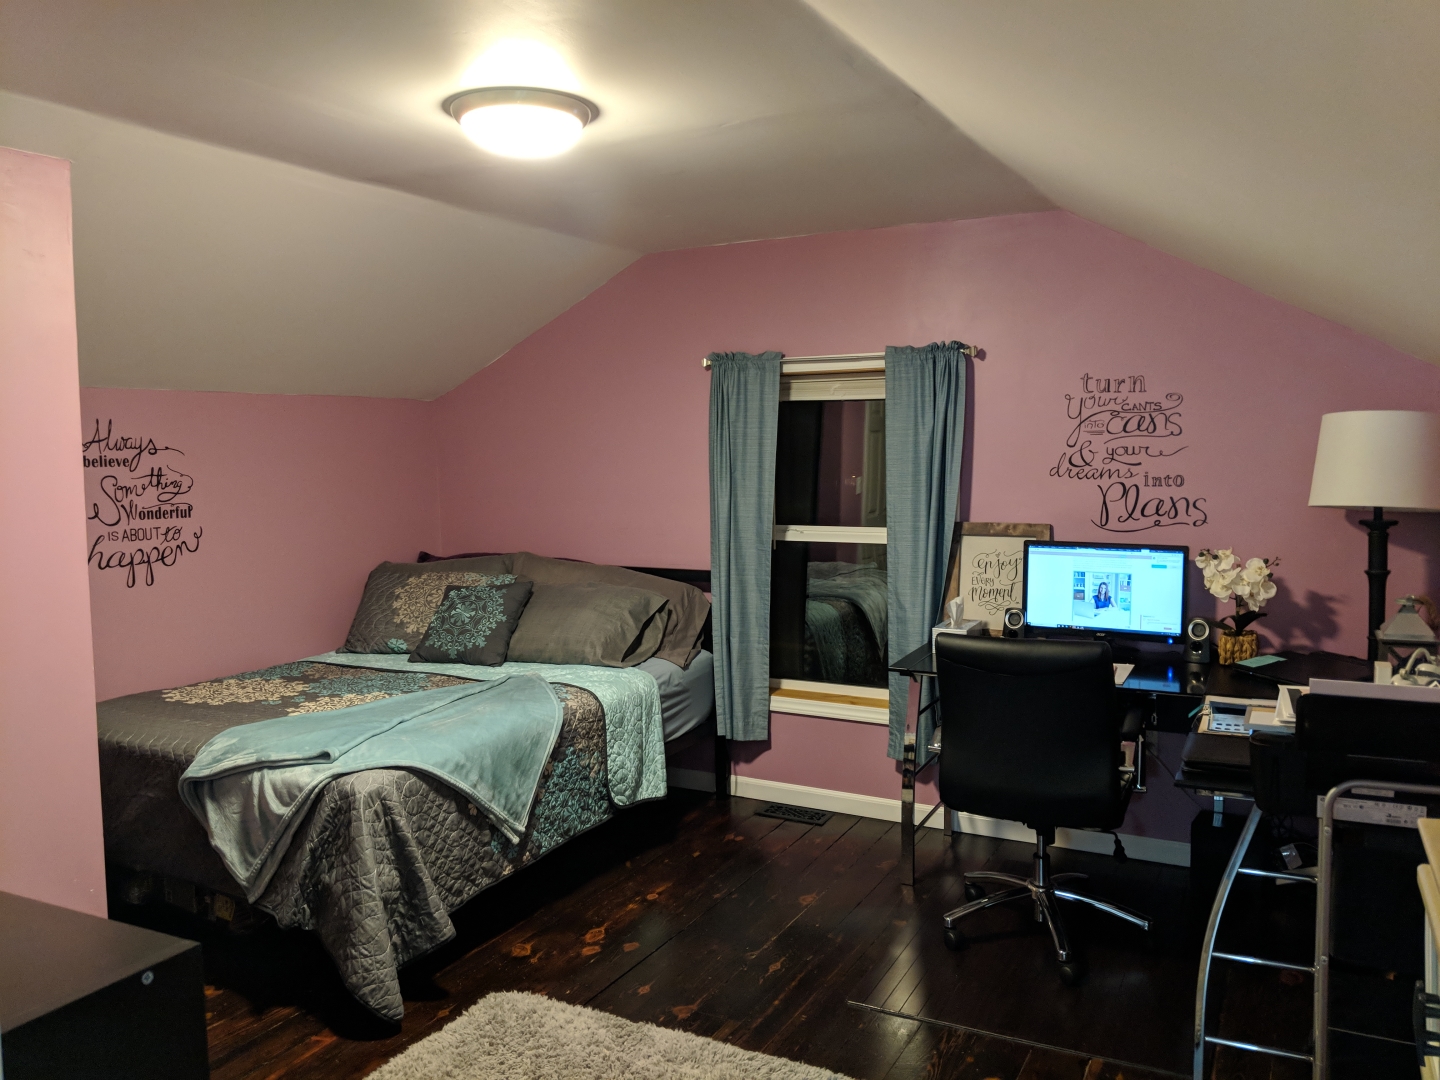
The Master Bedroom & Bathroom Remodel
We stained the (surprise) wood floors a dark walnut and (accidentally) painted the bedroom a medium pink.
This space made for an amazing and private master suite.
(We, however, never used it that way because we have two littles and didn’t want to be sleeping on different floors).
It still became my favorite place in the house as we used it as my office, our guest bedroom and another play area for the kids.

These were my favorite floors in the whole house. They were also the ones mentioned in our favorite fixer upper tools page where I told the story of how sick I got after Ryan stained and poly’d the floors. The ozone generator literally saved me.
This master bedroom and bathroom remodel was one of my favorite projects for this house.
It was also one of the easiest because it wasn’t in a main living area. We were already used to just living in the downstairs. So we were able to close it off from the downstairs, work on it when we could and then go back to living in a clean, functional house otherwise.
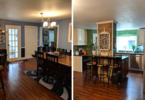
Check out the rest of Fixer #2 that got fixed!
- Downstairs Bedroom Remodel & Addition
- Downstairs Bath & Laundry
- Kitchen & Dining
- Living Room Patio Door Addition
- Outside – Curb Appeal
Follow us on Instagram and get on our email list so you don’t miss out on all the fun! And who knows, maybe you’ll be inspired to take on a Fixer too!
![]()