
When we bought this house in February 2019, we knew that we HAD to embark on a DIY renovation to transform this boring 1960’s kitchen.
As soon as possible.
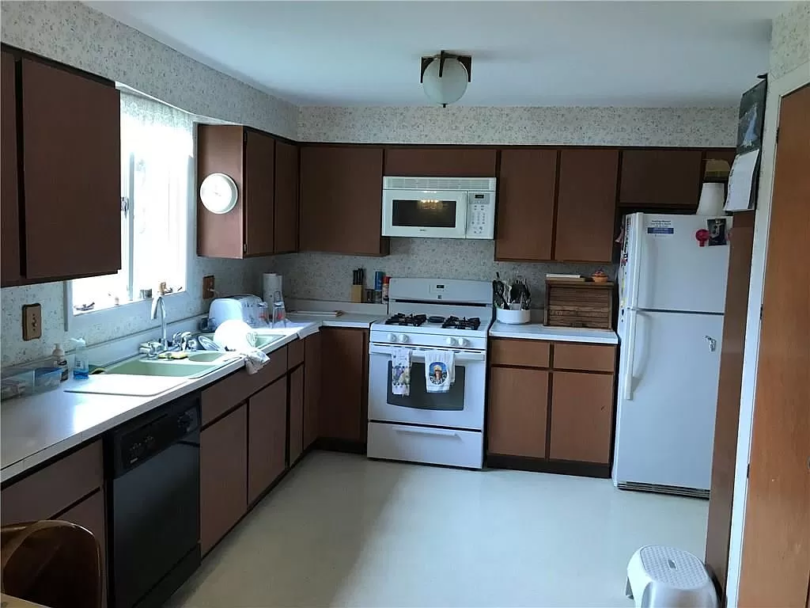
It was functional, however, it lacked so many things.
Like, say, character. And it was dated beyond repair, had a grunge level of GROSS, was smallish, and very poorly laid out.
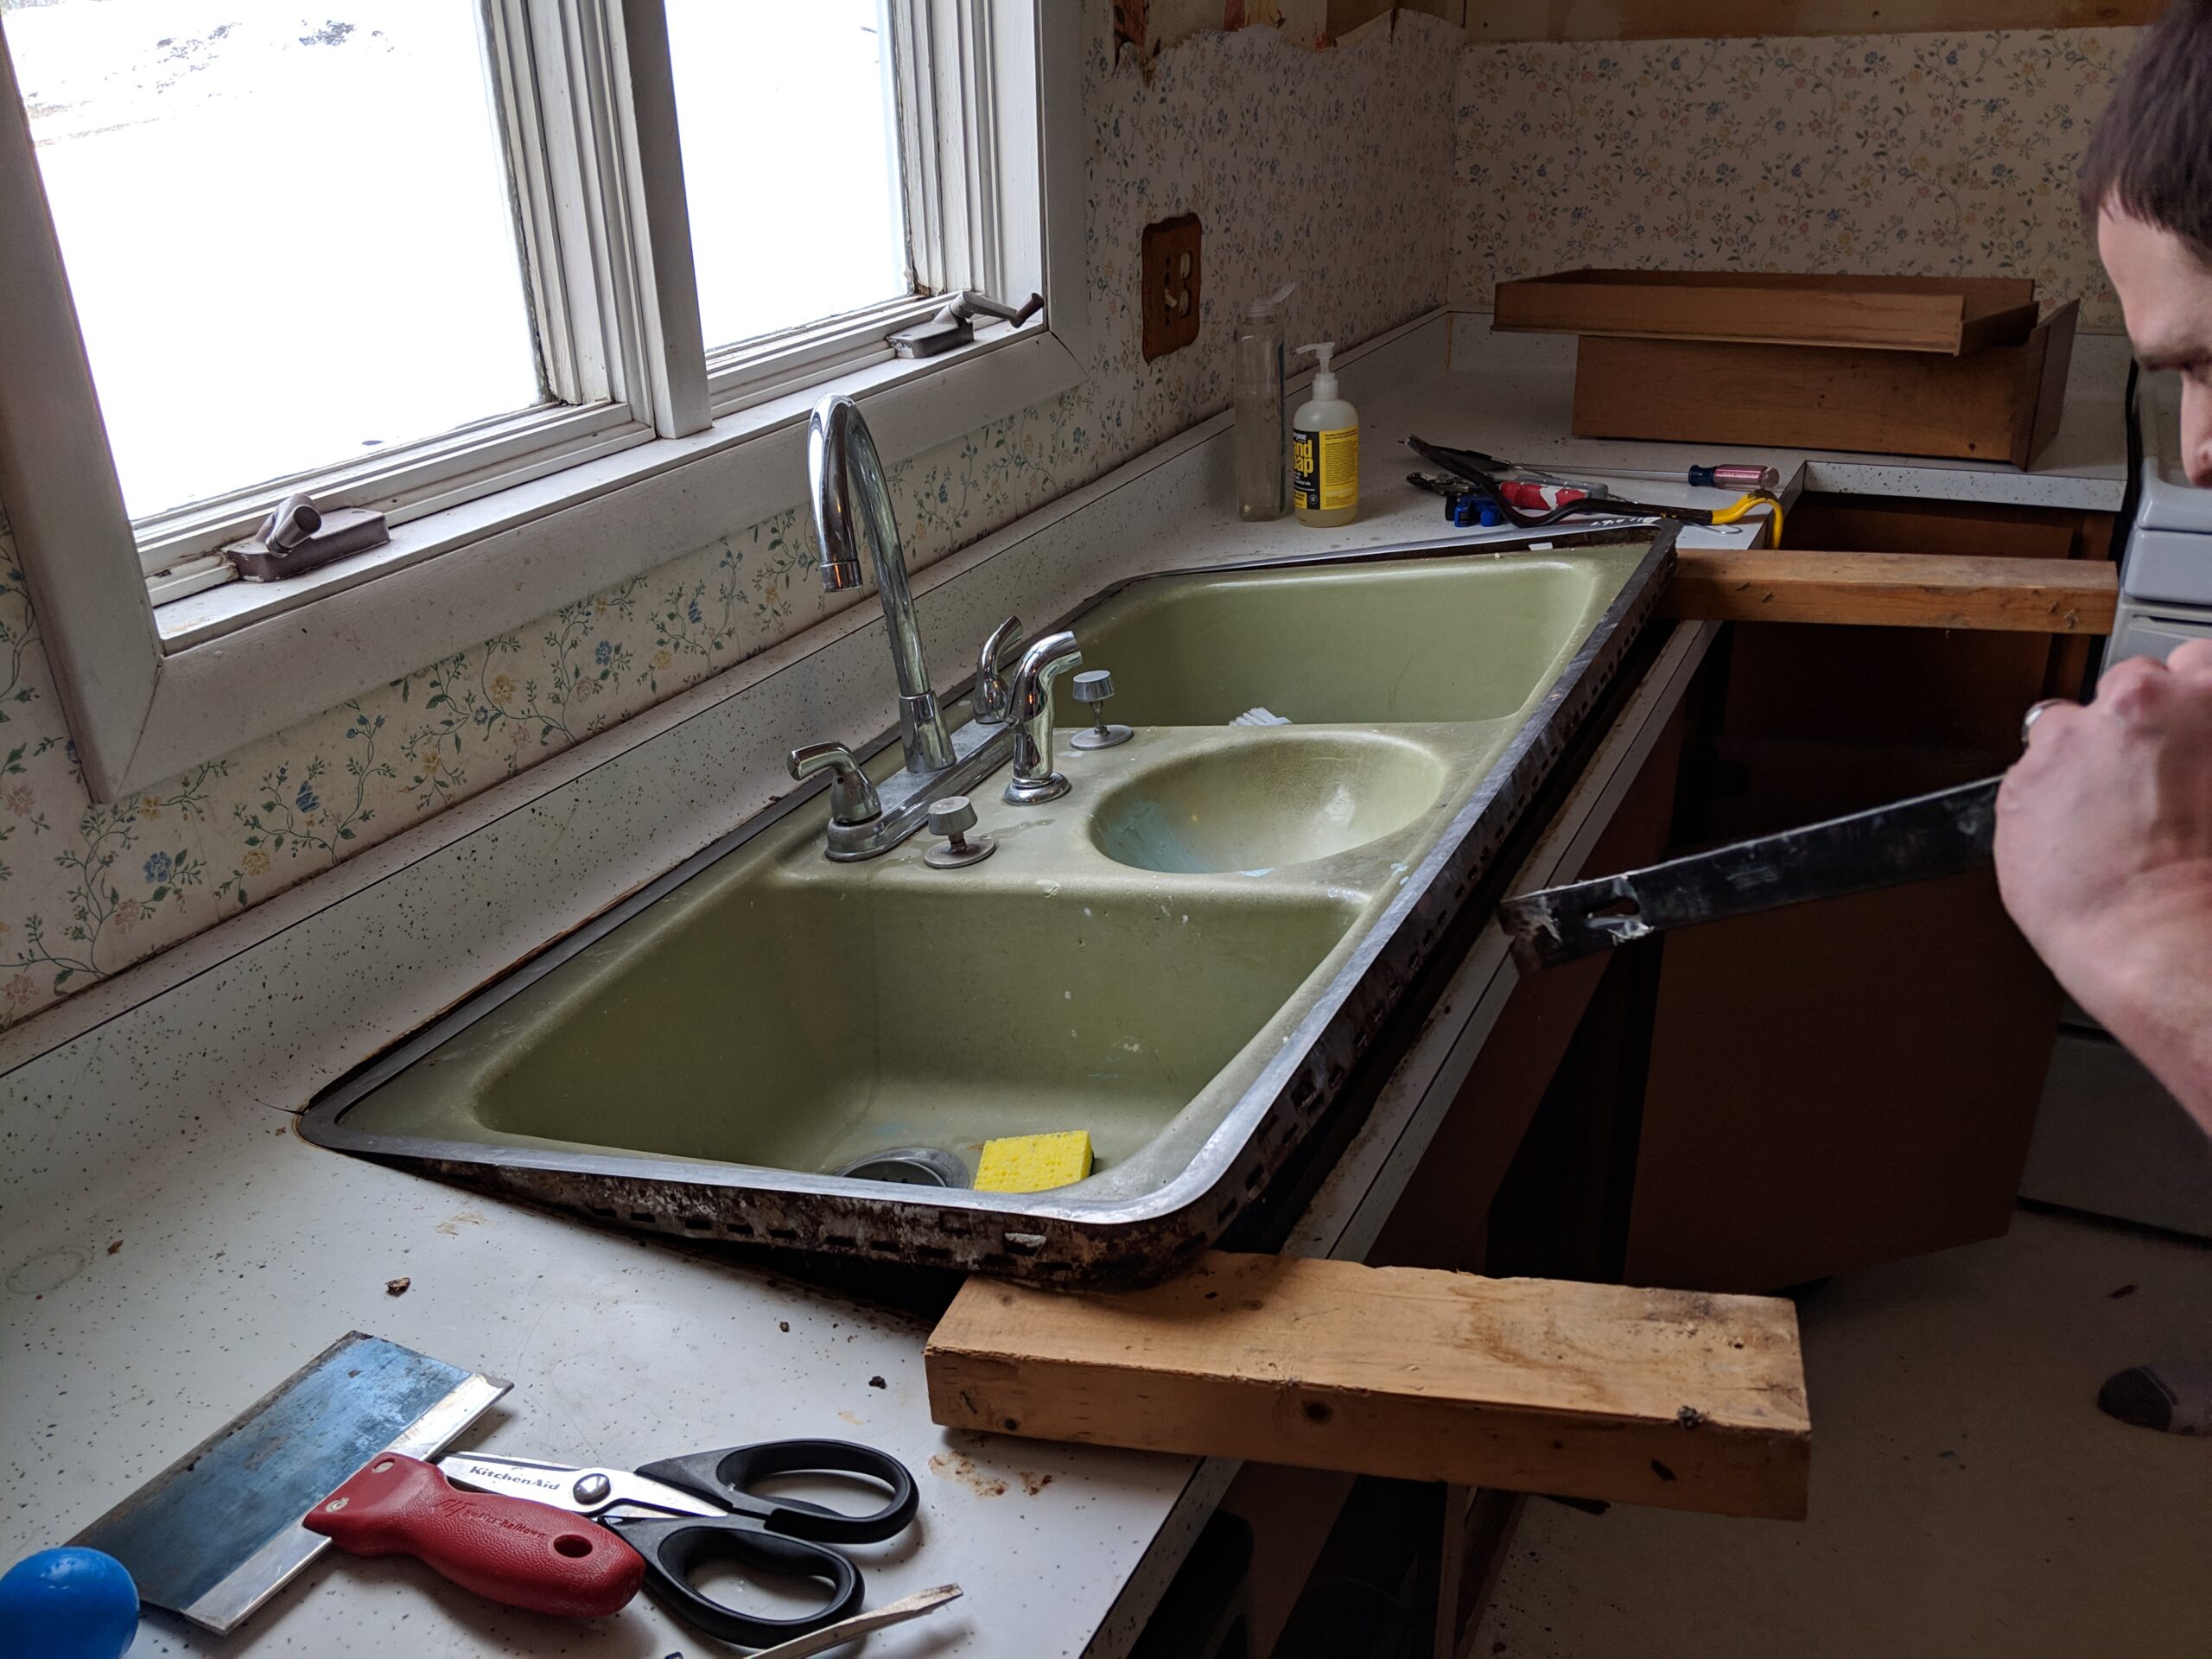
Also, notice the olive (or avocado) green sink that was probably born in the early 60’s.
Hence, our vision for this space was all encompassing, from the floor to the ceiling.
DIY Kitchen Renovation Plan
Our plan for demo day:
Remove THIS wall (and gross, shallow pantry)
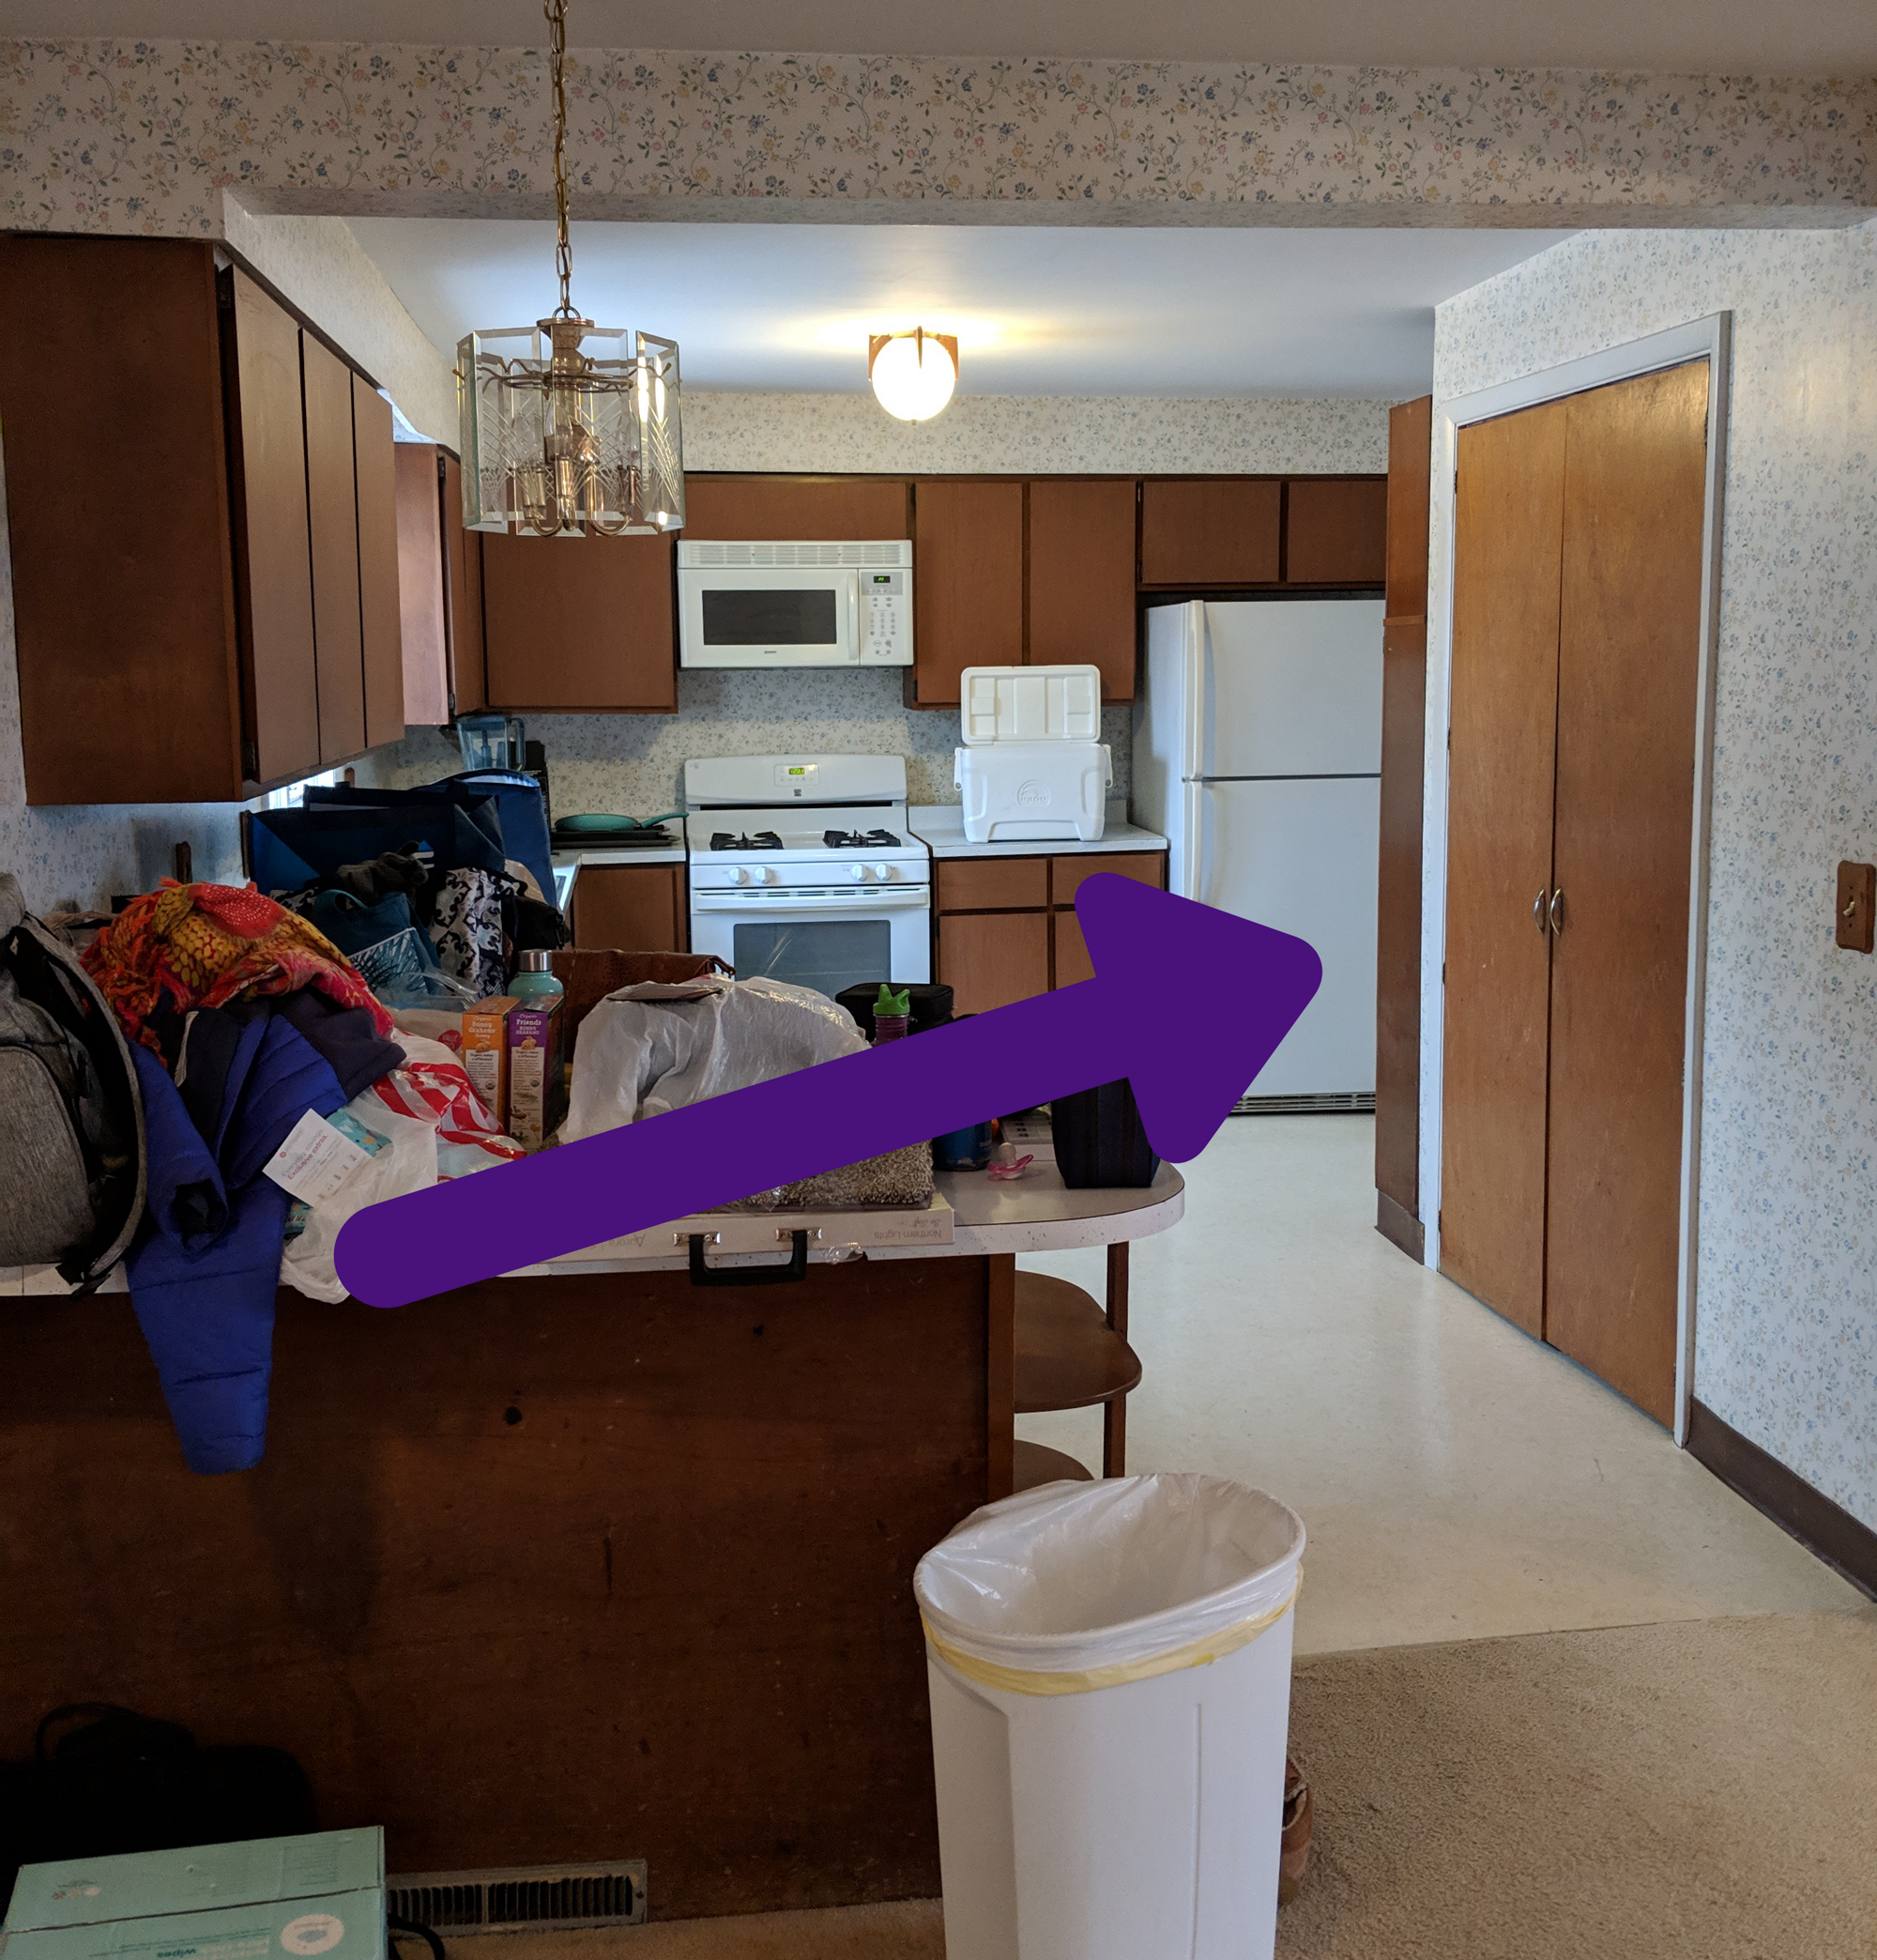
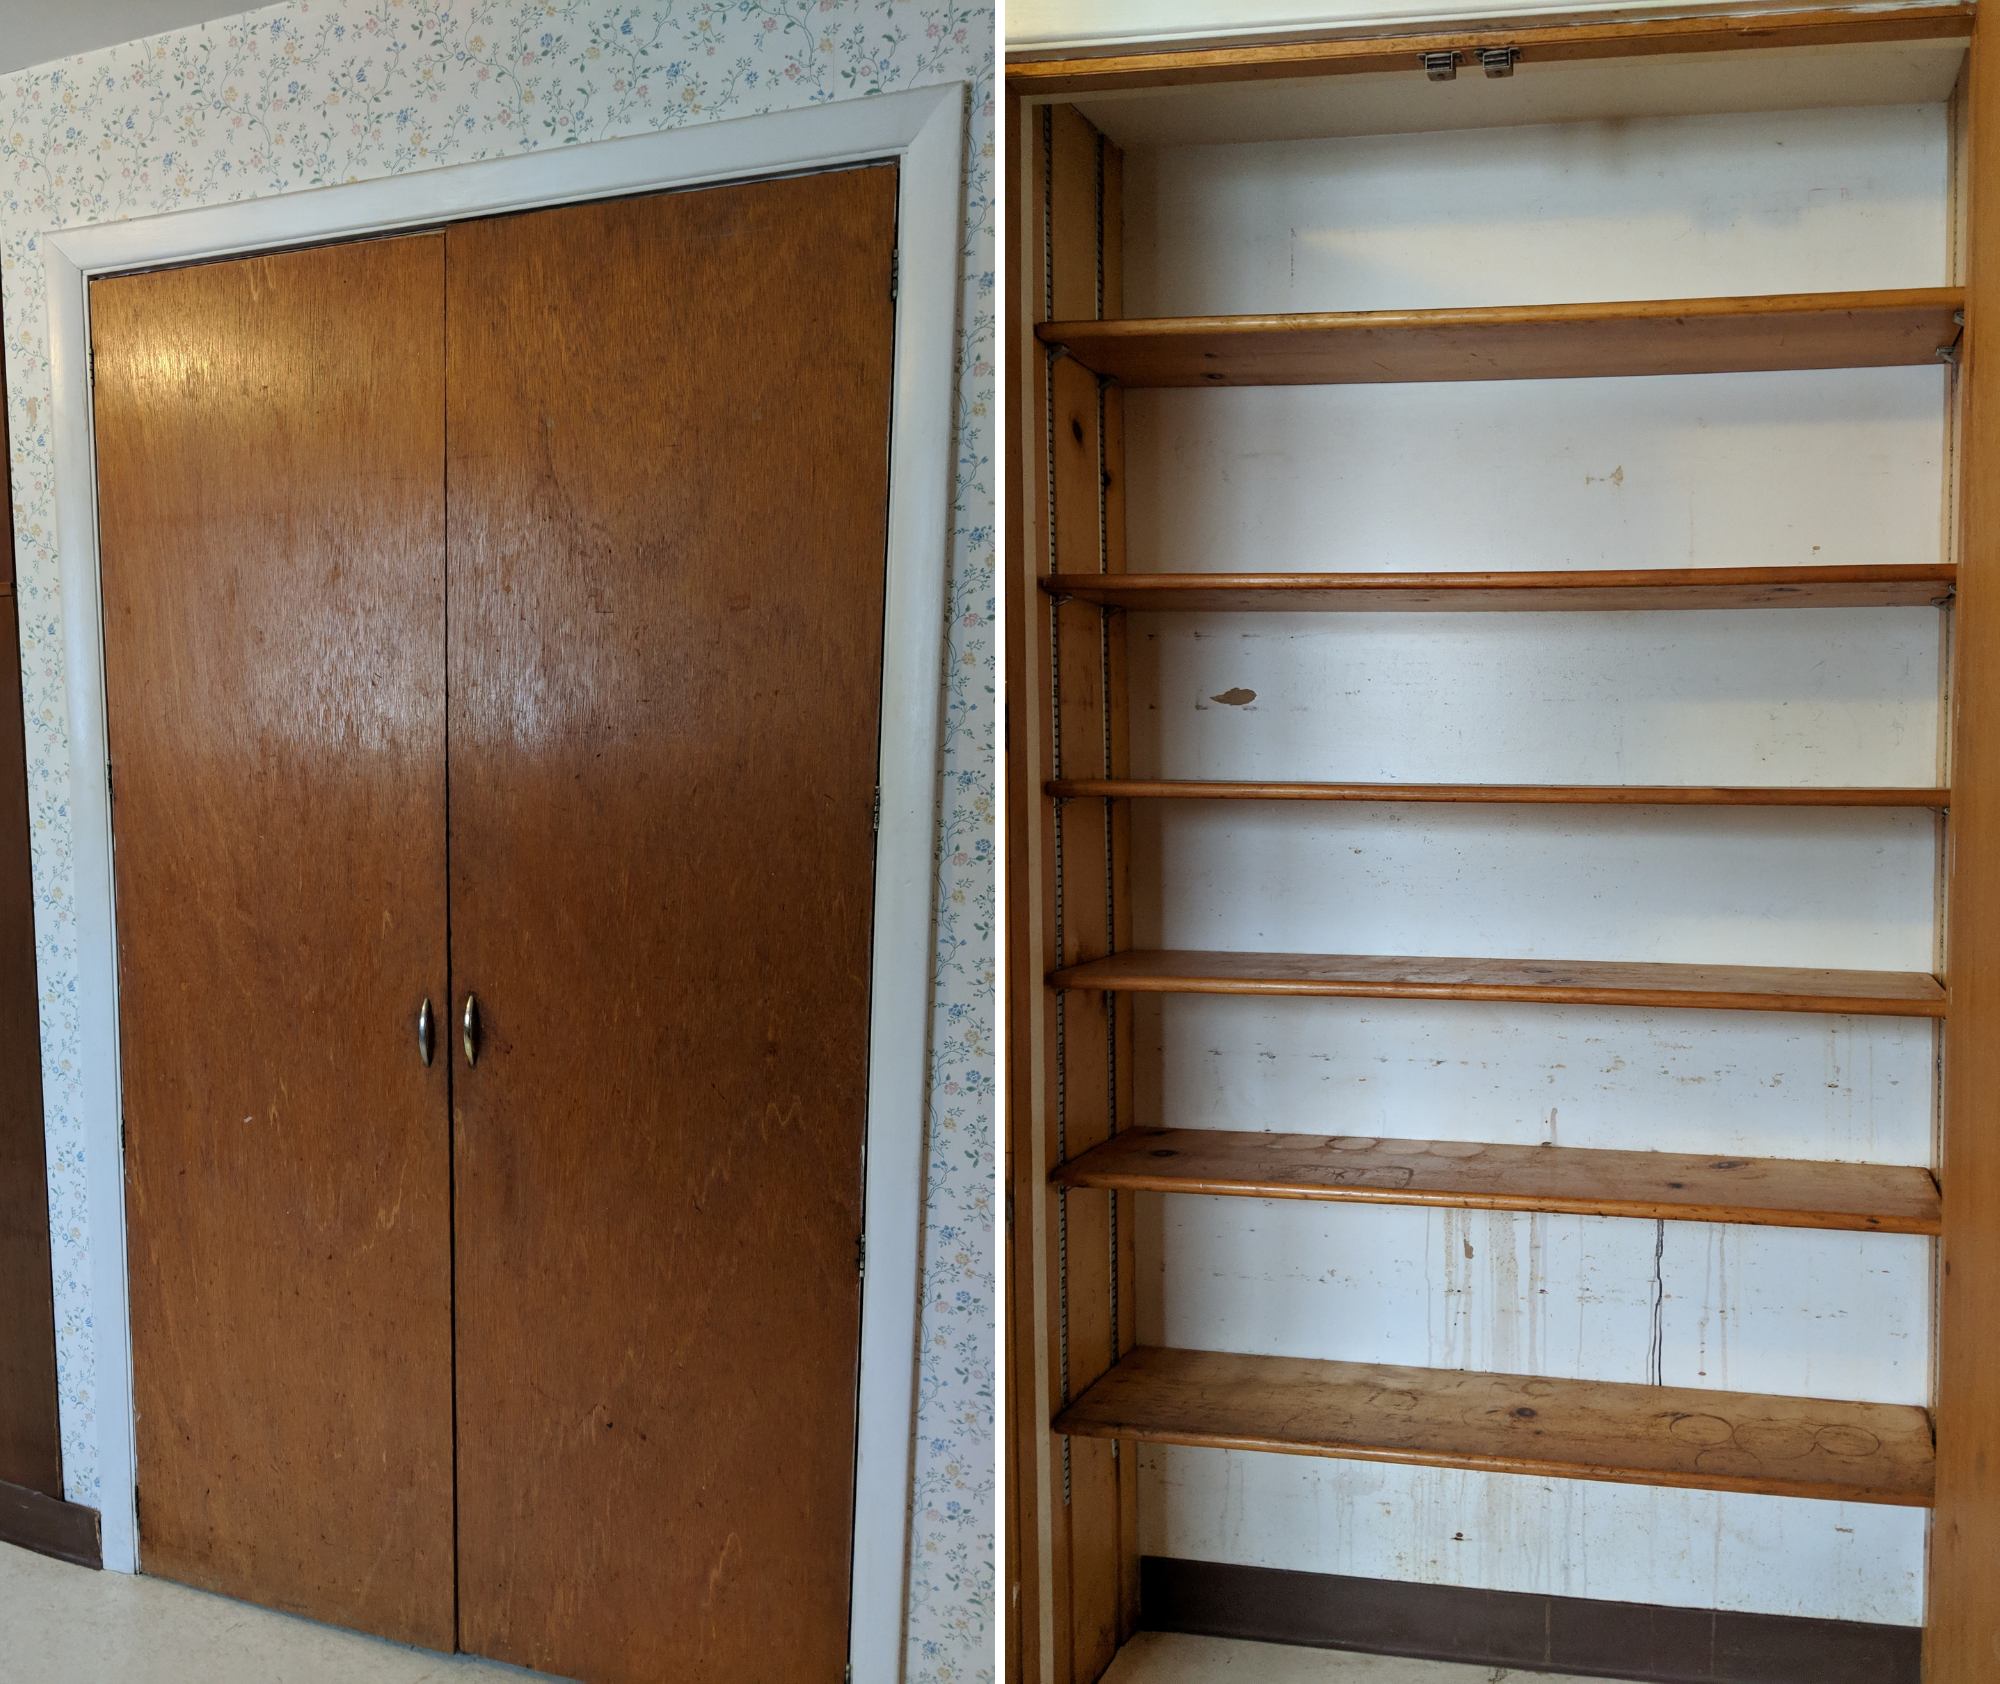
Gross Pantry
Take out this faux beam and these bulkheads
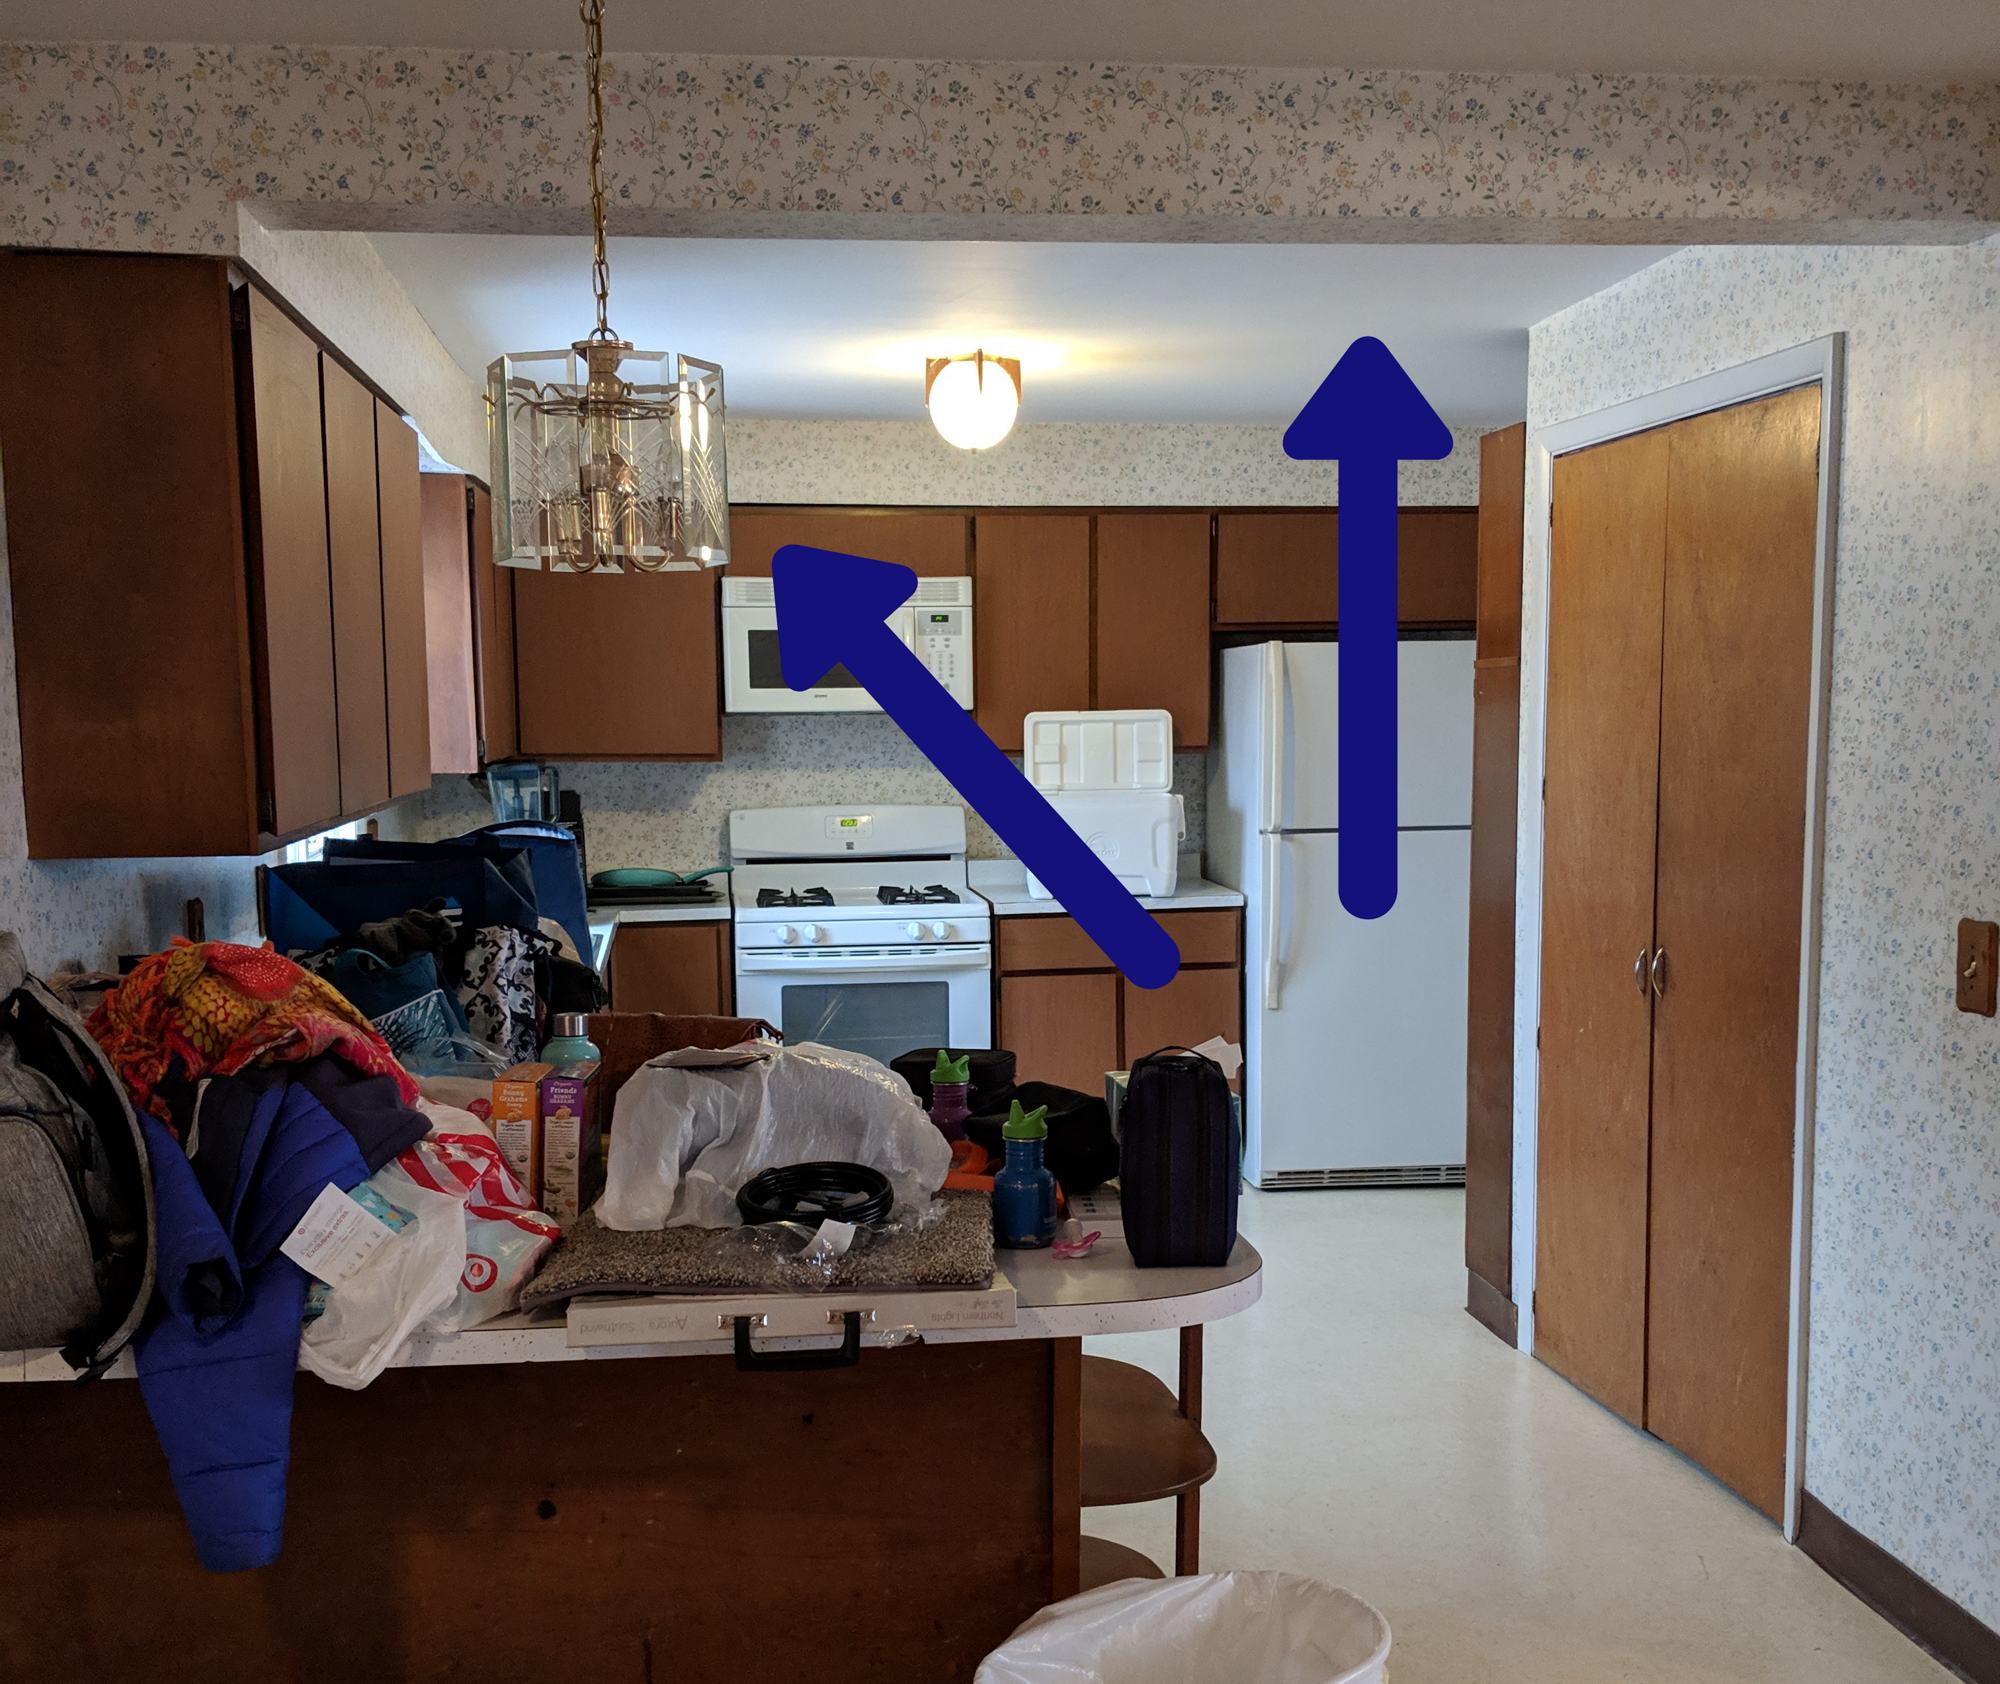
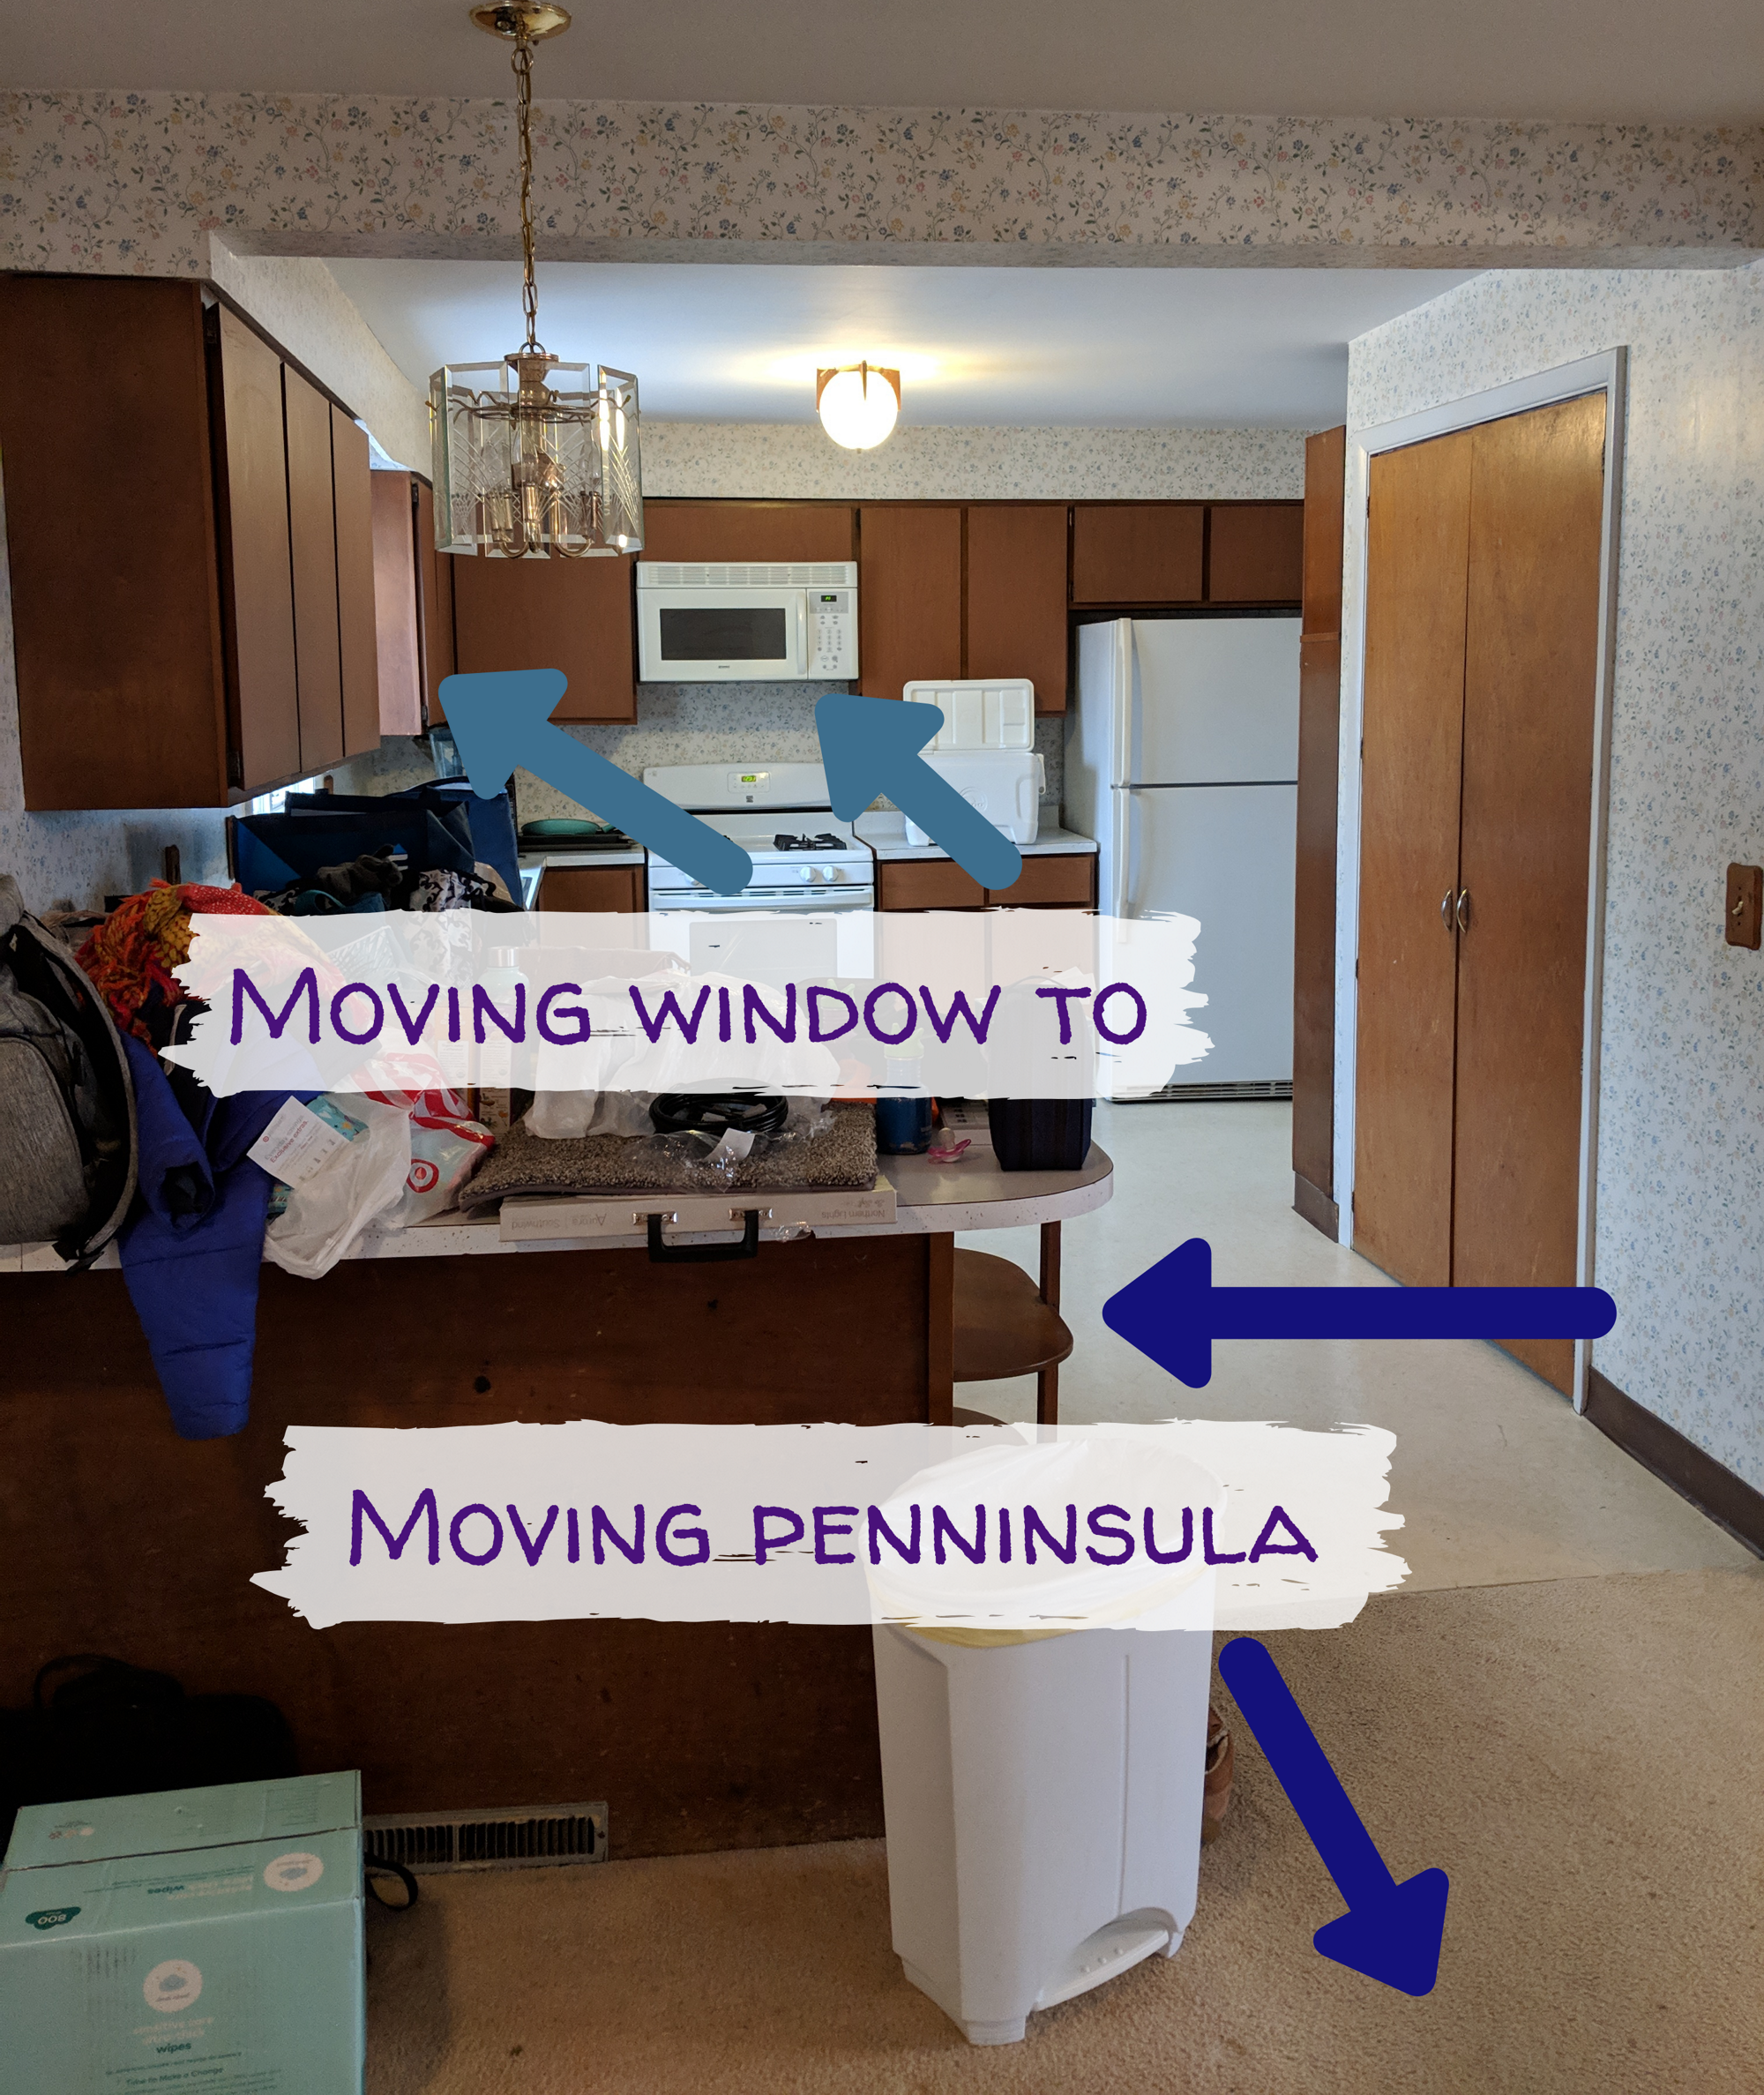
Removing the window over the sink and cutting a new one in about where the microwave is.
Expanding and moving the peninsula into the dead space/foyer.
After Demo Day Plans:
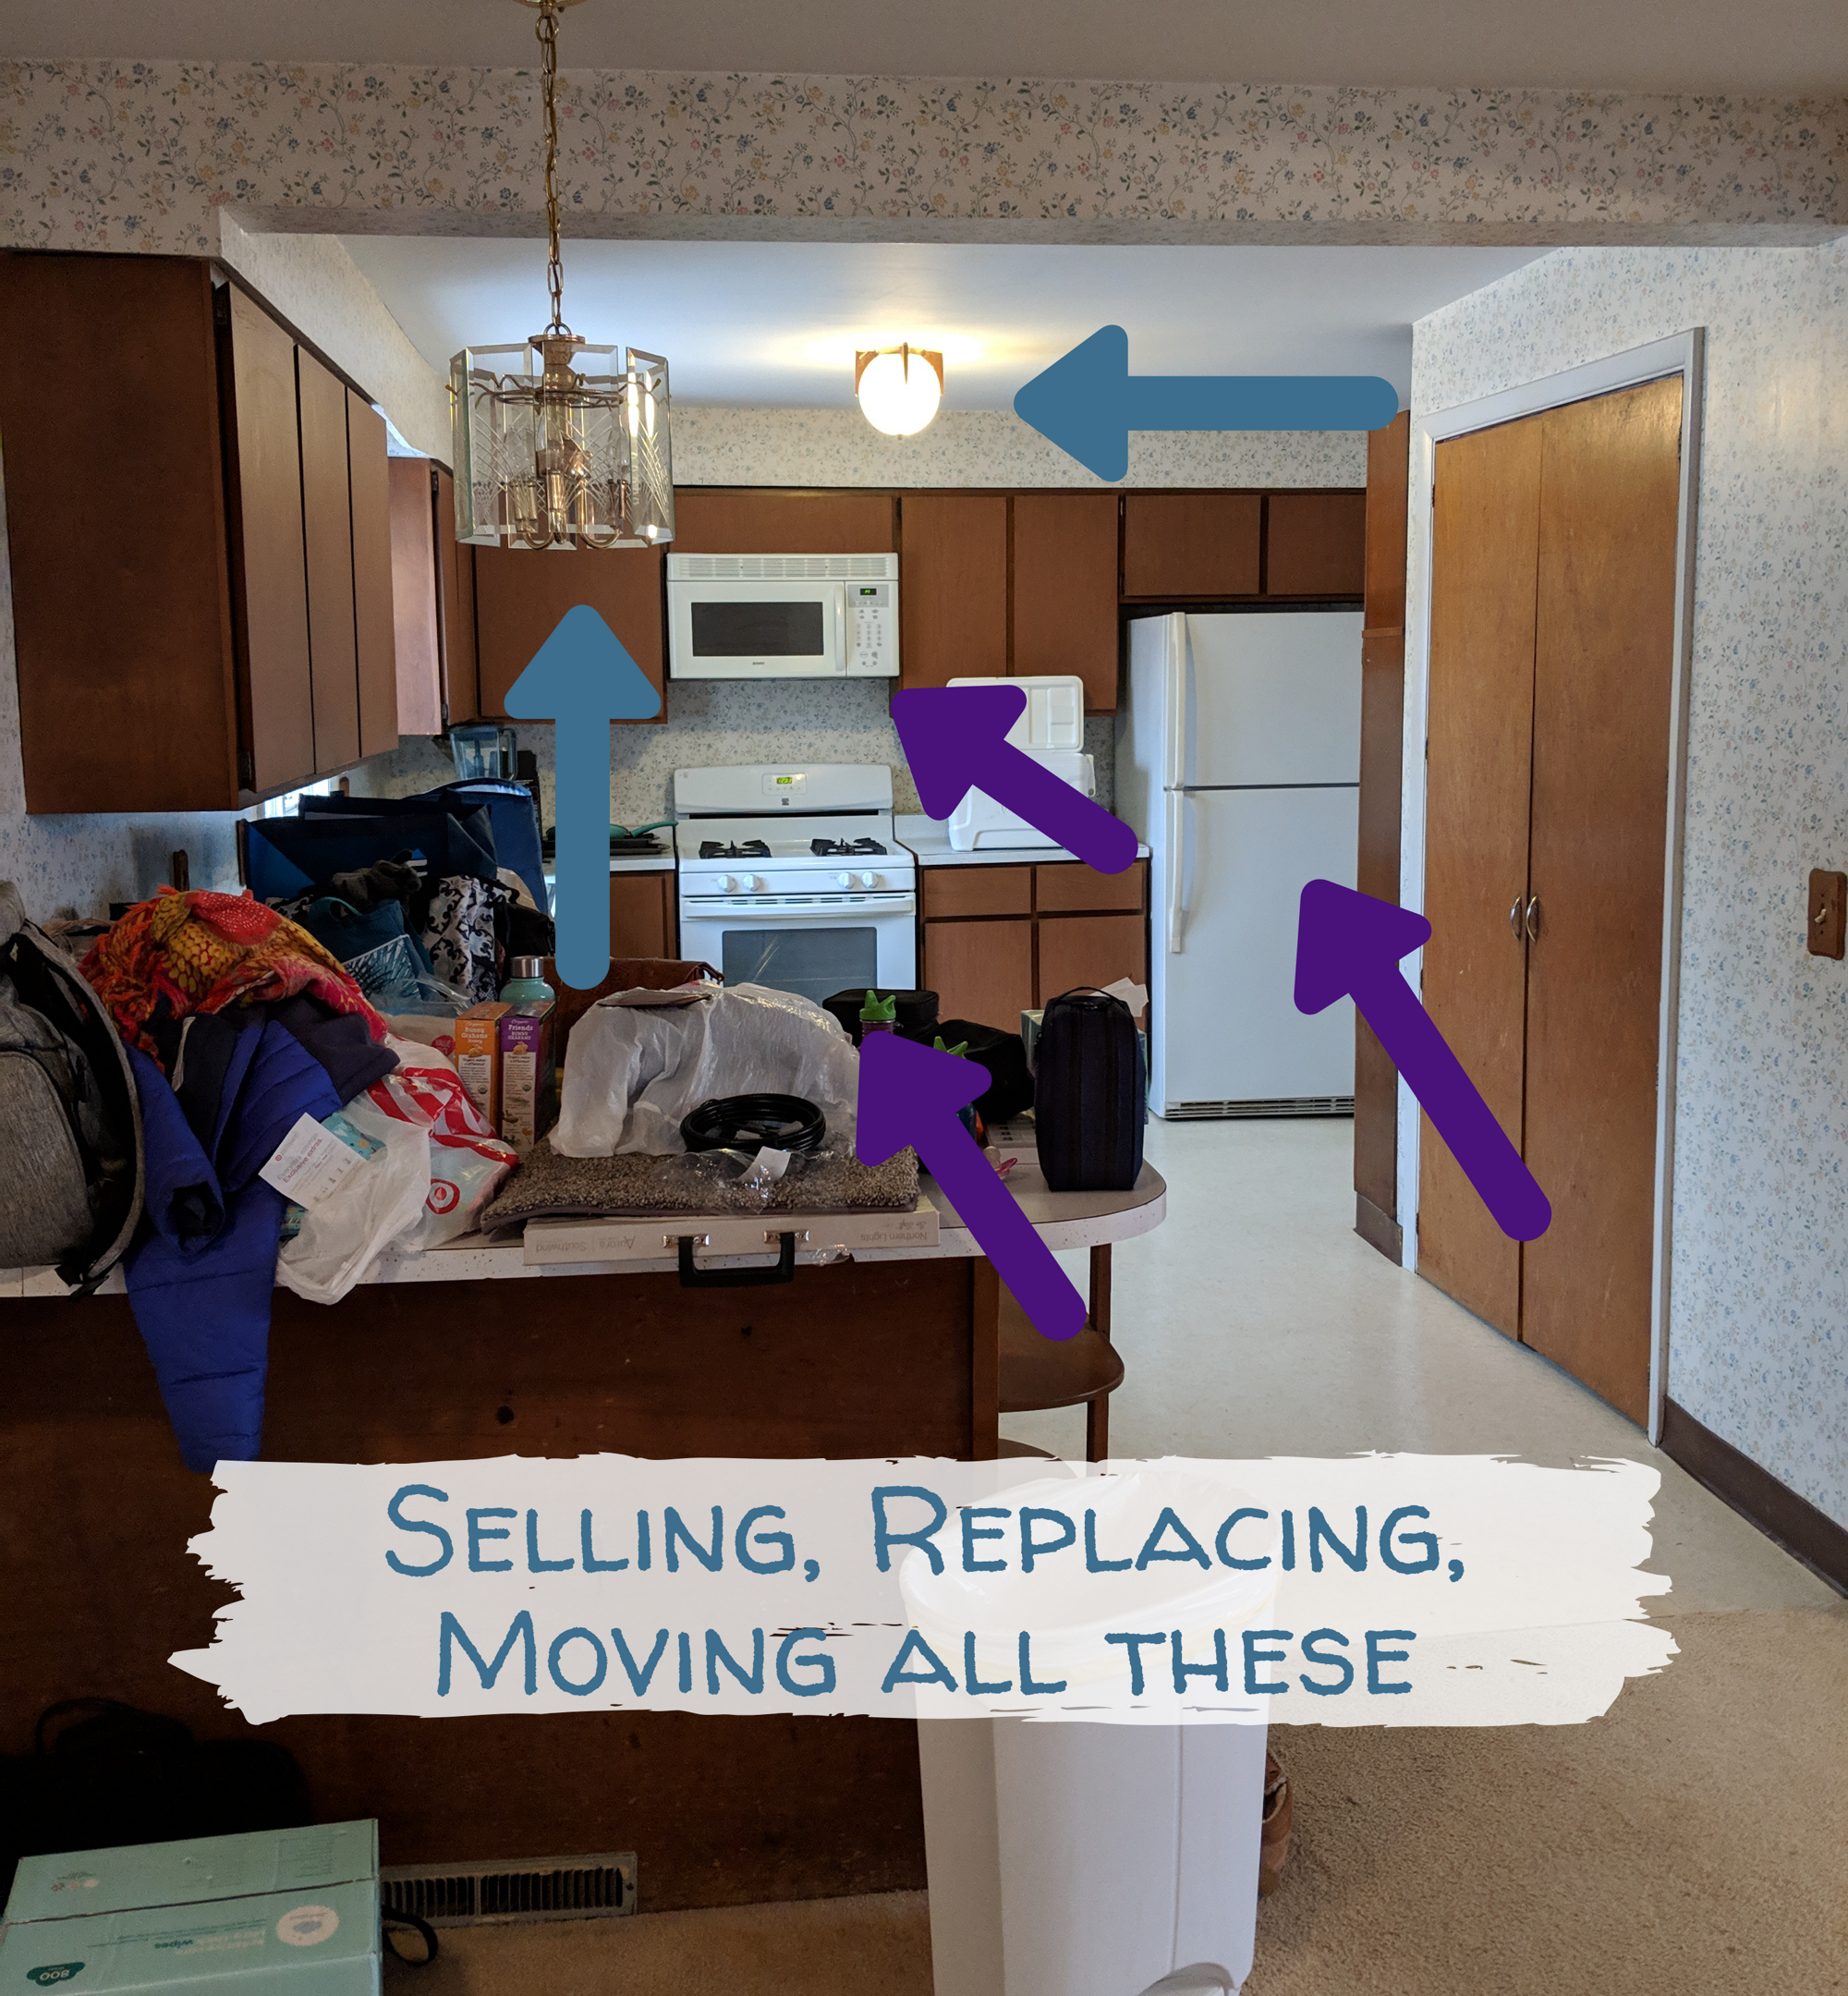
Selling and replacing all the appliances with:
- 36 inch professional rangetop with vent hood
- double oven
- french door, bottom freezer refrigerator
- built in microwave
- black composite sink with restaurant/commercial style black and stainless steel faucet
- matching stainless dishwasher
Moving the rangetop and double ovens to the left wall (about where window is in pics).
Moving the sink to under new window (where microwave is in pics), and dishwasher to the right of the sink.
Fridge stays about where it is, pushed slightly to the right.
Microwave built in to peninsula cabinets.
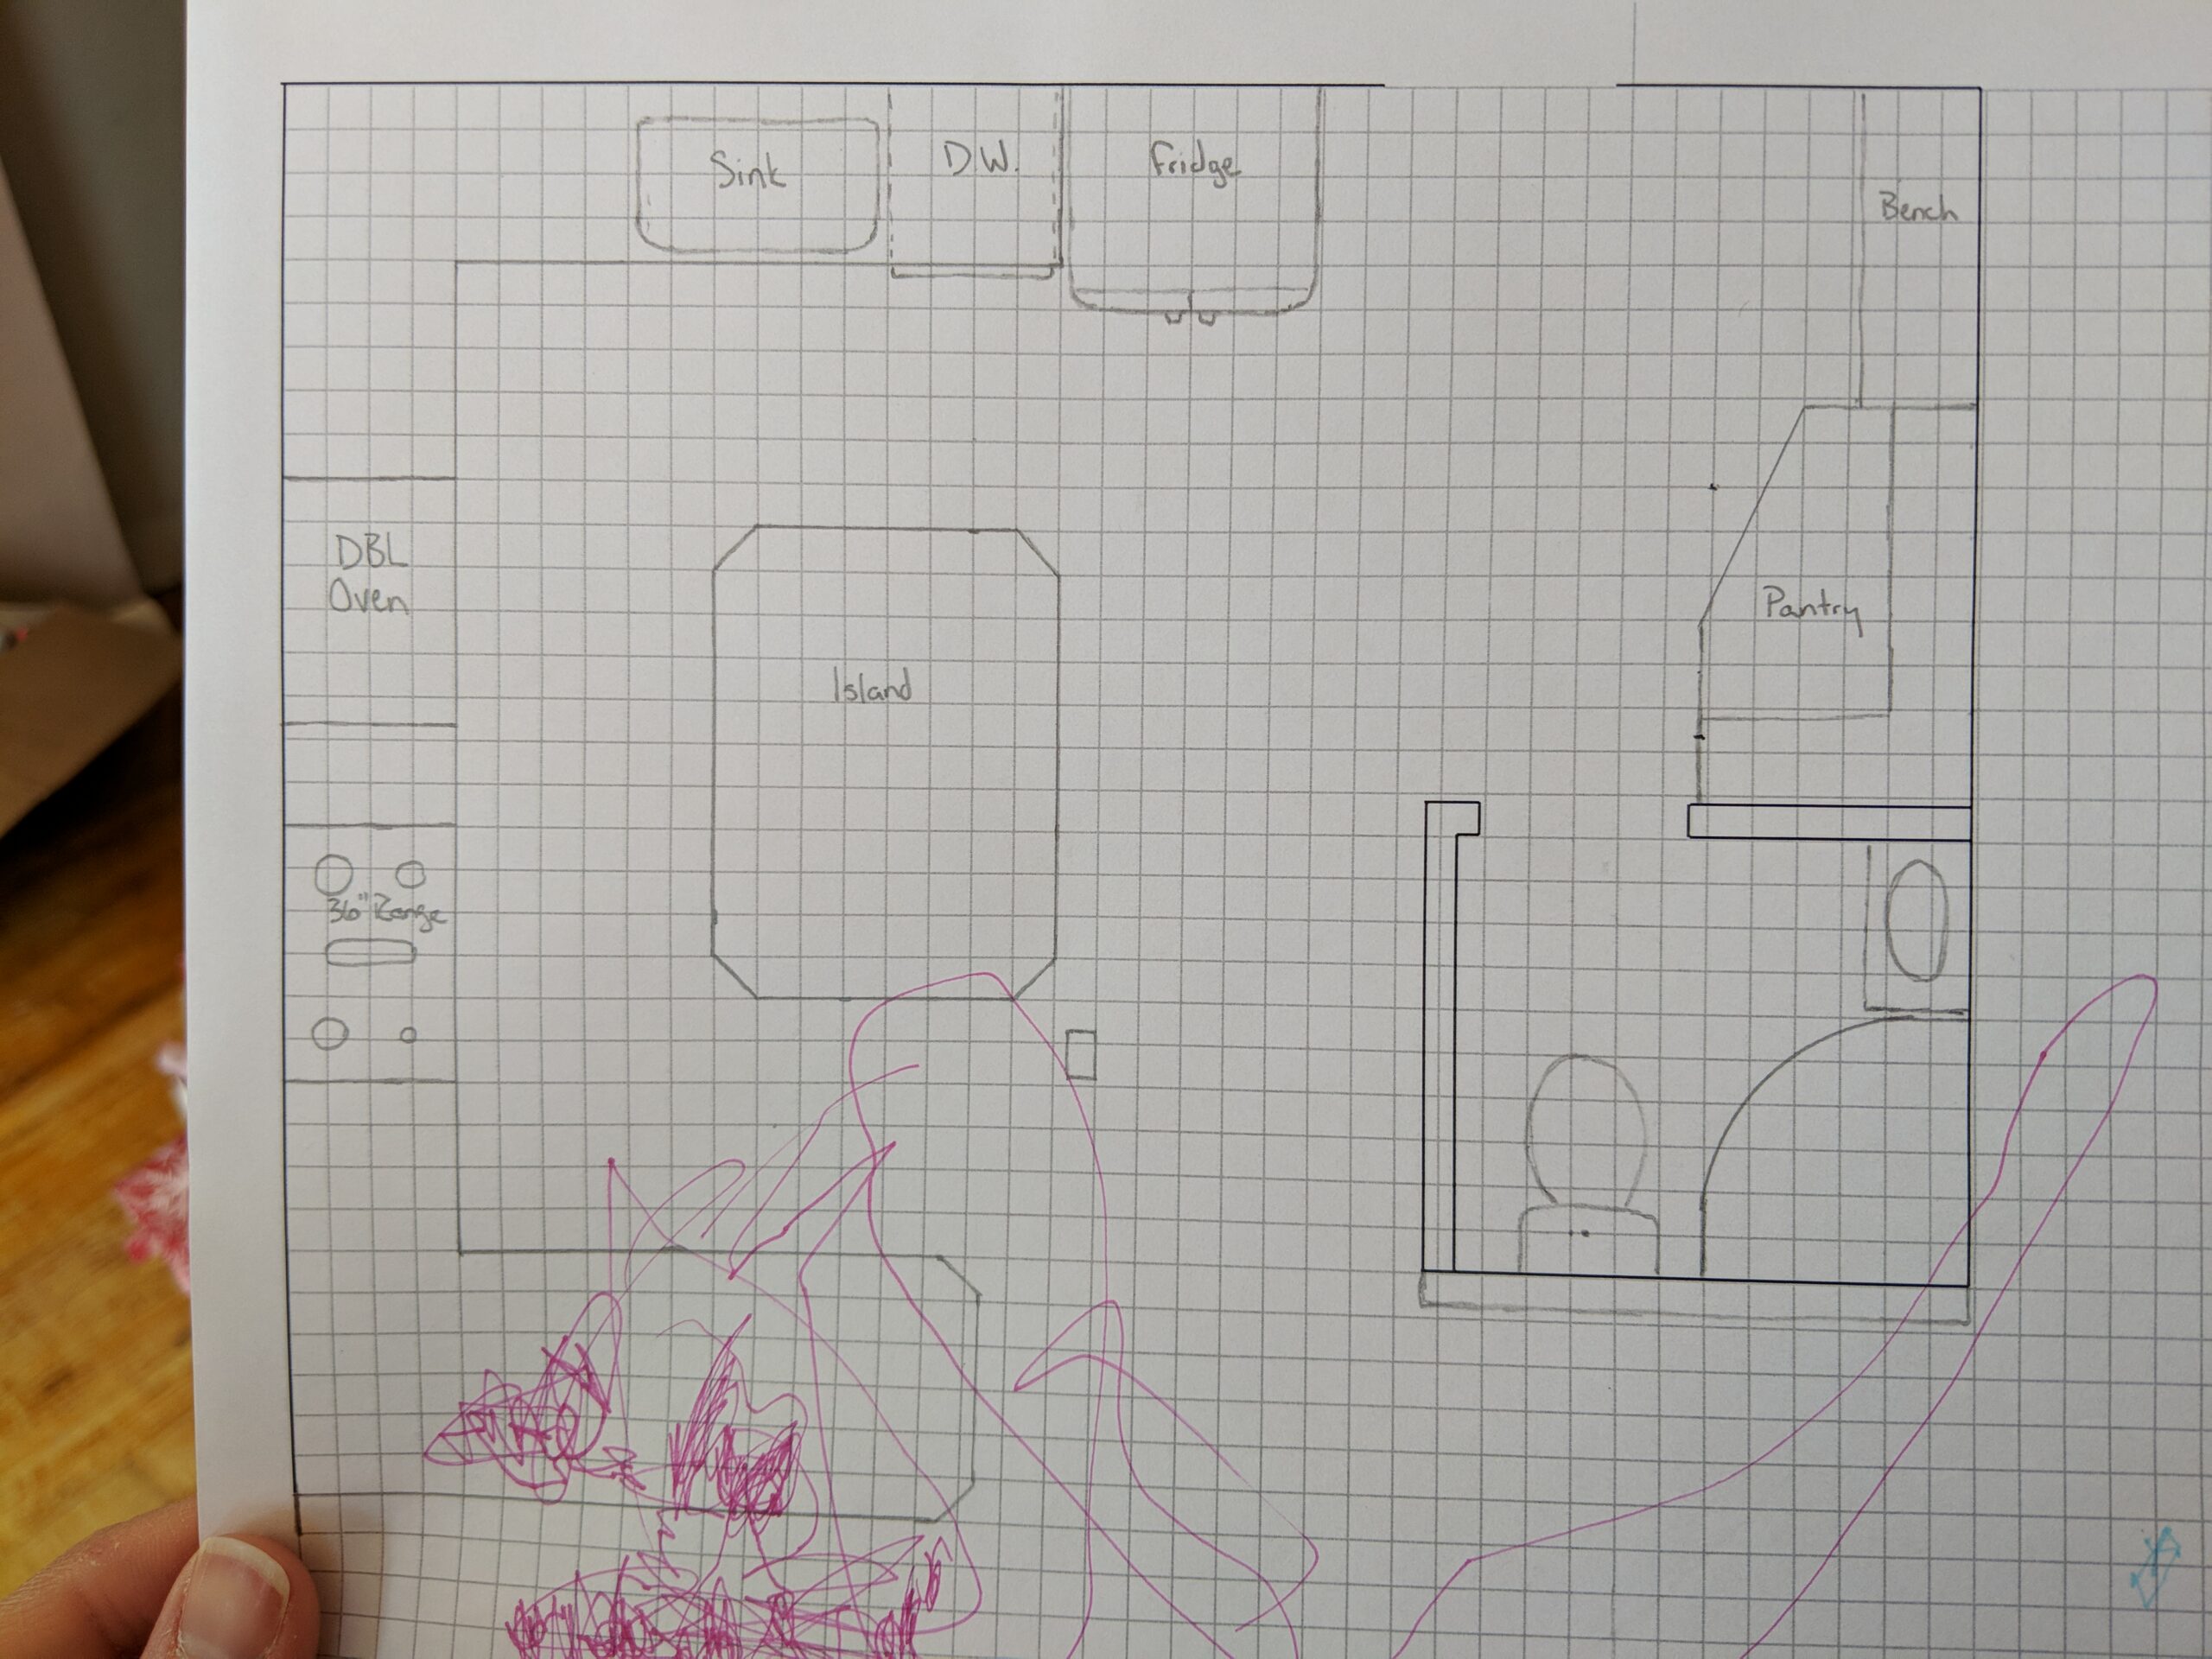
This (below) was a rough draft of what we wanted. We ended up having to add a cabinet beside the dishwasher and push the fridge and door over because of the beam that runs down the center of the space. Also, we switched the sink and the toilet in the bathroom, and rearranged the walls for the pantry.
(And no, we didn’t scribble all over our own sketch. This is what having littles looks like.)
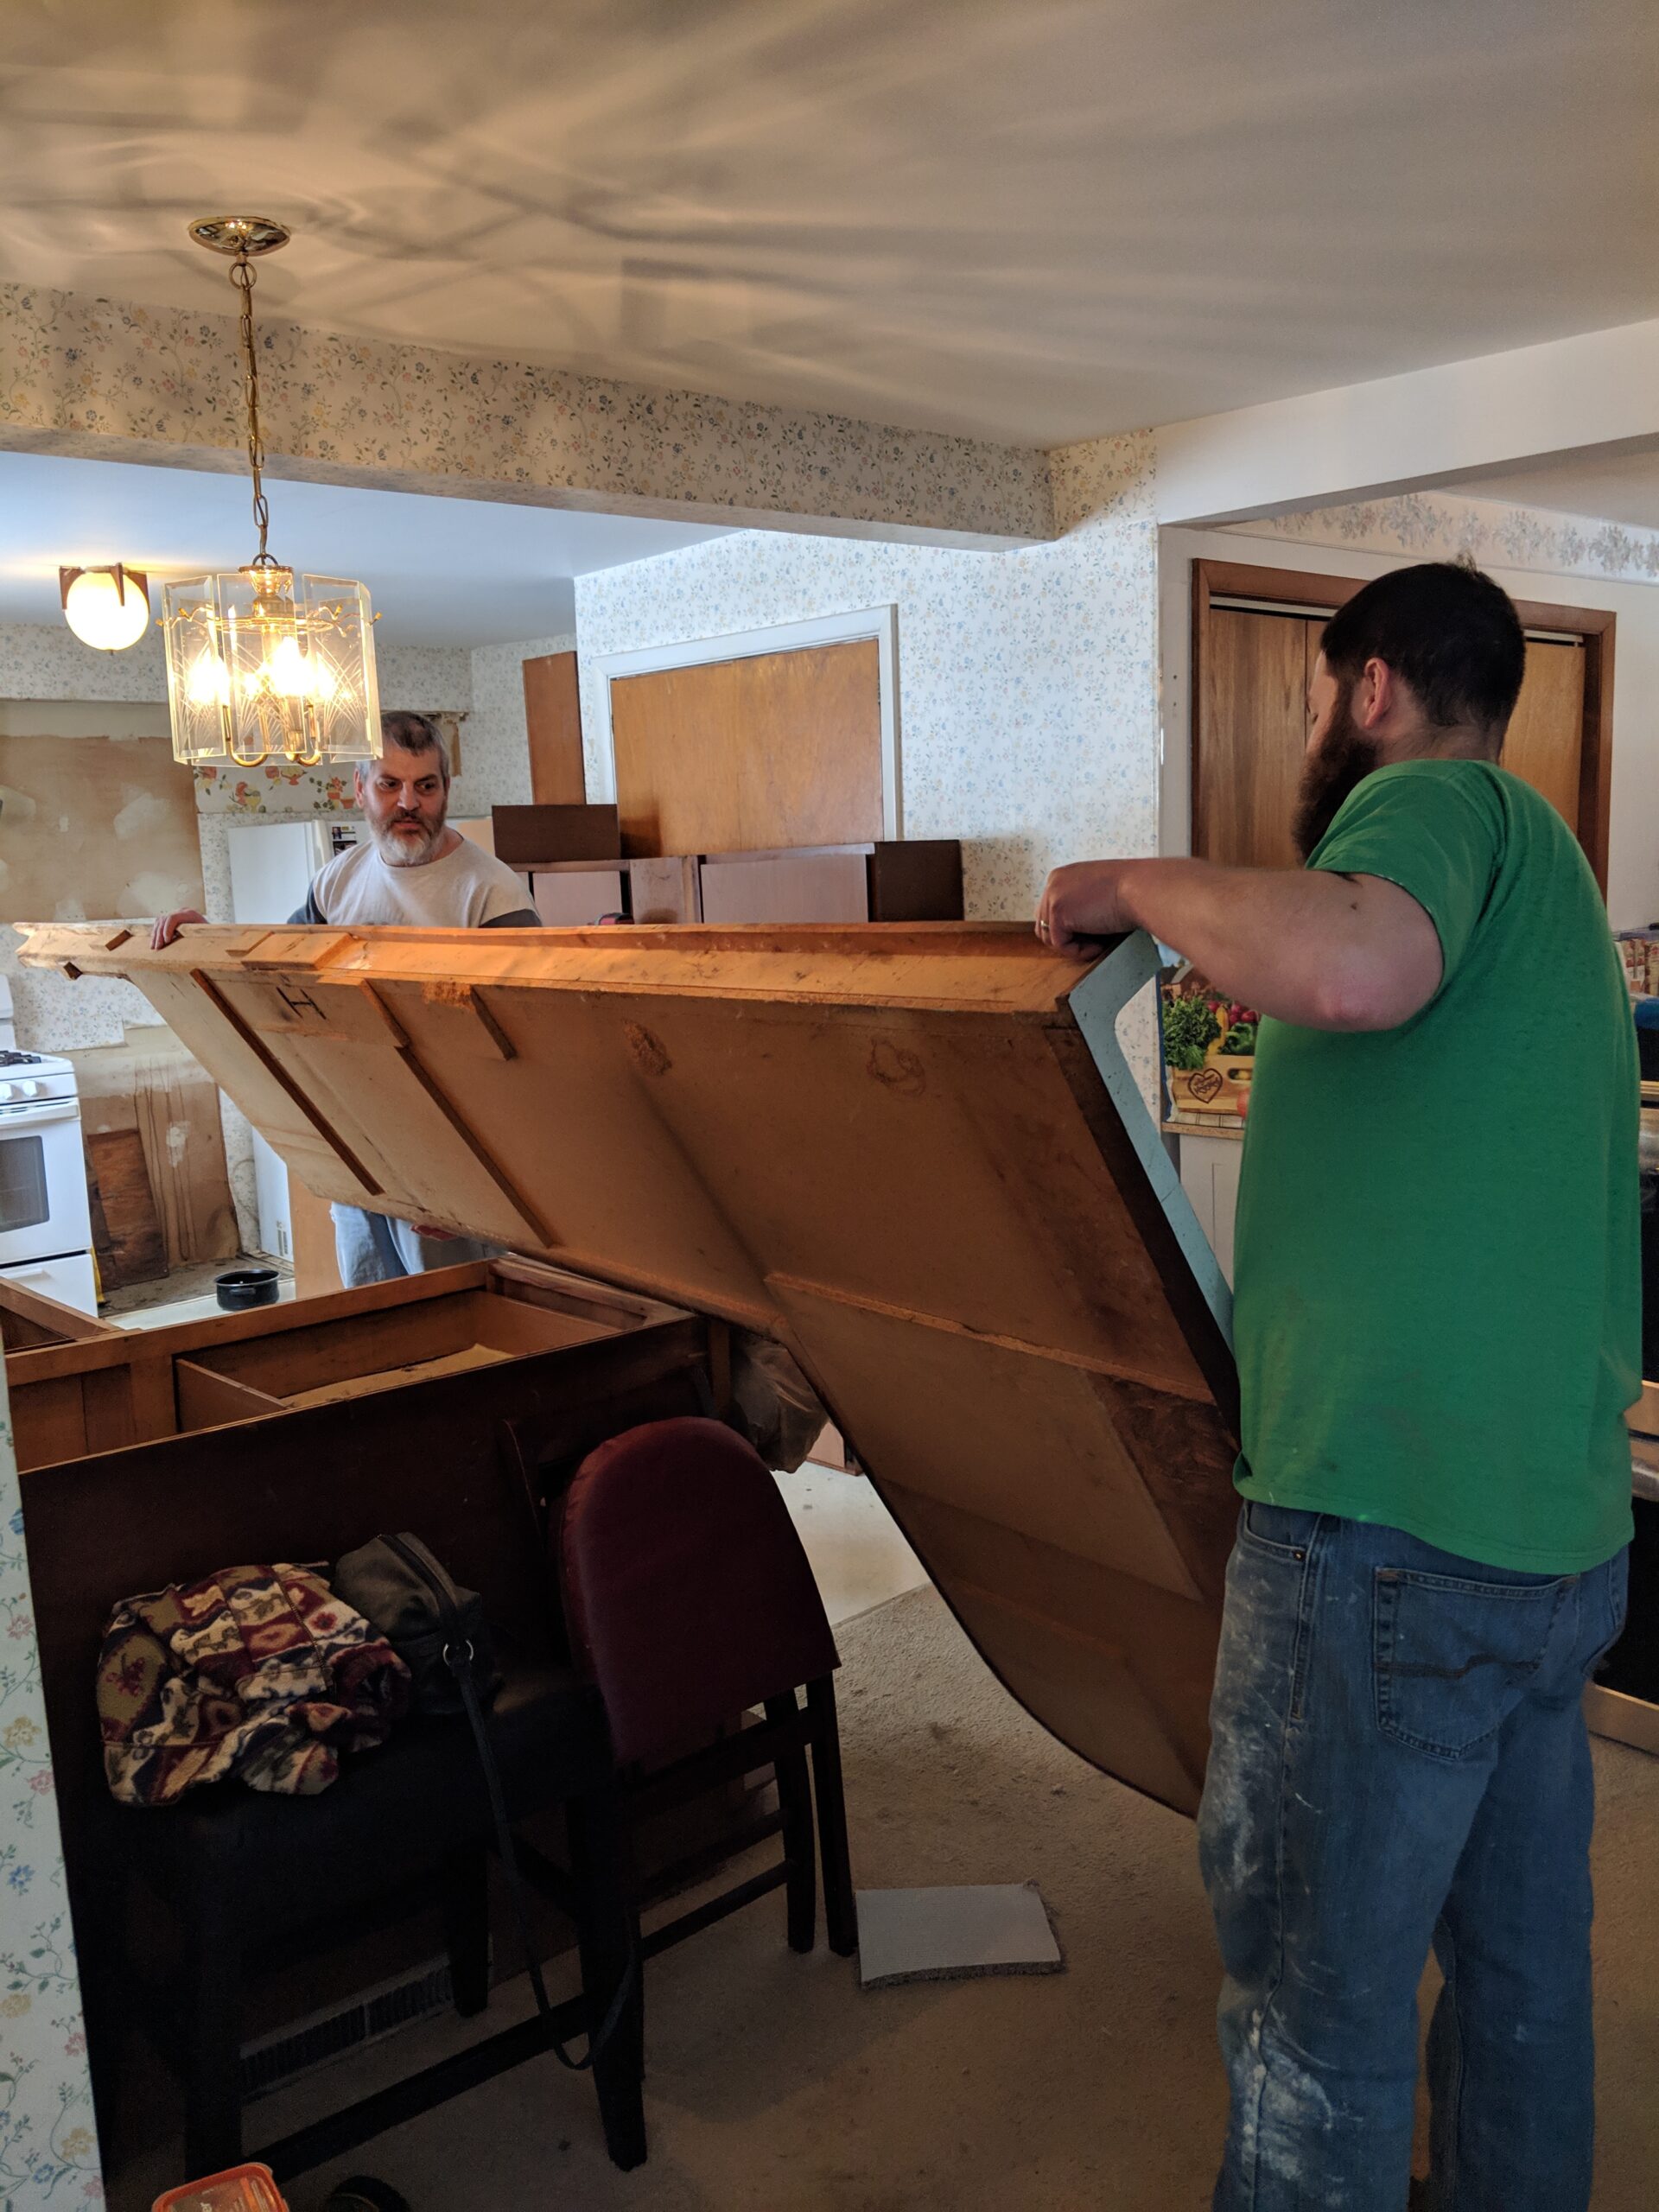
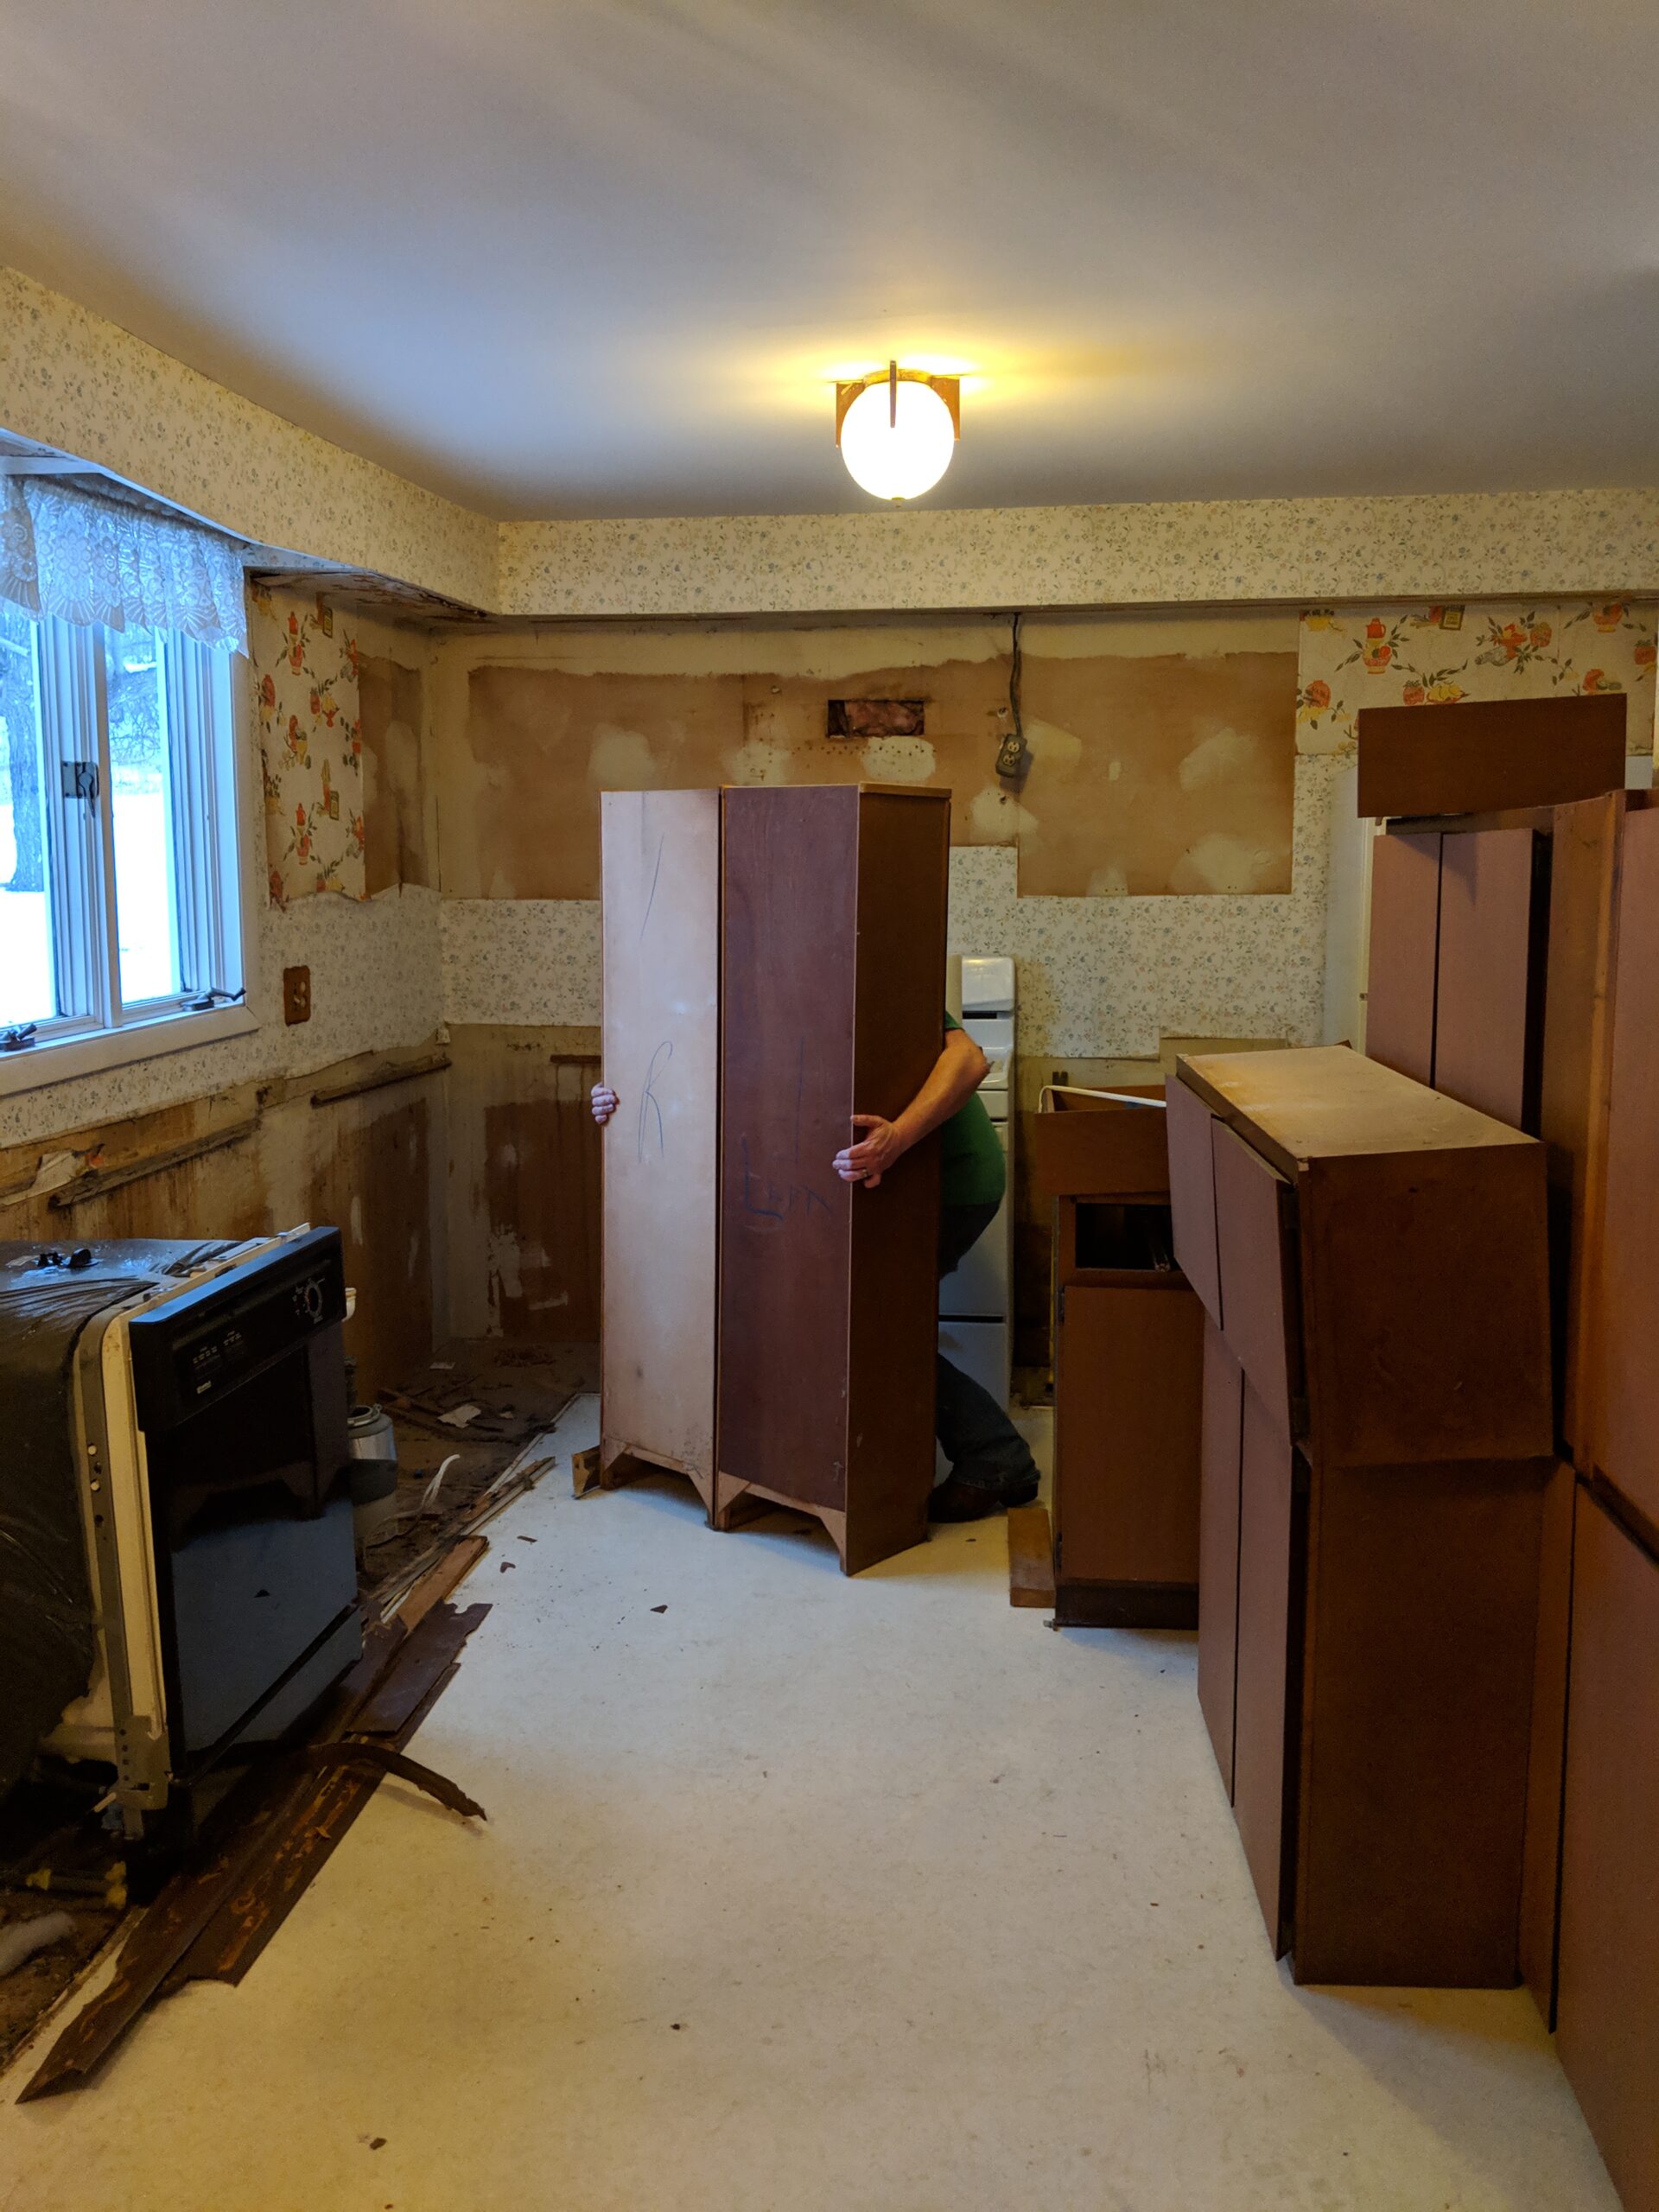
Tearing into Demo Day
Upper cabinets came down first. Counter tops were a close second.
Good riddance, puke green sink!
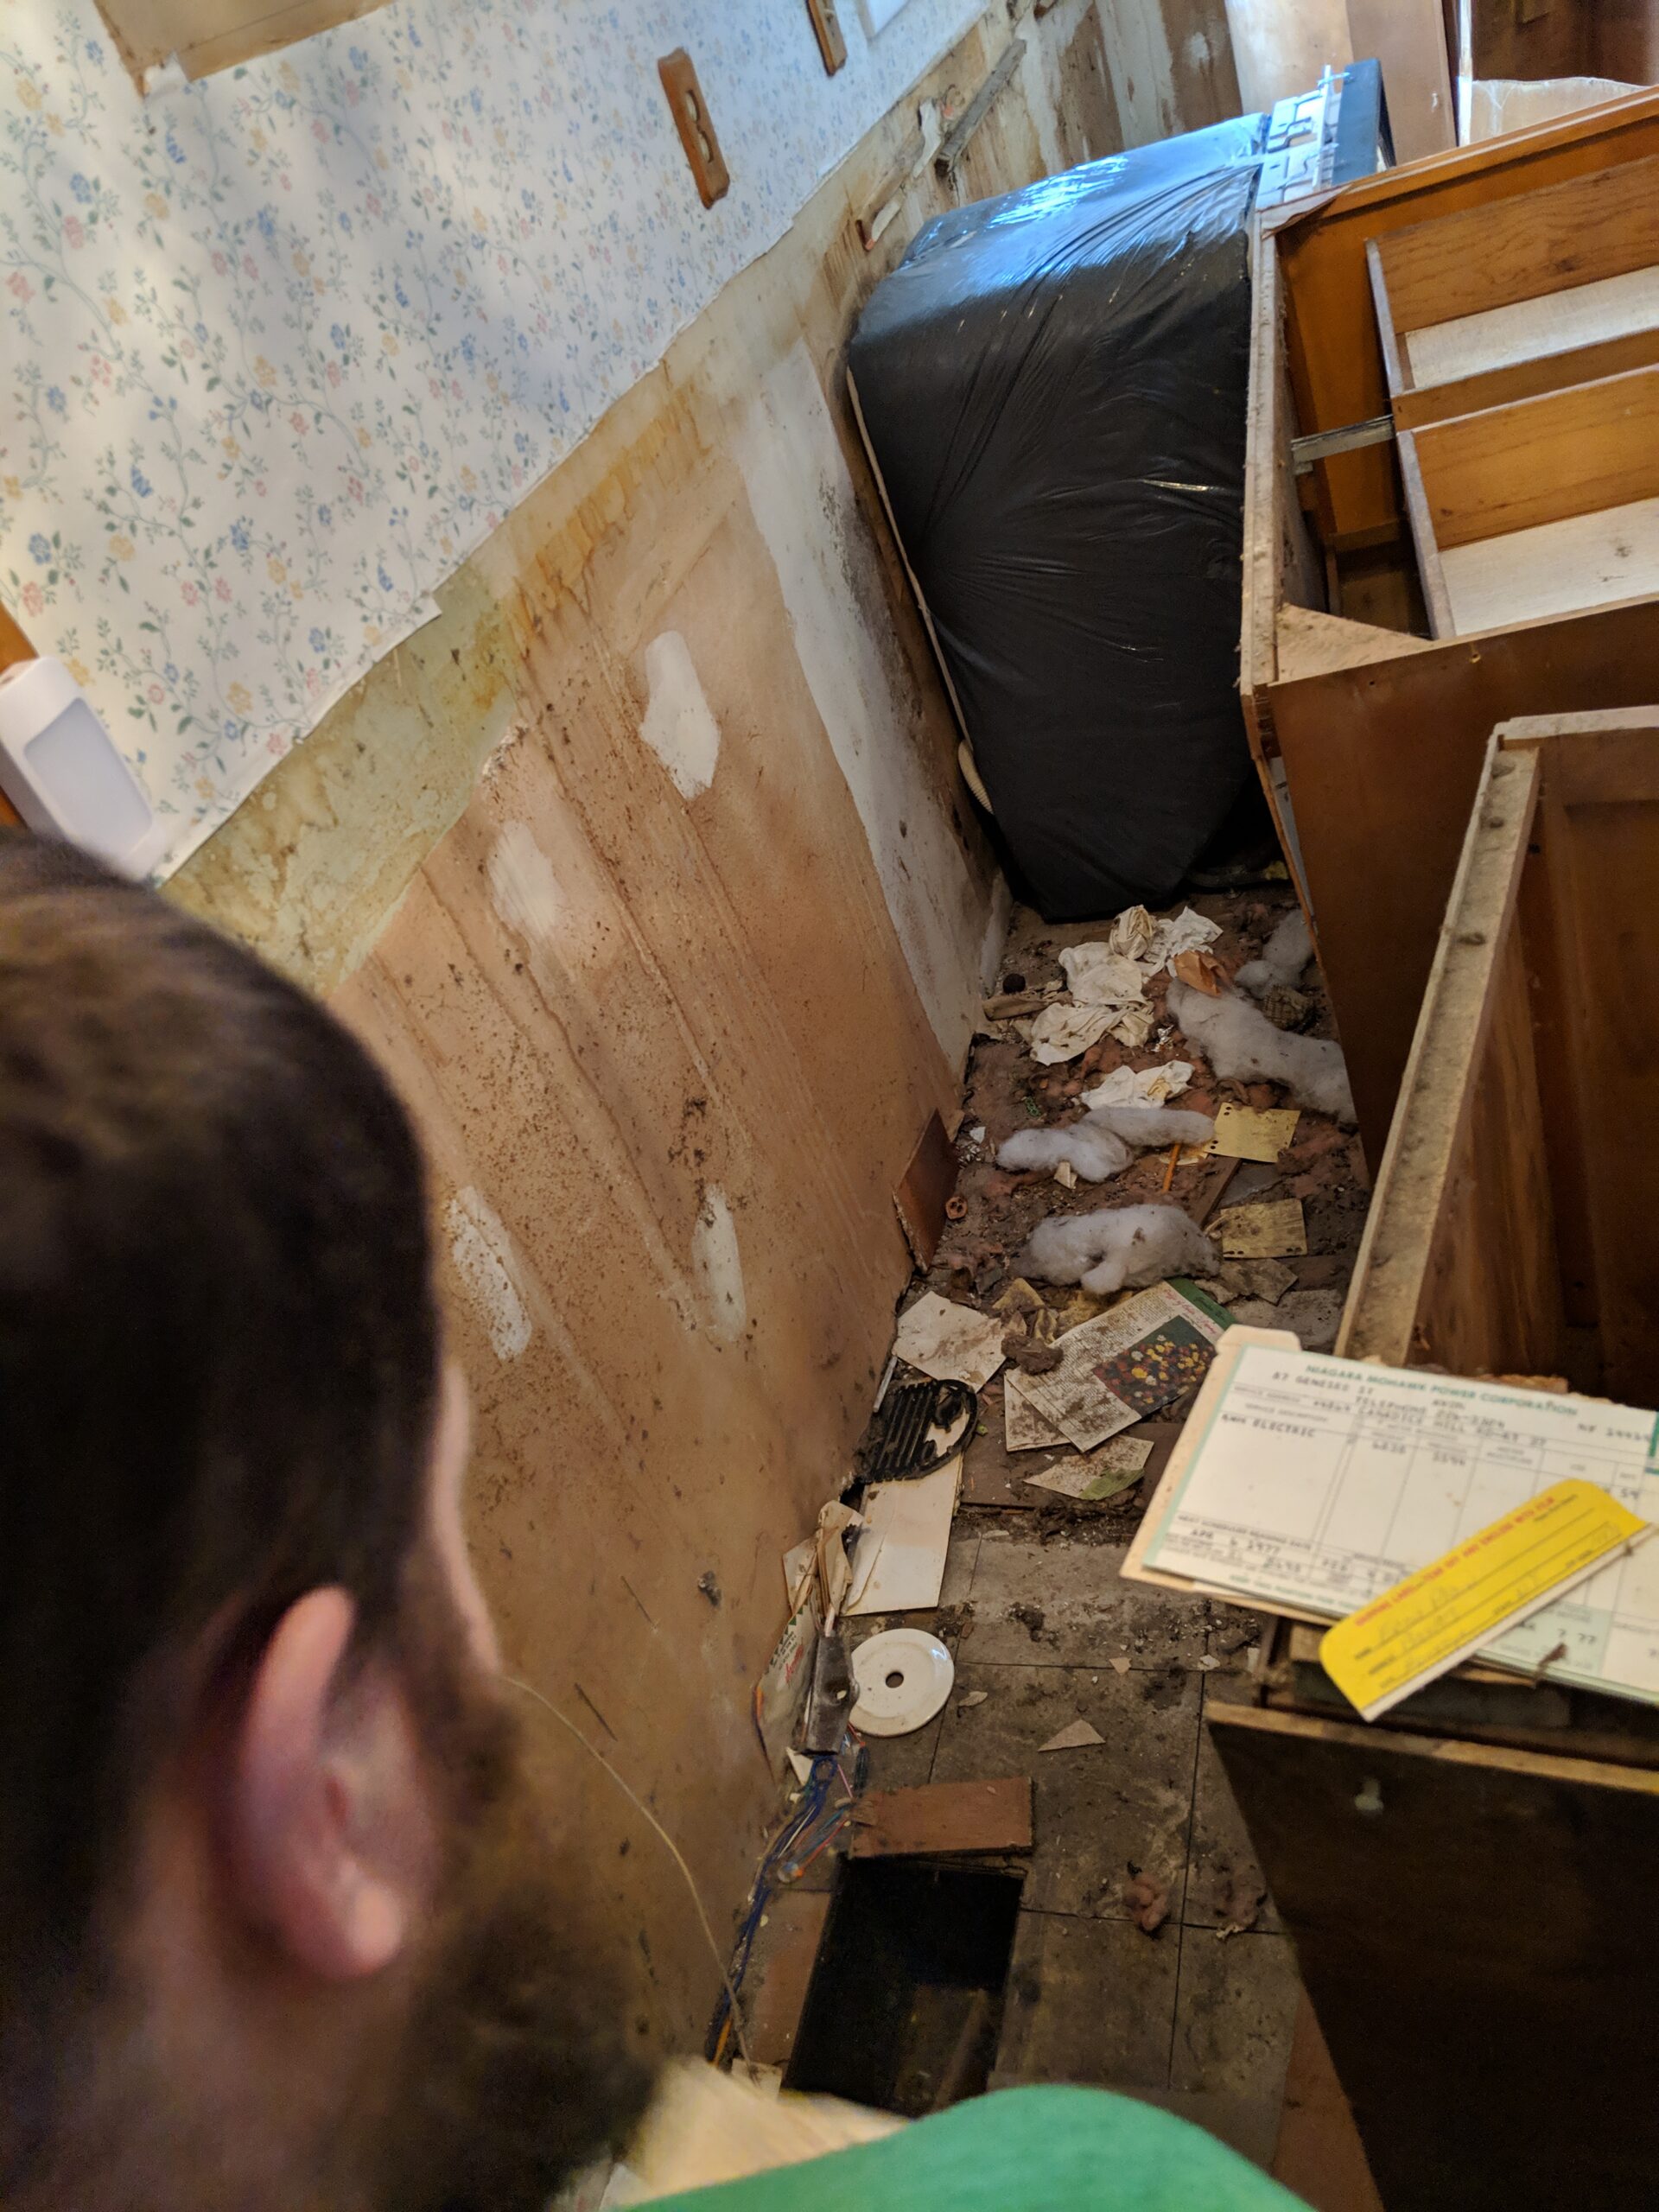
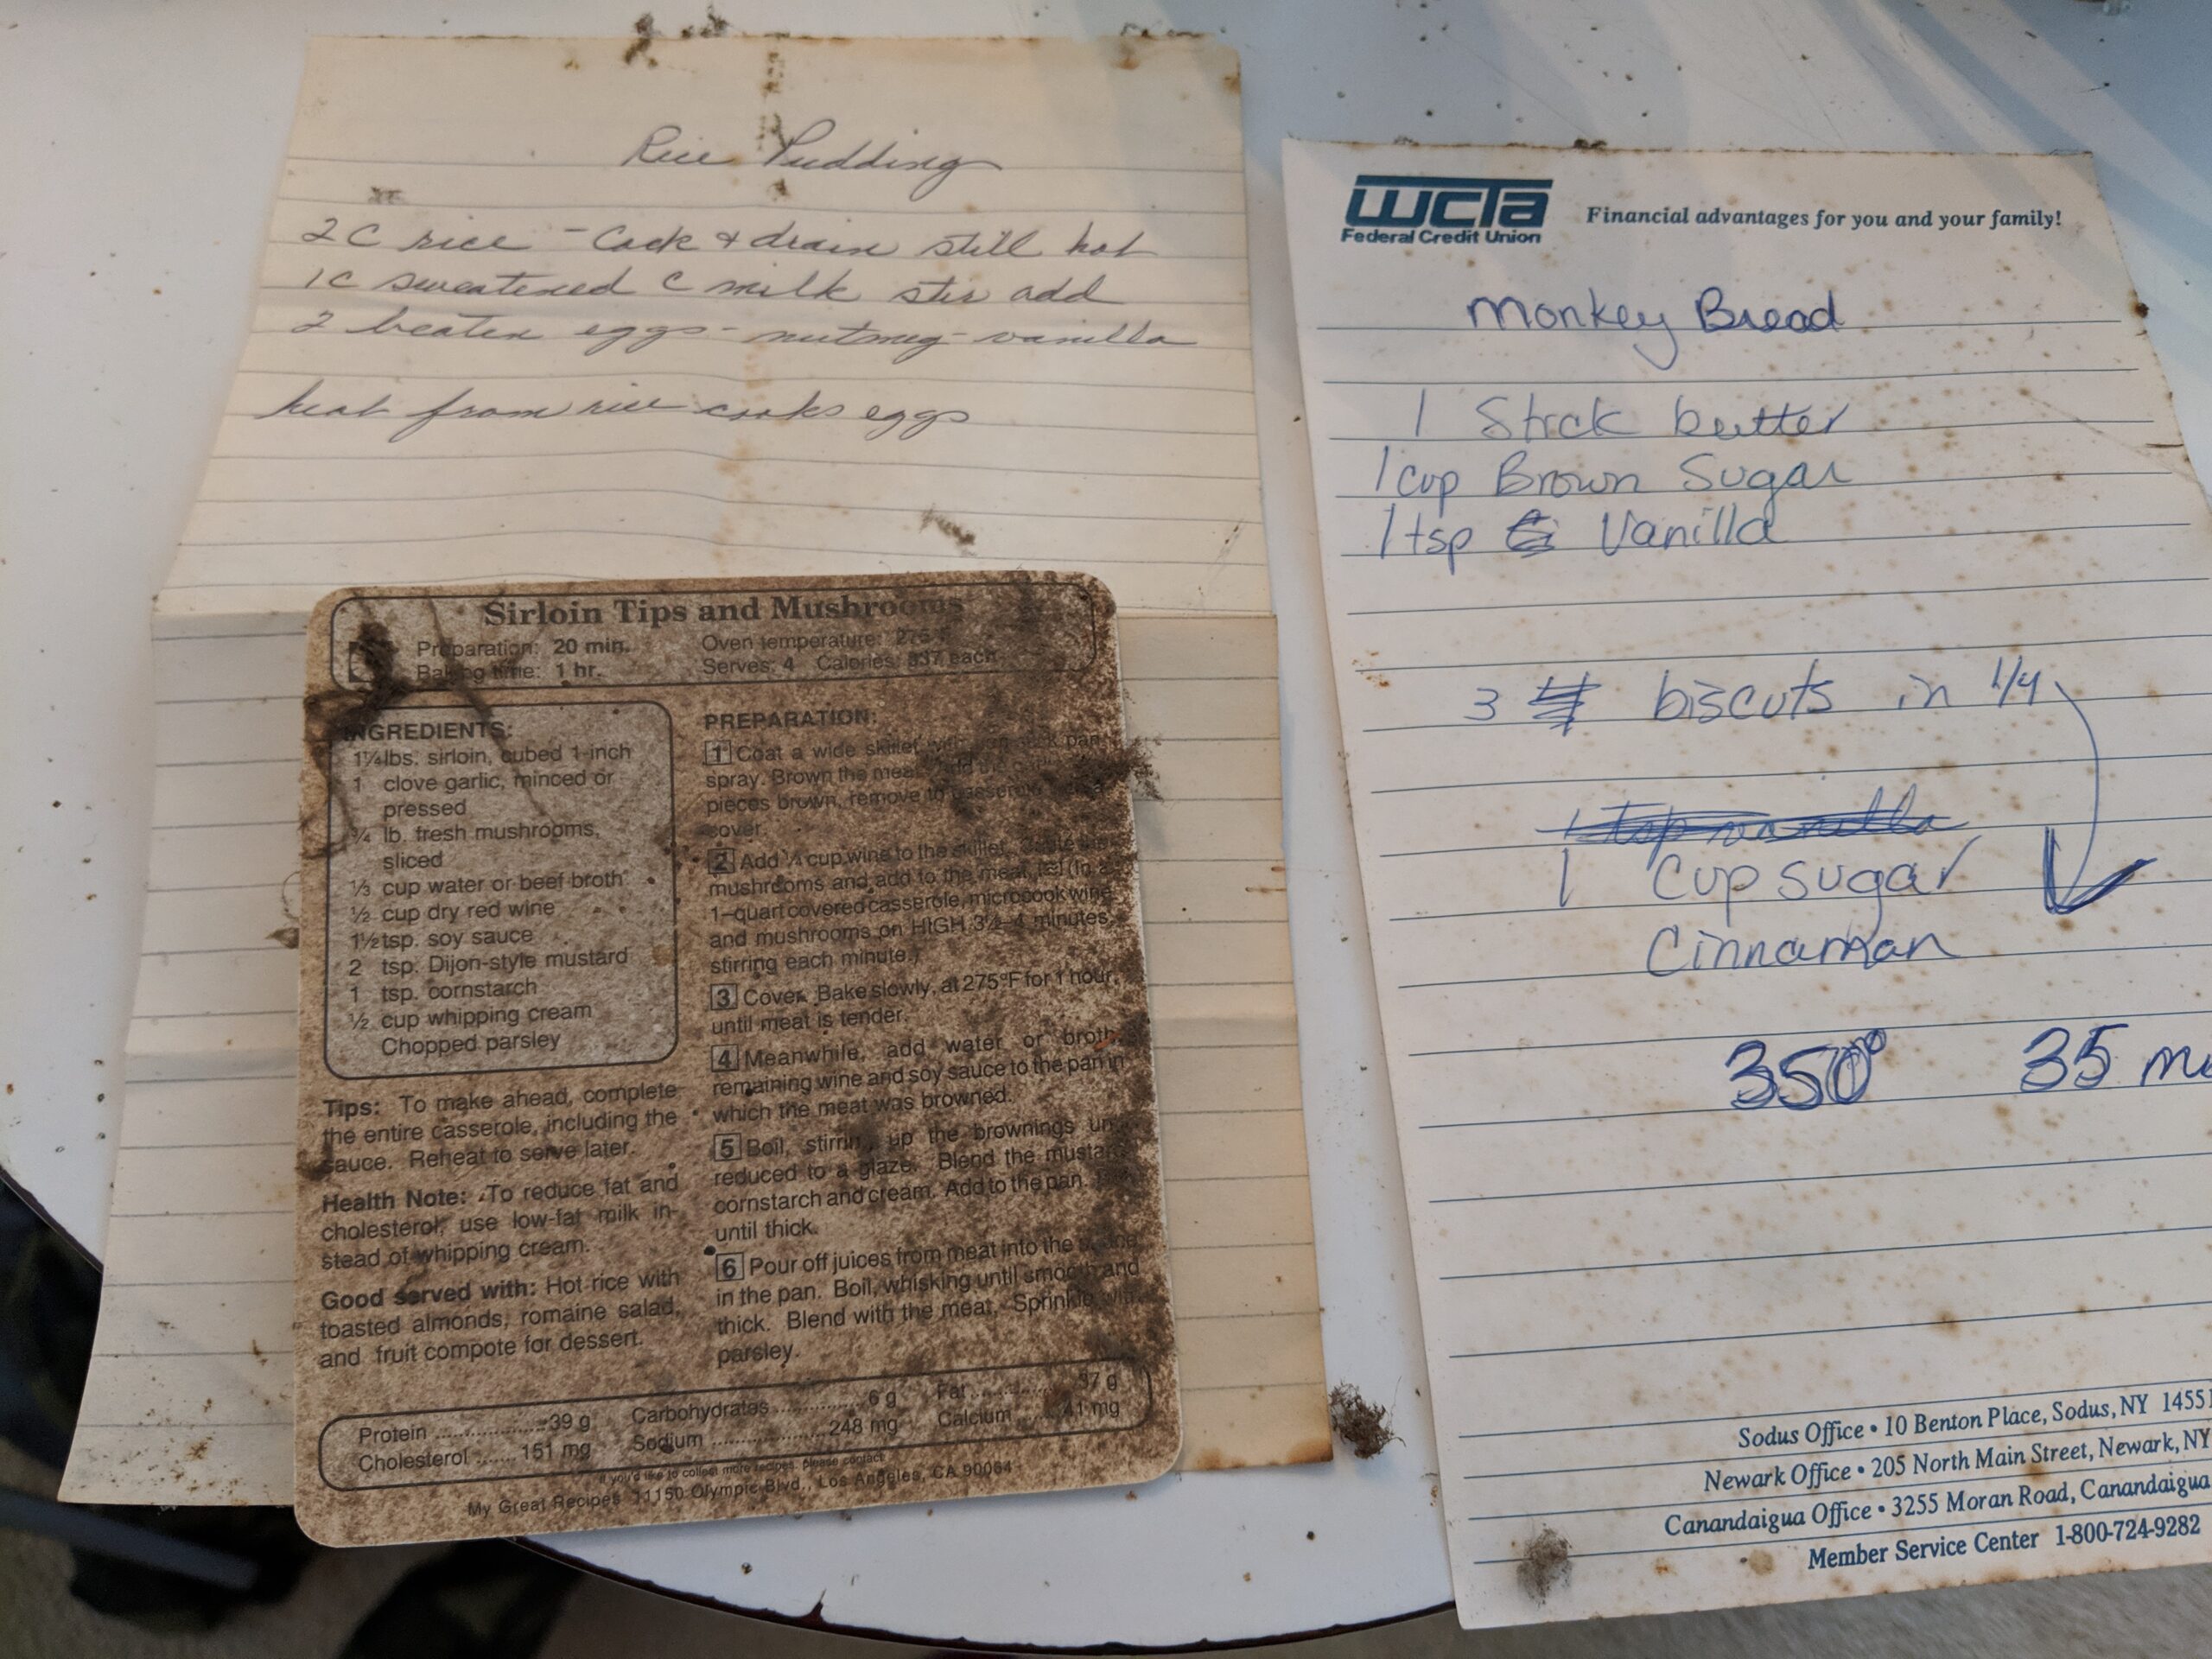
Look at the YEARS of stuff we found behind the cabinets. Some of it was decades old, almost 50 years old!
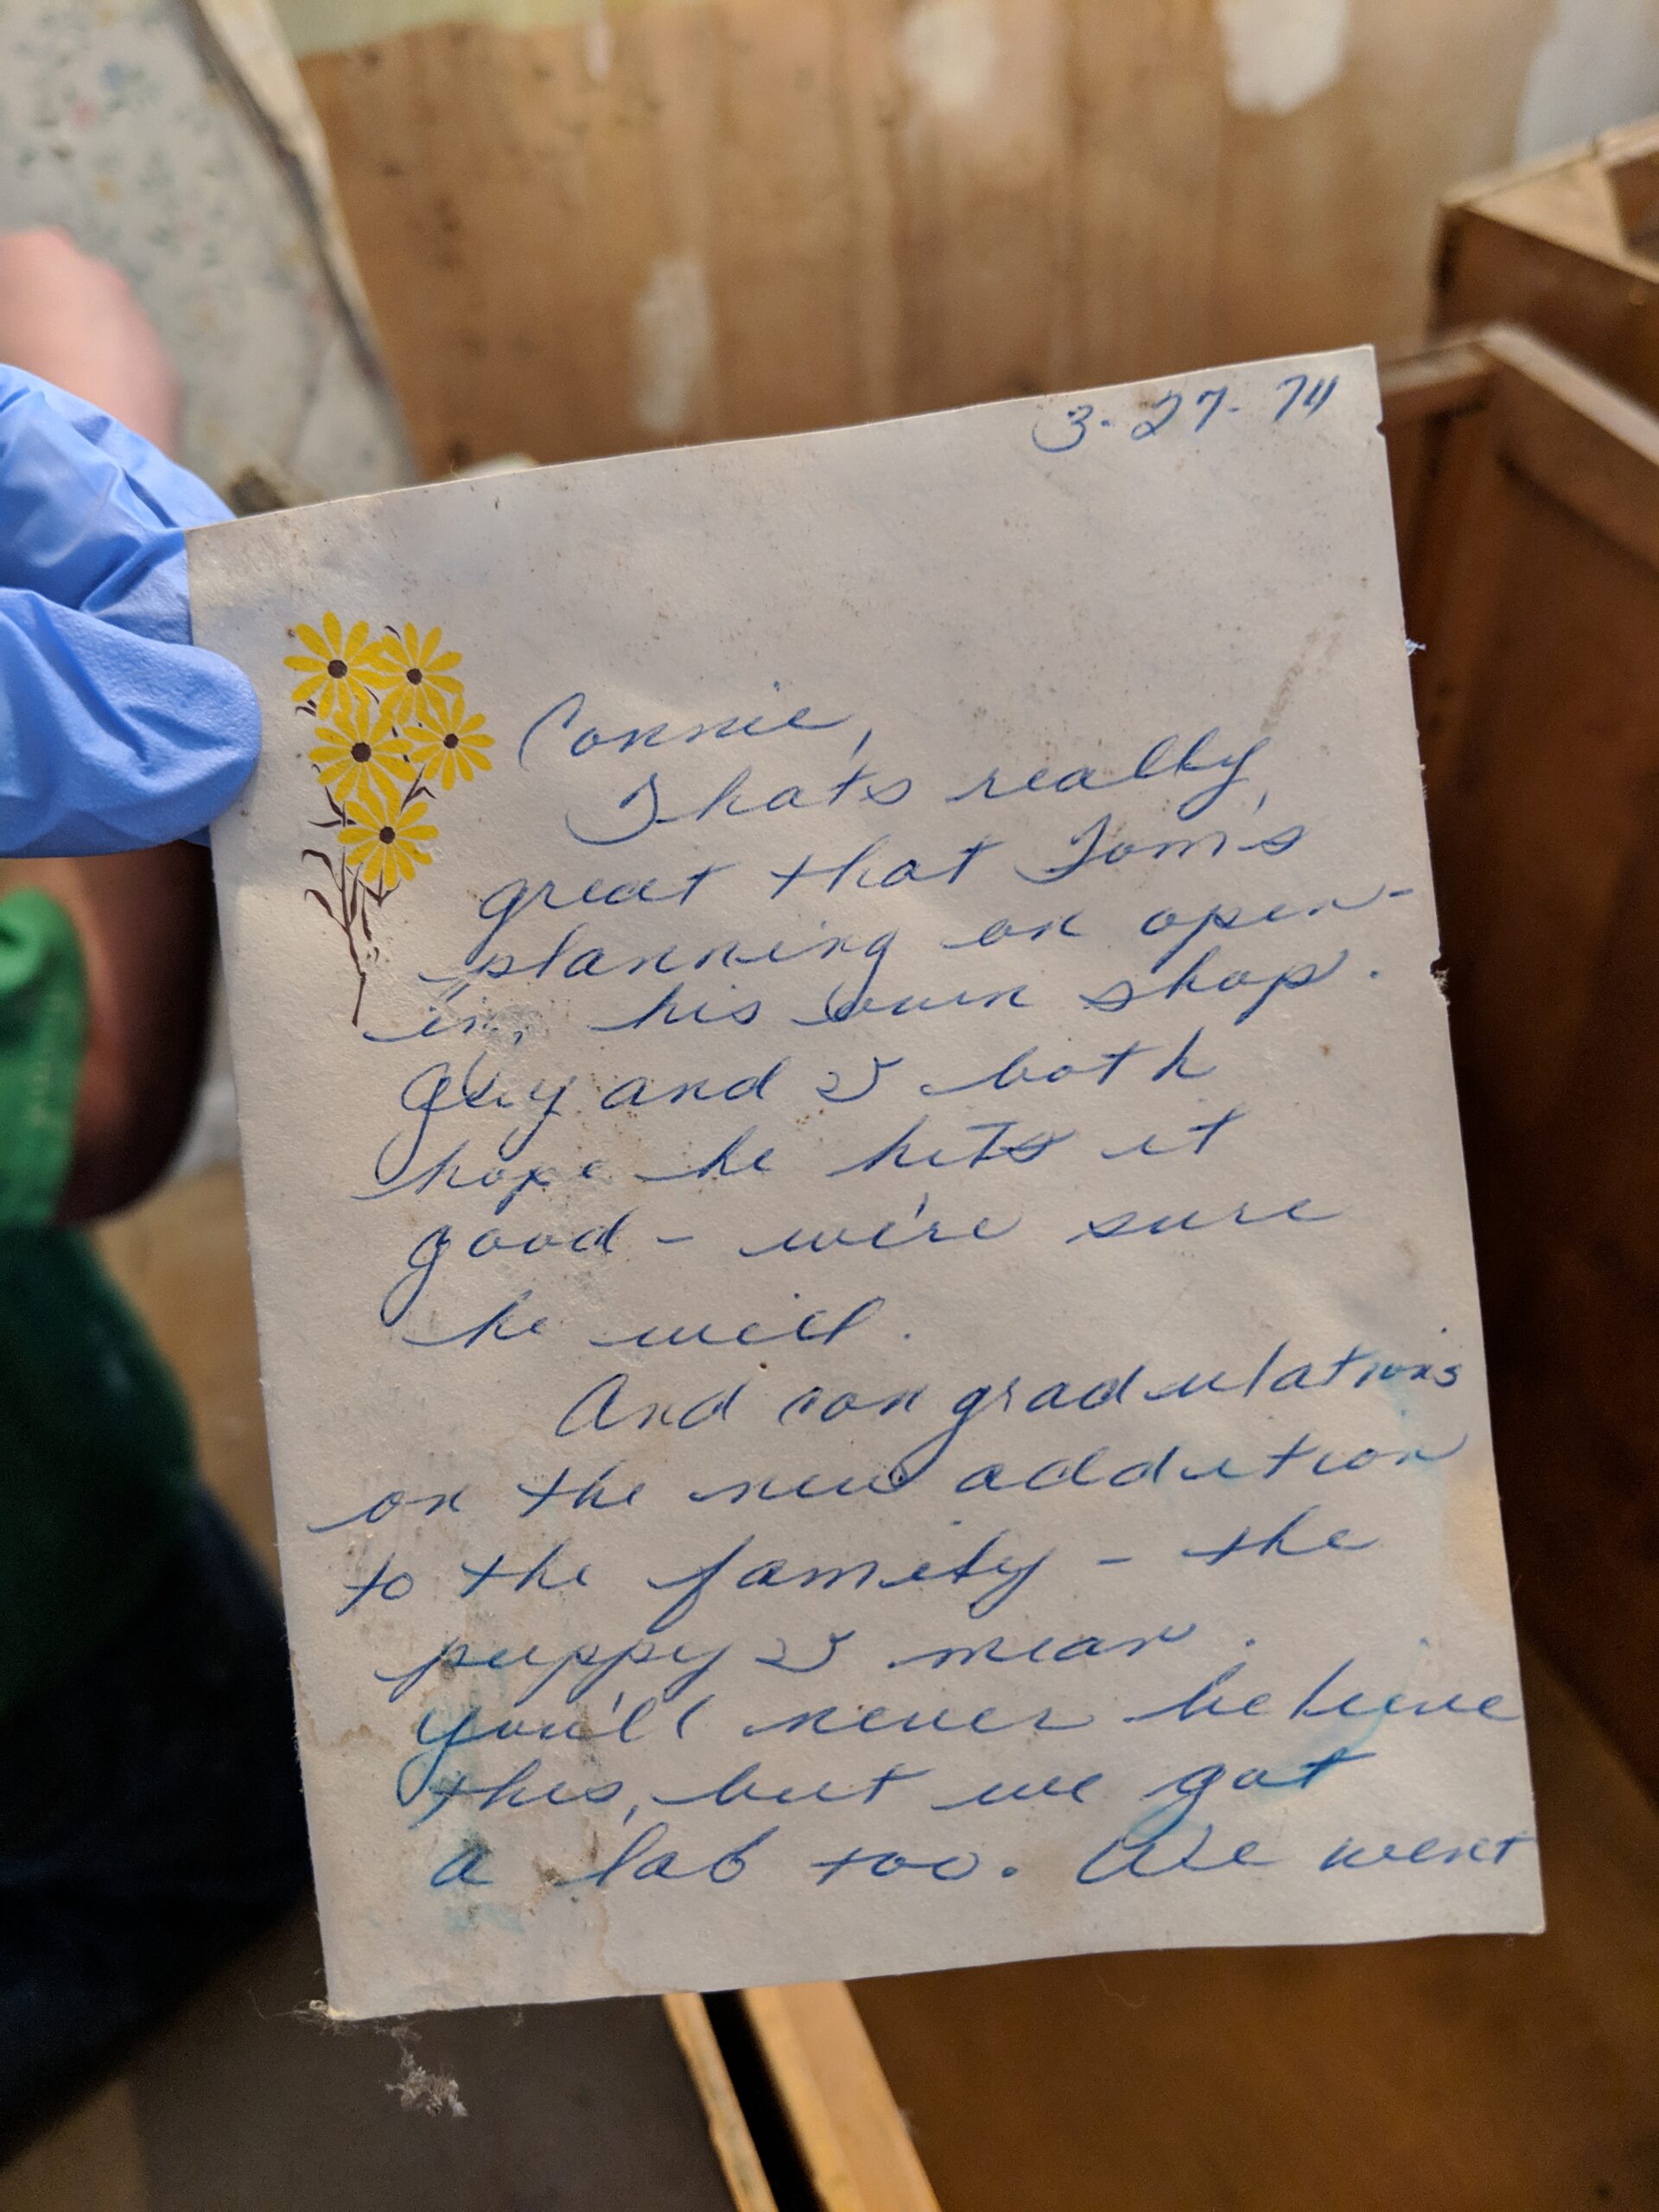
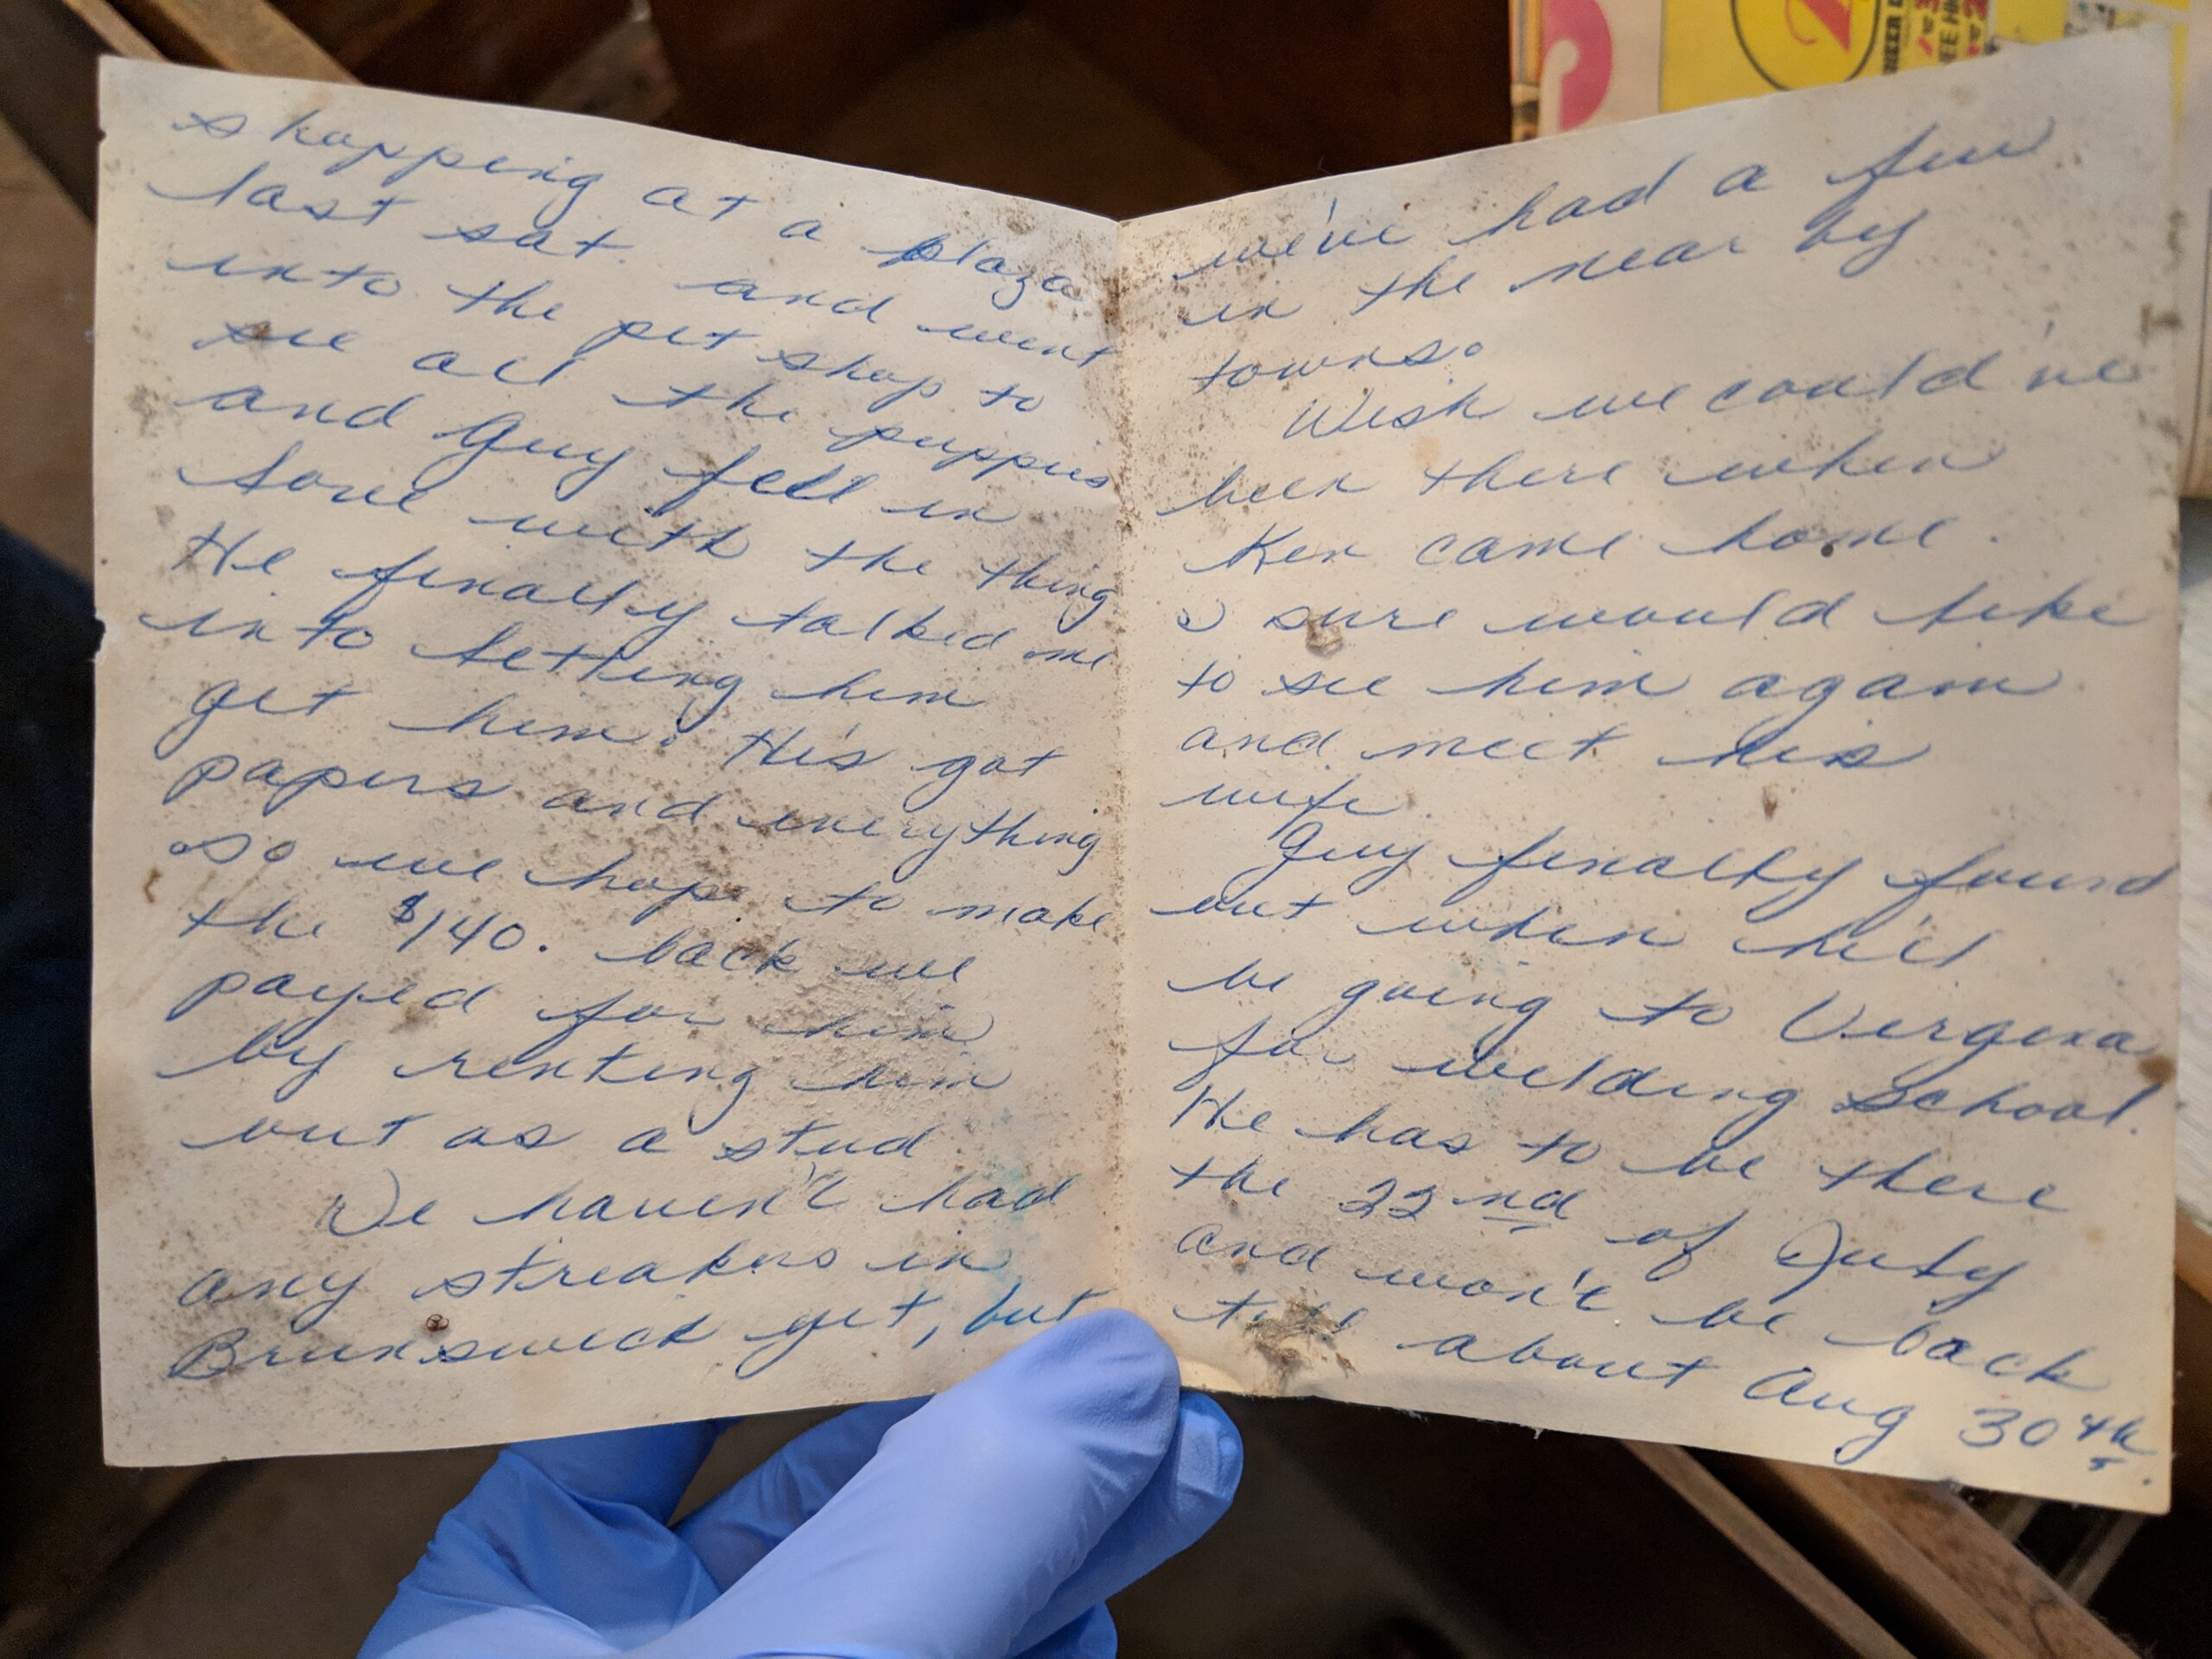
Wait a minute, STREAKERS?!?!
I thought living in this day and age was traumatizing. Ha.
(And $140 for a Labrador Retriever with papers?!)

As mentioned in our kitchen reno tips, we NEVER demo the kitchen cabinets if at all possible. We carefully removed these cabinets and sold the old, dirty, damaged lot for $250.
Next to go was the unnecessary fake beam separating the room from the dining, then that awful bulkhead (also know as a kitchen soffit) that made the space feel even smaller.
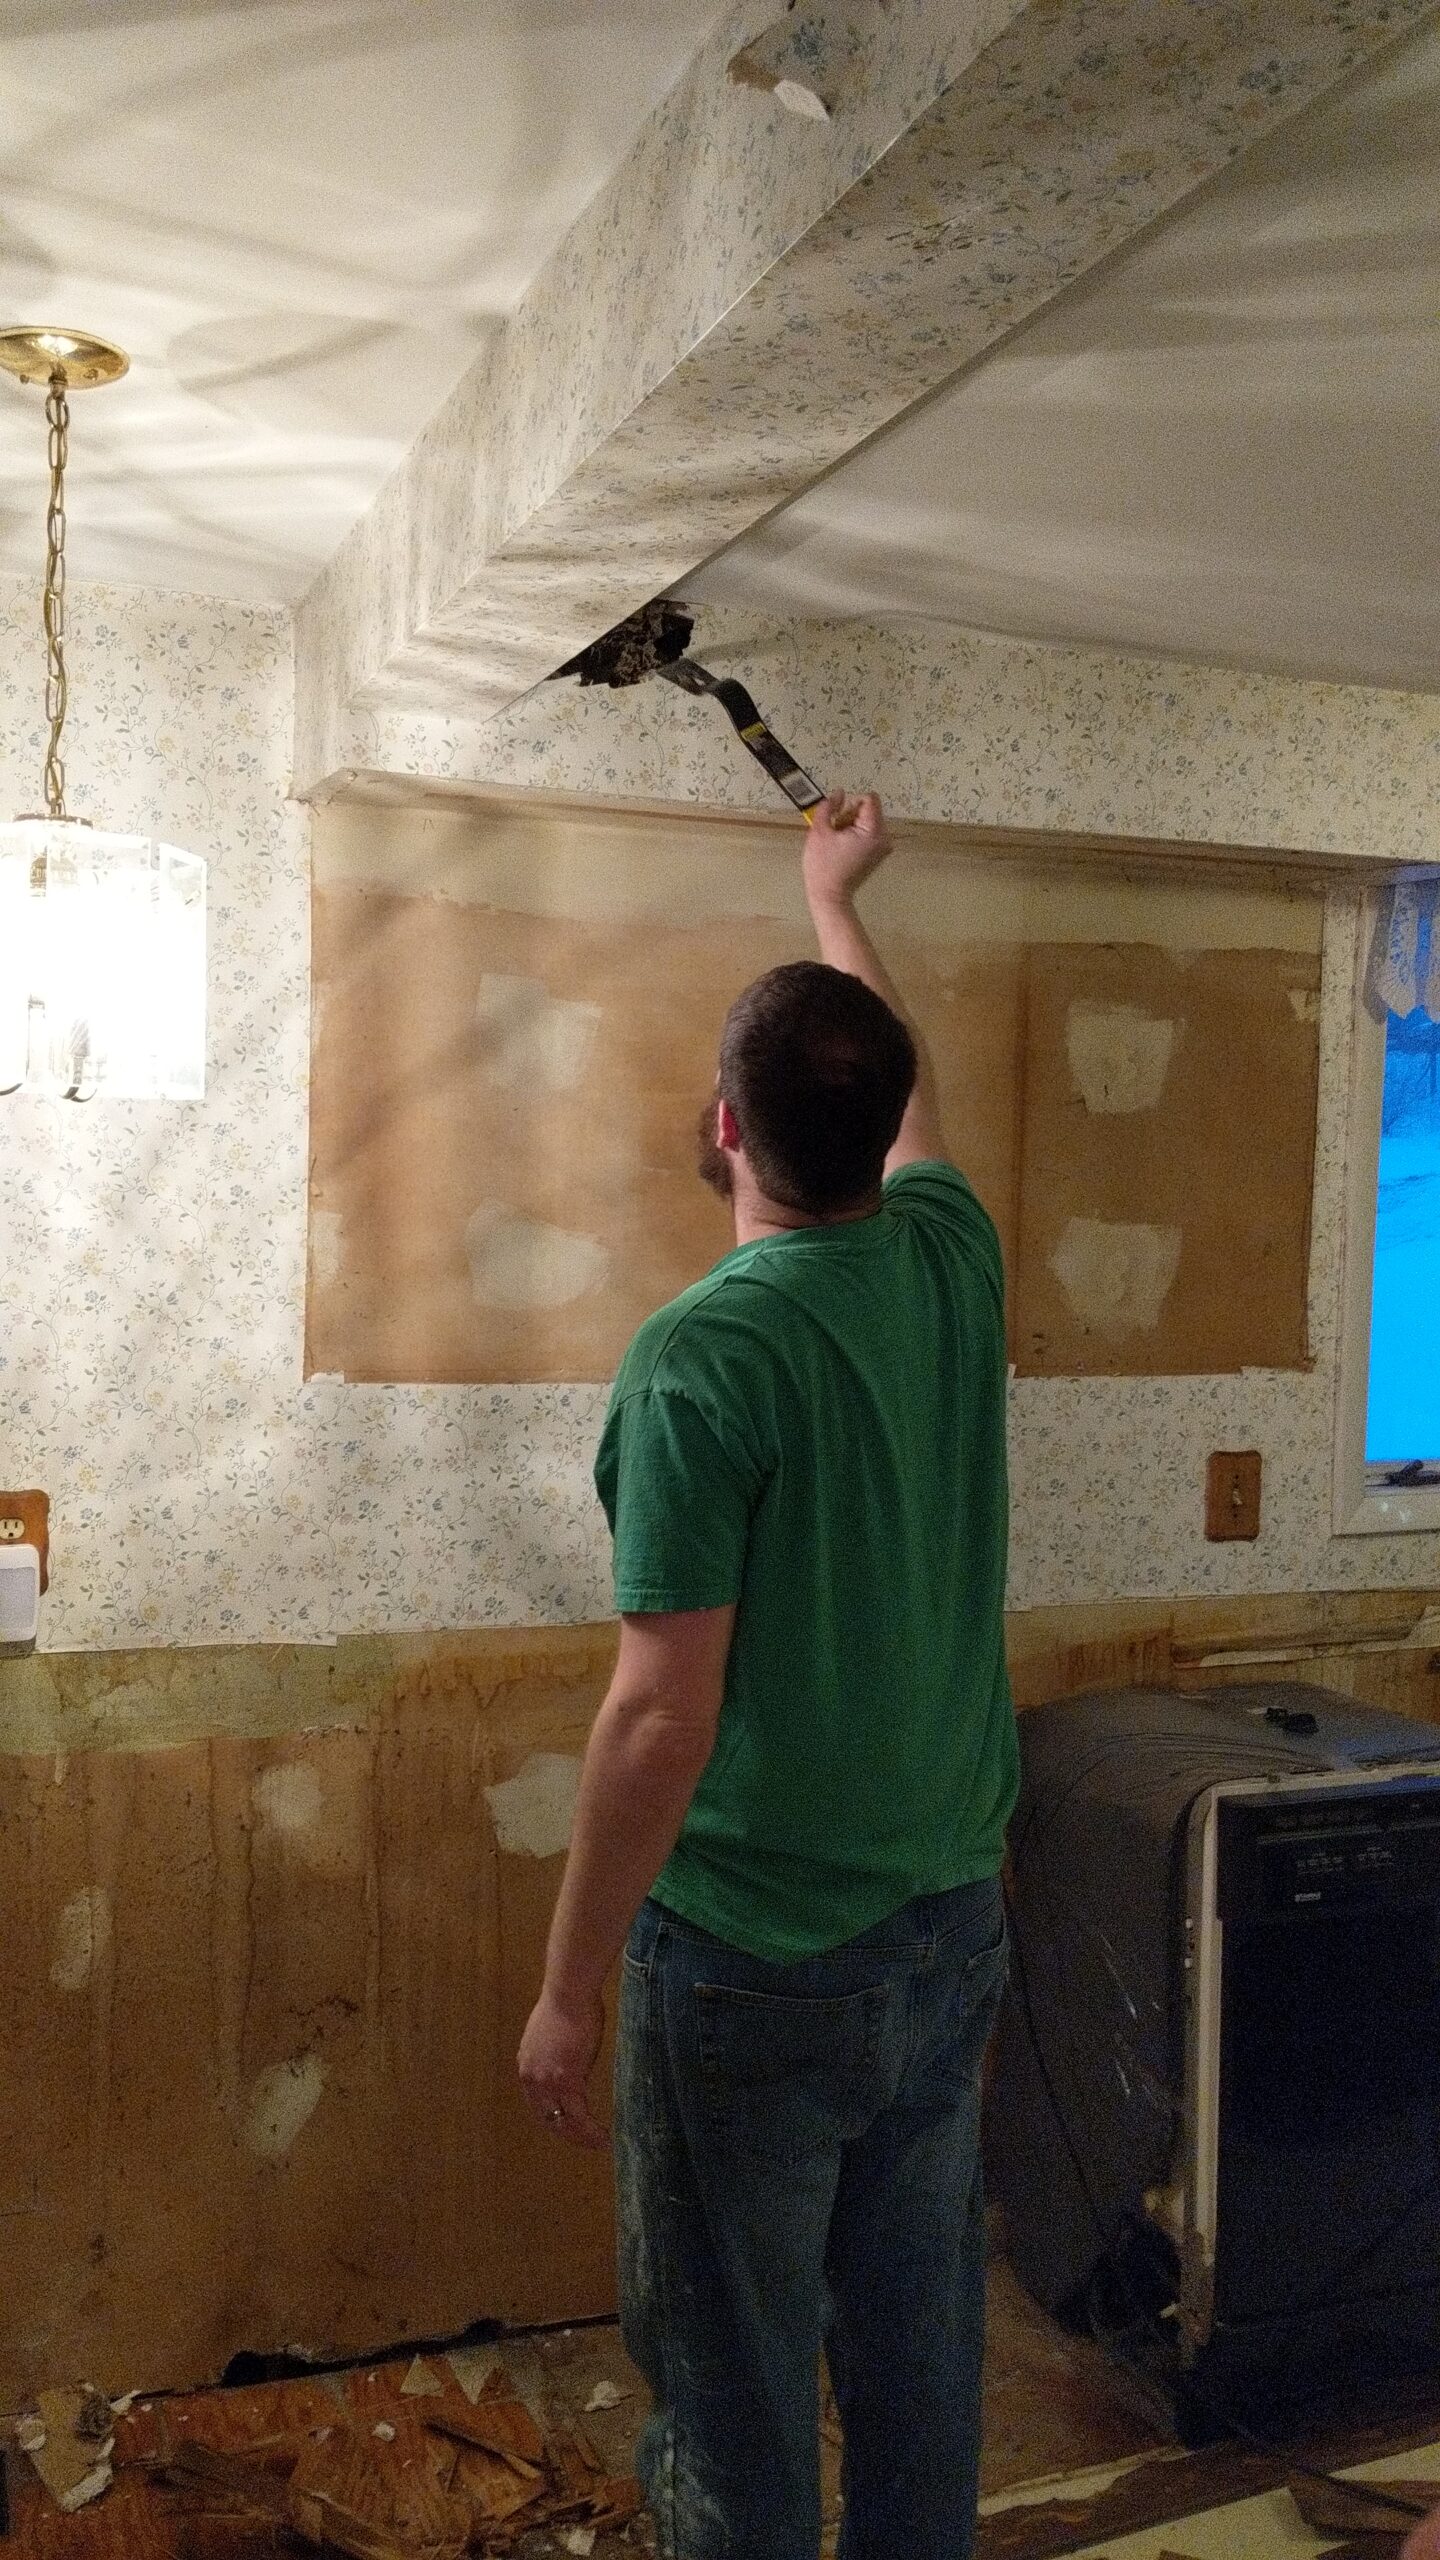
We found a massive yellow jacket’s nest in the soffit. Thankfully it was old.
However, that didn’t help explain our DEAD OF WINTER Mahogany Wasp infestation. We killed minimum 4 a day in this area, up to 16 a day by the time we hit spring. *shudder*

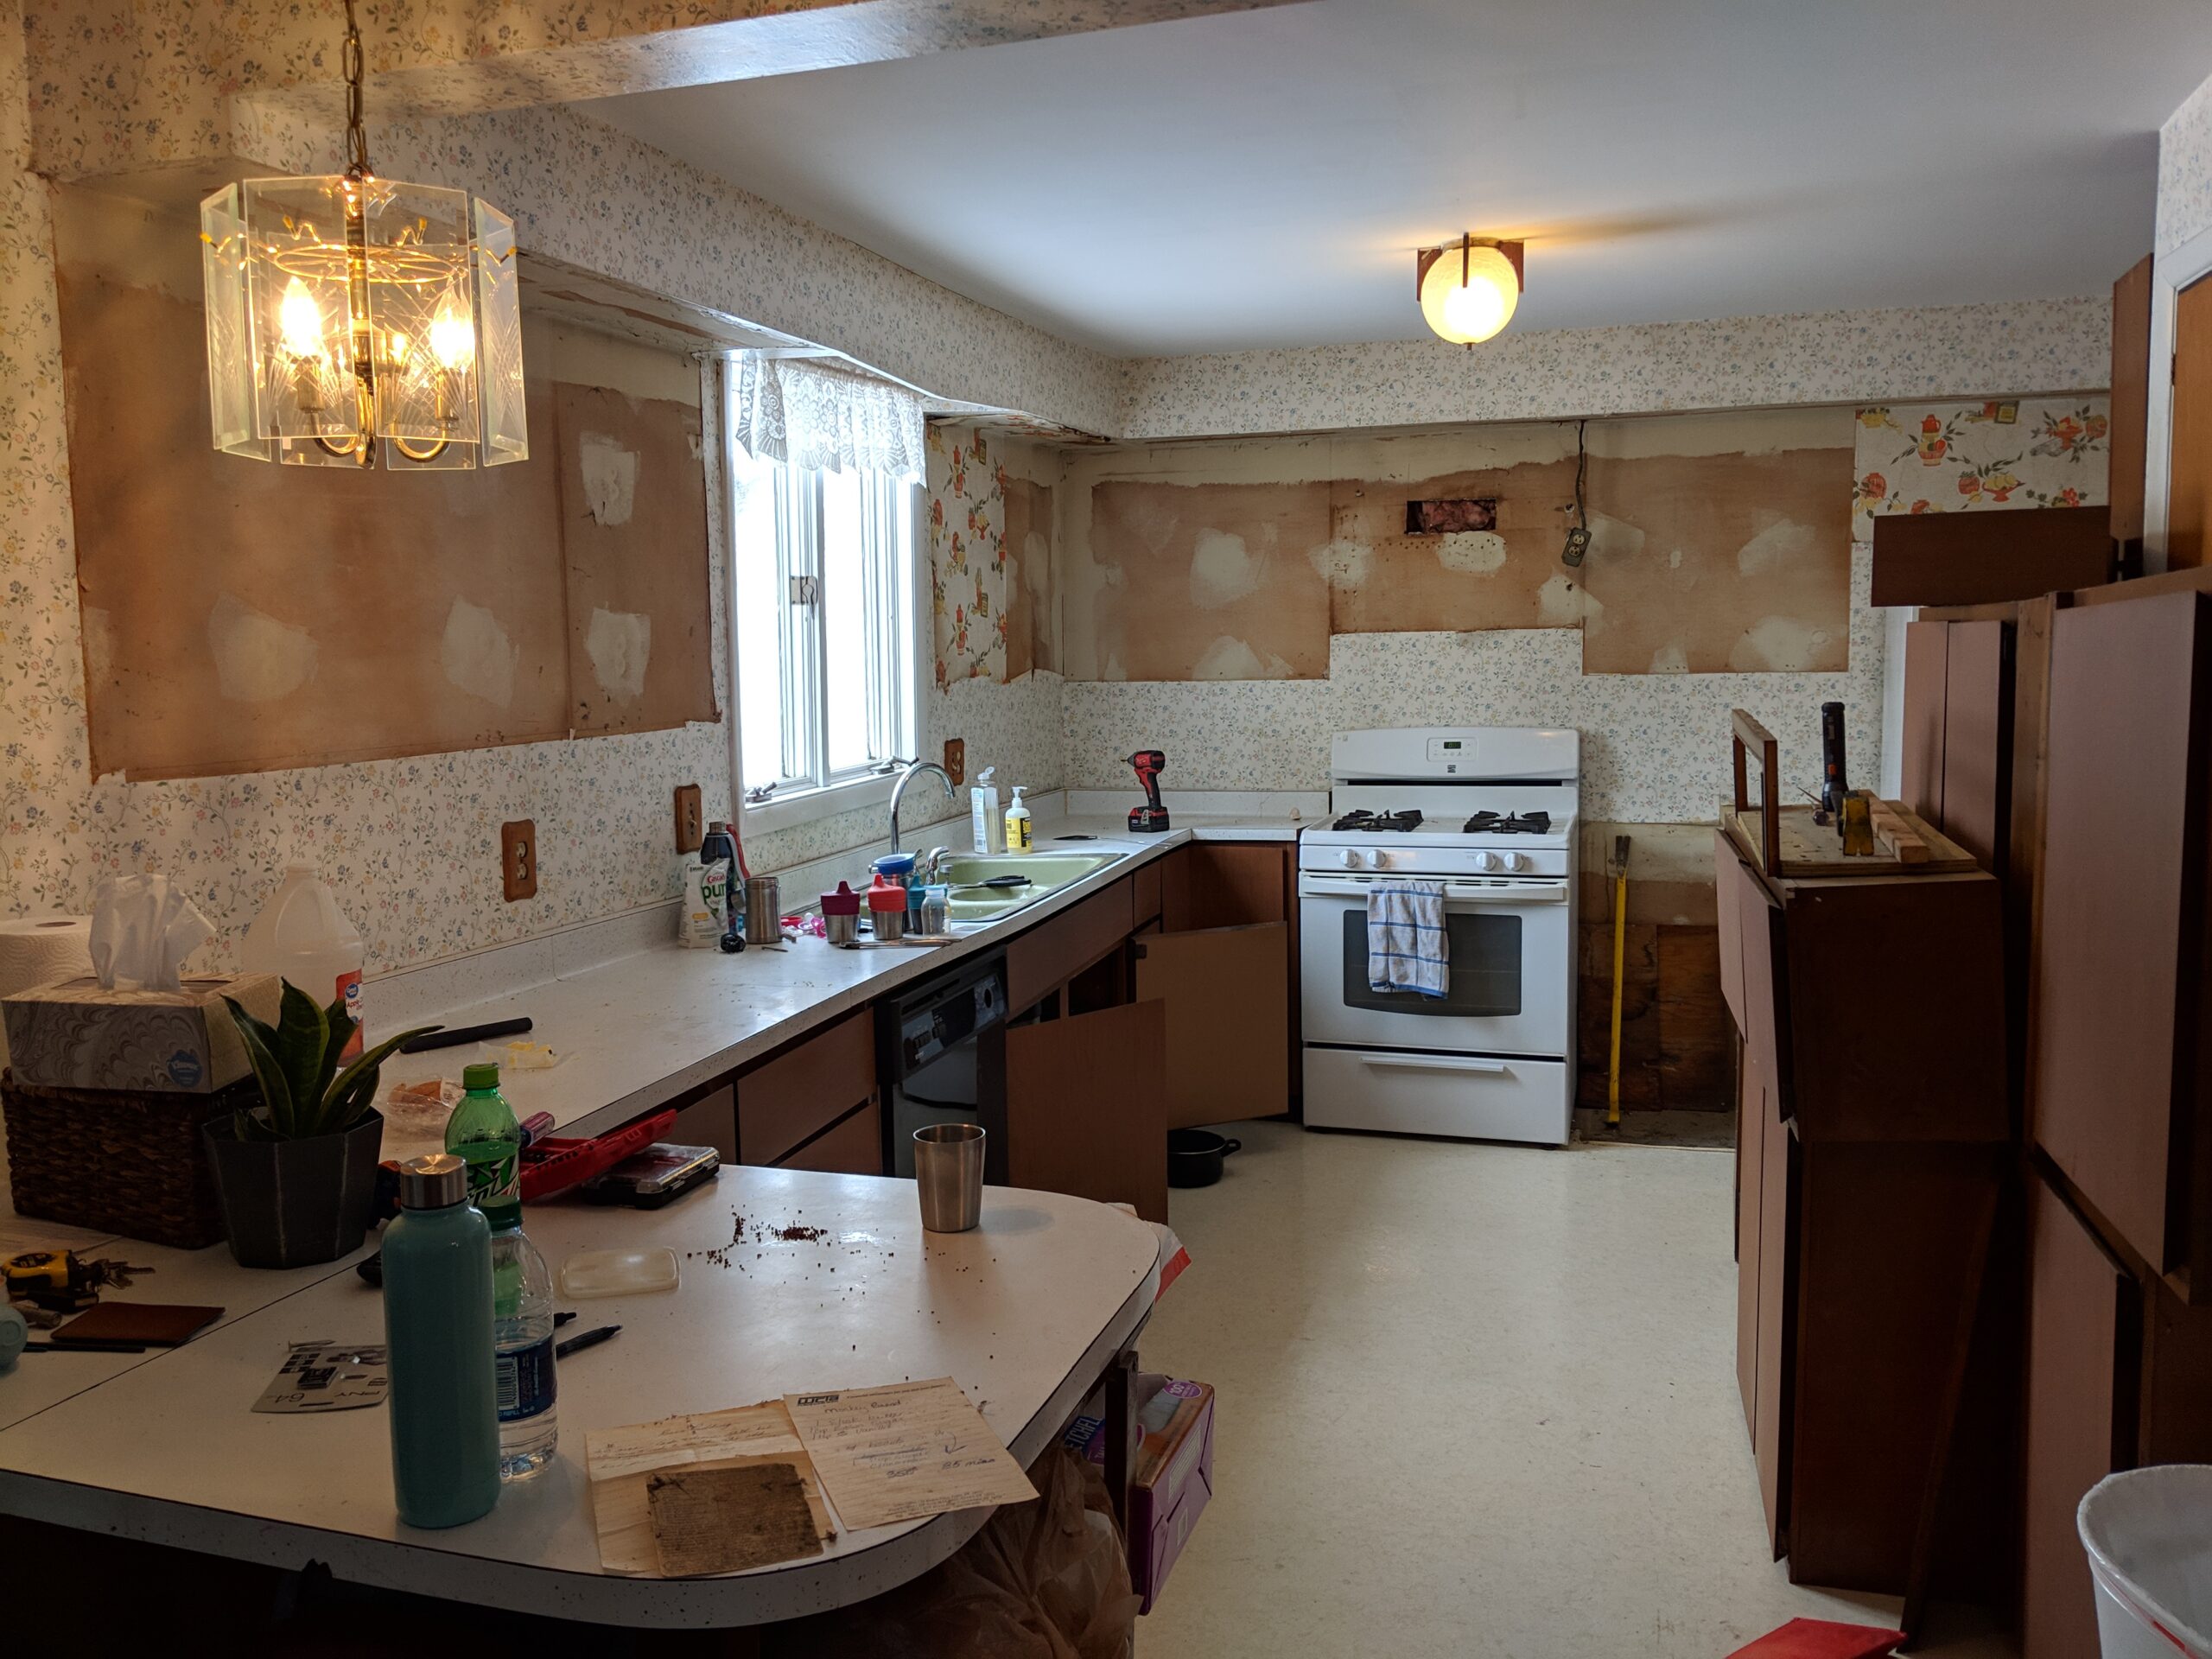
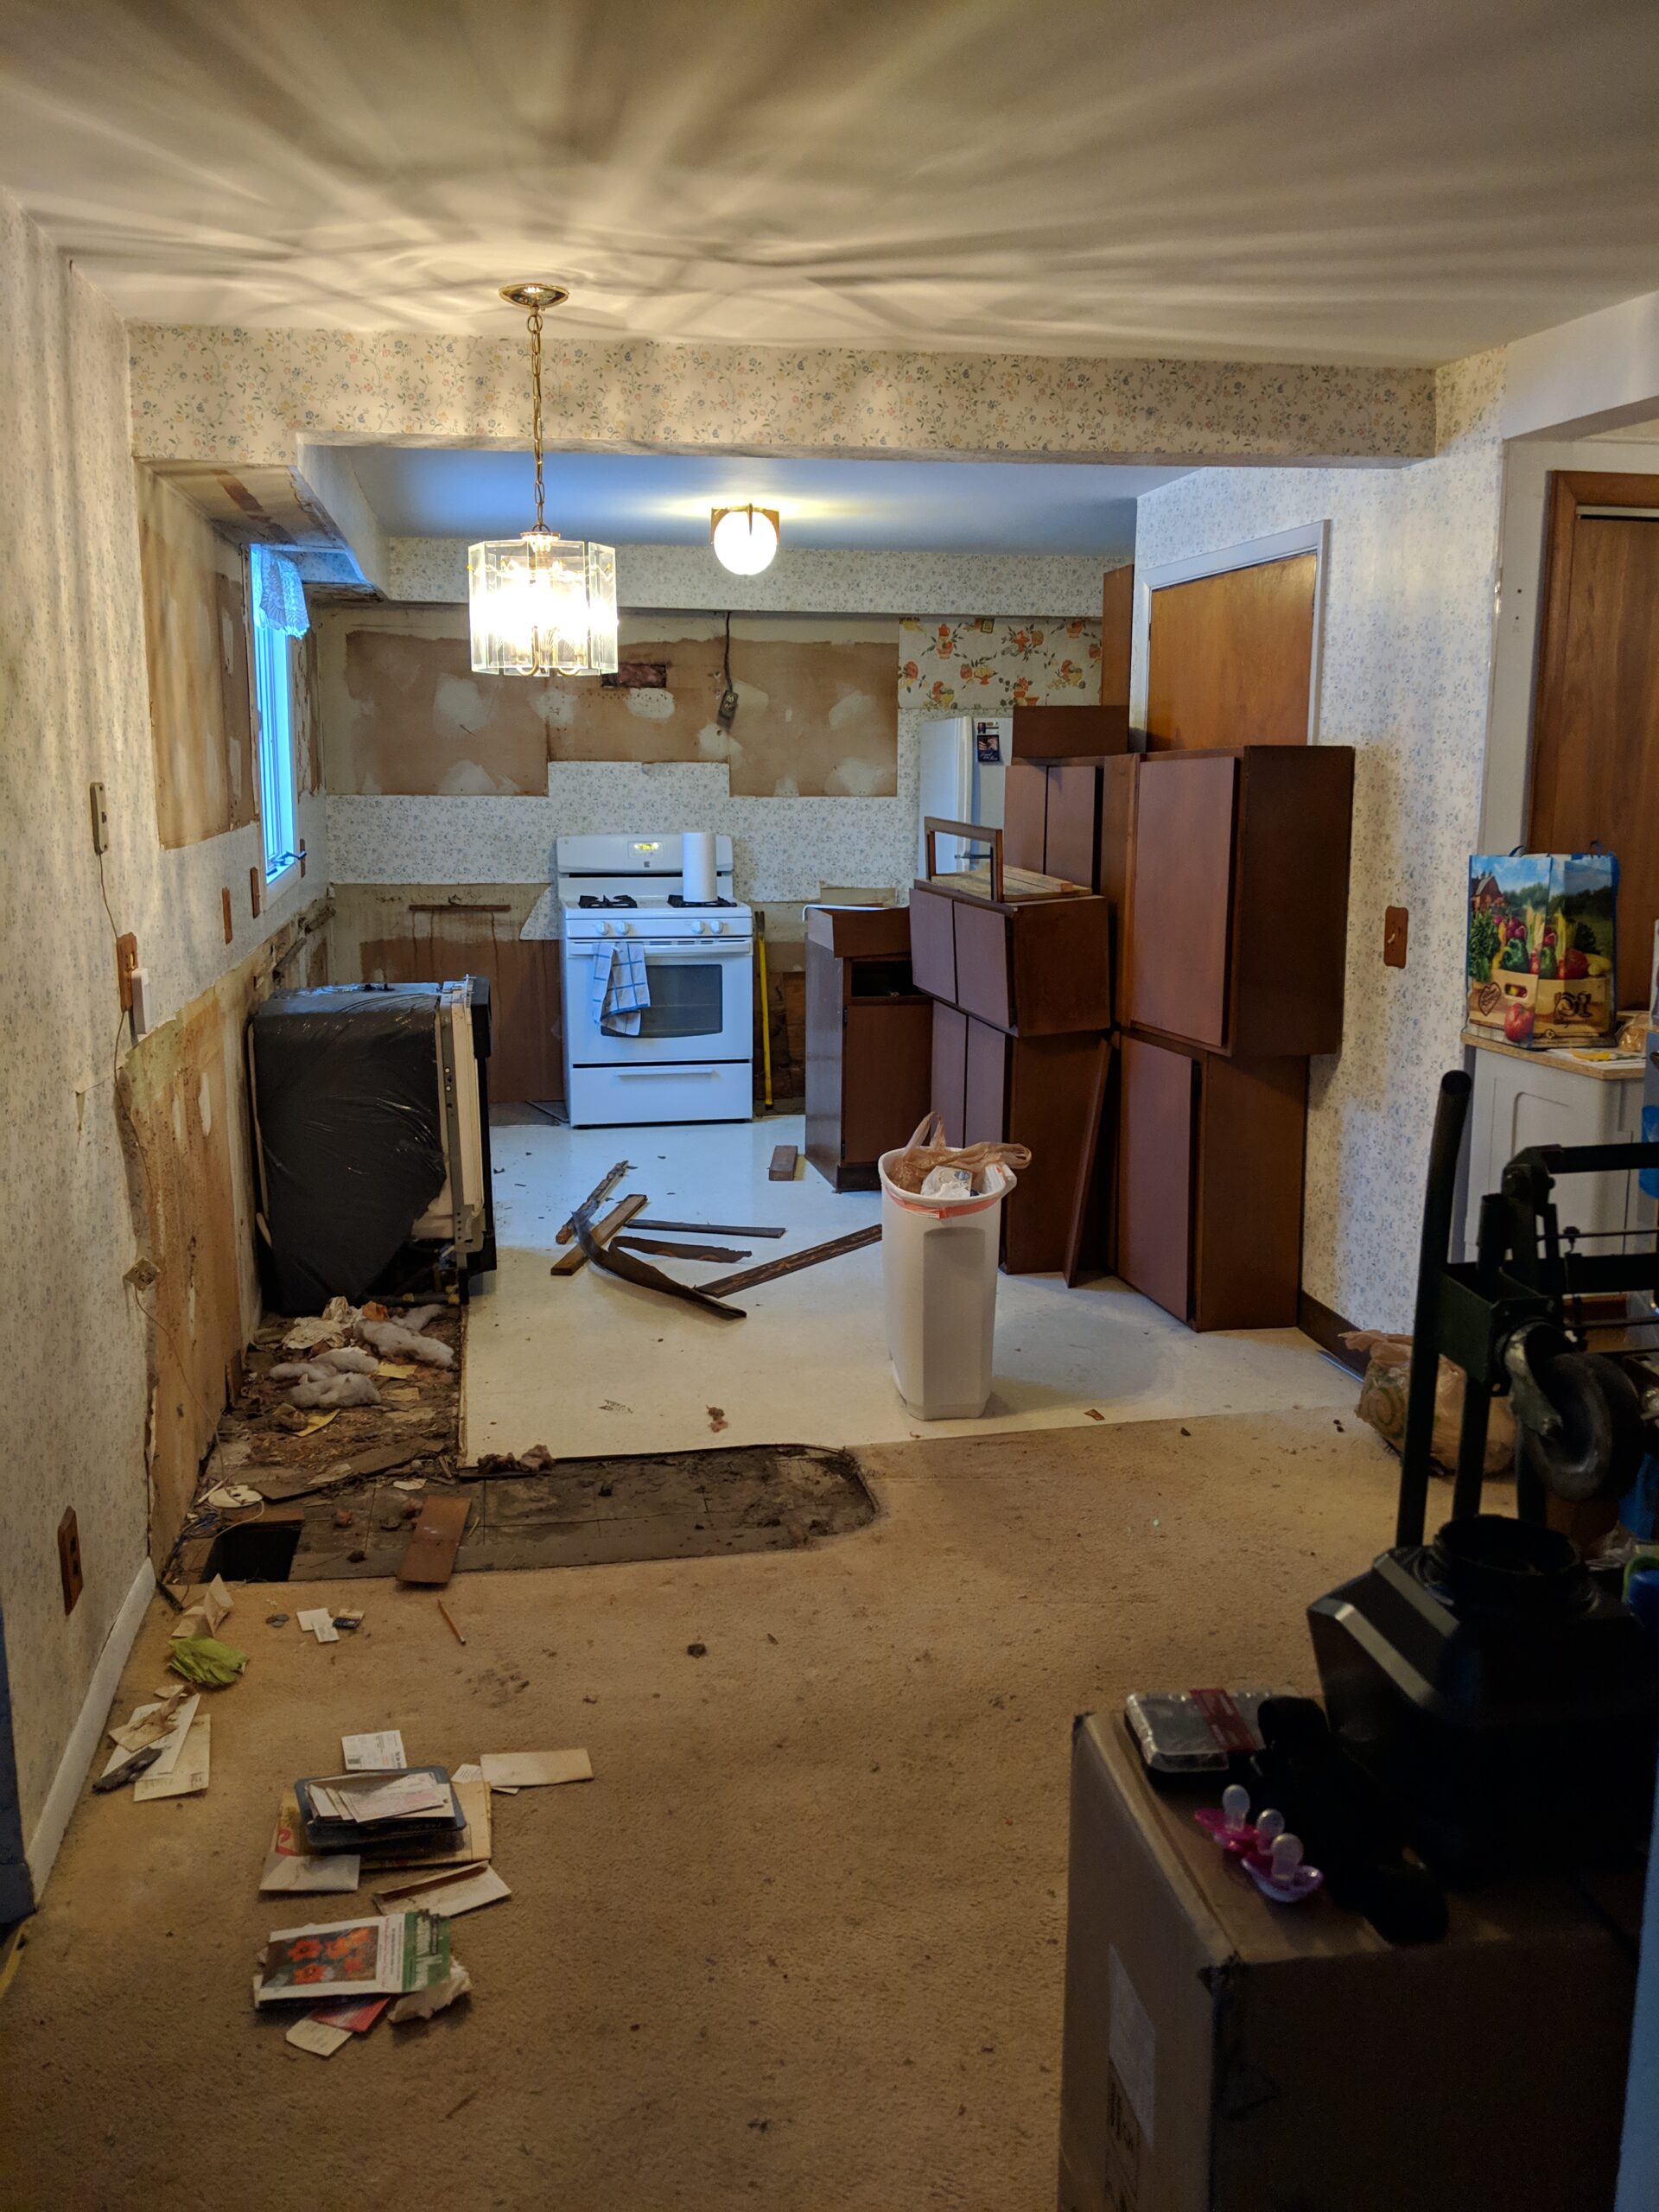
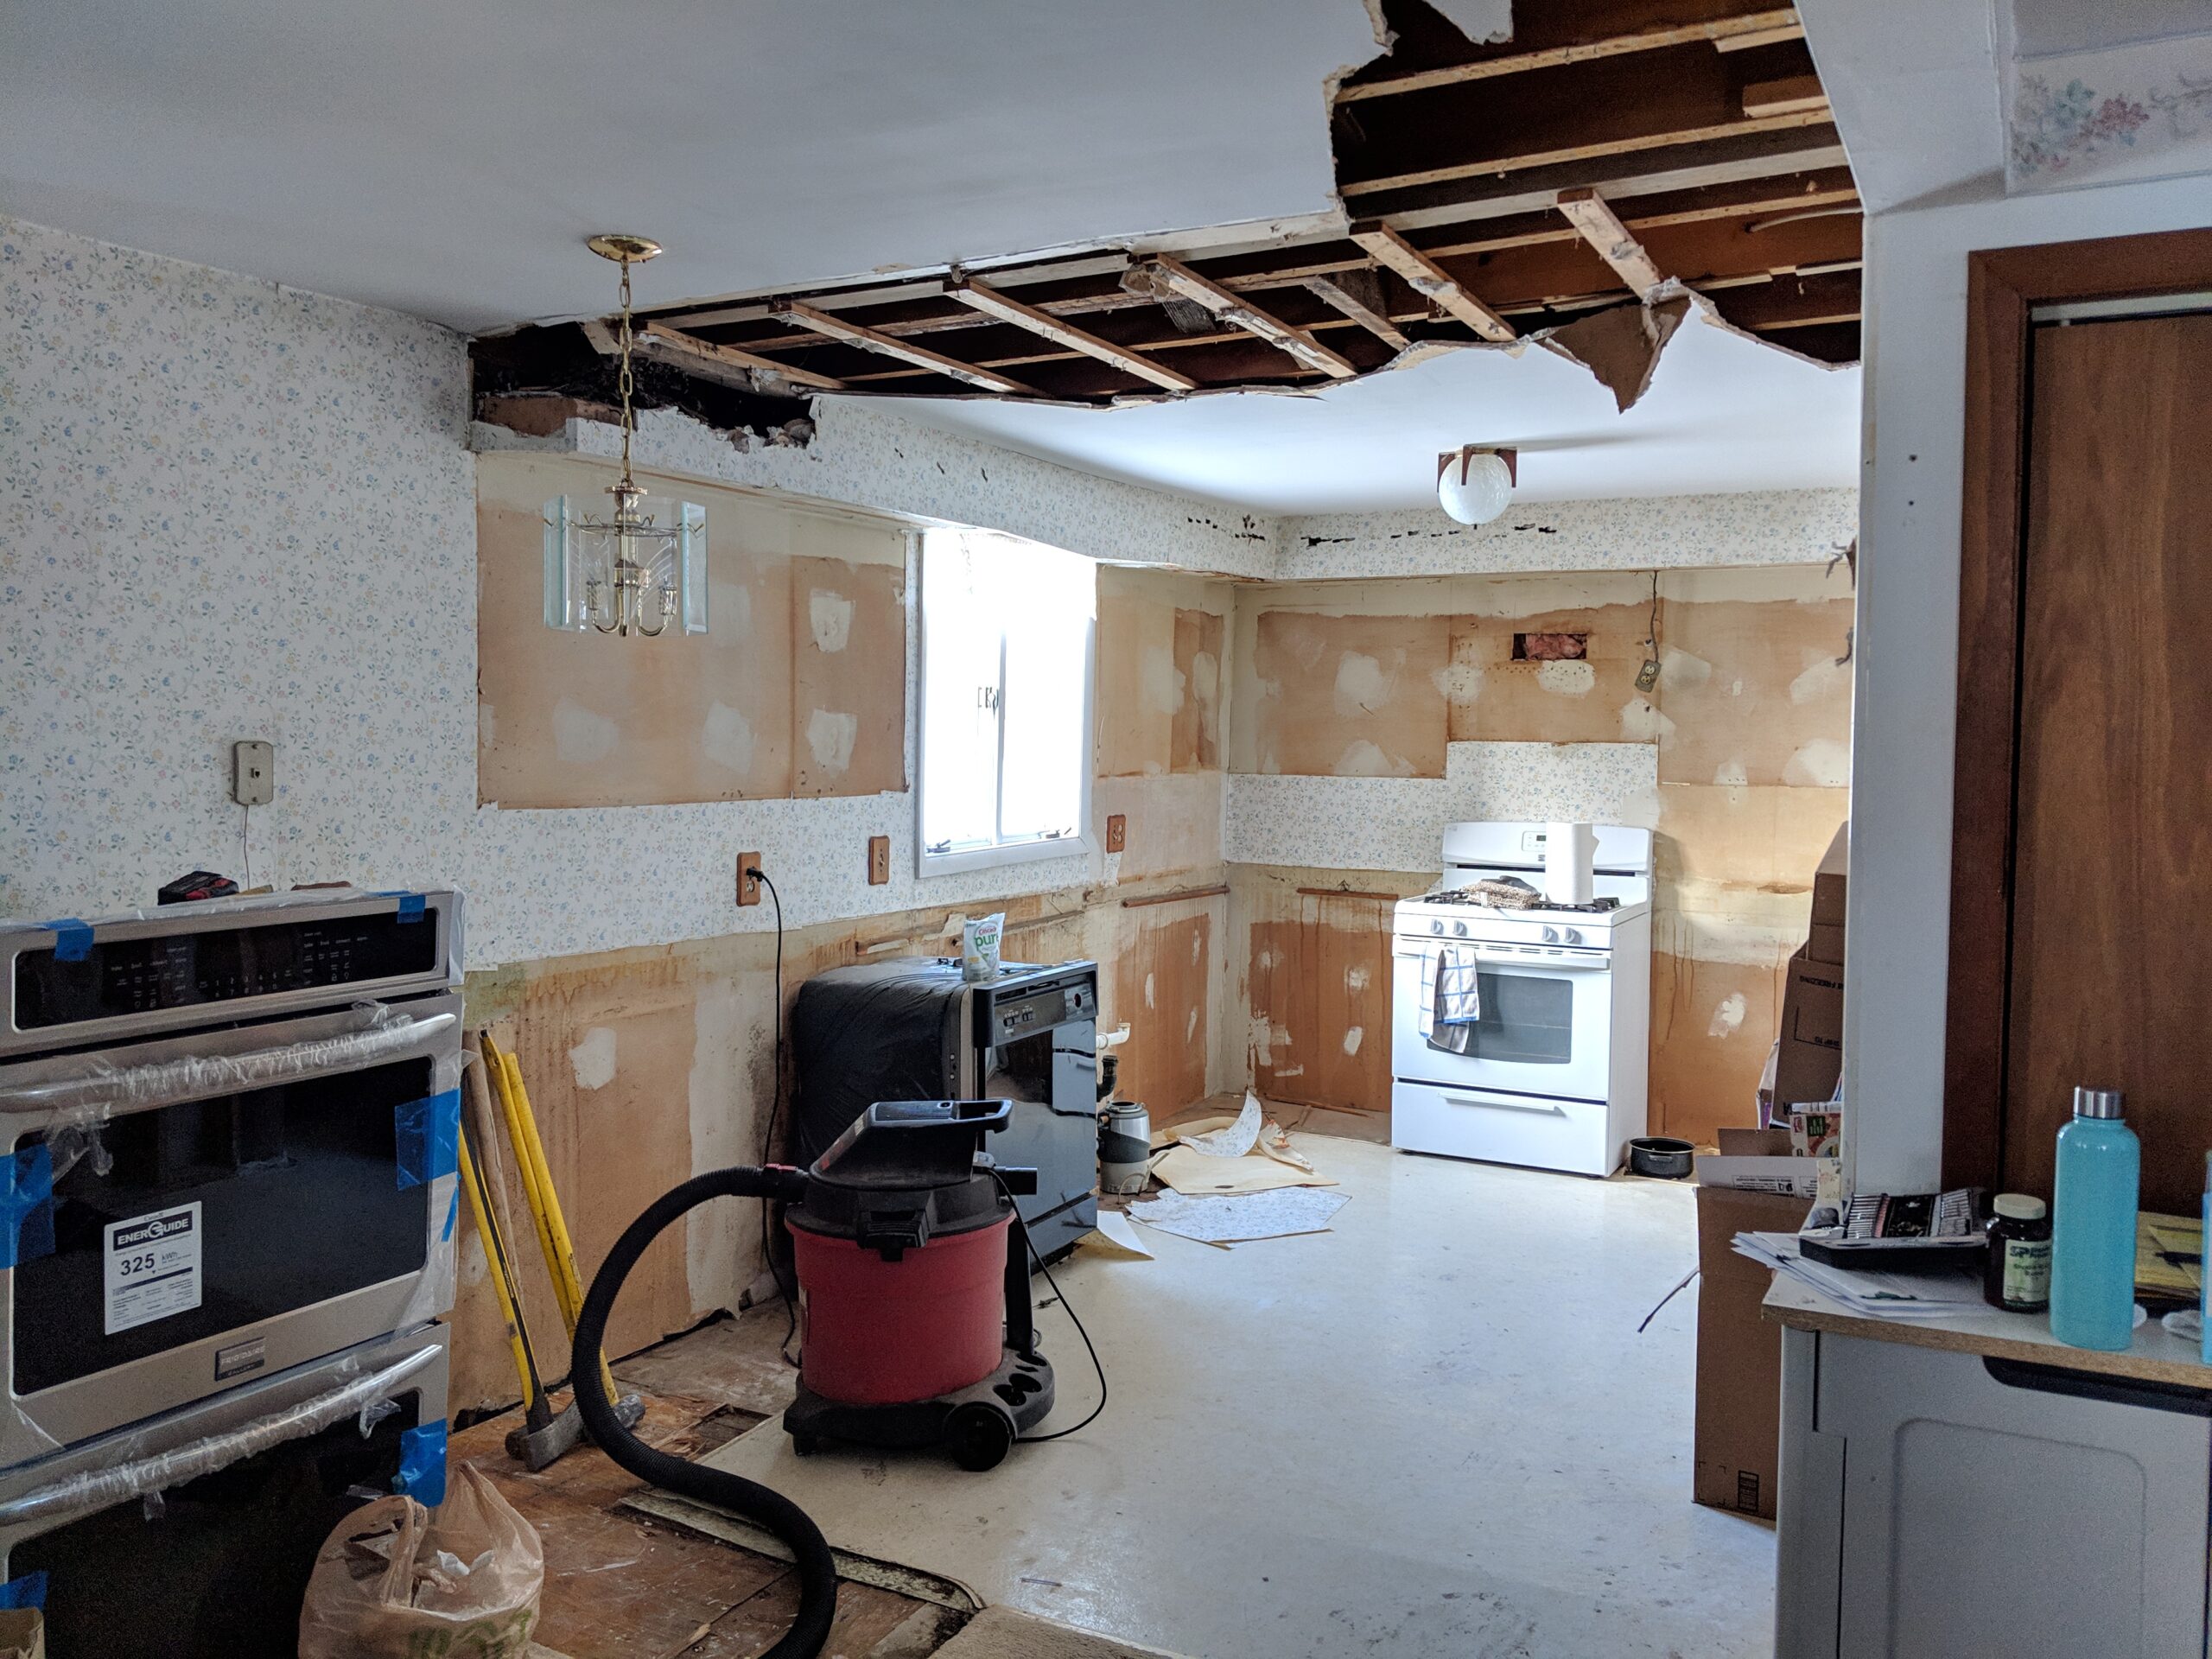
This is what we were left with. Beautiful. *gag*
We opened up the entire ceiling for two reasons:
- we were trying to find the source of our dreaded wasps (and we still didn’t find it)
- they SHIMMED the ceiling down so it wasn’t flush with the ceiling that was behind the beam
Face. Palm.
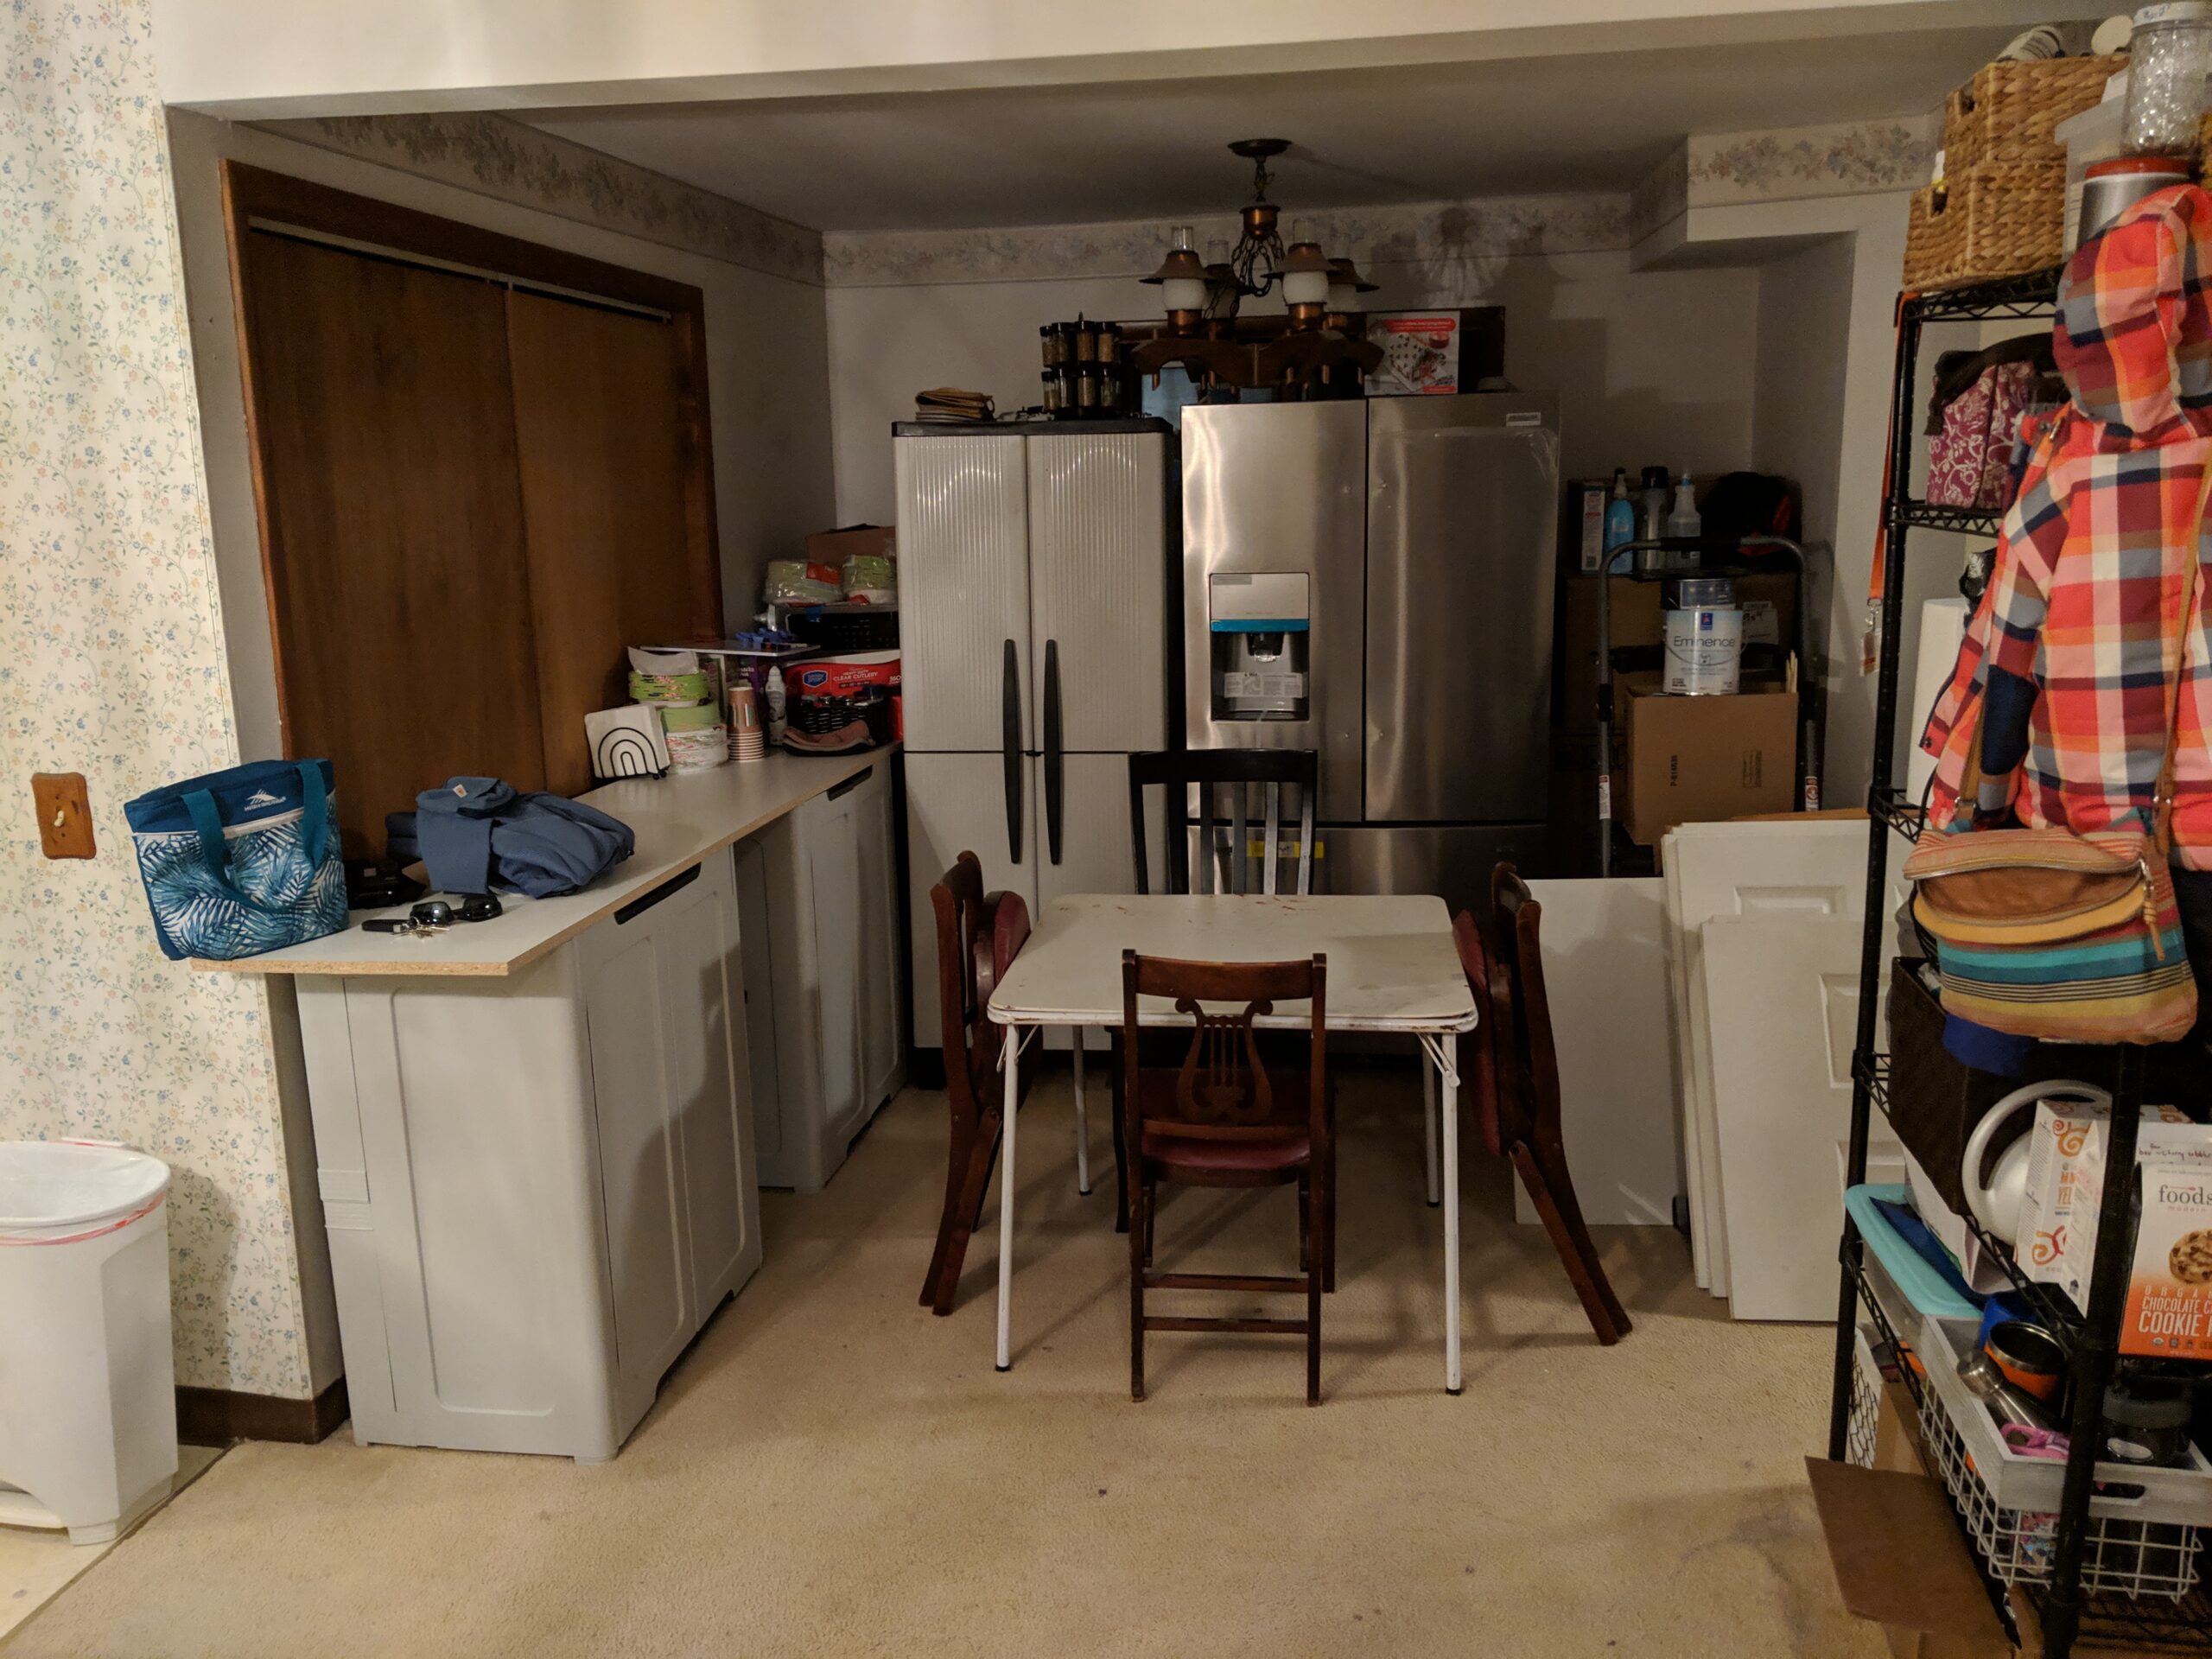
We set up a makeshift kitchen with melamine ‘counters’ and cheap garage cabinets. (This is where my kitchen cooking suggestions from our tools page came in and saved the literal day).
That functioned decently for a little while. However, it got old fast, coming from the kitchen of Fixer #2 with that glorious corner pantry and plenty of counter space.
There were FIVE layers of flooring. All of it was garbage, so it got ripped up and new subfloor was put down.
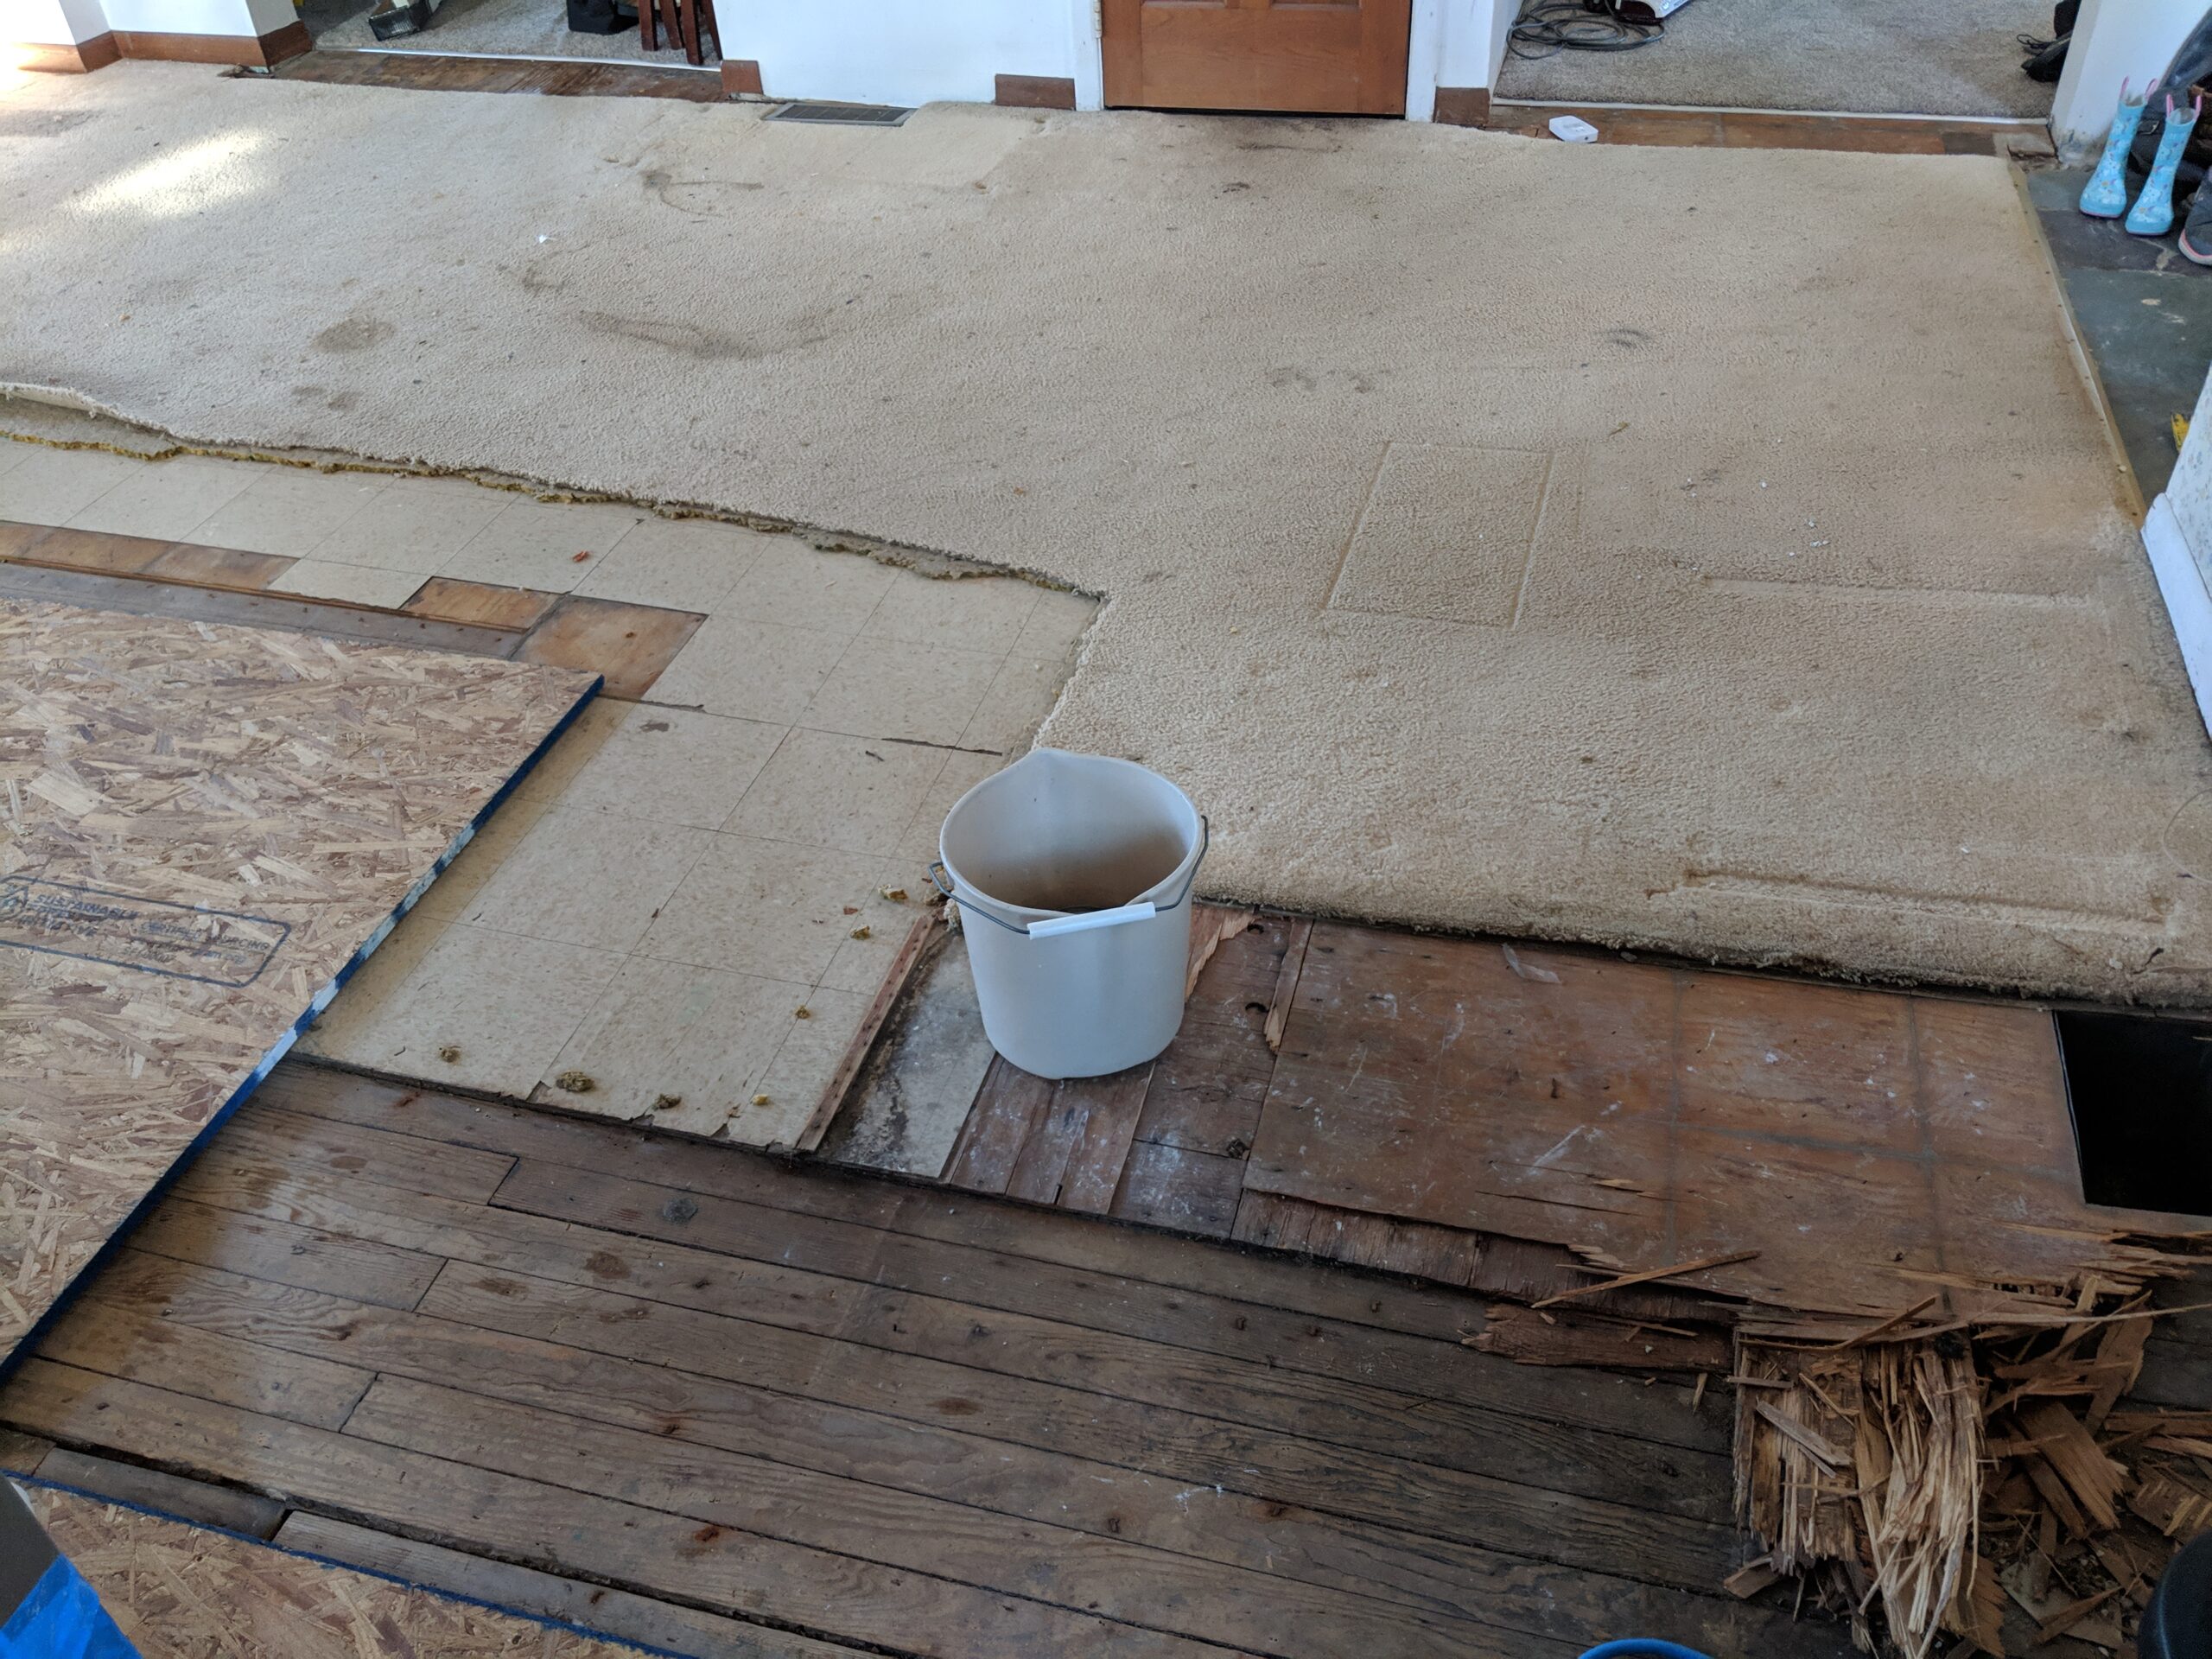
Did I make it clear that there was carpet in the DINING ROOM?
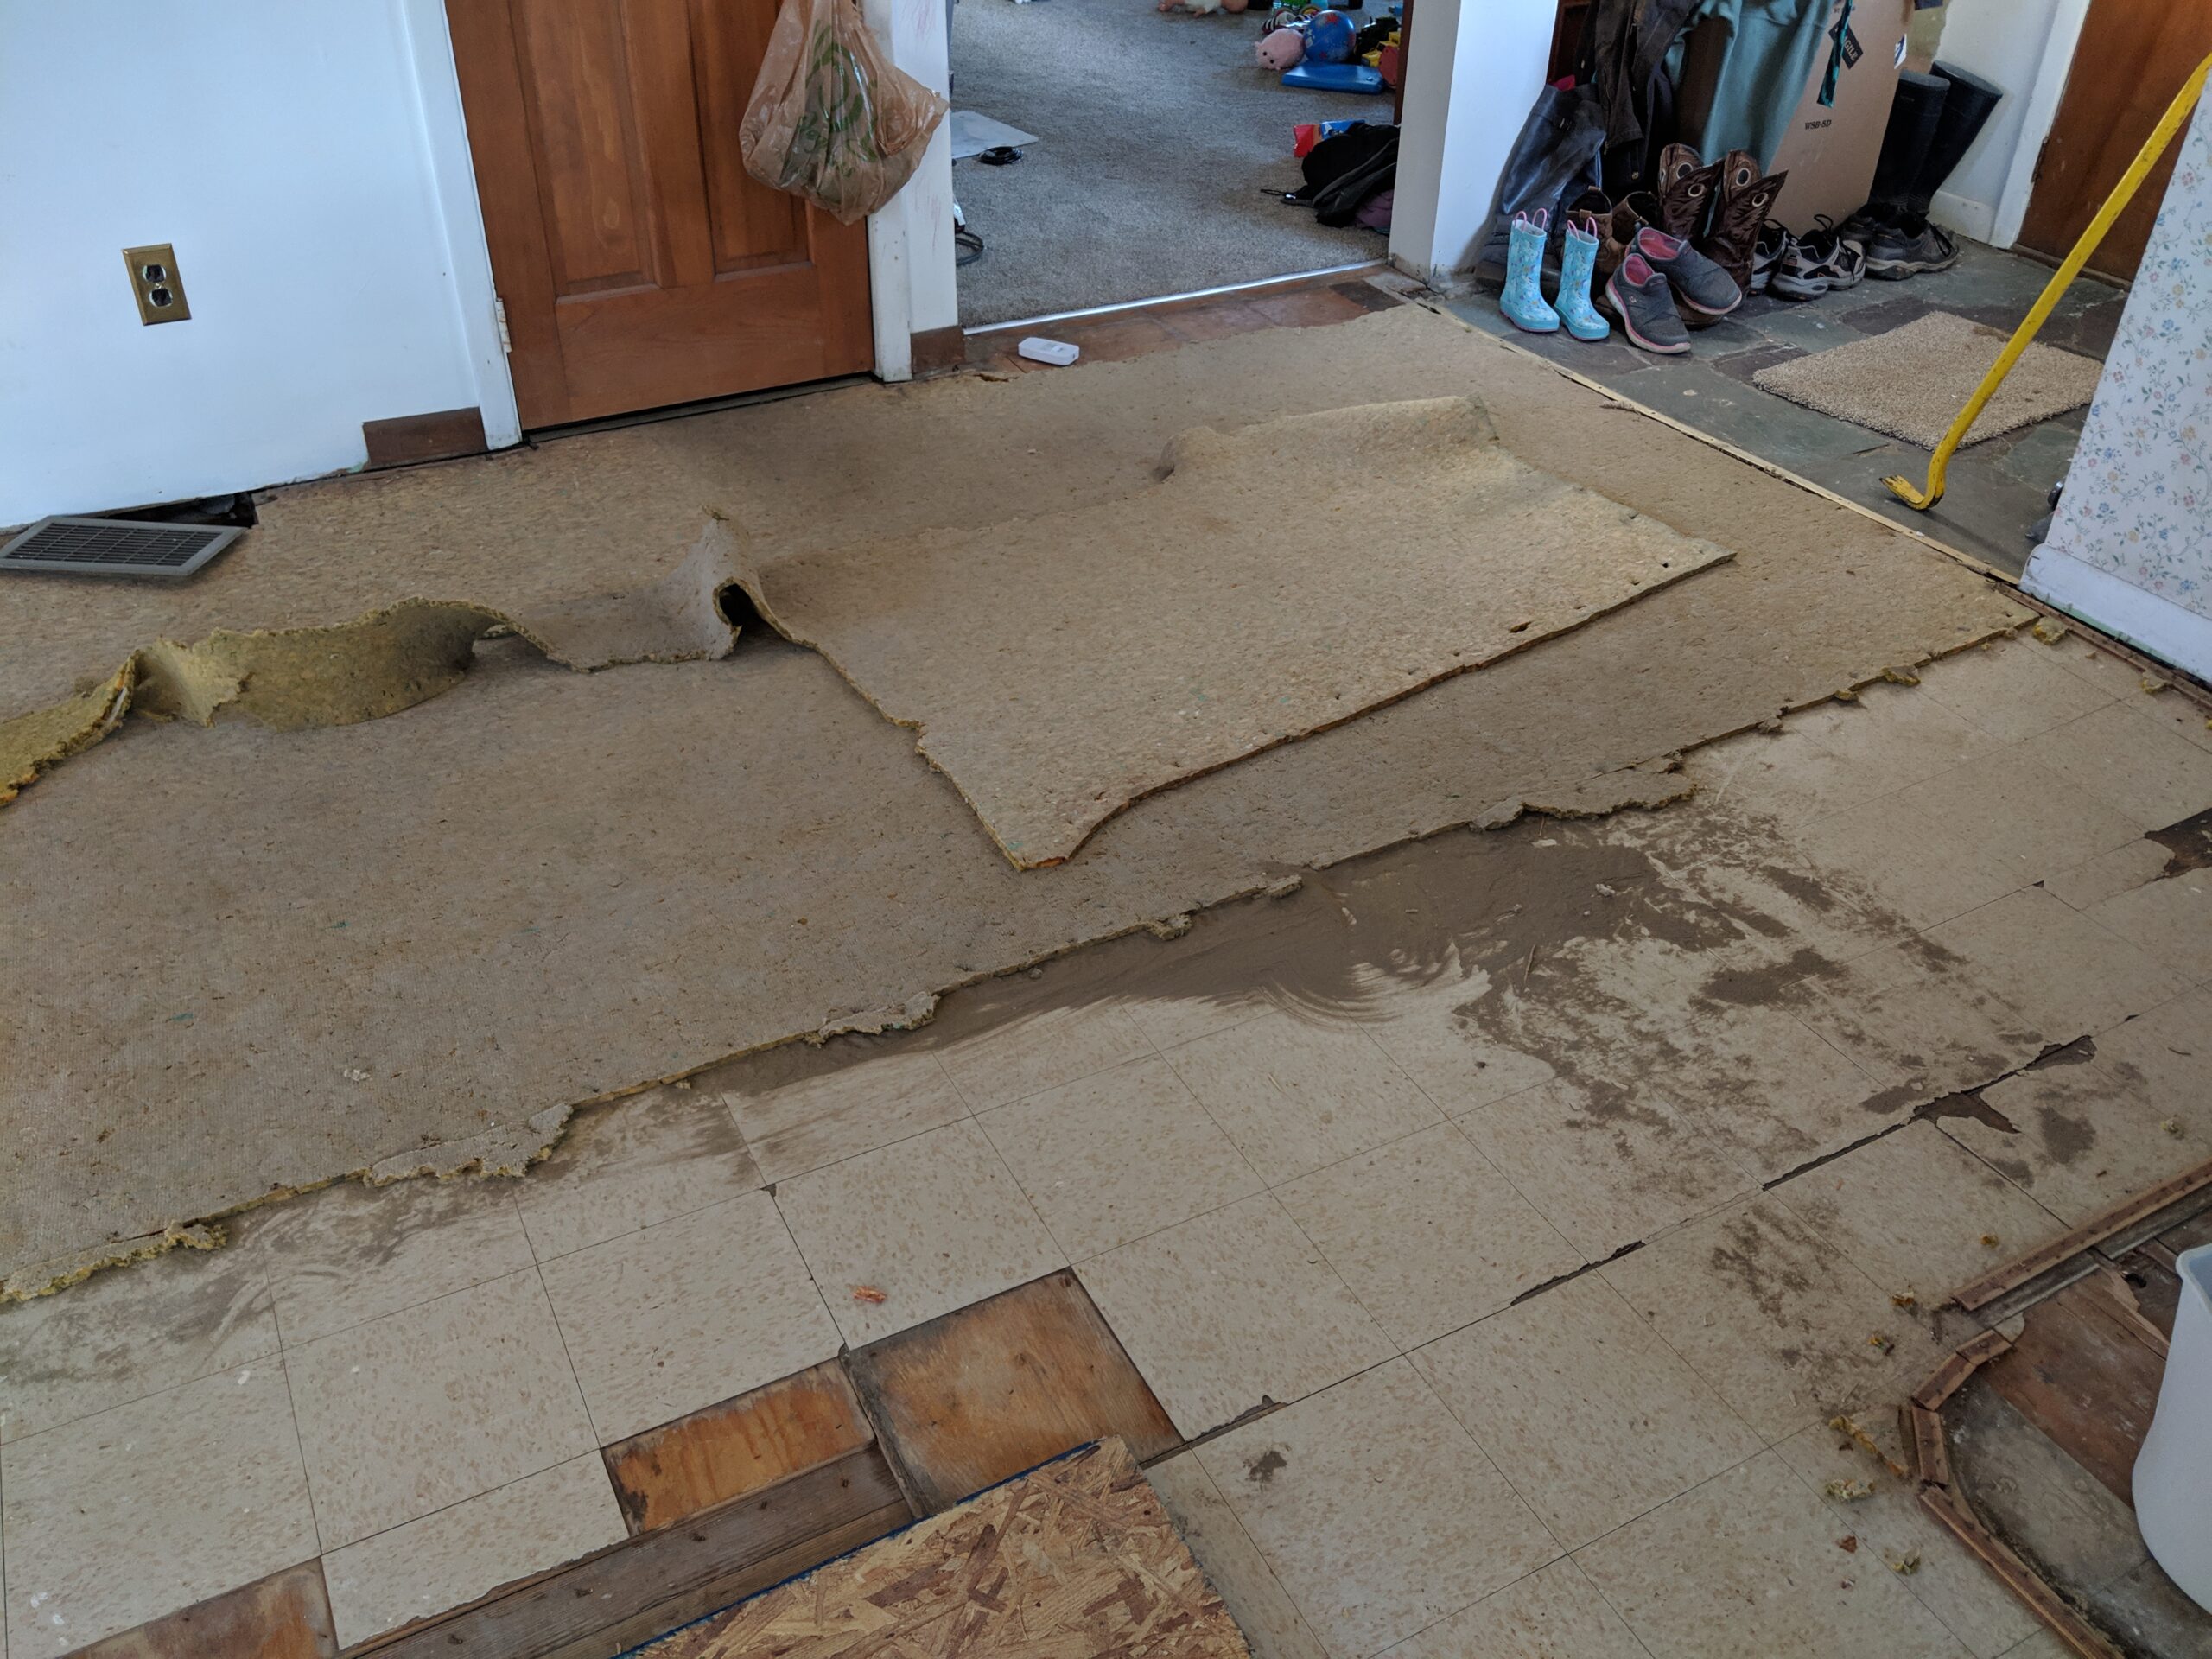
Look at the YEARS of dirt that got ‘sifted’ through the carpet and pad. It was soft and sandy, and probably the cleanest dirt you could find, HA.

So there was carpet, pad, stick down tile, paneling that the tile was stuck to, hardwoods (that were too damaged to refinish) and subfloor.
Keep in mind, all of this was happening on weekends and week nights after hubby got home from his full-time work. Demo day became demo month. Plus.
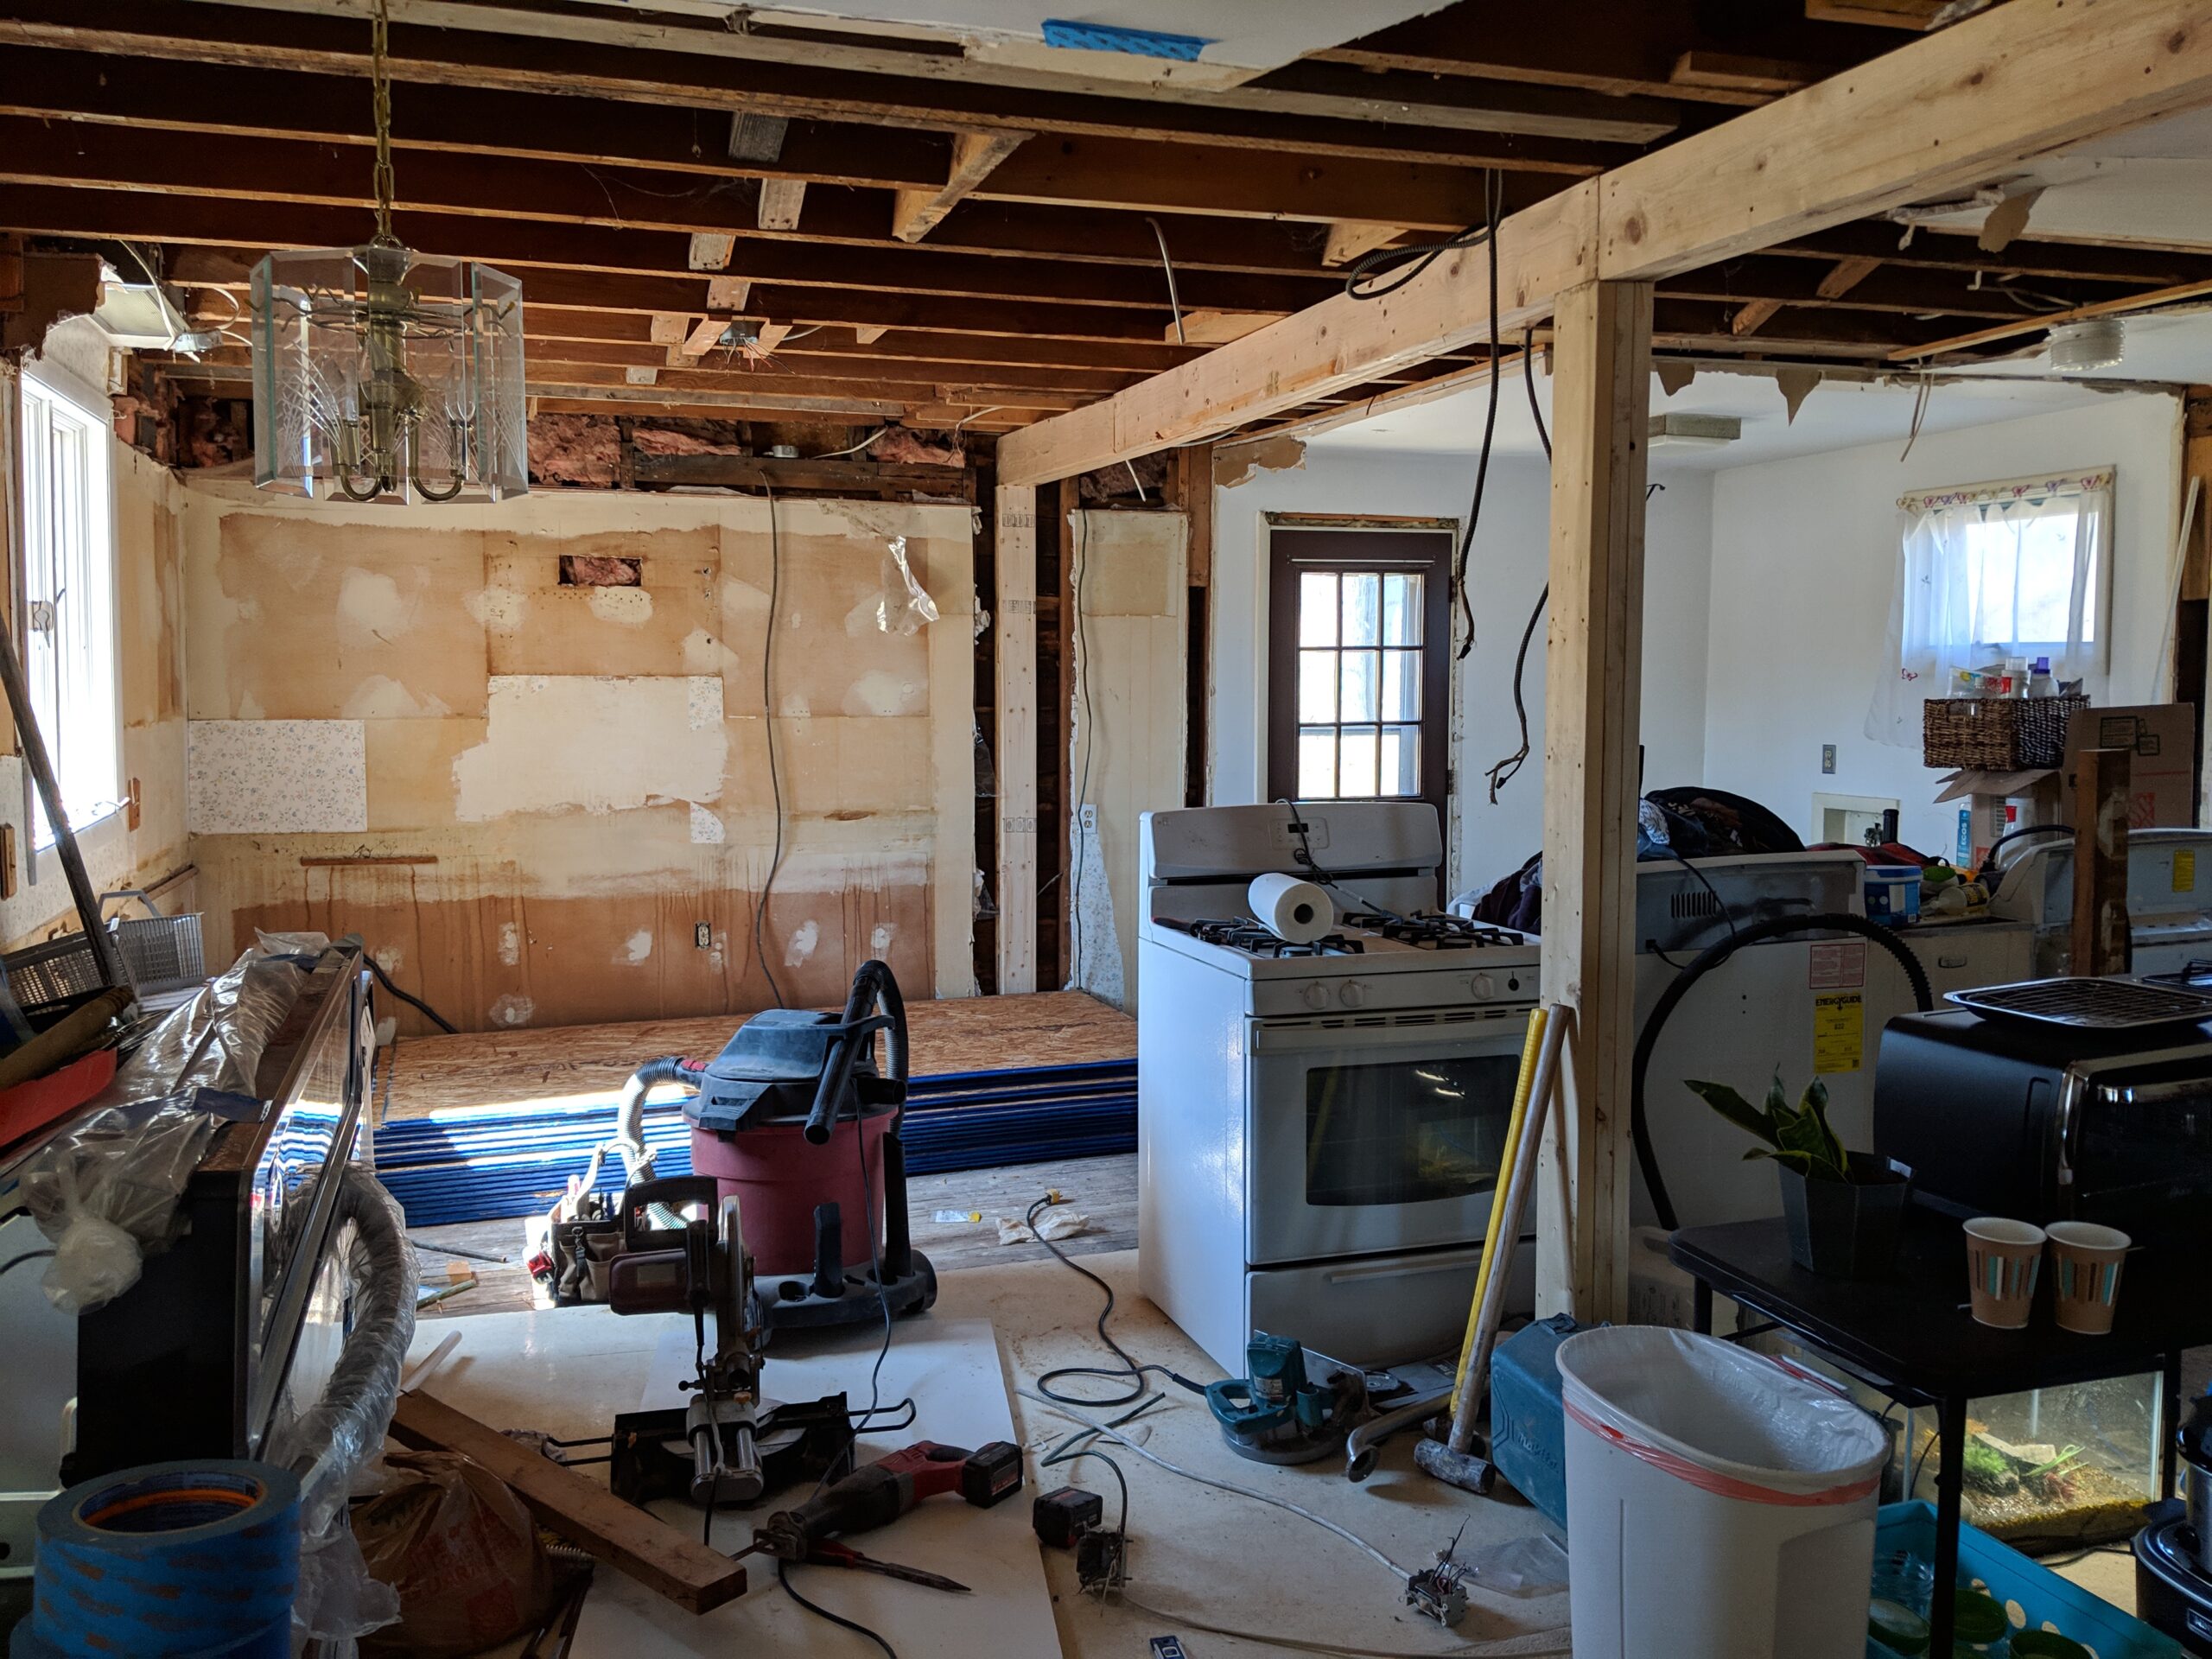
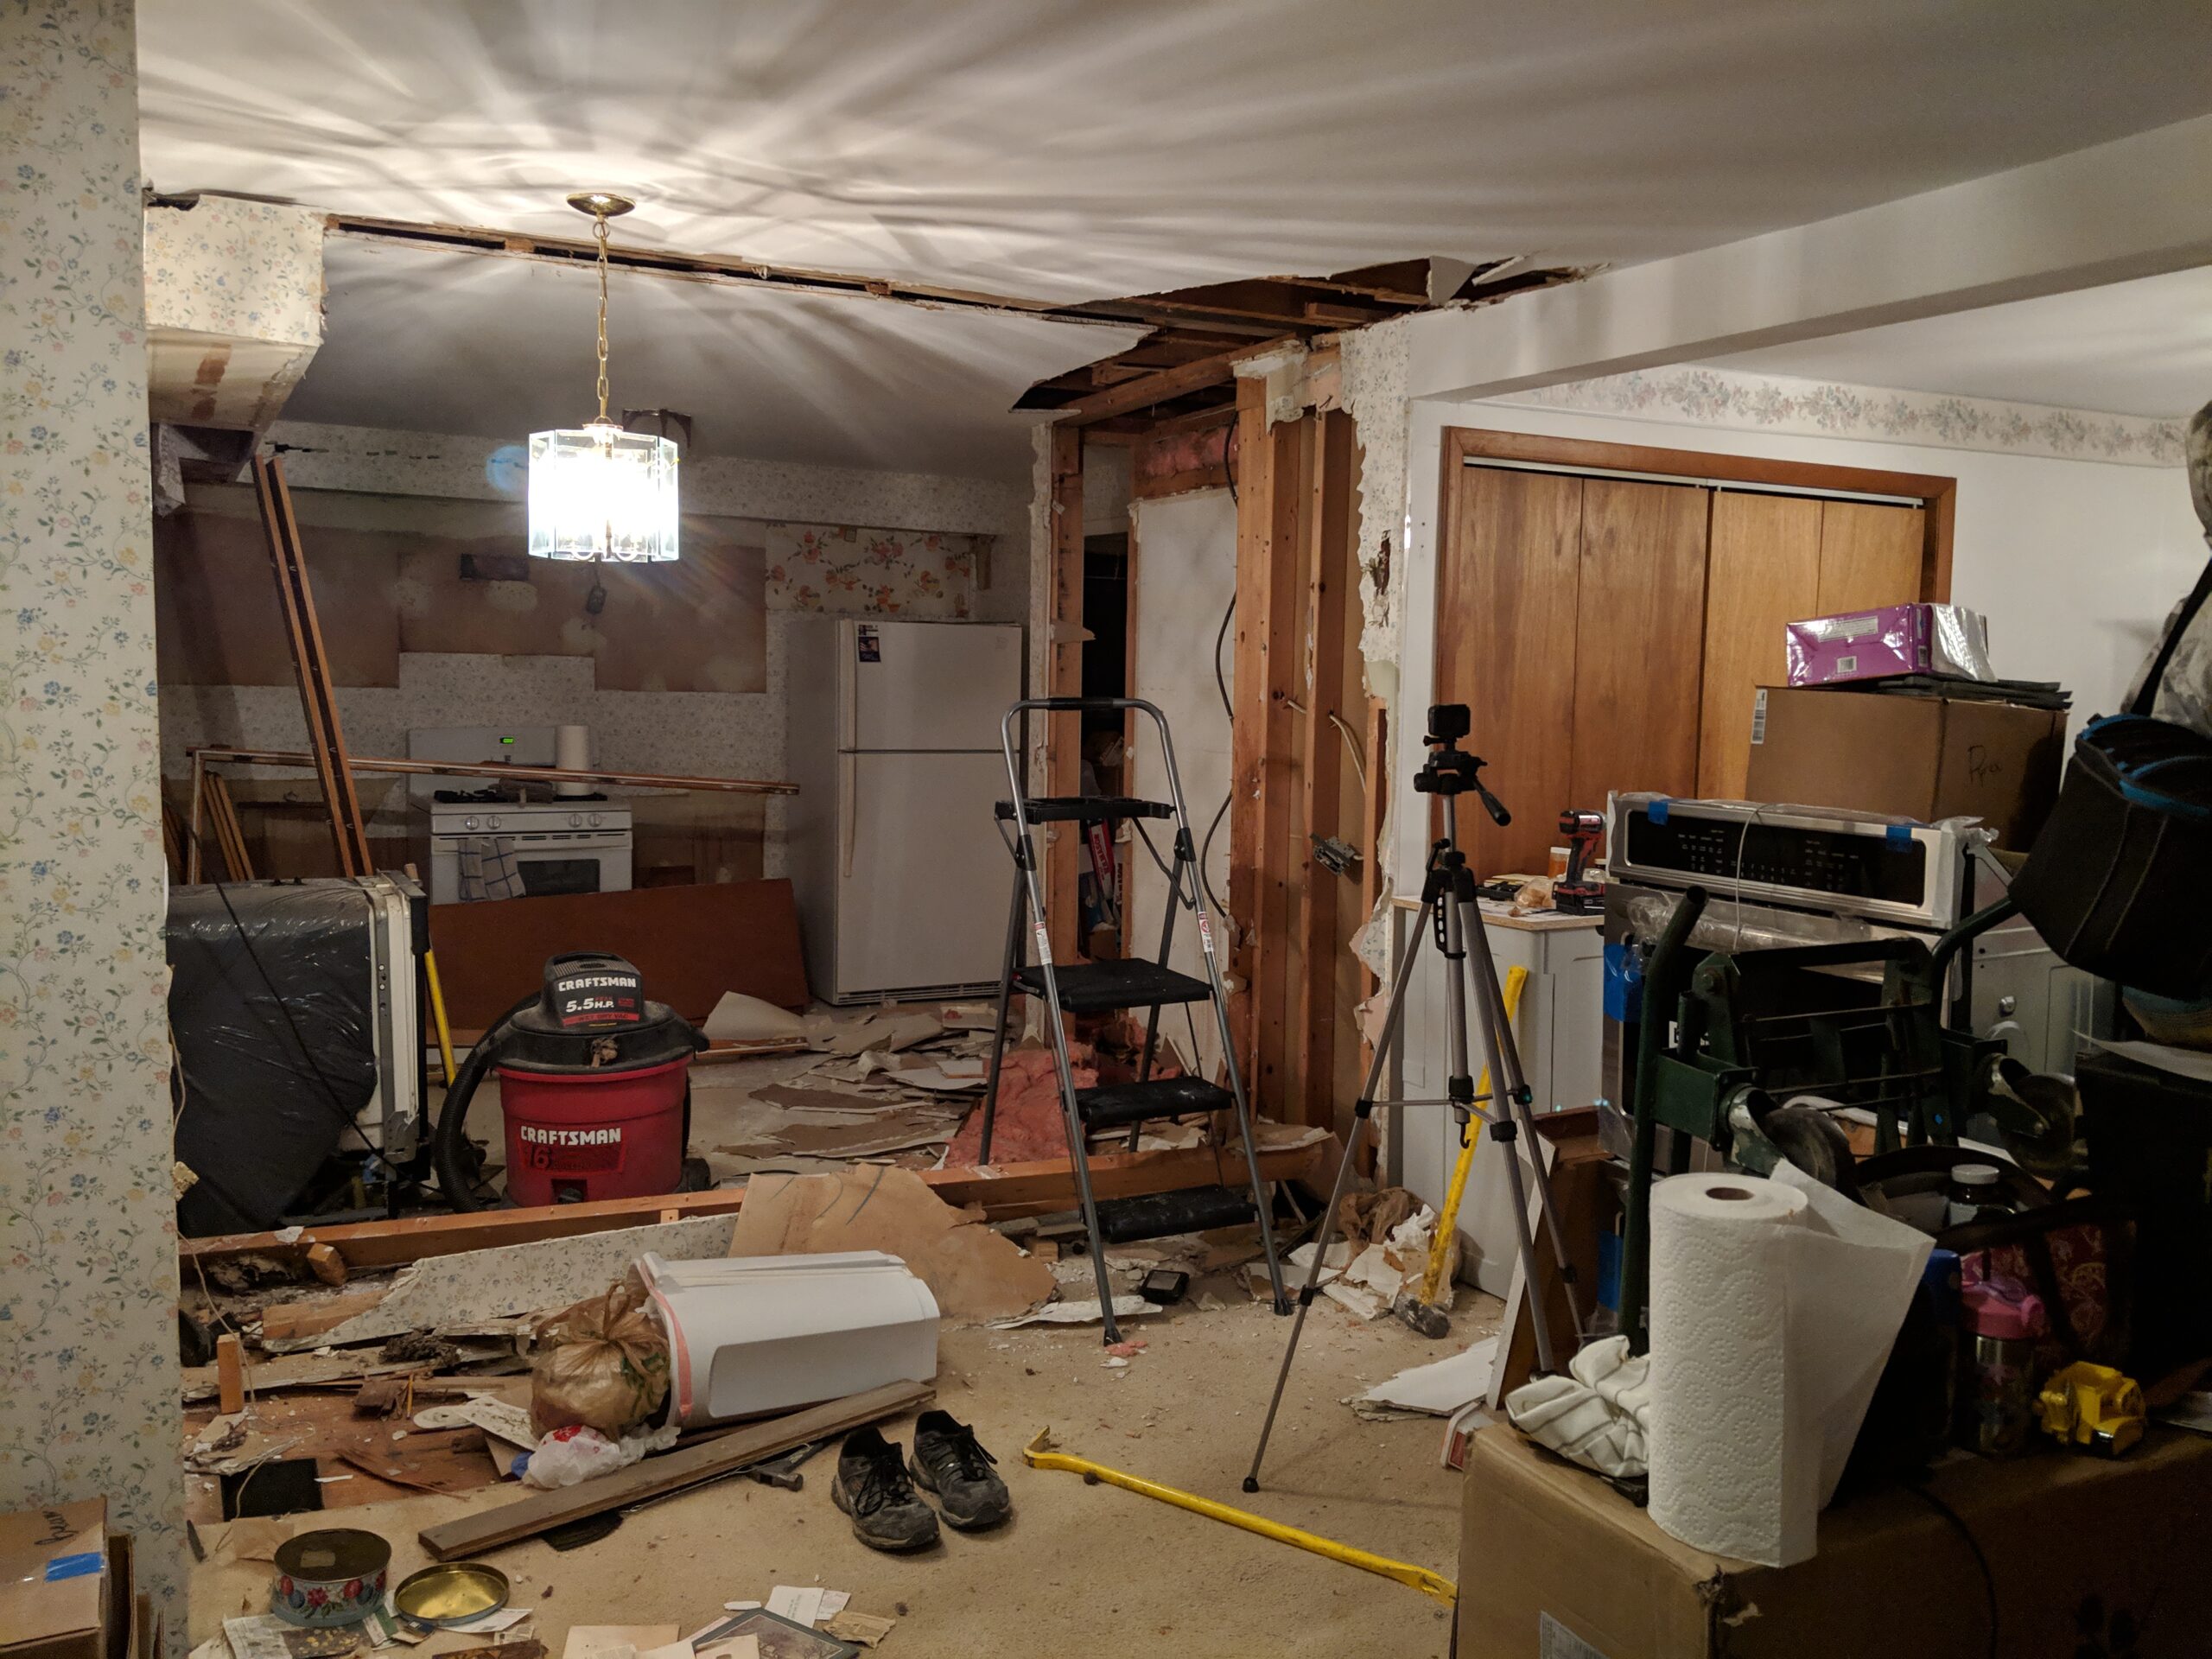
This is a good view of the chaos we lived in for so long. Notice the bathroom walls (to the right) are gone and the pile of subfloor waiting to go in. At this point, we’re about to start rebuilding everything.
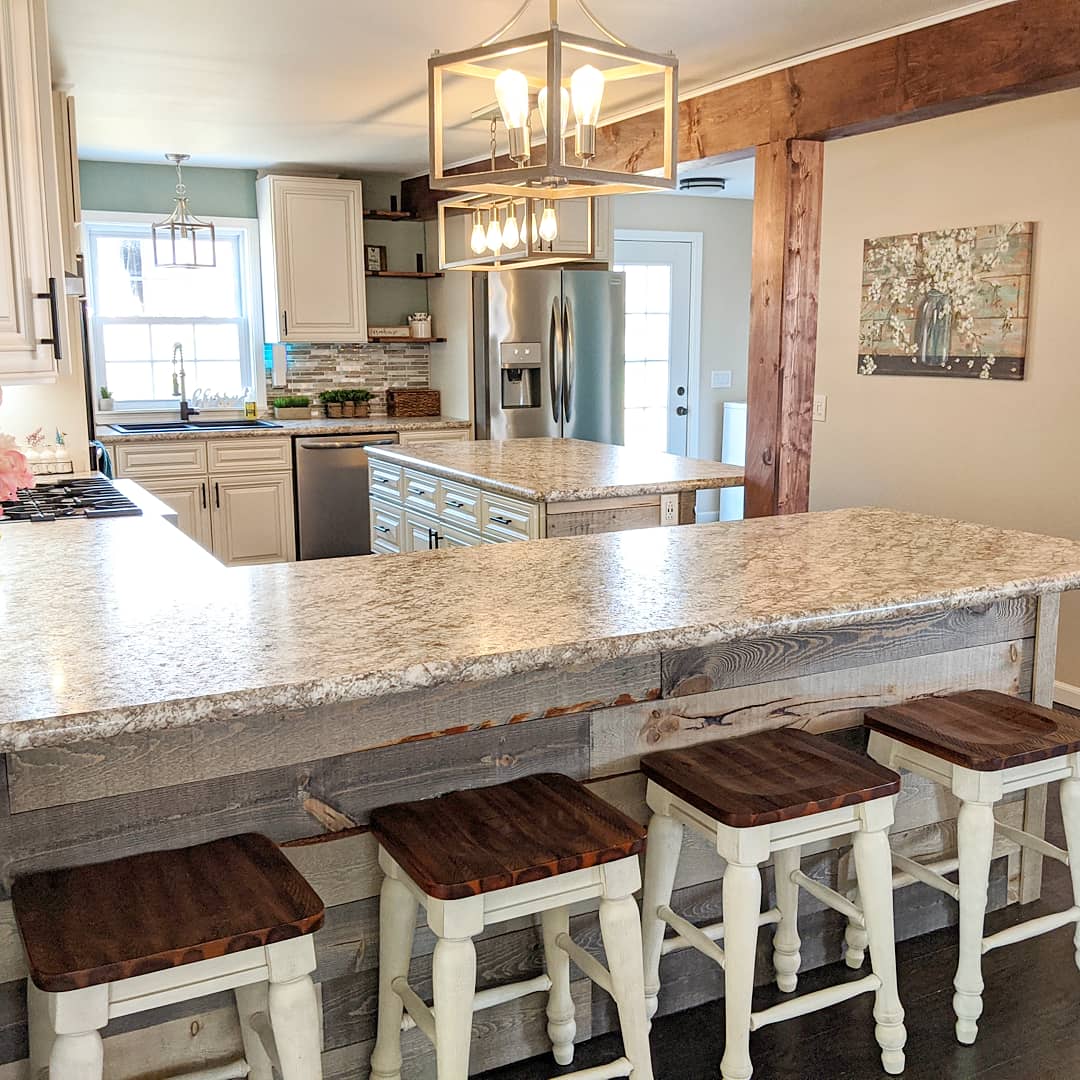
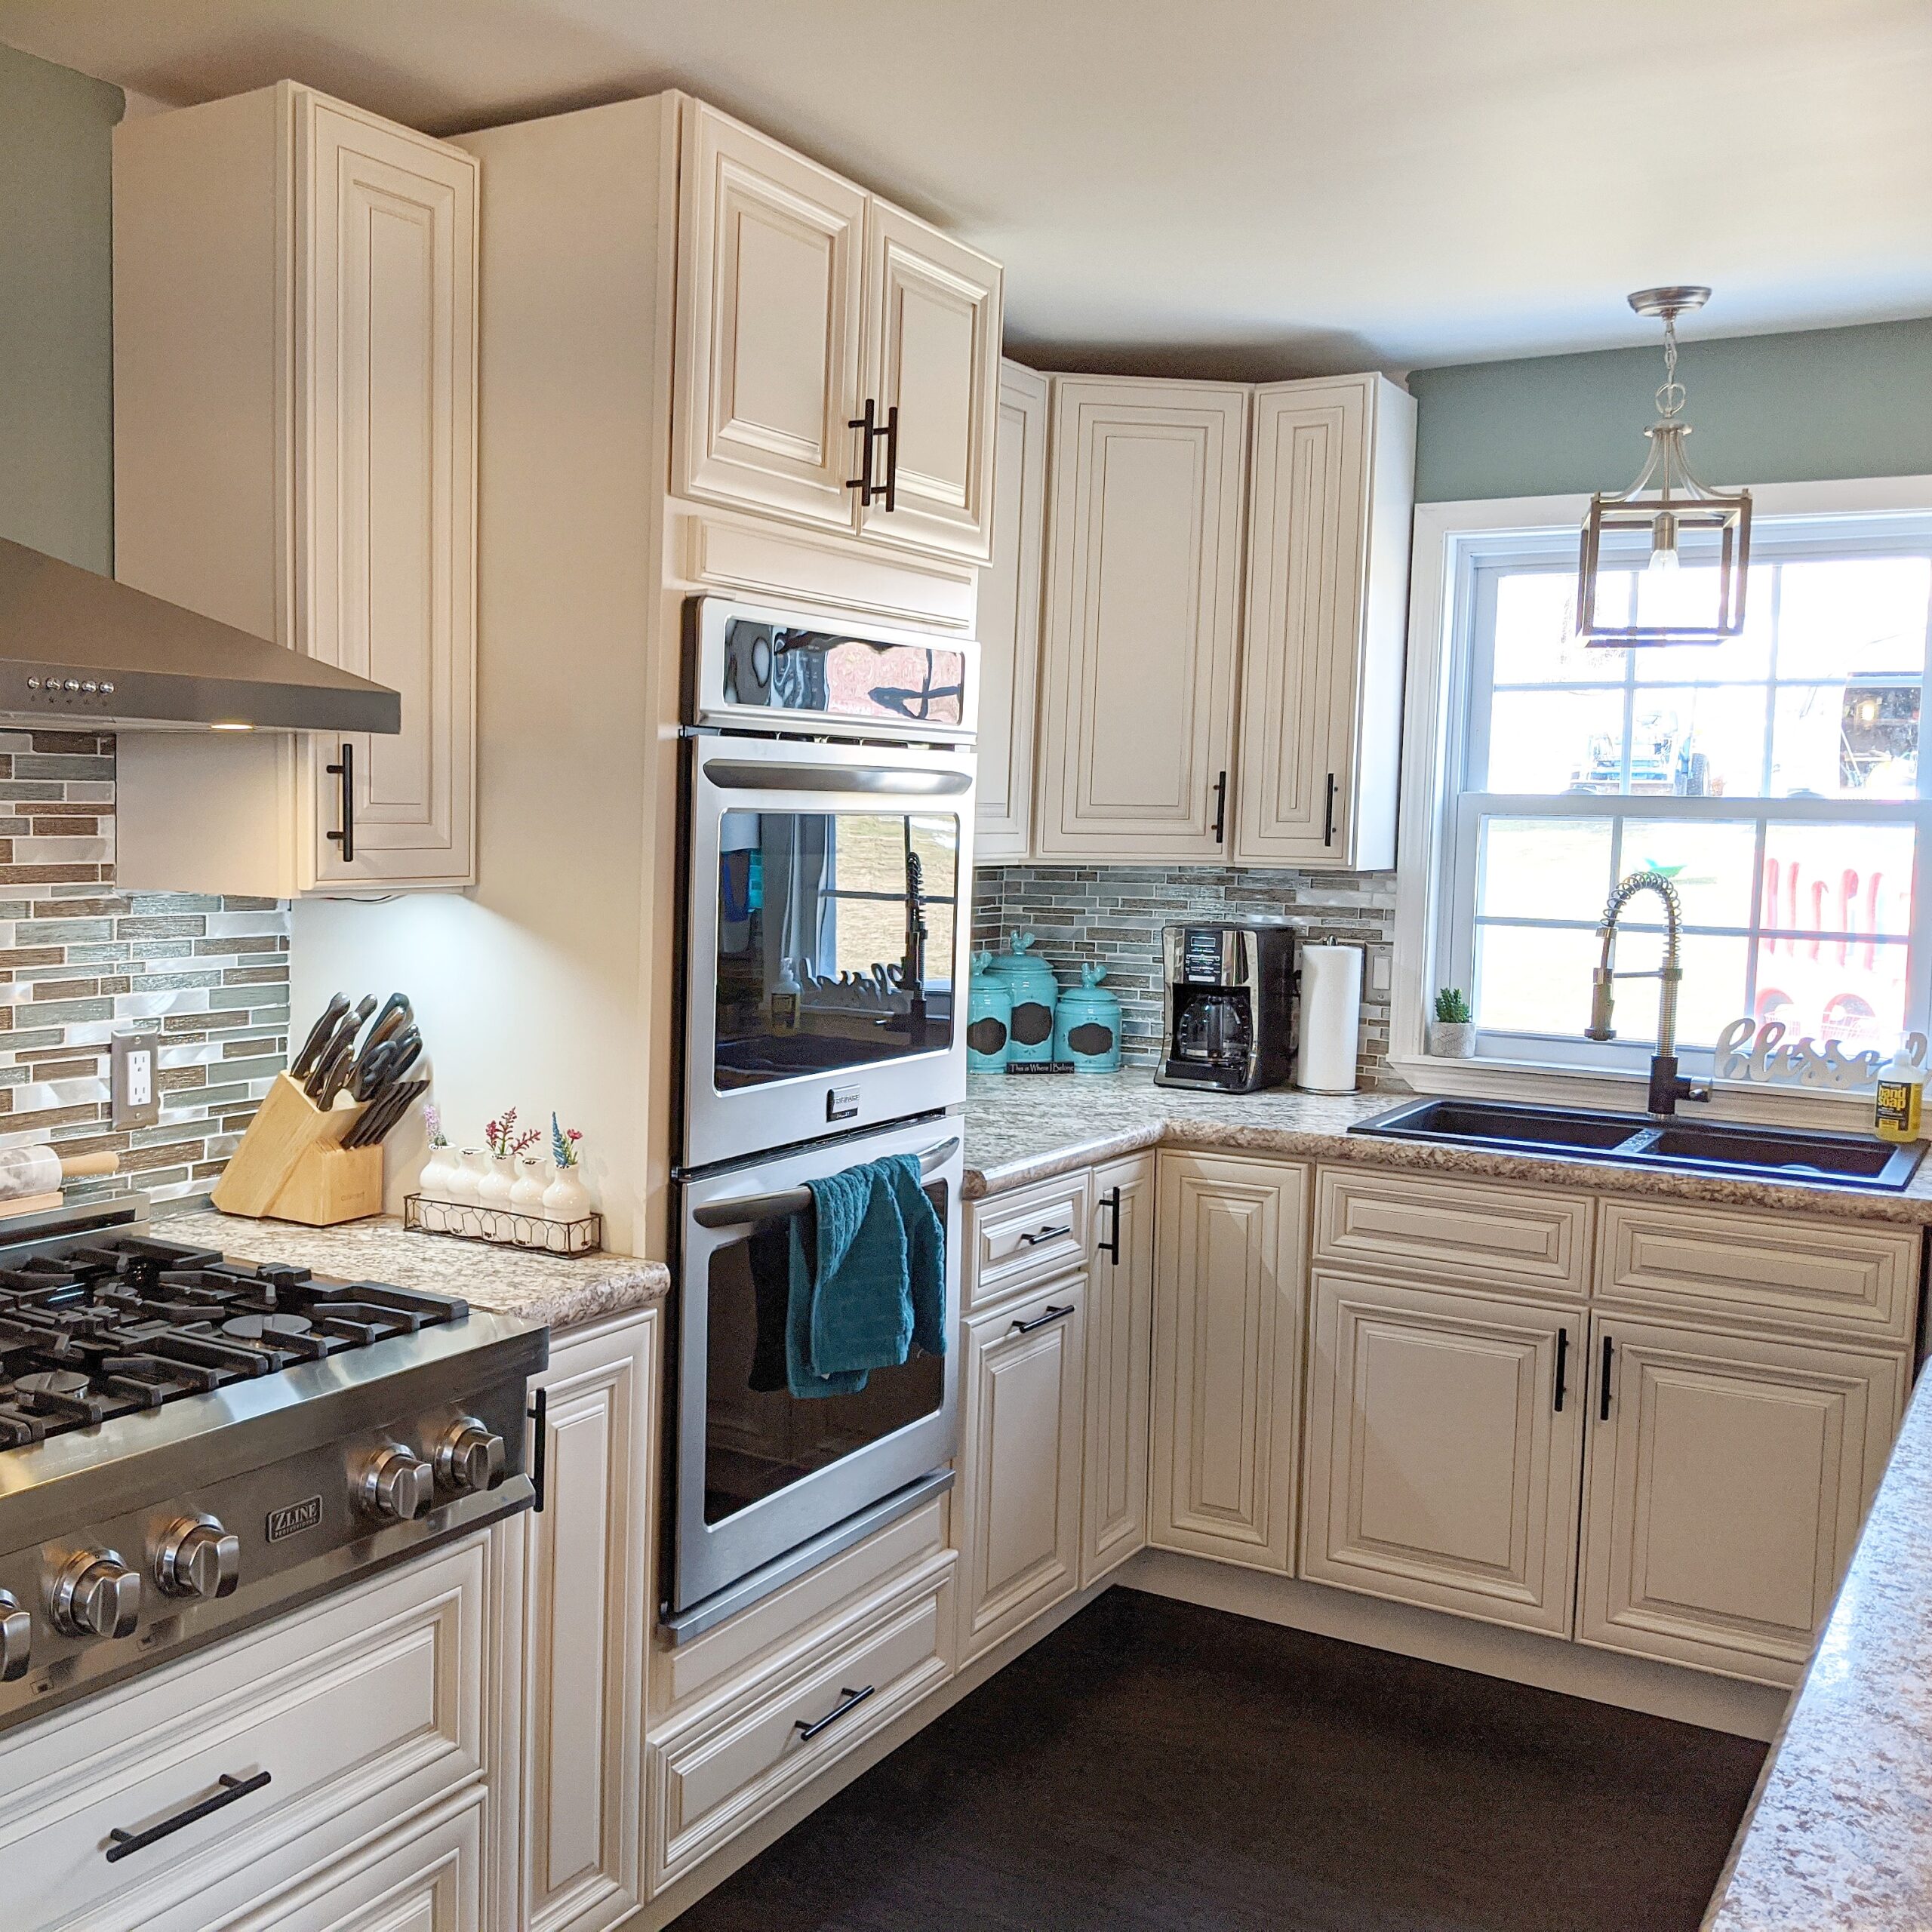
The whole project ended up taking way longer than we hoped, (4 long months) but hope (and hard work) does not disappoint and we finally got to the point of having a gorgeous, functional kitchen.
Kitchen After:
Want to see more of this DIY kitchen renovation?
- Tips from How We Survived 4 Long Months Without a Kitchen
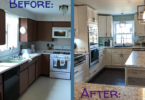
- Our Complete Kitchen Transformation: The Before & After


[…] Note: The above picture is of Fixer #3, our Victorian Farmhouse in the hills of NY, after we put a new roof on it. We were knee deep in kitchen renovations on it at the time. […]
Wow! That DIY definitely looks like a professional contractor’s work. Love what you did to the kitchen. Also love reading and seeing those “hidden treasures” behind your old cabinets.