Are you at a point you can’t STAND the kitchen you’re forced to cook in? I’ve been there. Three times now. Here’s some inspiration and tips on how you can update that old kitchen and make it a place you WANT to be.
Now, are you looking for a small scale, cheaper update?
Or a full scale, do-it-yourself, down-to-the-drywall, major renovation?
We’ve done both, numerous times, but we definitely have most experience in the full-scale, major rip-out kitchen renovations. Keep reading to watch us update our old kitchen and for some important tips for YOUR kitchen update.
Our Latest Old Kitchen Update
Out of the three houses we’ve fixed, while living in them, this kitchen (below) was the ‘worst’, considering how much work there was to do.
It technically wasn’t any grimier than Fixer #2’s kitchen, and it was even a bit more ‘upscale’ in that the cabinets weren’t DIYed into the wall.
But we had more walls to remove and rebuild, a massive beam to put in, and it was an all encompassing project that included the kitchen, dining room, bathroom, foyer, back entry, and laundry area.
How We Updated This Old Kitchen: Before
The cabinets were decades old, with years of grease and dirt caked on them. Some were broken with the doors falling off. They were dark brown and added to the overall drear felt in that part of the house.
The peninsula with seating was tiny and in a carpeted area.
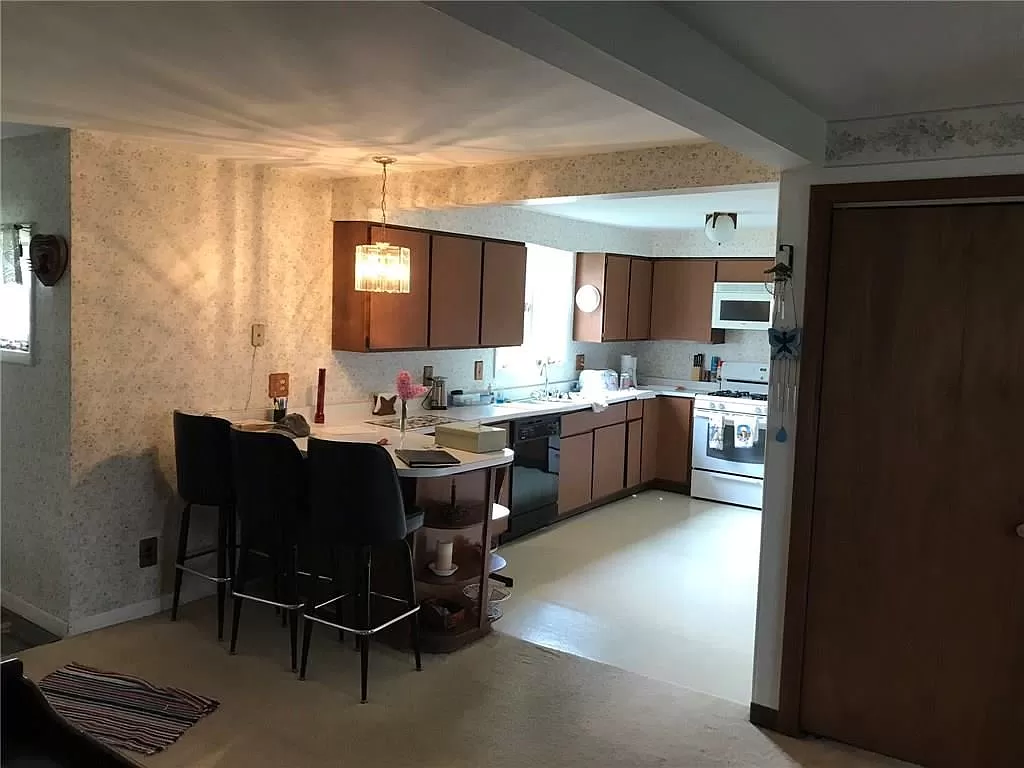
Countertops were white, with speckles.
Everything was wallpapered, everywhere.
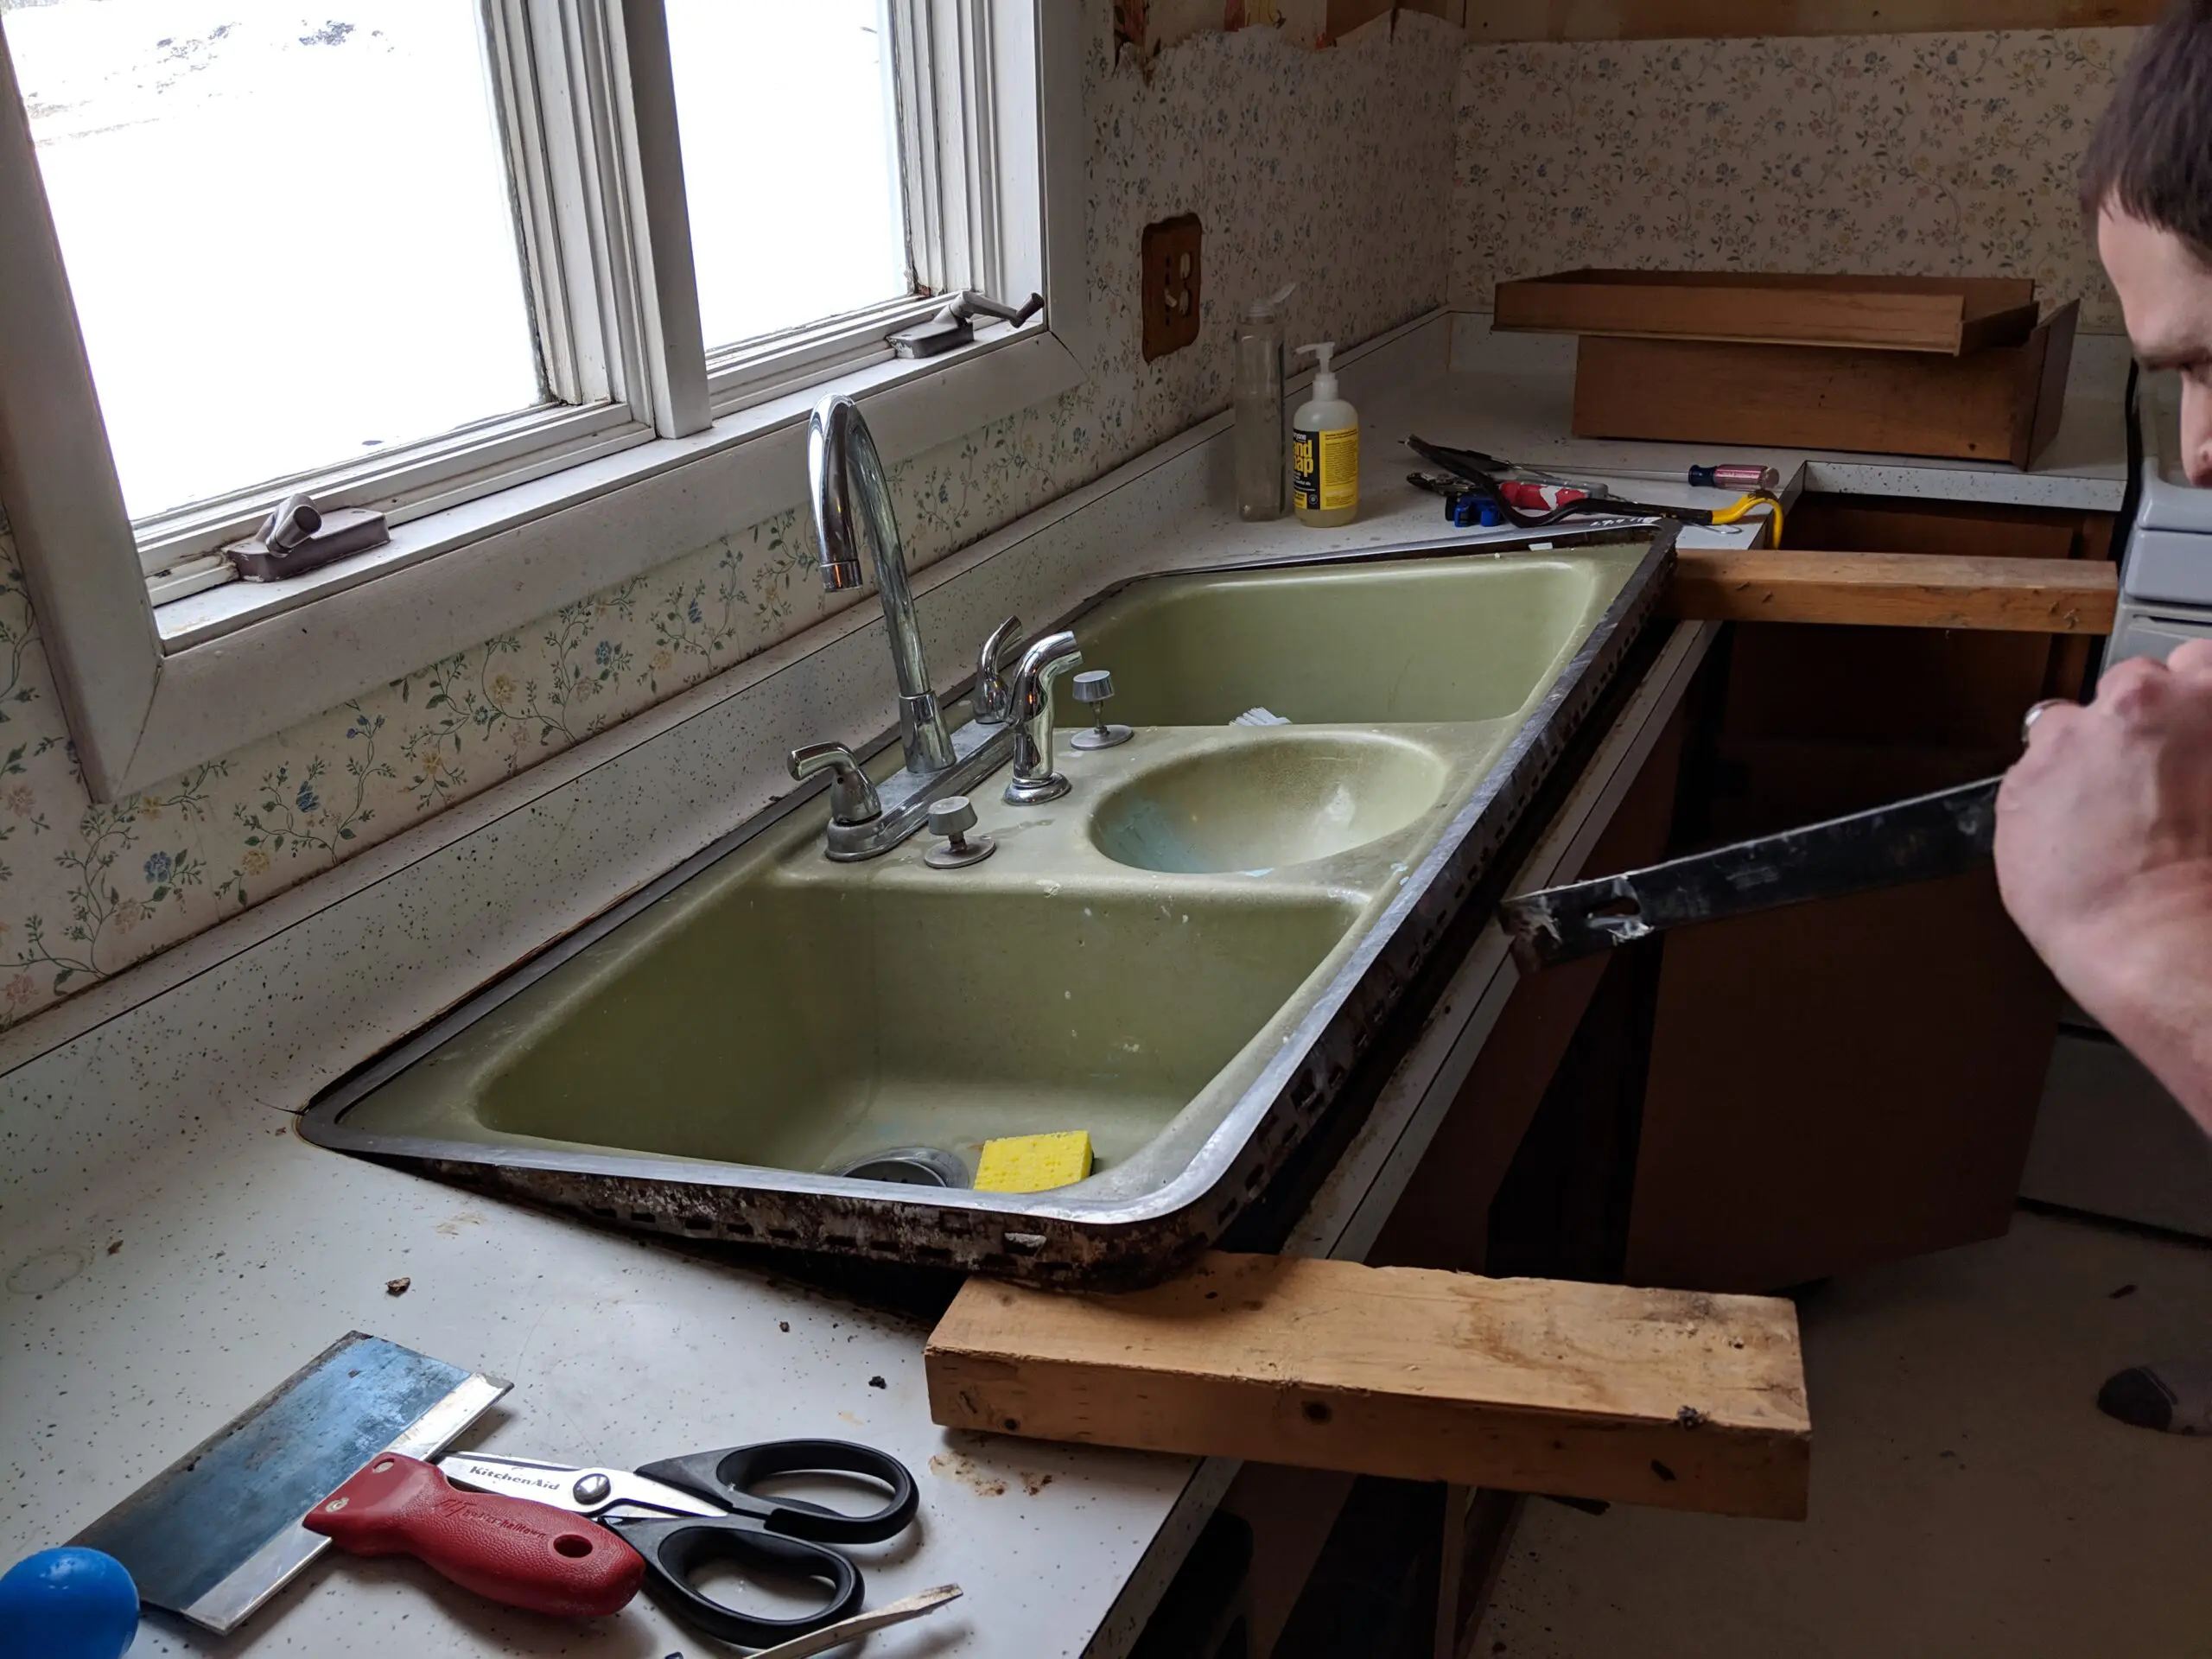
The kitchen sink was avocado green and from the mid-60’s most likely.
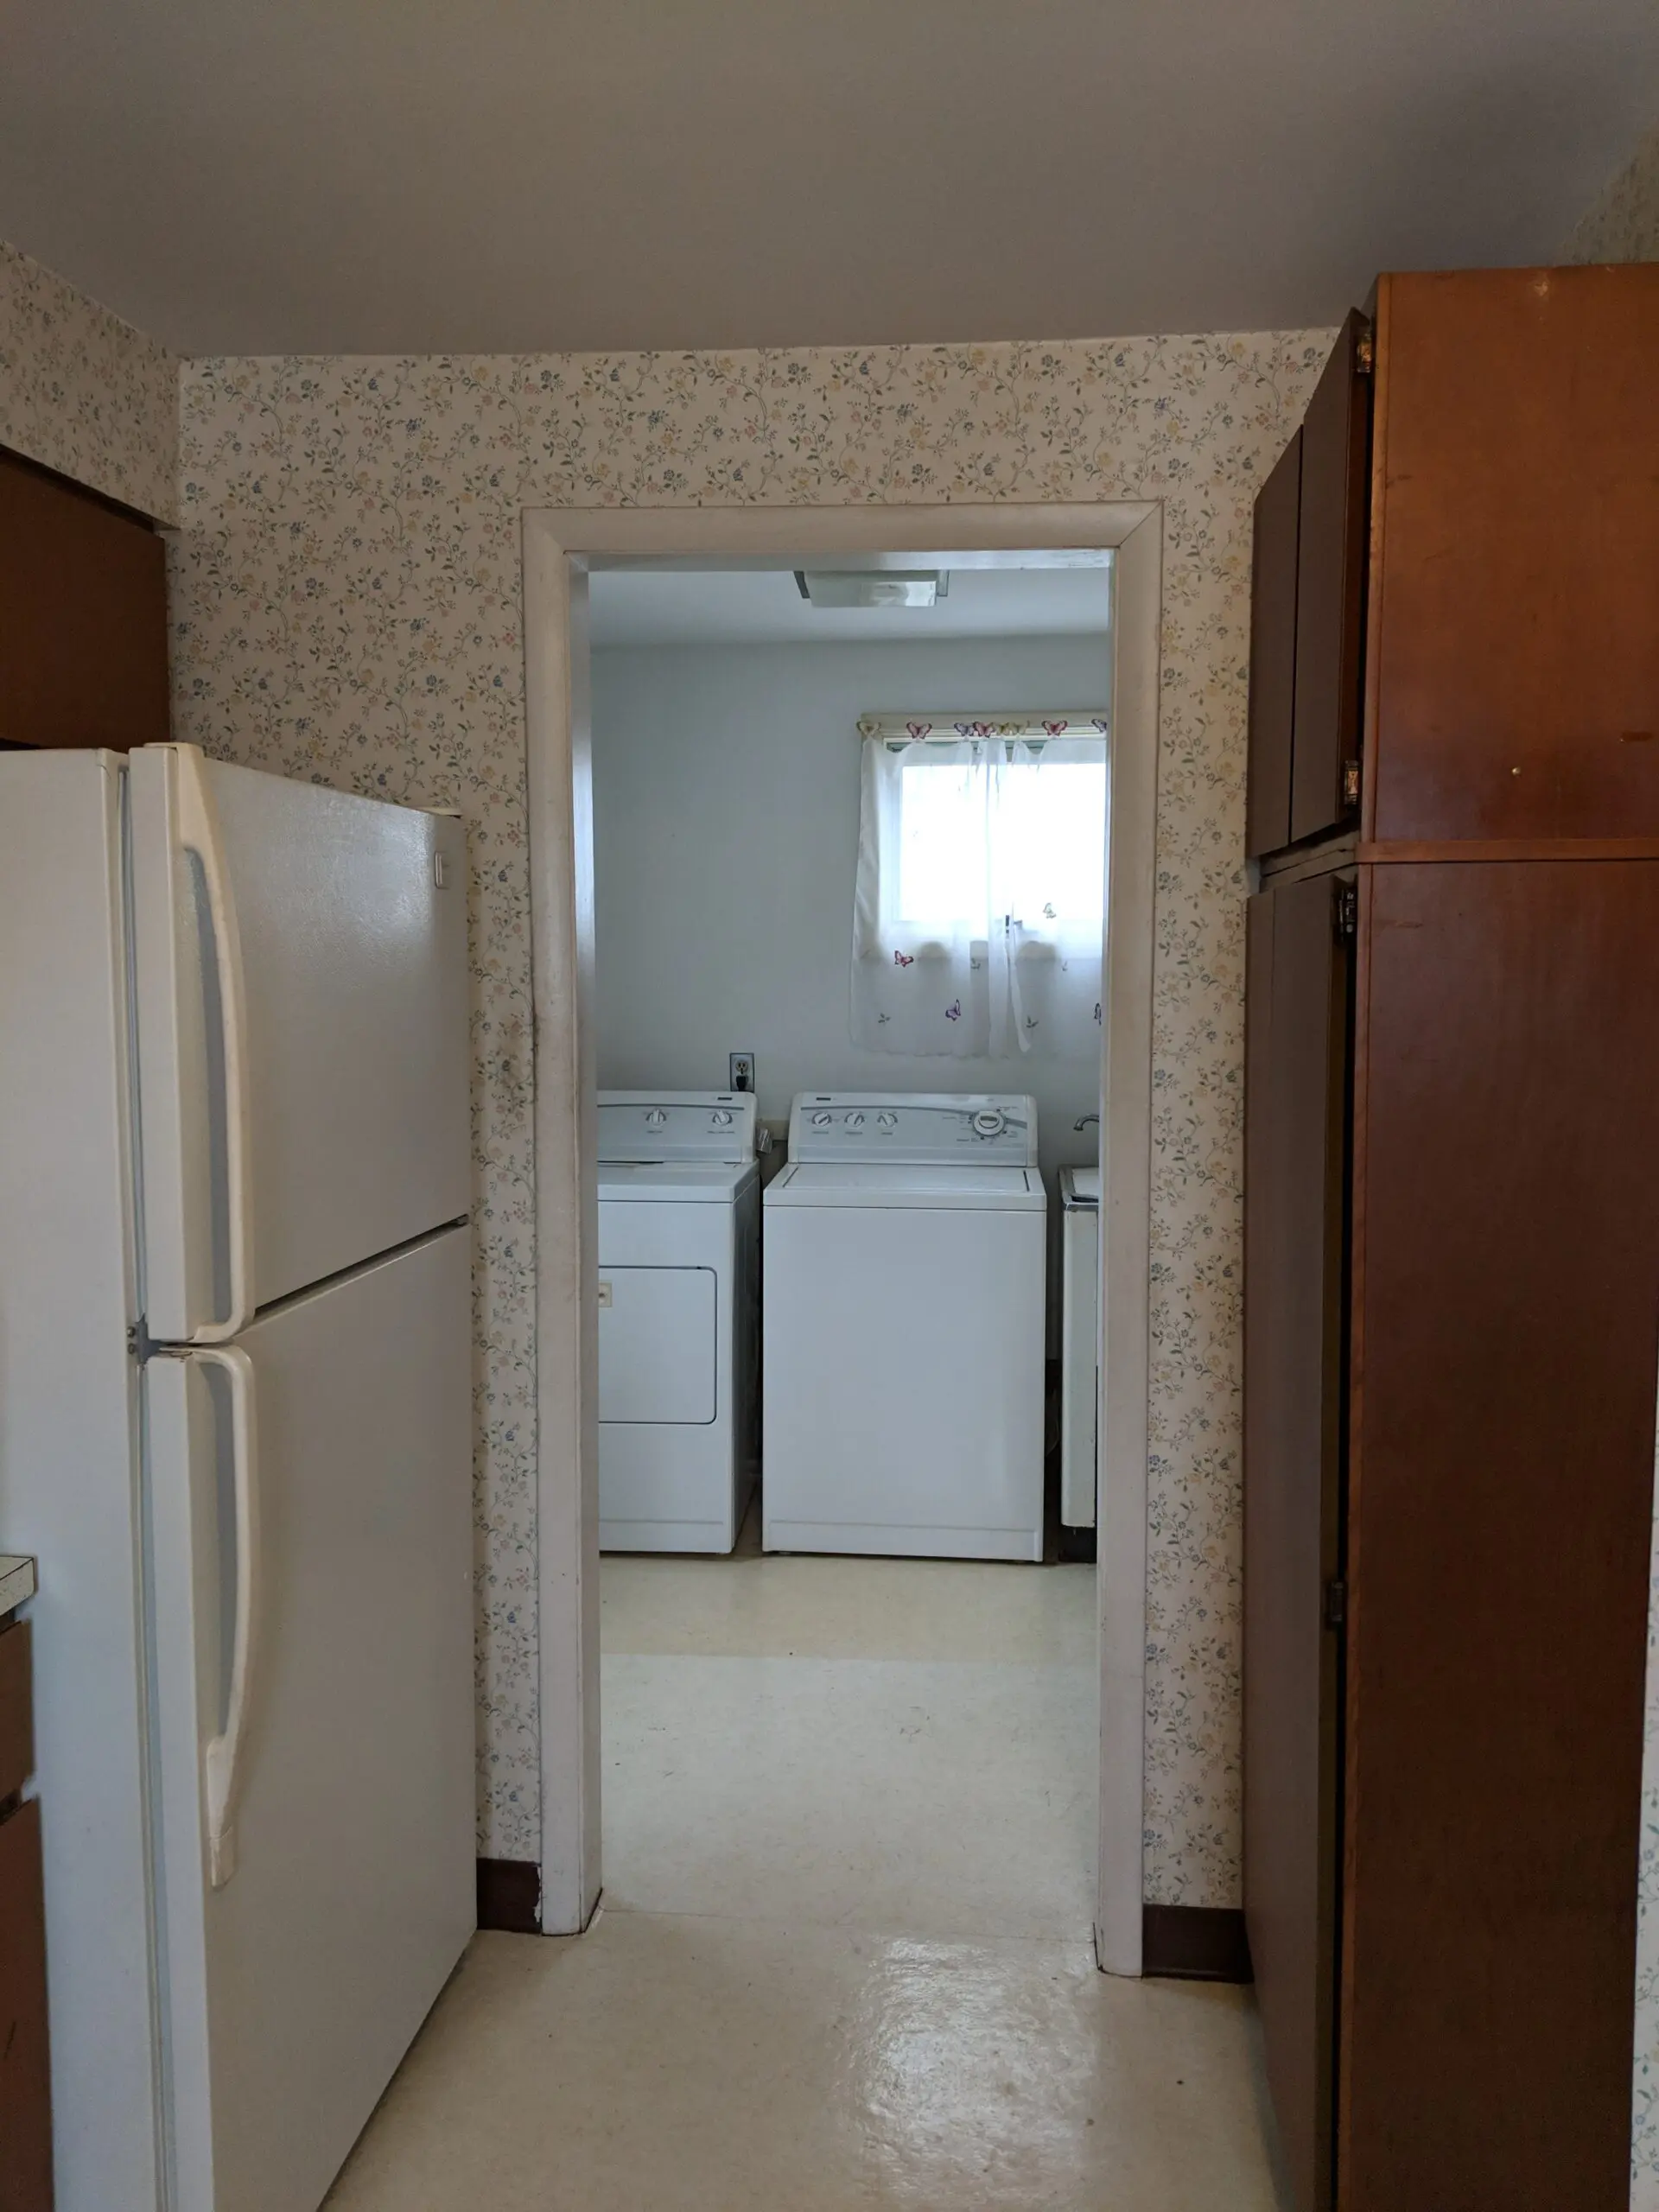
Flooring was linoleum over stick down tile and the area had terrible flow. The back entrance opened to a laundry, that went into a weird L-shaped bathroom and then turned into the kitchen. Basically there were hallways everywhere in that space.
Also, the tall ‘pantry’ cabinet was not attached to the wall, and we found out the hard way when it fell over on us. Thankfully, the fridge was there to stop it.
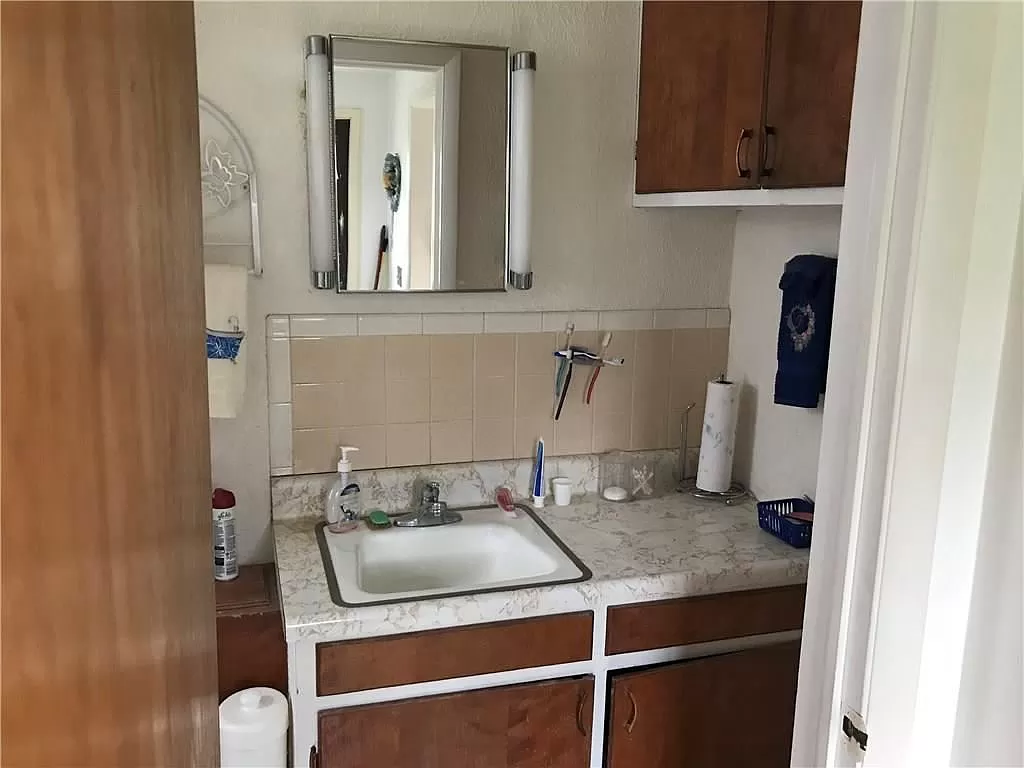
This is the bathroom that was to the right when you went through the above doorway.
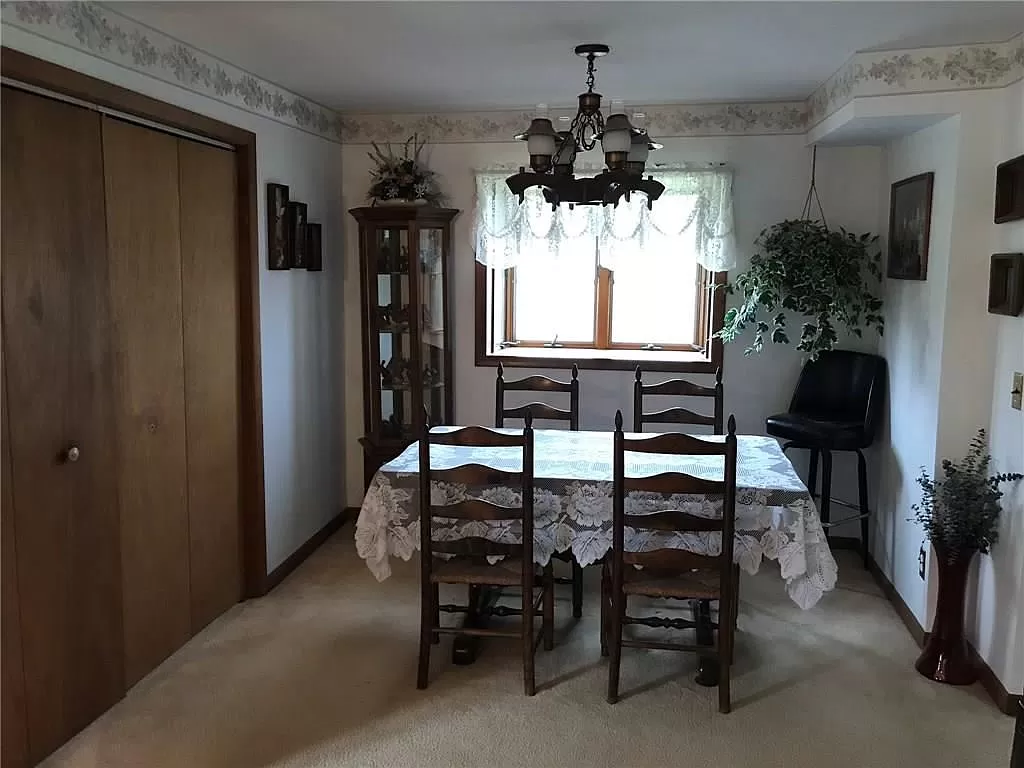
The dining room had a bedroom sized closet with huge bi-fold doors (and a missing handle) and dirty, old, beige CARPET.
Turning an Old Kitchen into a New Kitchen
So updating this old kitchen (into a chef’s dream) was three fold.
- Rip everything out
- Fix what was left
- Bring in new things
Easy right? Ha.
I wrote about demo day here, so we’re going to skip right to AFTER everything was ripped out.
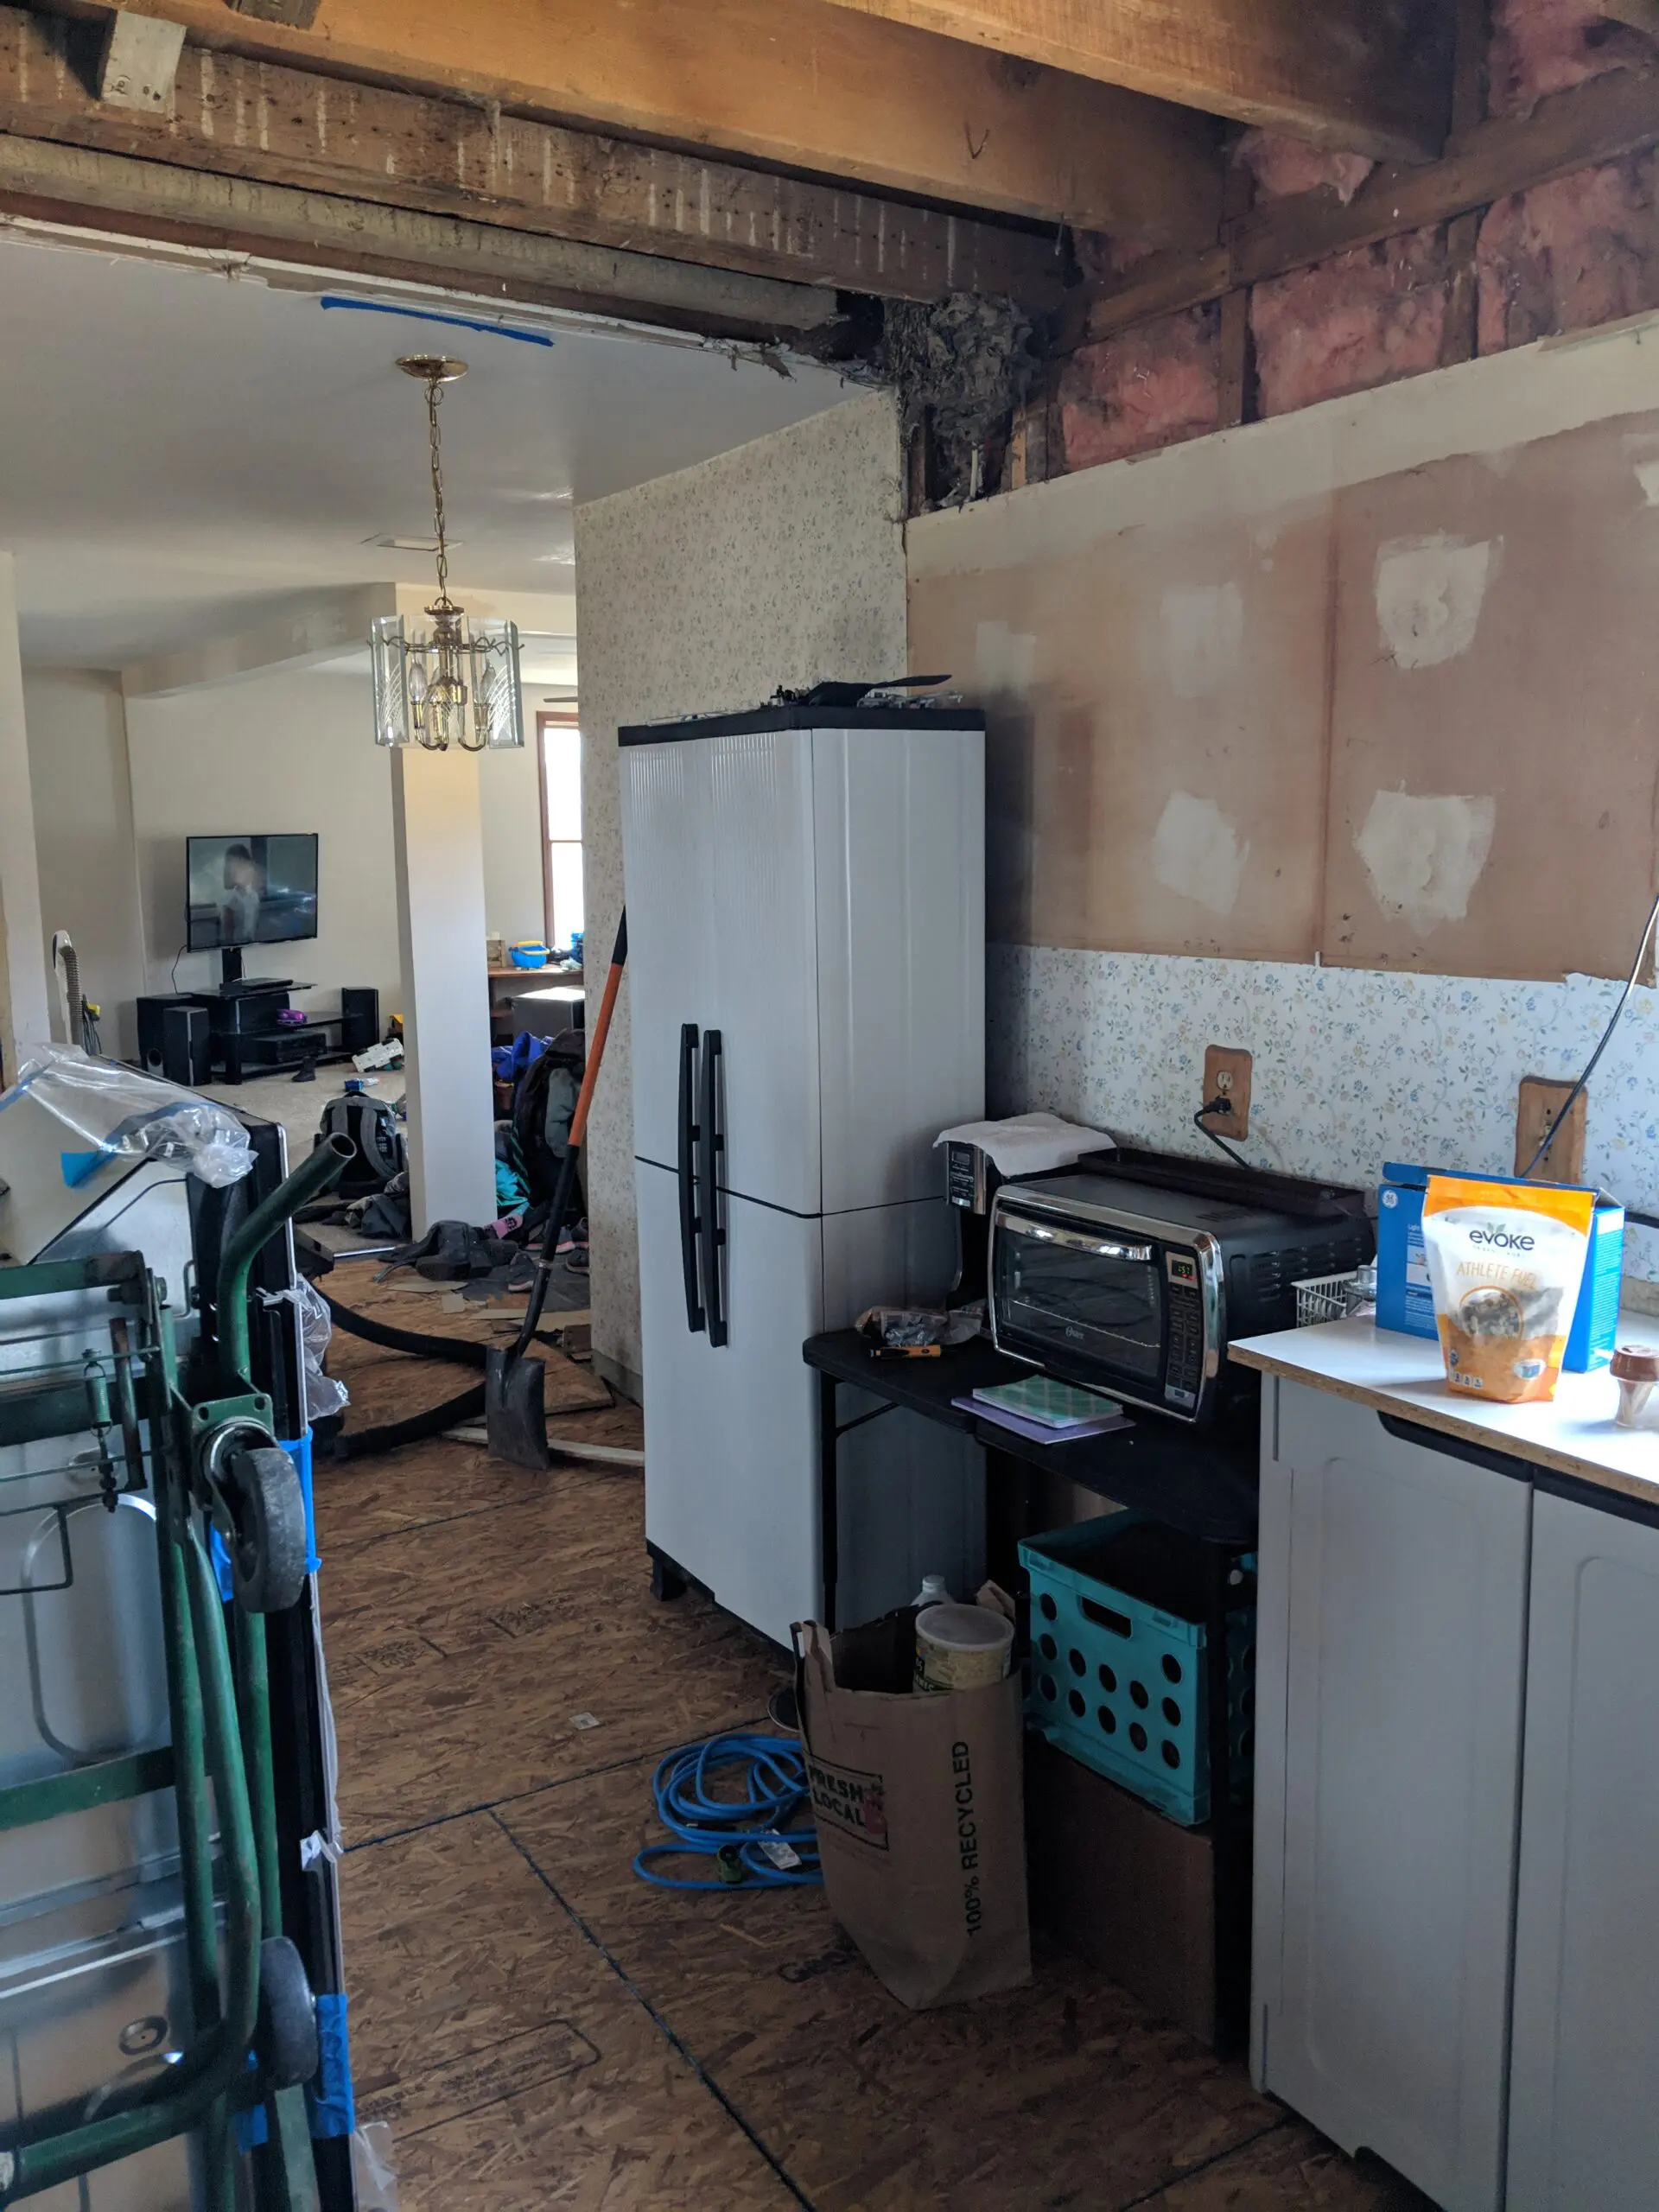
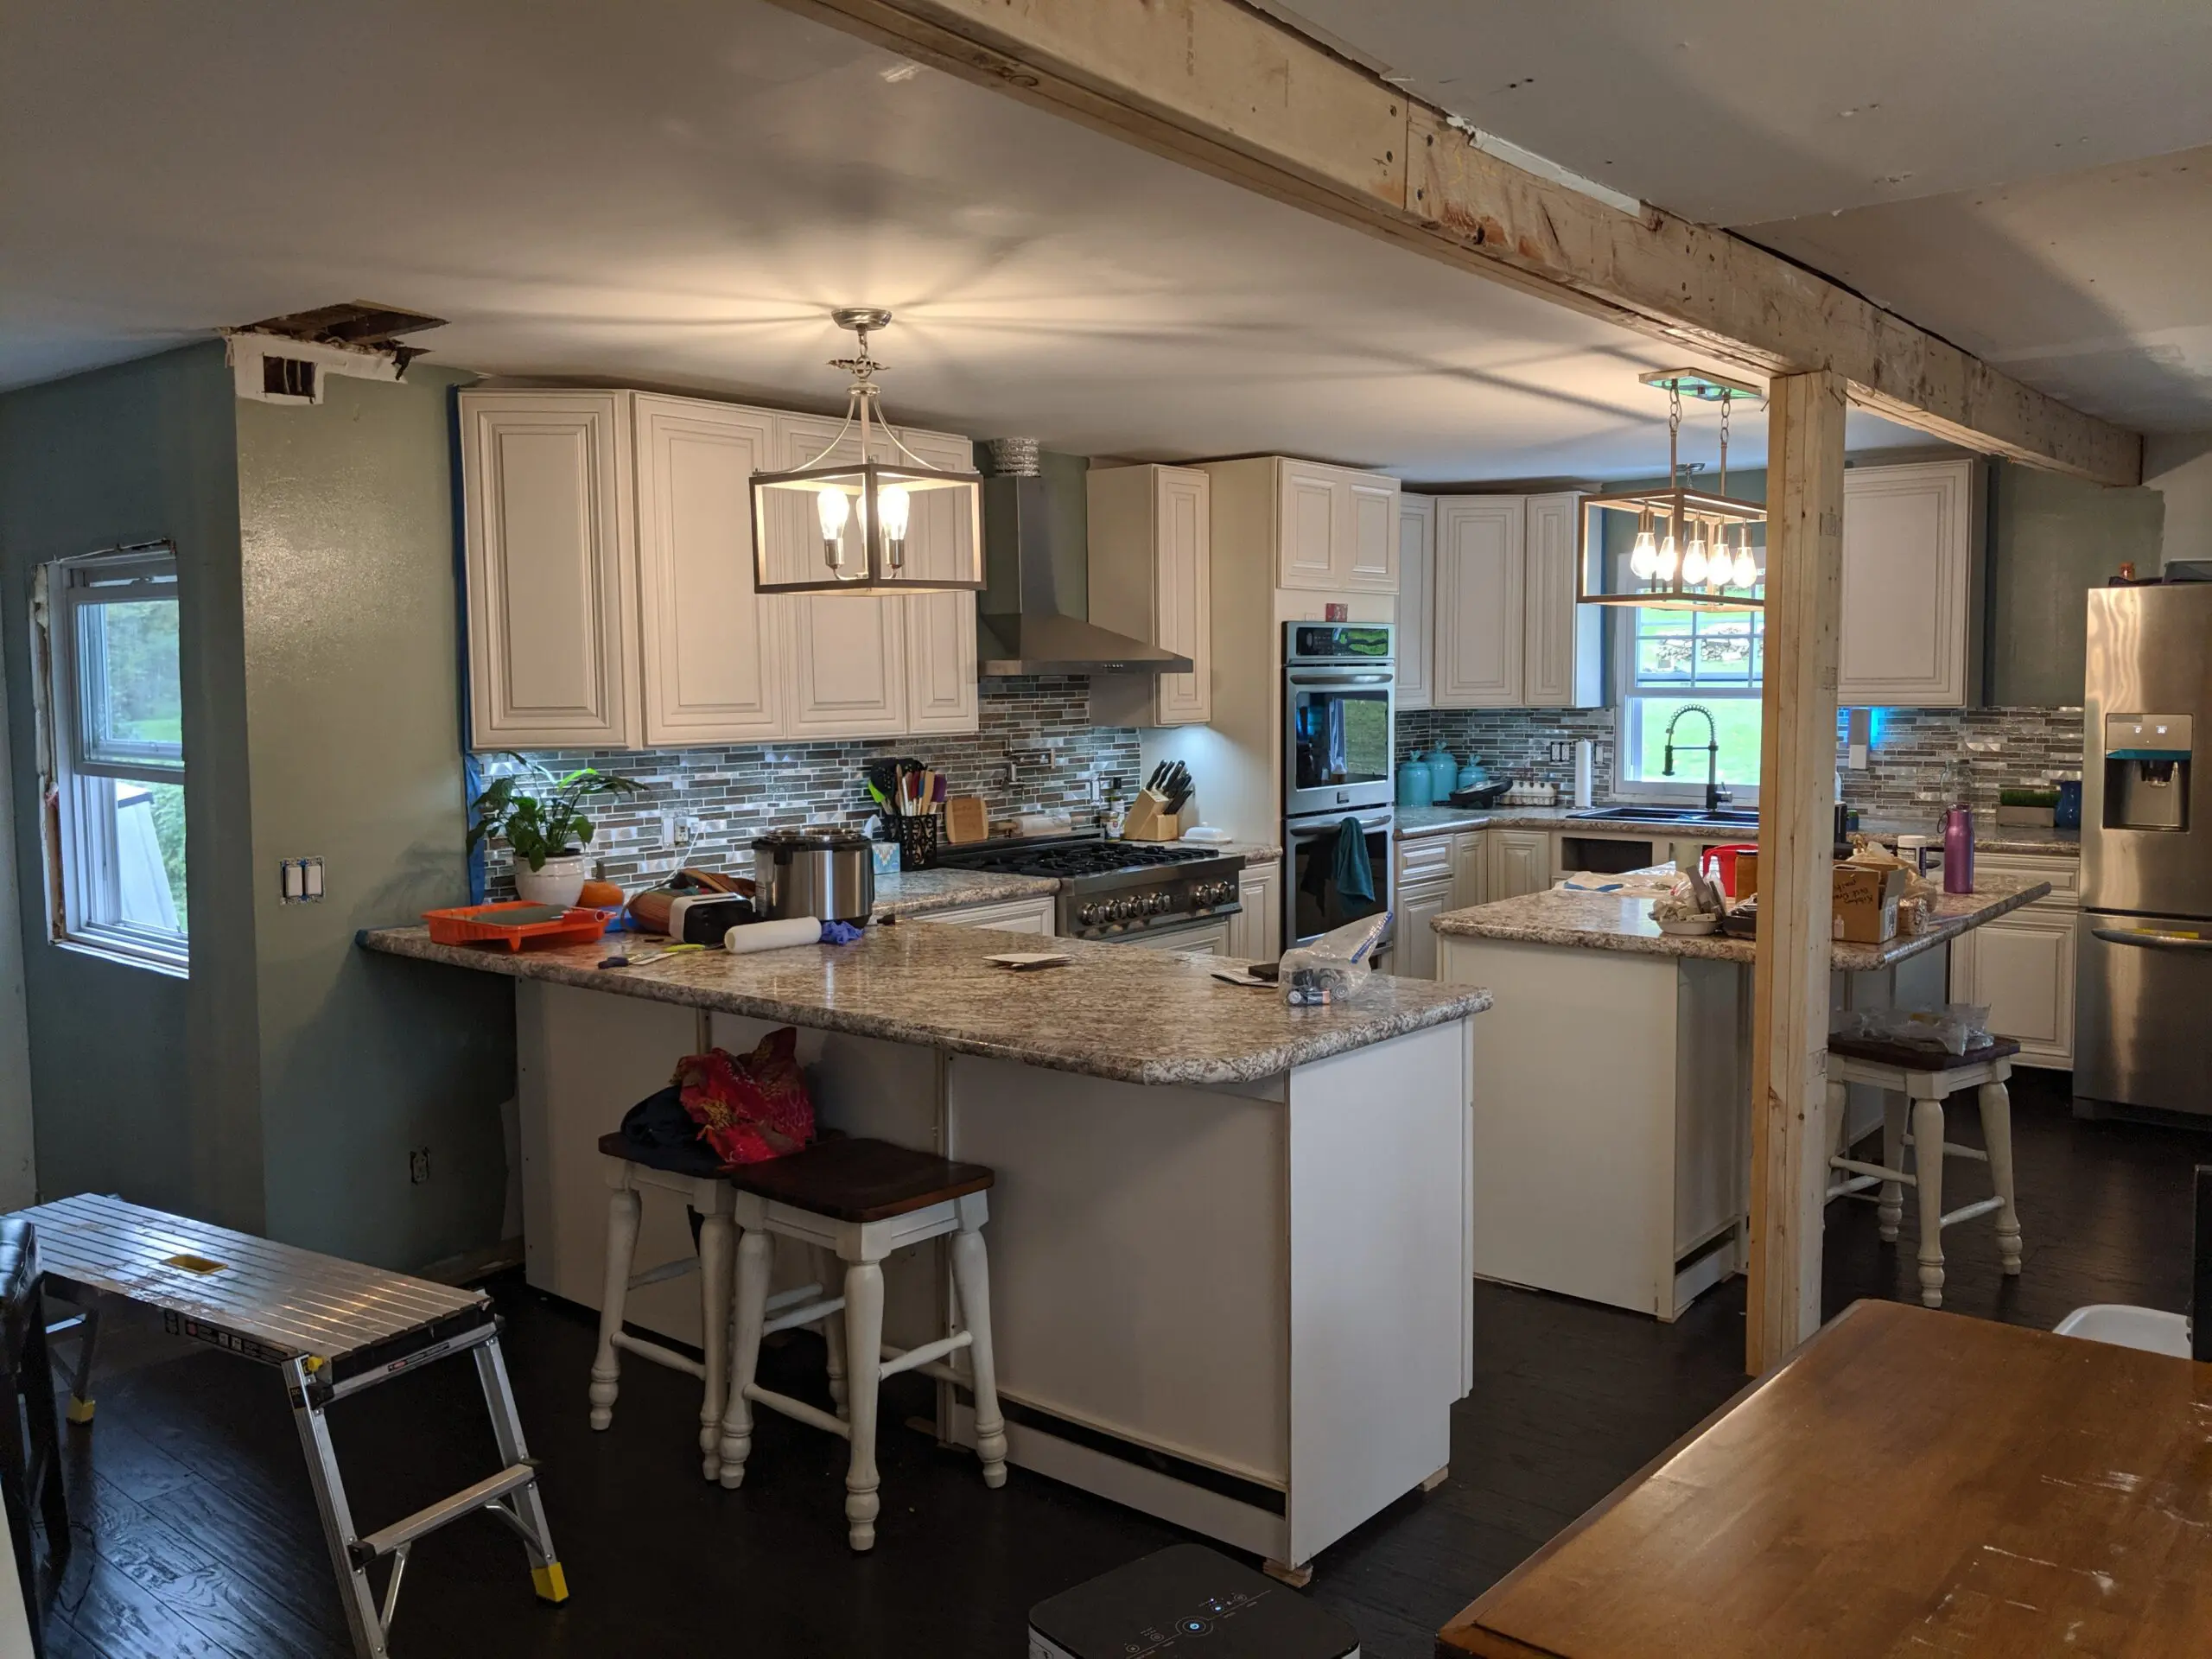
This is what we were left with after the dining closet, faux beam, kitchen soffits, and bathroom, laundry & dining room walls were tore out. We added the beam to reinforce the master bedroom, foyer (which will become the new laundry) and bathroom above.
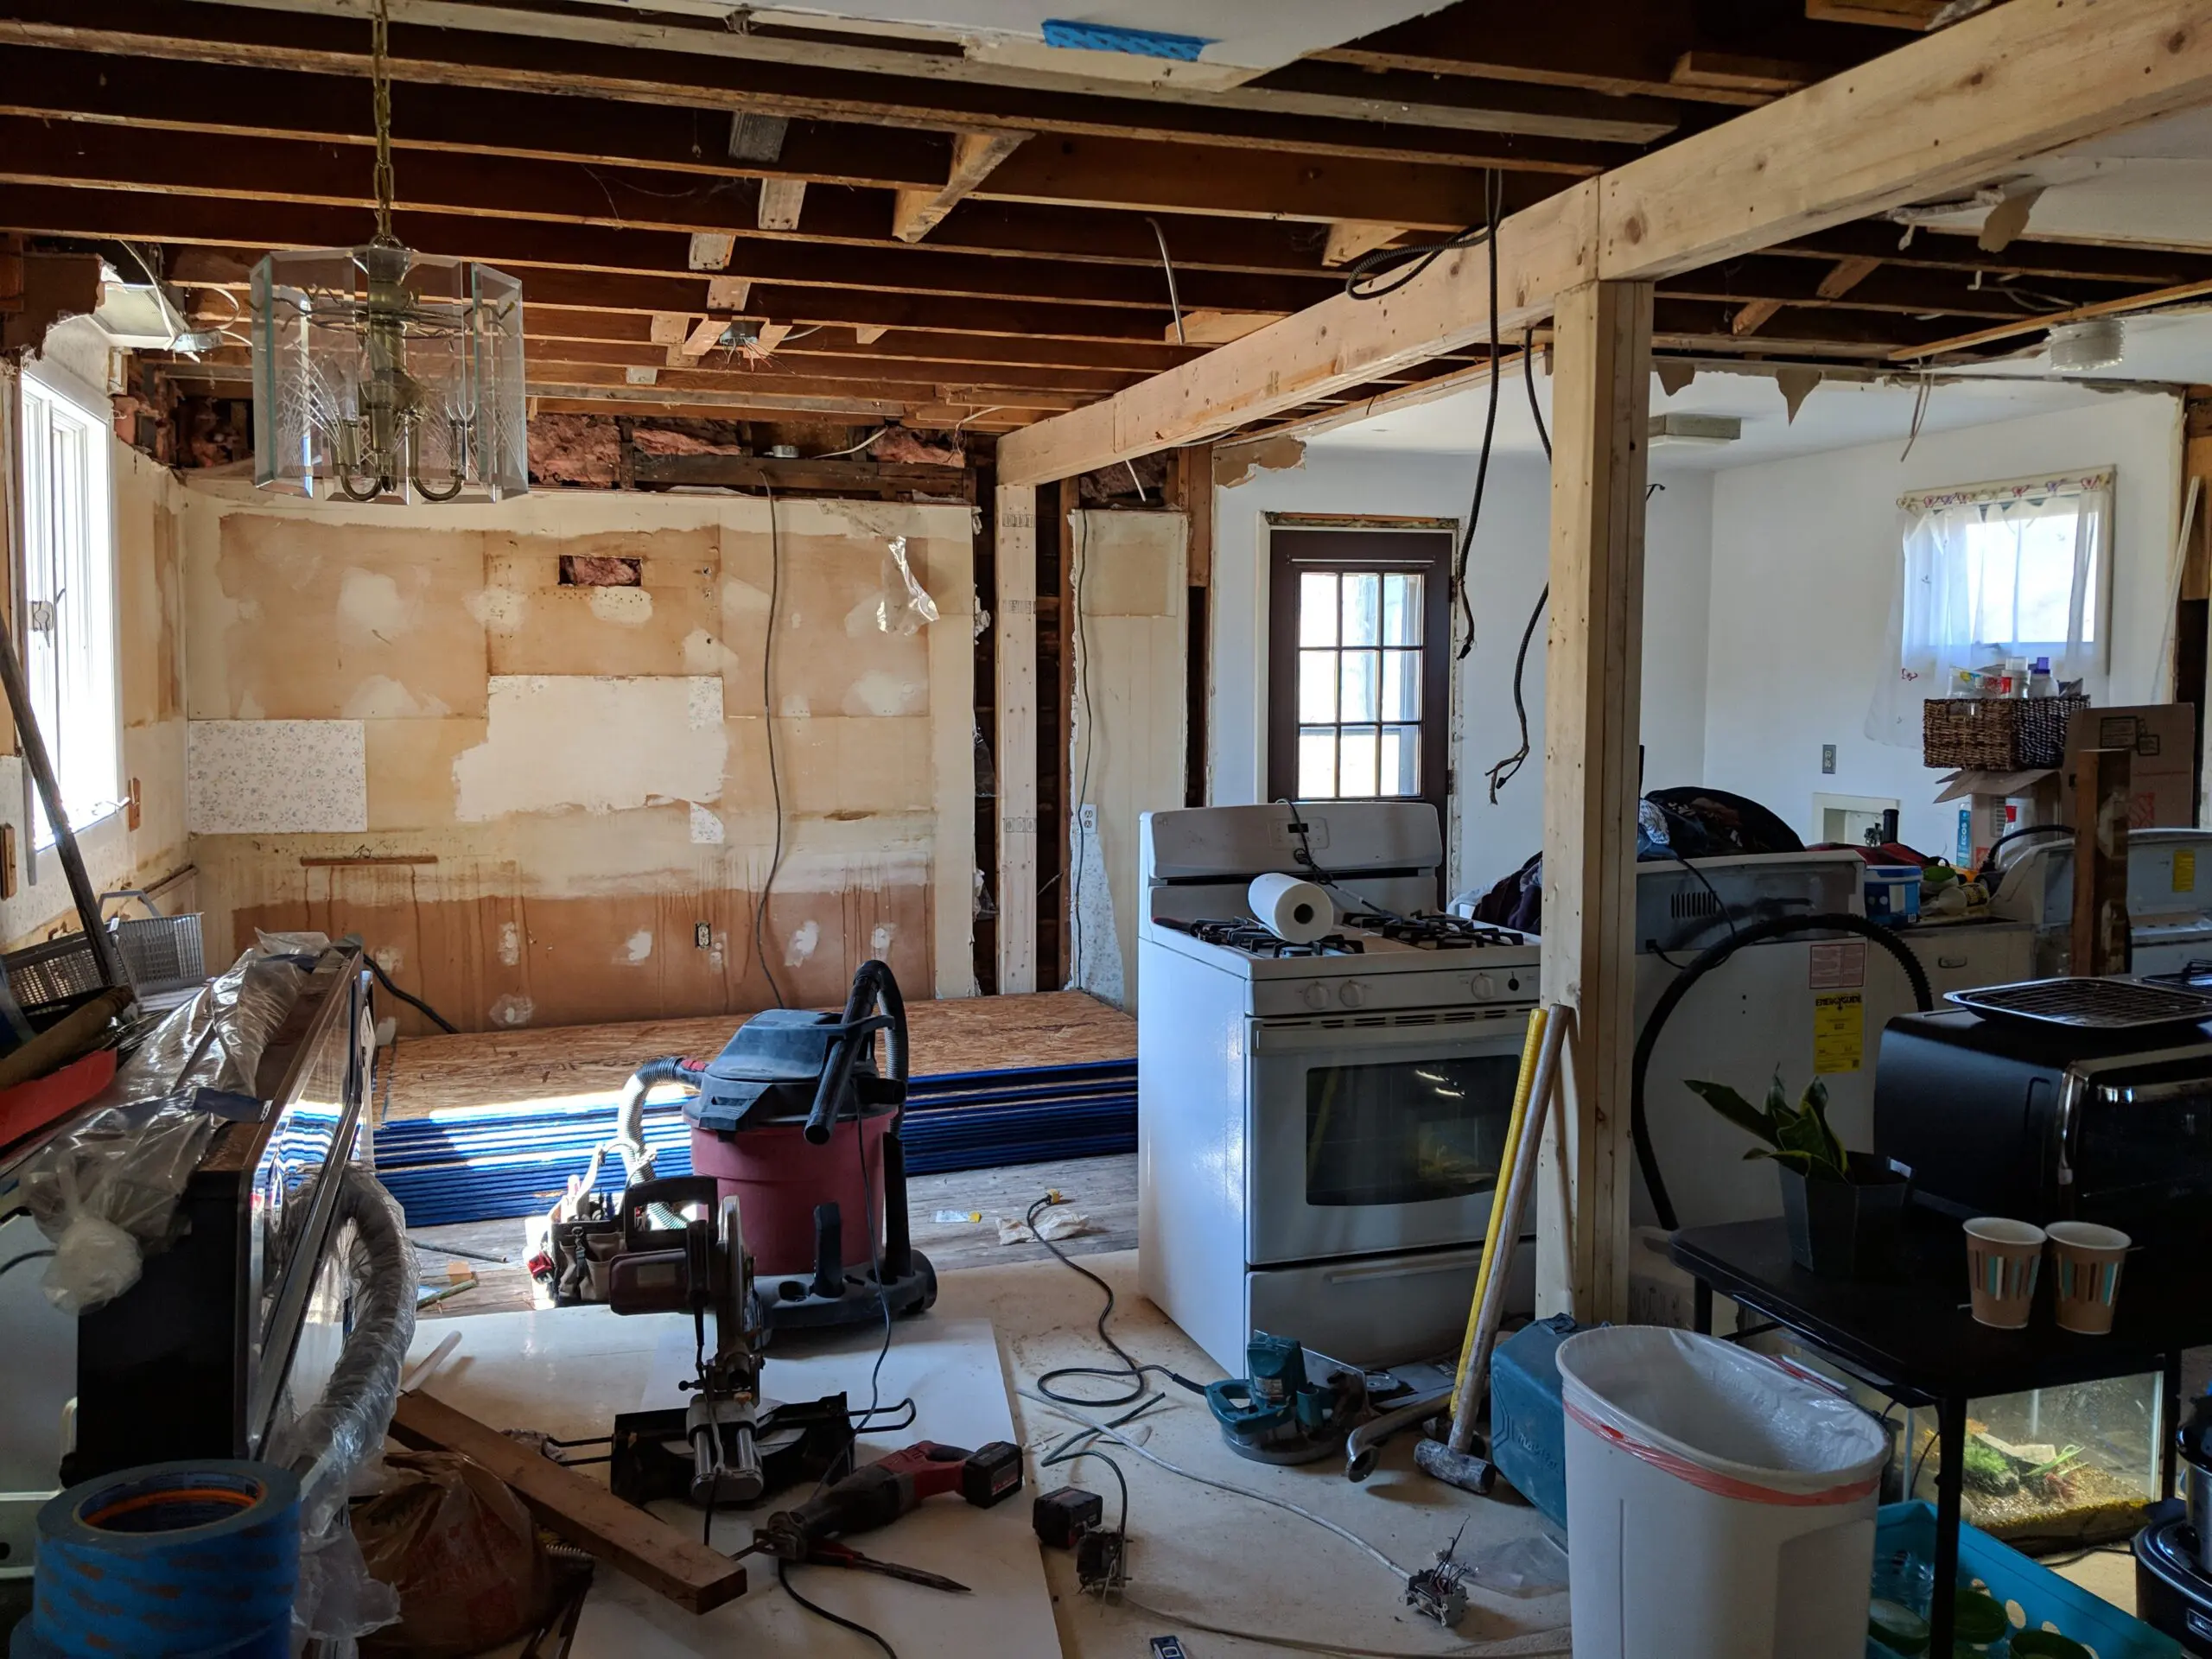
Can you imagine cooking in this mess? I had to – for FOUR MONTHS during this process. We set up a ‘kitchen station’ and moved it at least 4 times. (Pretty sure it was 5 times).
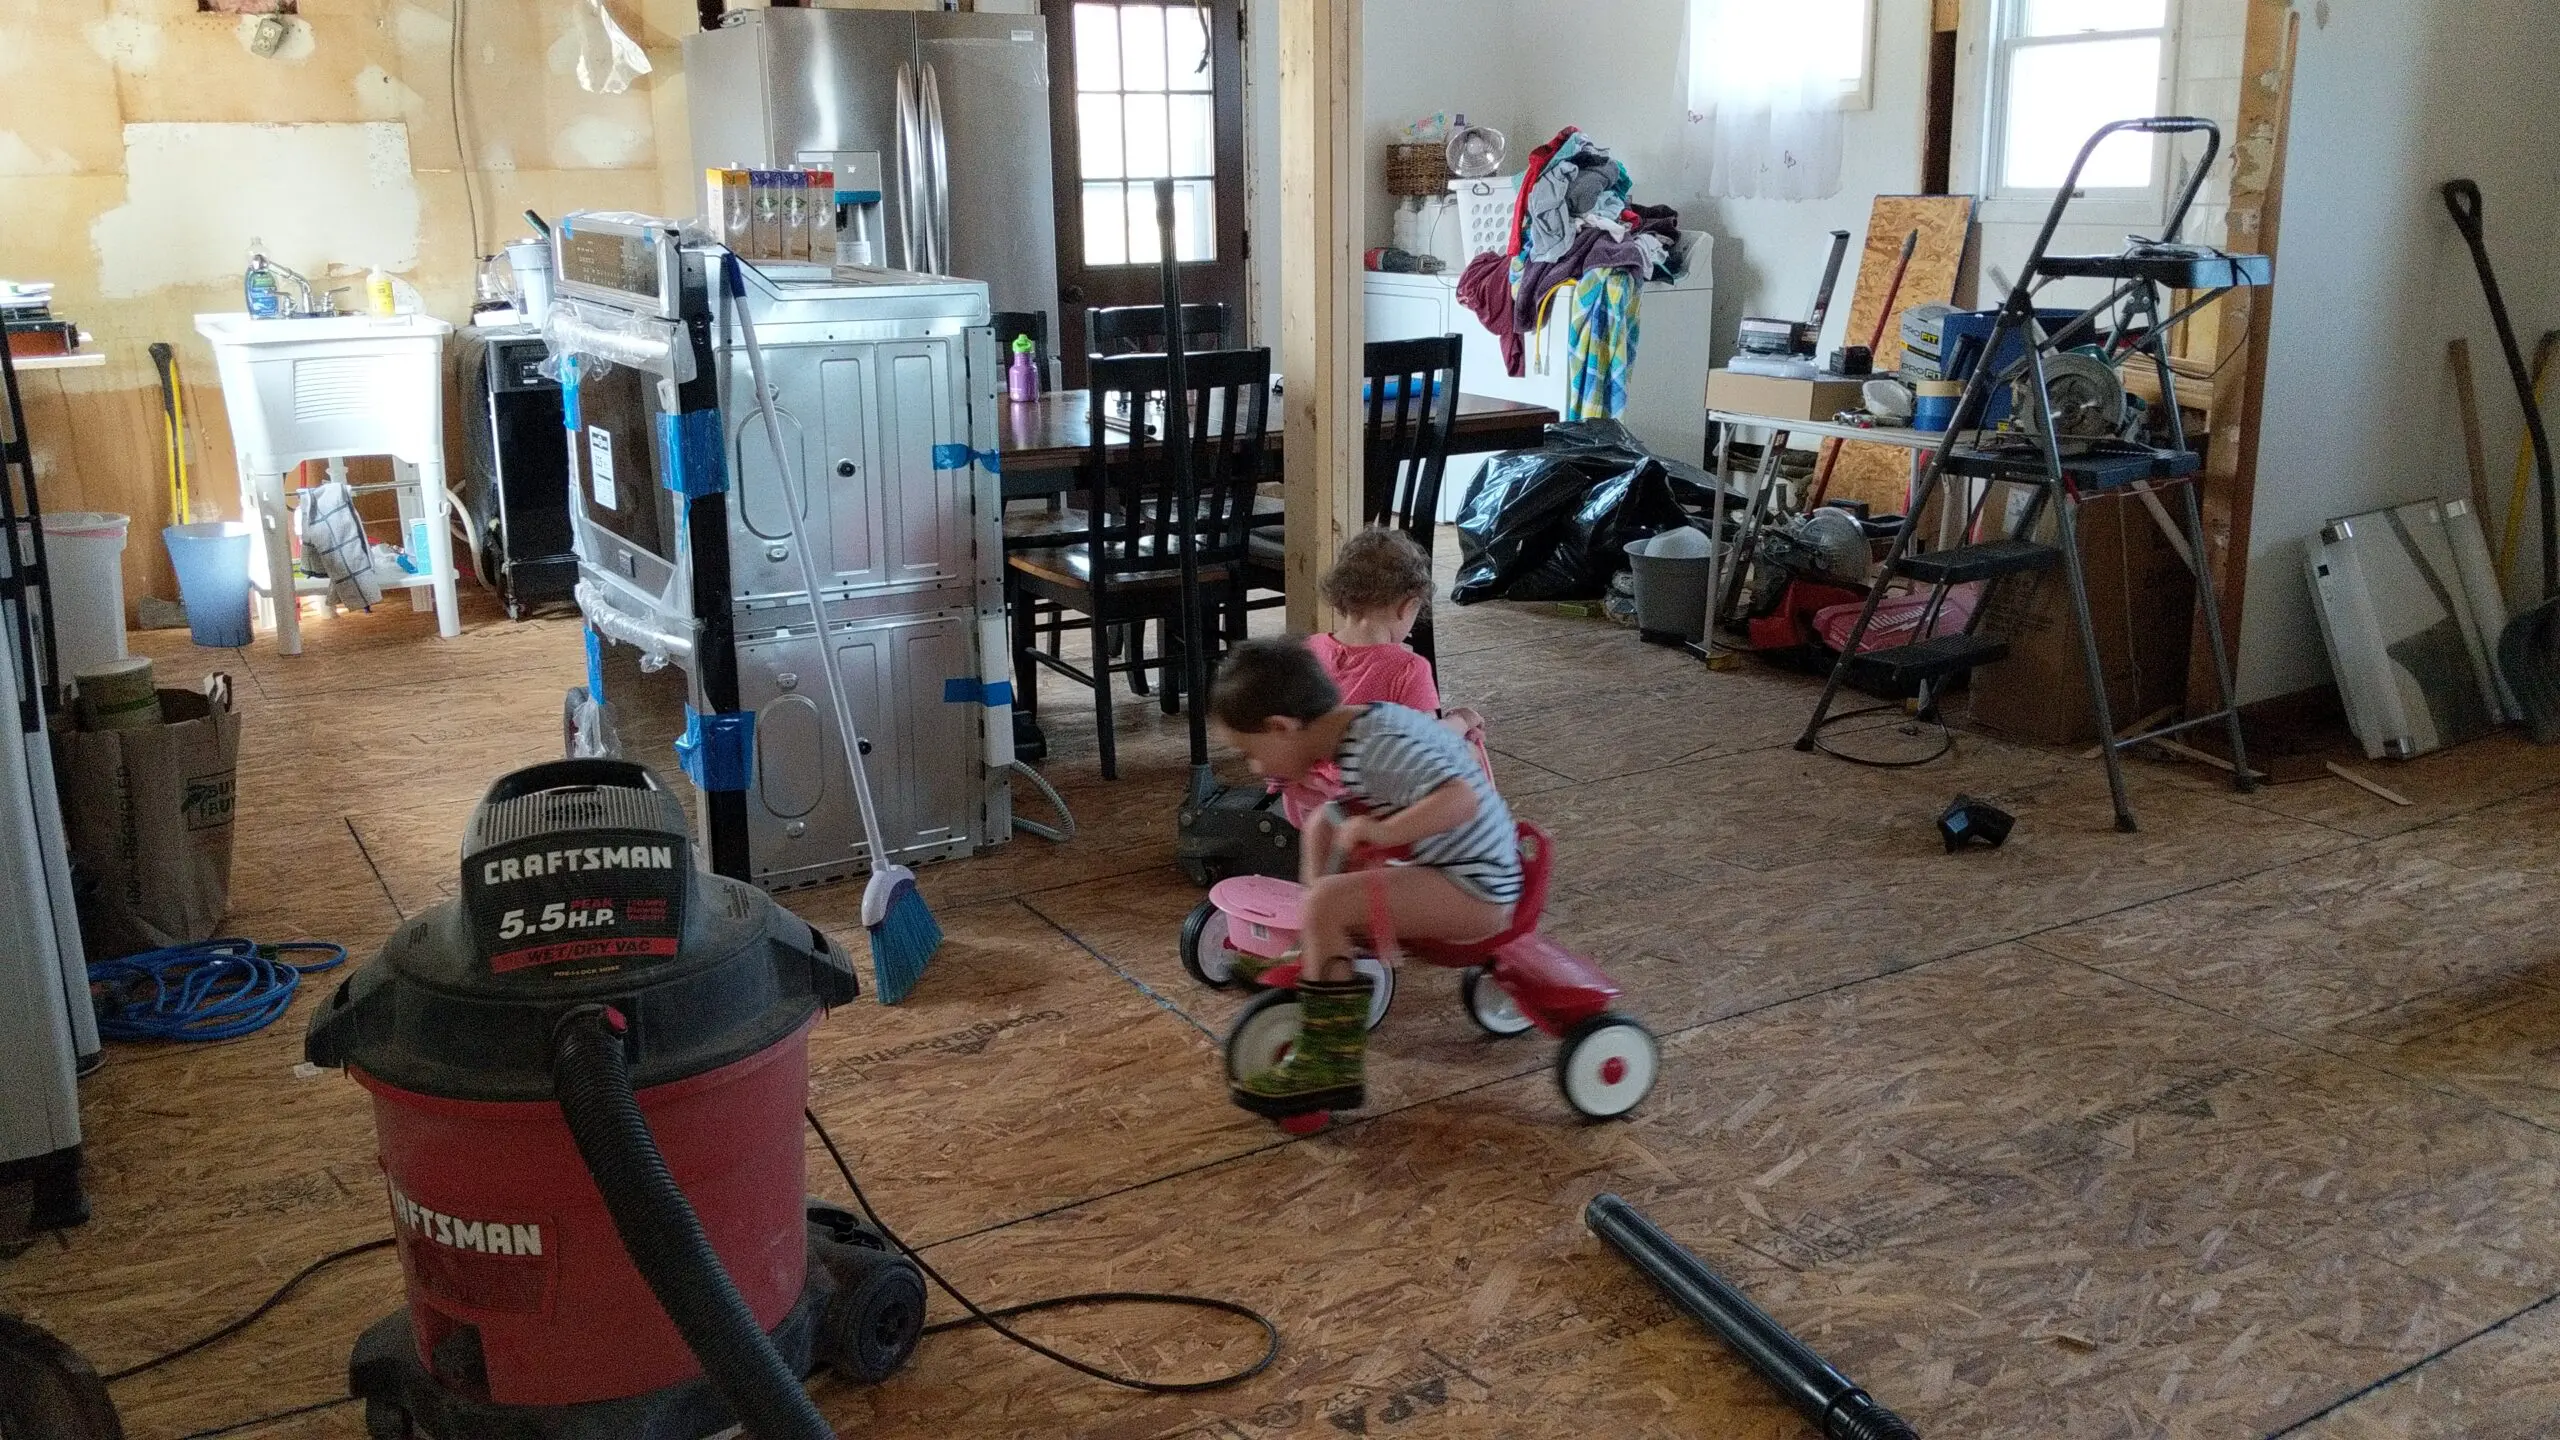
After ripping up the linoleum, we found a total of 5 other kinds of flooring underneath. That all got removed and new subfloor was laid in the entire area.
For all the parents reading this:
When you’re living in a major renovation with little ones, you do what is necessary to keep them happy and occupied safely. Trikes in the kitchen/dining on the new subfloor can bring on hours of fun.
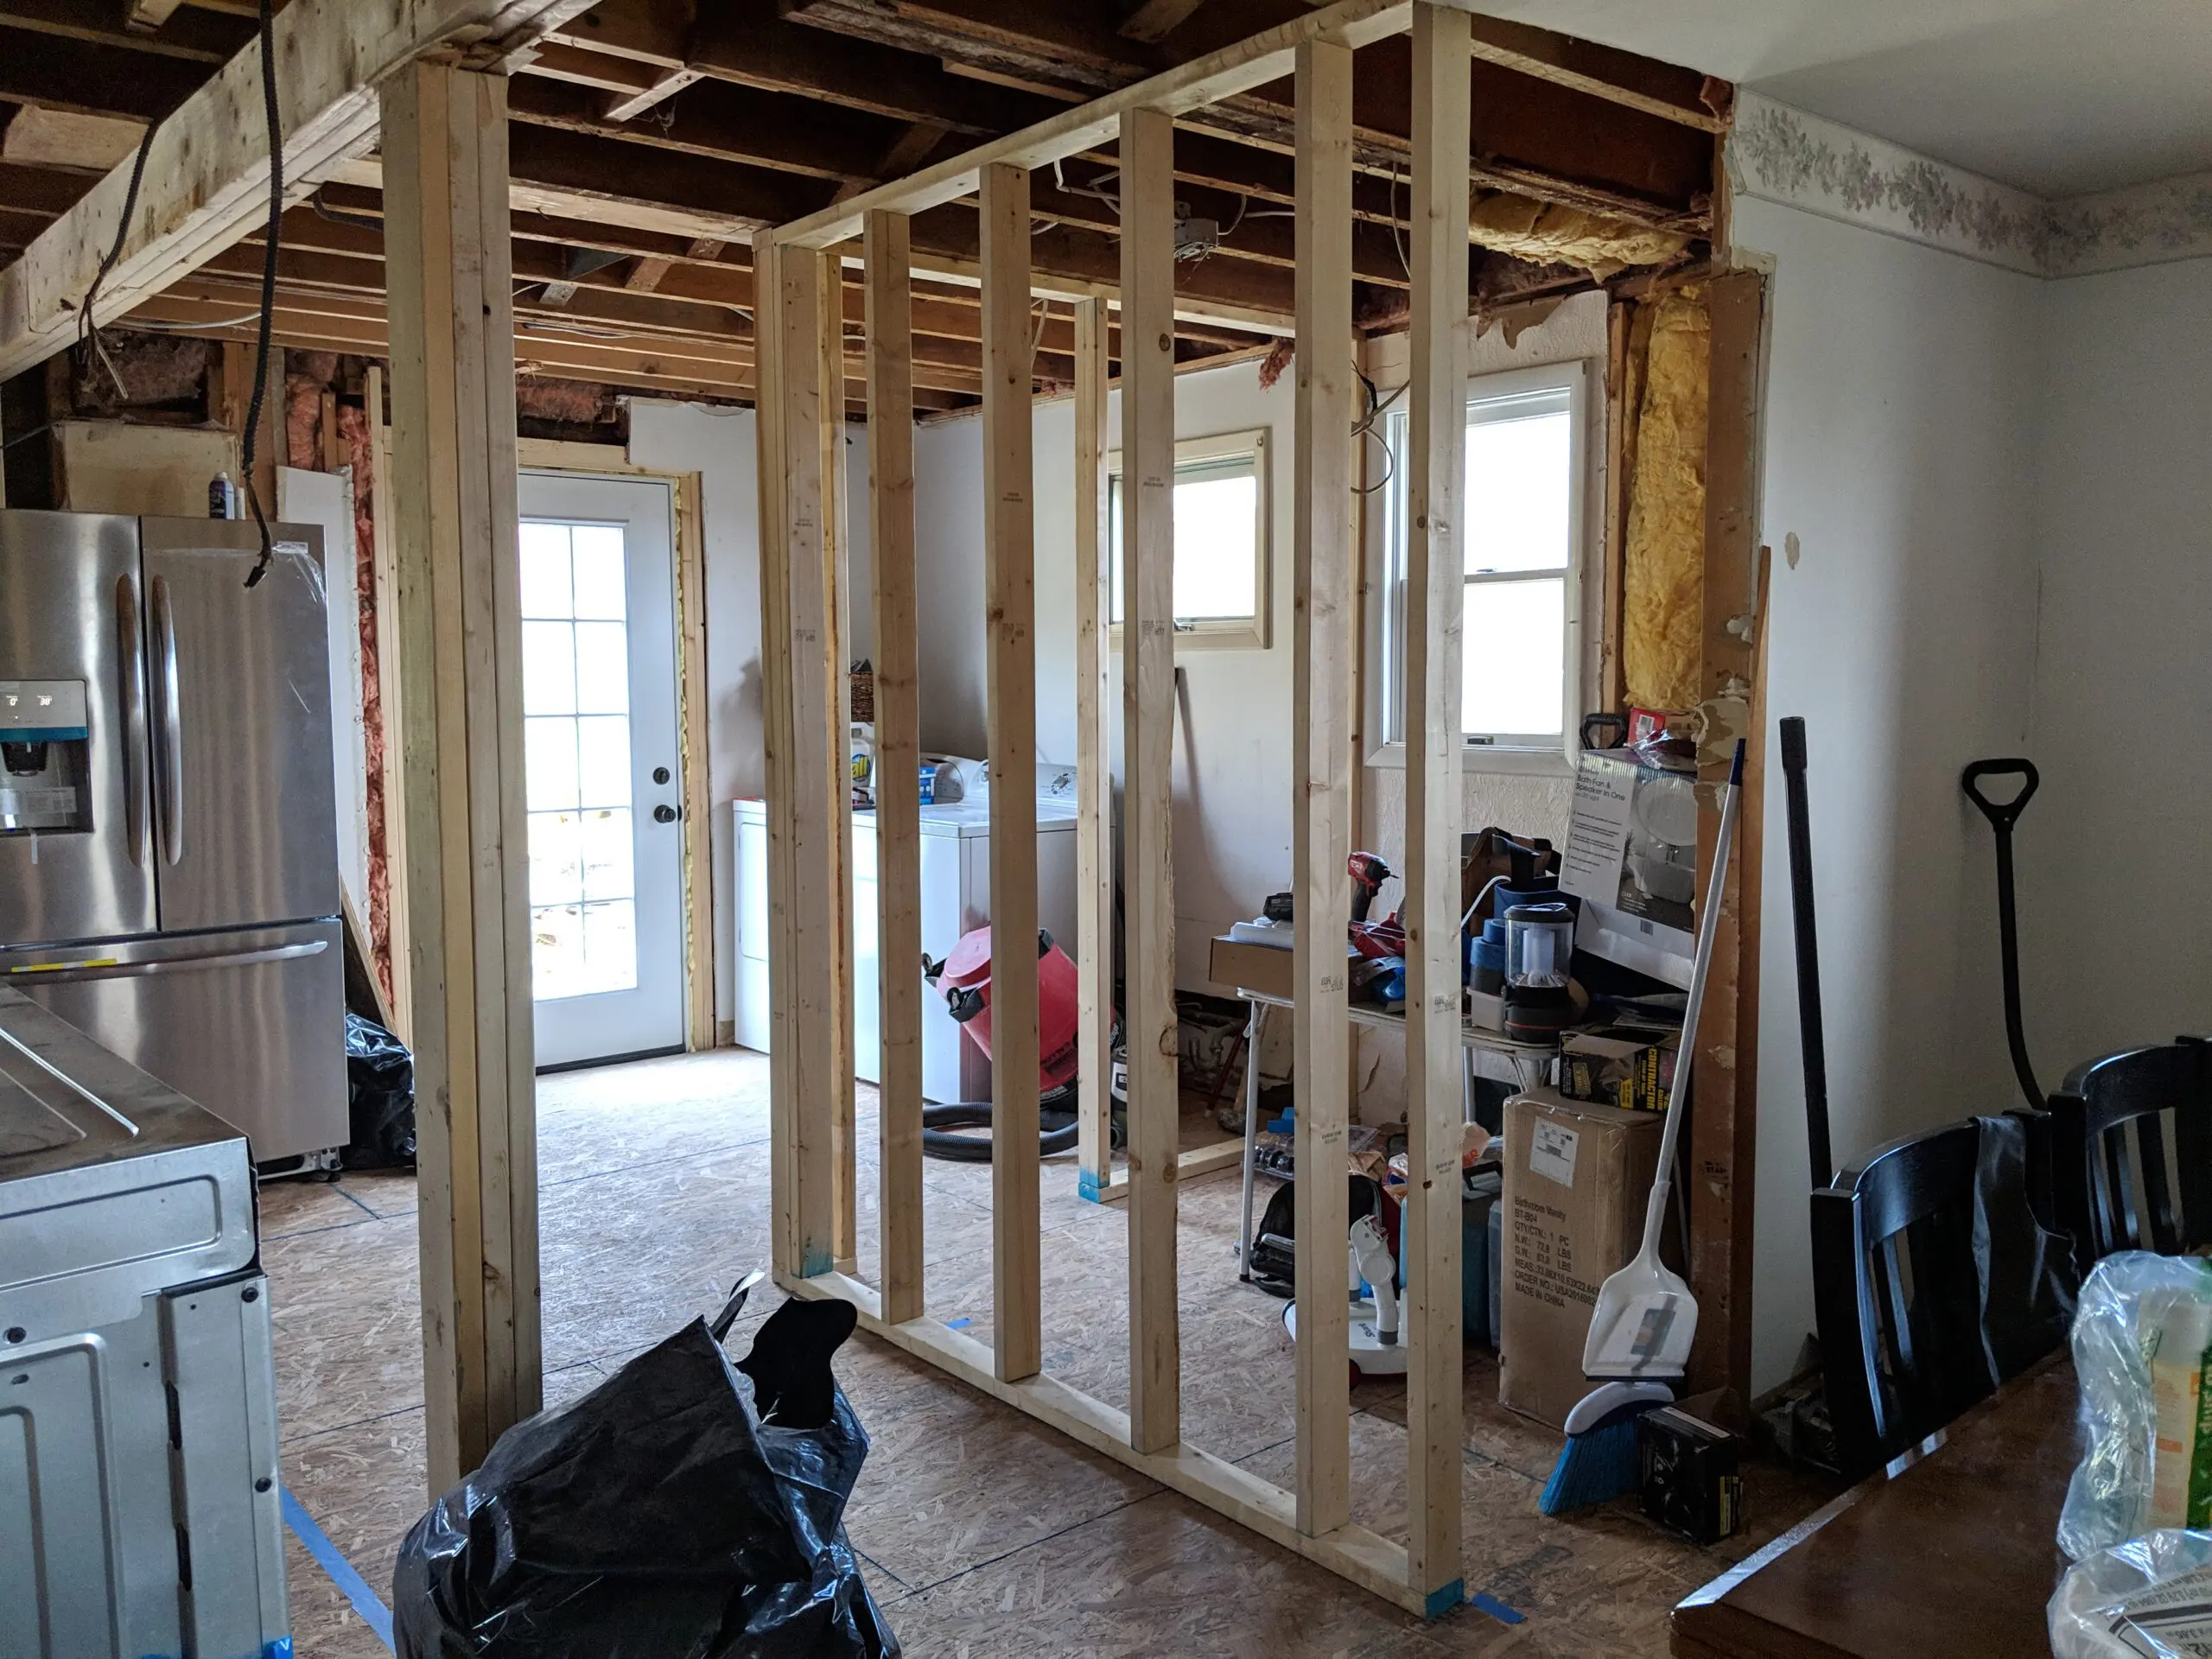
Next, new bathroom walls went up. (My double ovens stayed wrapped and attached to the dolly so they could be easily moved and protected).

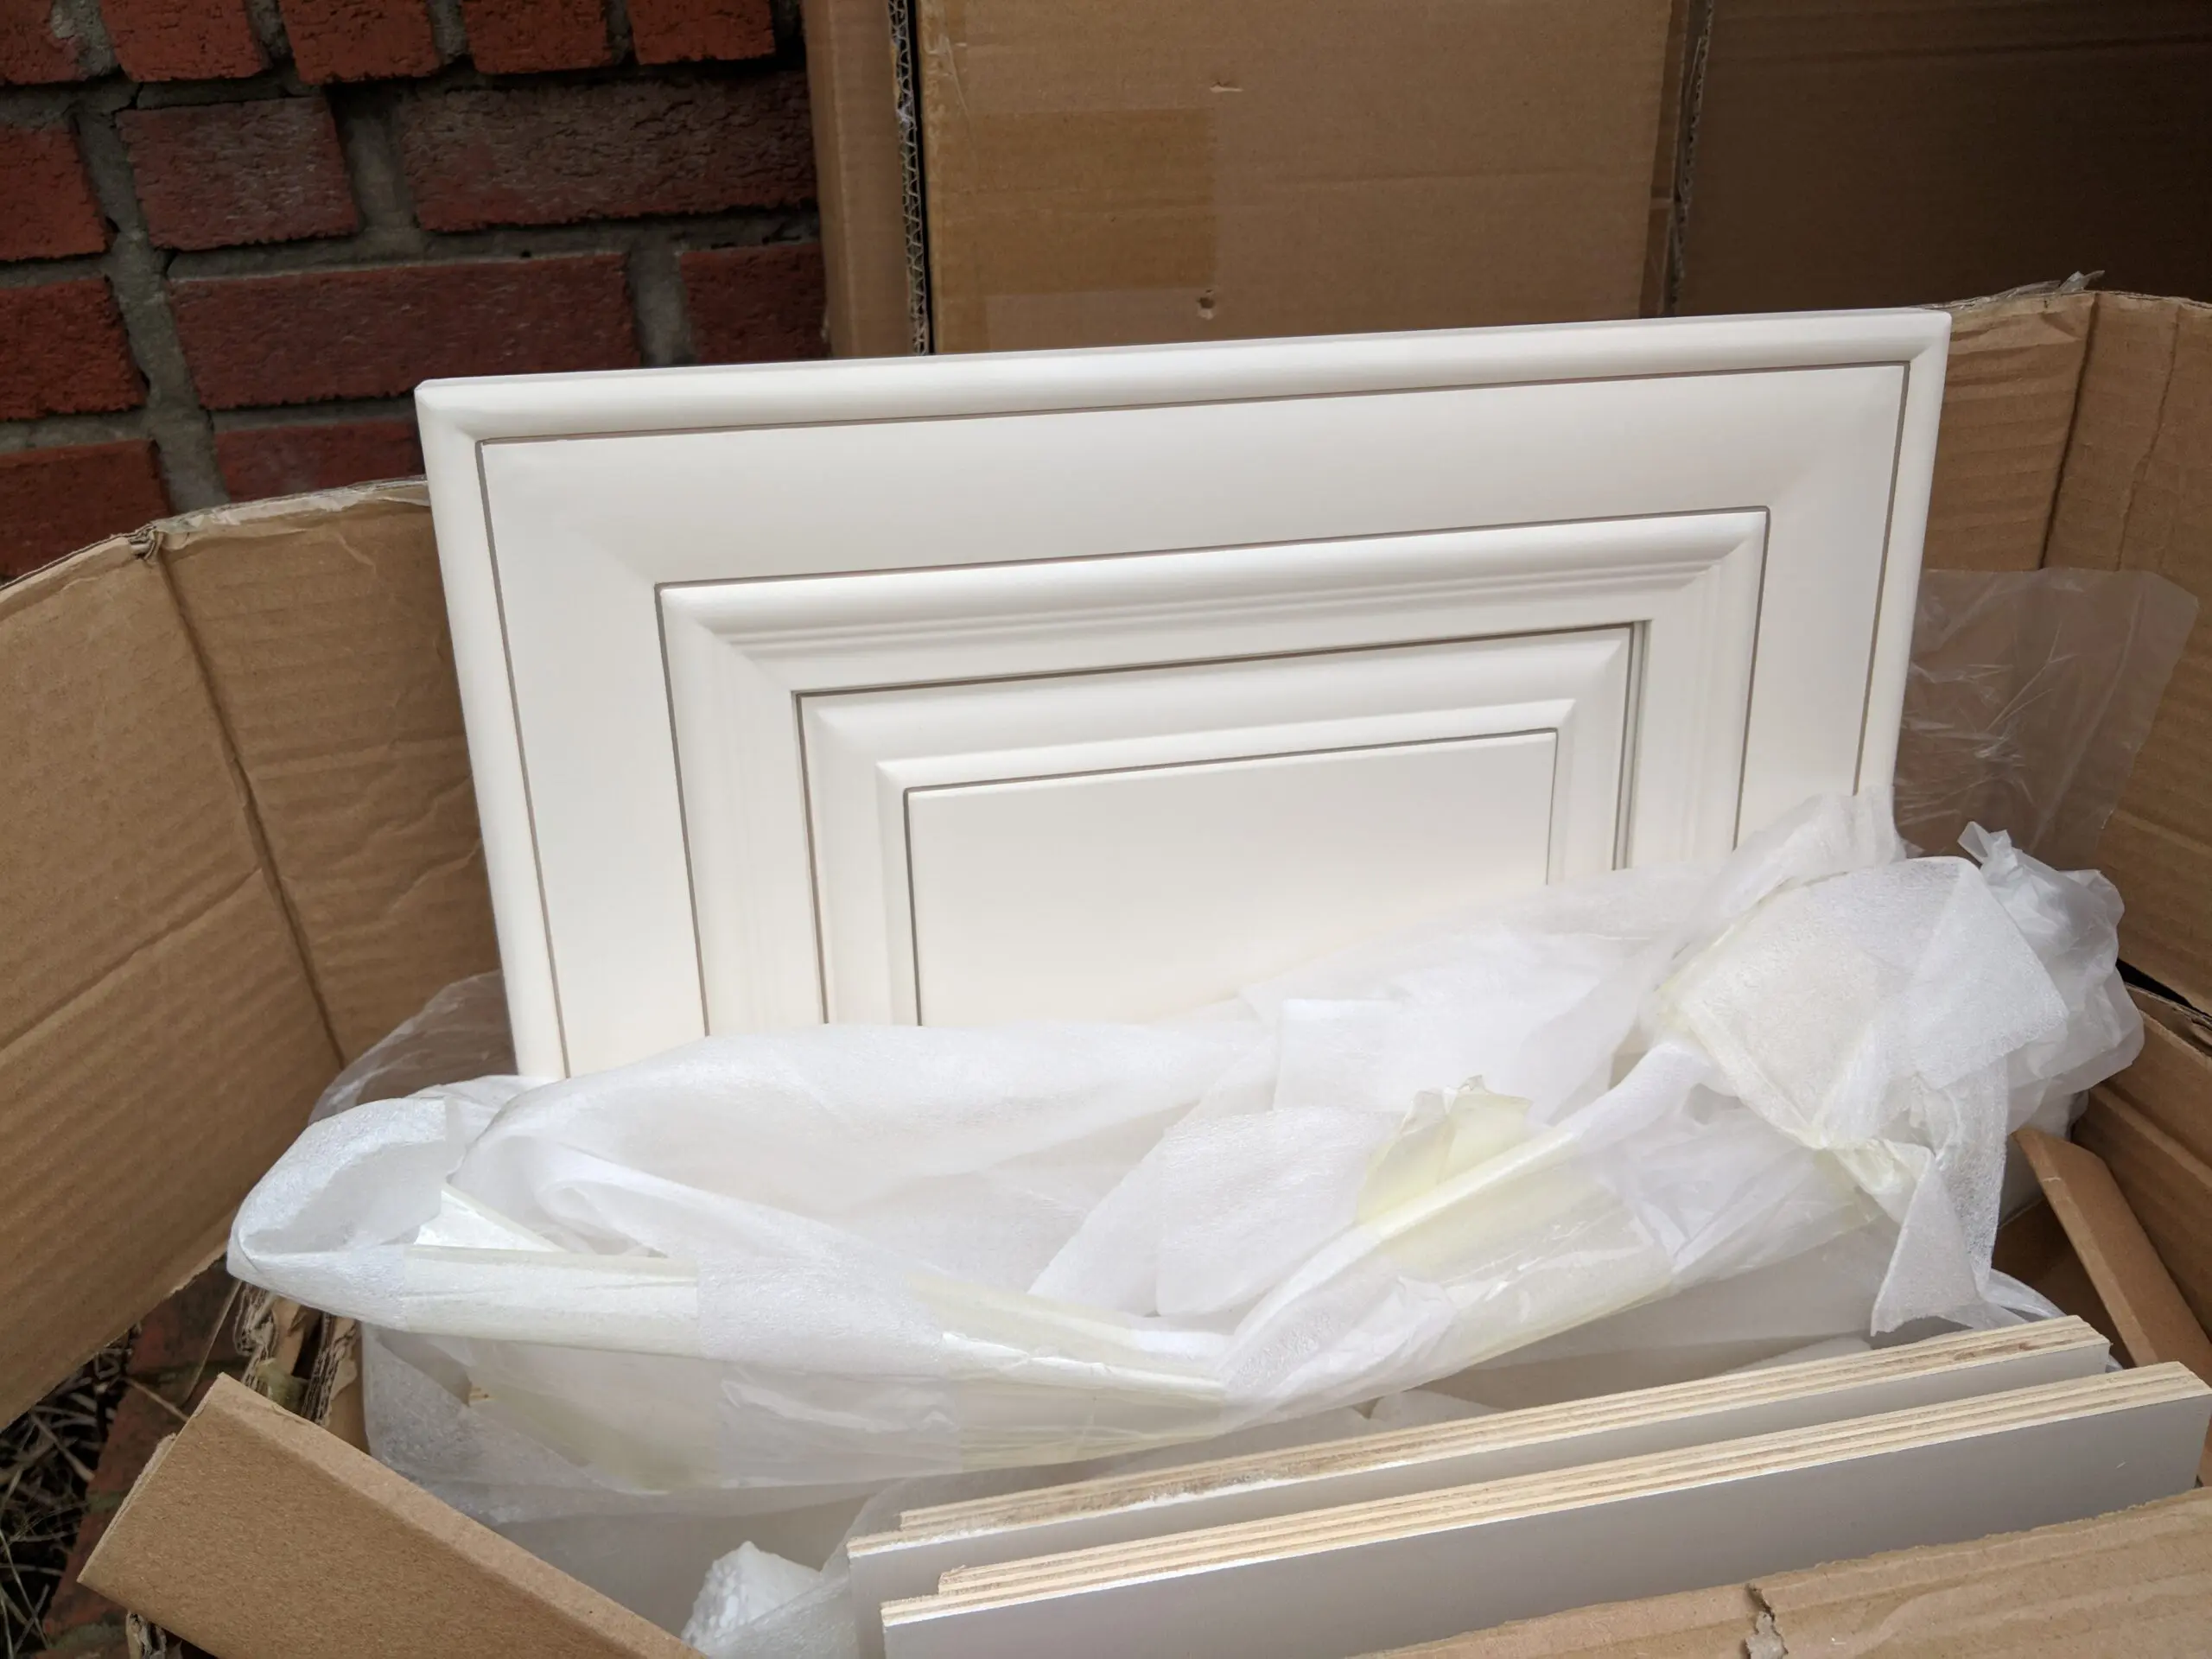
One of the most exciting days for any kitchen renovation, is cabinet delivery day! What a joy it was to see these beauties again. We used the same style with a similar glaze in Fixer #2’s kitchen and adored them – for their looks, quality and craftsmanship.
These cabinets were Charleston Linen with Mocha Glaze.
Designing a Chef’s Kitchen
I’m not a bona fide chef, but I can cook (some have said really well) and I LOVE to bake. I am in the kitchen numerous times a day, cooking and baking, prepping and cleaning.
That said, I needed a chef’s kitchen, right? *wink*
Appliances
Appliances are largely what makes an ordinary kitchen a ‘chef’s kitchen’. Ease of use and ability to make something grand, and a lot of it, (I imagine) is important to a chef.
The appliances we went with after much research were:
- ZLINE 36″ professional stainless steel gas rangetop
- Frigidaire Gallery double oven
- Frigidaire Gallery 26.8 cu. ft. French Door Refrigerator
- Frigidaire Gallery built-in microwave
- Winflo 36″ wall mount range hood
- Frigidaire Gallery dishwasher
Keep in mind if you go to the links, we didn’t pay nearly the price listed on any of the items.
Countertops
We have a dear friend who has done all the countertops for us (and family and friends) since we first saw his handiwork in Fixer #1 back in 2013. He was our tenant’s father who did this kind of work on the side and she wanted a little more counter space in the apartment. So he matched them and built her a corner counter that looked great. He, of course, had to build the extensive counters for this house too.
This time we wanted COUNTER SPACE. (Think, lots). When Ryan designed the kitchen he went with a peninsula AND an island. I wanted at least an island, and definitely not only a peninsula, so this was our compromise.
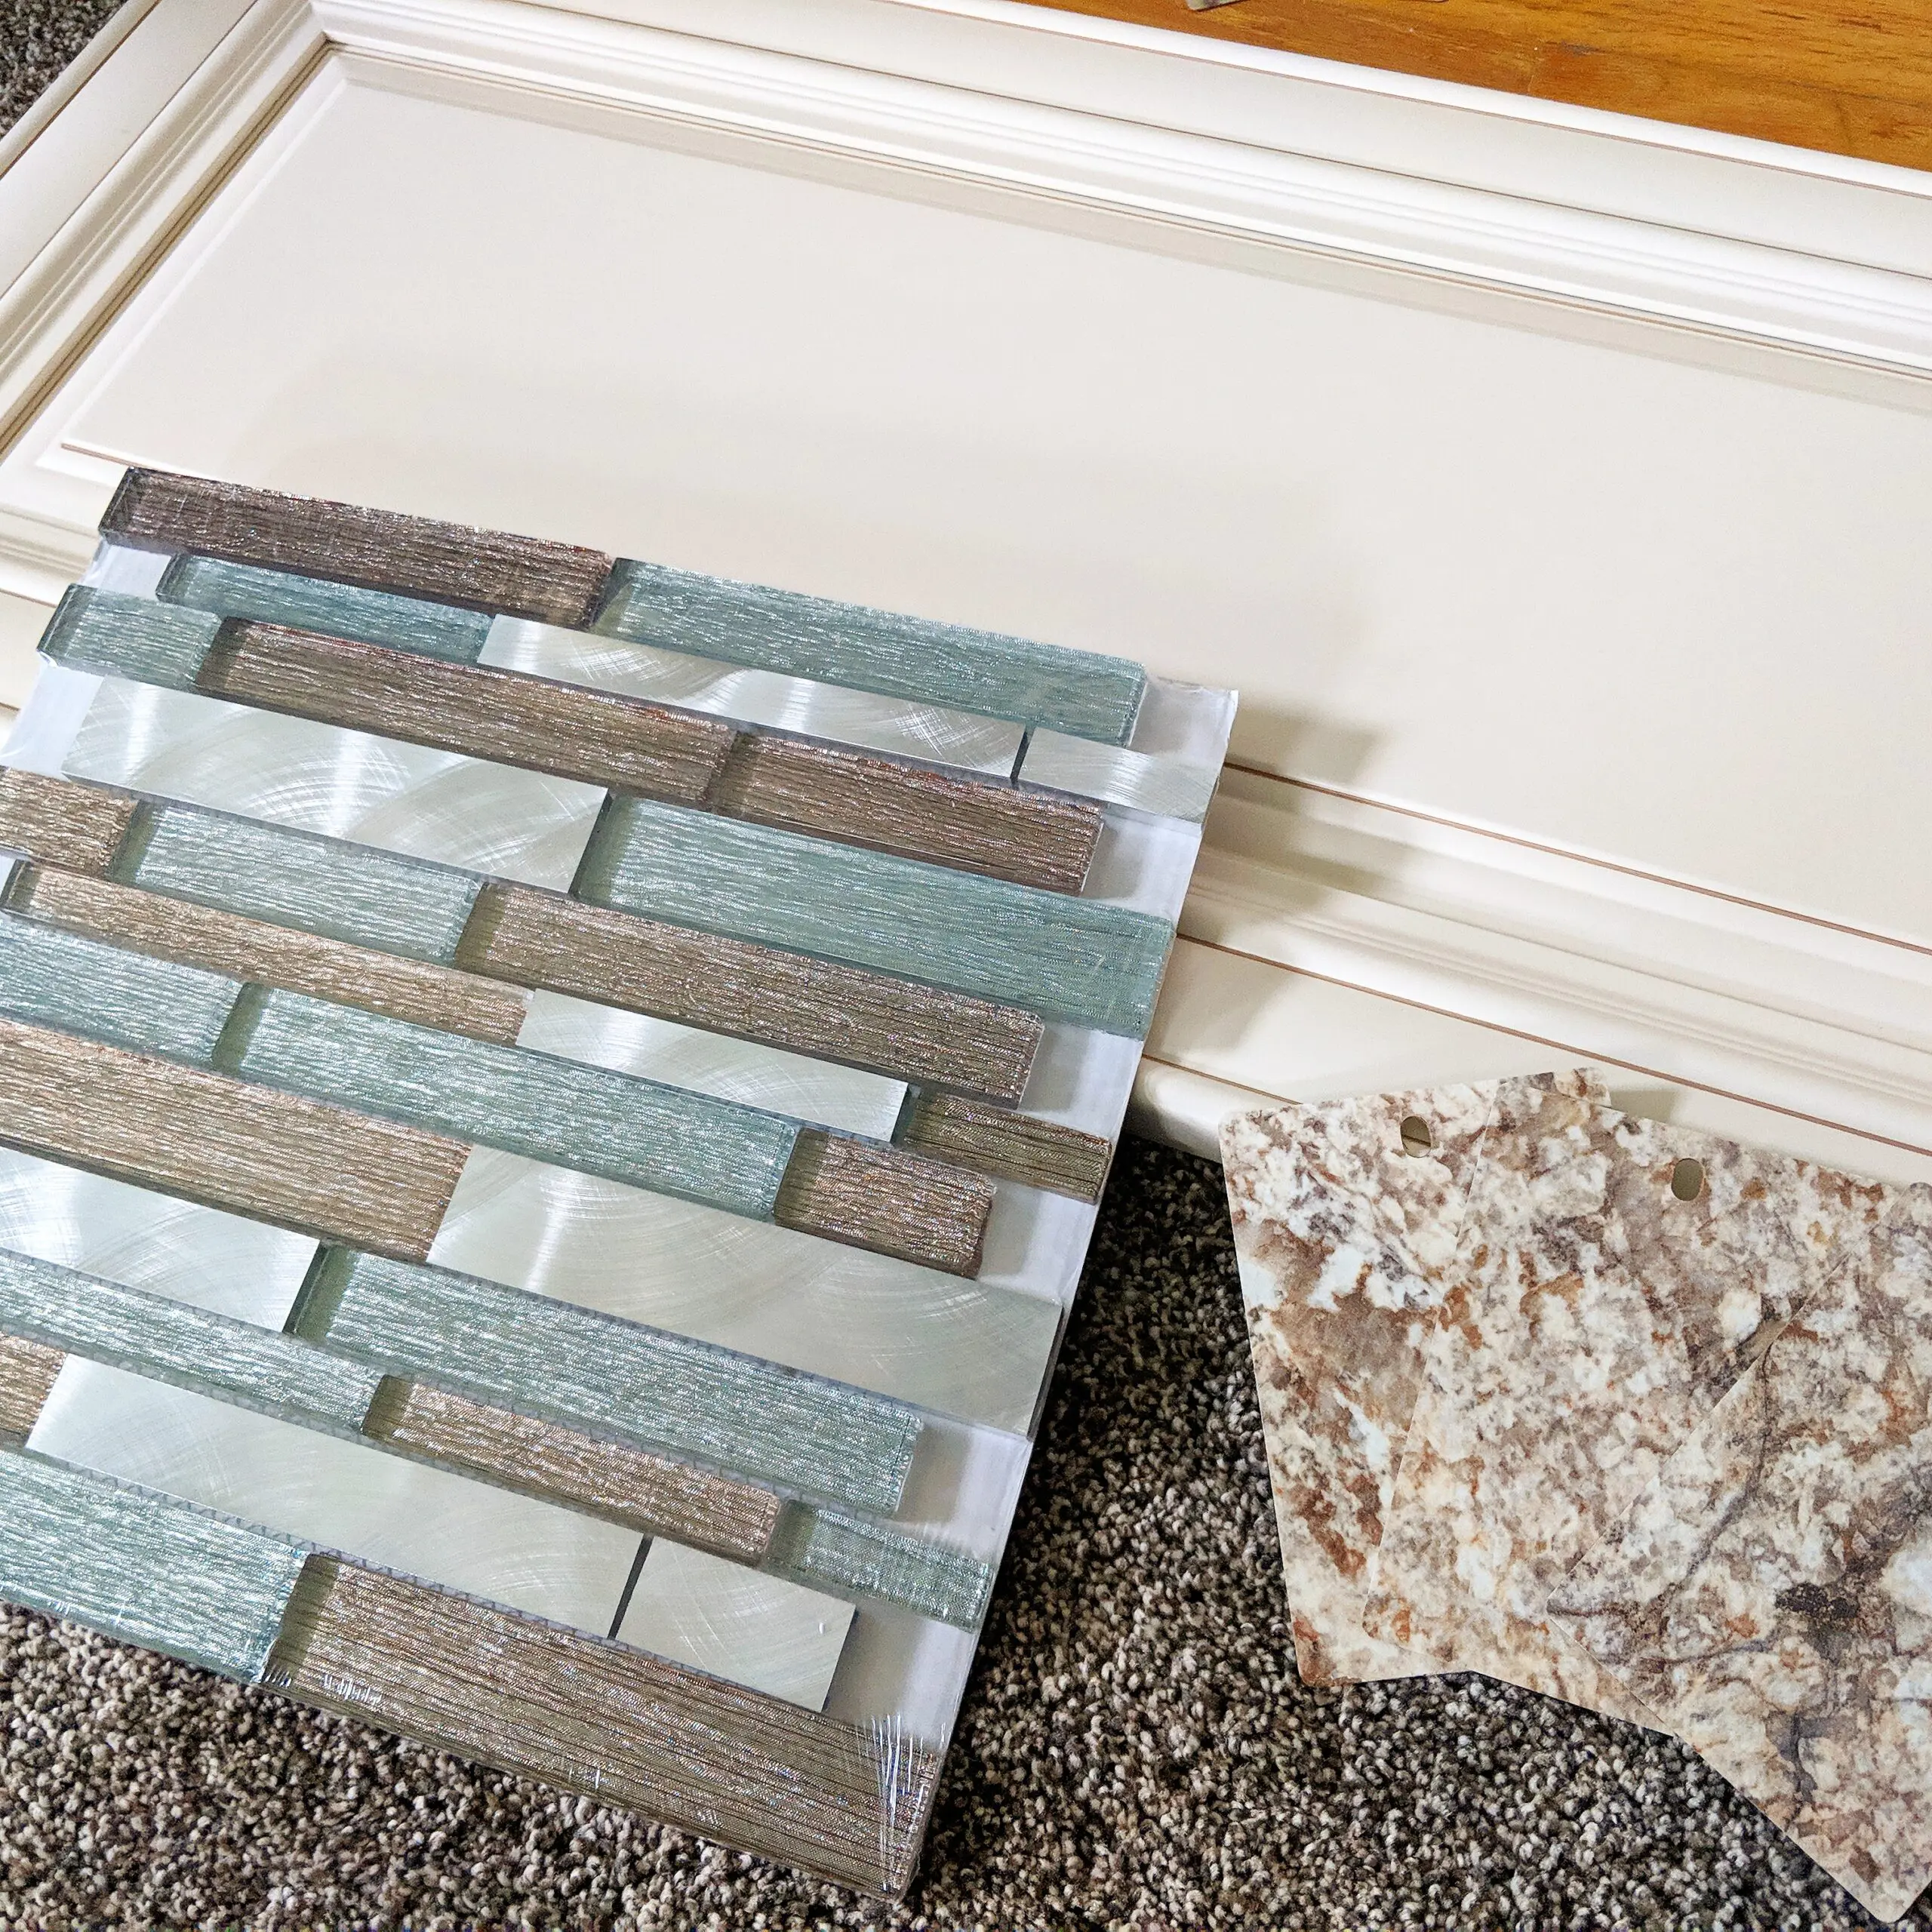
Someday we’ll go with stone, but for this time we went with Wilsonart 1872 – Bianco Romano and we love it. (See below for the swatches).
Style
Farmhouse style is all the rage right now. White. Black. Splashes of green from a perfectly placed plant.
Honestly, in well done homes, that gets to me too. It is stately, simple and calming.
But, I like color. My husband likes color. Our littles’ like color (duh, ha).
And color can add a certain ambiance and feel to a room that you can never get with stark white, especially at night in non-natural lighting.
So this was our color scheme. We wanted to make sure it worked well together before ordering the countertops and tile. We knew we wanted those cabinets, they were the focal point and we built the rest of everything around them.
Easy ways to update an old kitchen (on a budget even)
Paint cabinets updated colors
If your cabinets are in good shape, paint them! White is the go-to favorite right now, but antique white (or linen, like ours), gray, black, navy or even a semi-soft green are becoming all the rage too.
Paint the walls
I’m always shocked by how much a new color on the walls can completely transform a room. If you have dark cabinets, opt for a lighter, brighter color. If you have white or light cabinets, you can go with light or even a medium to darker shade. Take the amount of natural light you get into account when picking shades and hews. If your kitchen is in a darker part of the house or doesn’t have many windows, even a medium shade will make it darker.
Change the pulls and knobs
Black, stainless steel or bronze pulls can add pizazz to an otherwise boring kitchen. I’m especially loving the black right now, but we used stainless in the last kitchen.
Update appliances
And don’t be afraid to look for used ones to get higher-end ones into your budget. Or check appliance sites online (like appliancesconnection.com), and head into your local stores to find the best deals. Shop around a lot before settling. IF YOU CAN, wait for a holiday when sales are usually going on. Even ‘small holidays’ like President’s Day can net you big savings.
Update lighting fixtures
Home Depot, Lowes, Ace, online shops and other local hardware stores often have competitively priced, ‘contemporary’ fixtures. You’d be shocked at how much a new chandelier, fixture or pendant lights can update a kitchen.
More of Our Old Kitchen Update
I can’t tell you how much better just the subfloor felt once it was all laid. The previous flooring, even all 5 layers of it, were so warped and weak they felt unsure to walk on.
Then we added this pretty engineered hardwood on top, drywalled and mudded the walls, and it started feeling like a real house. (I actually really like this picture where the project is on the precipice of real, huge changes).
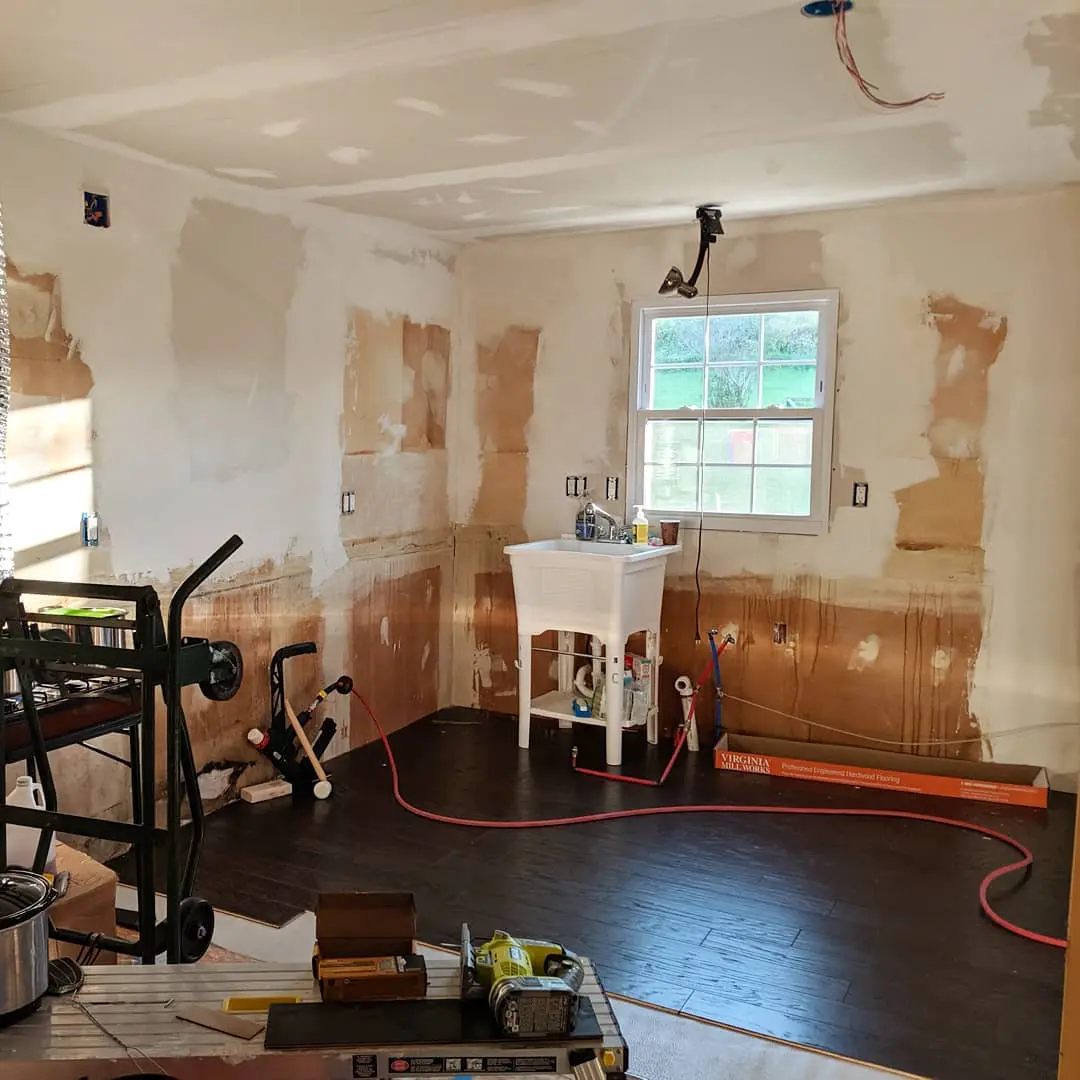
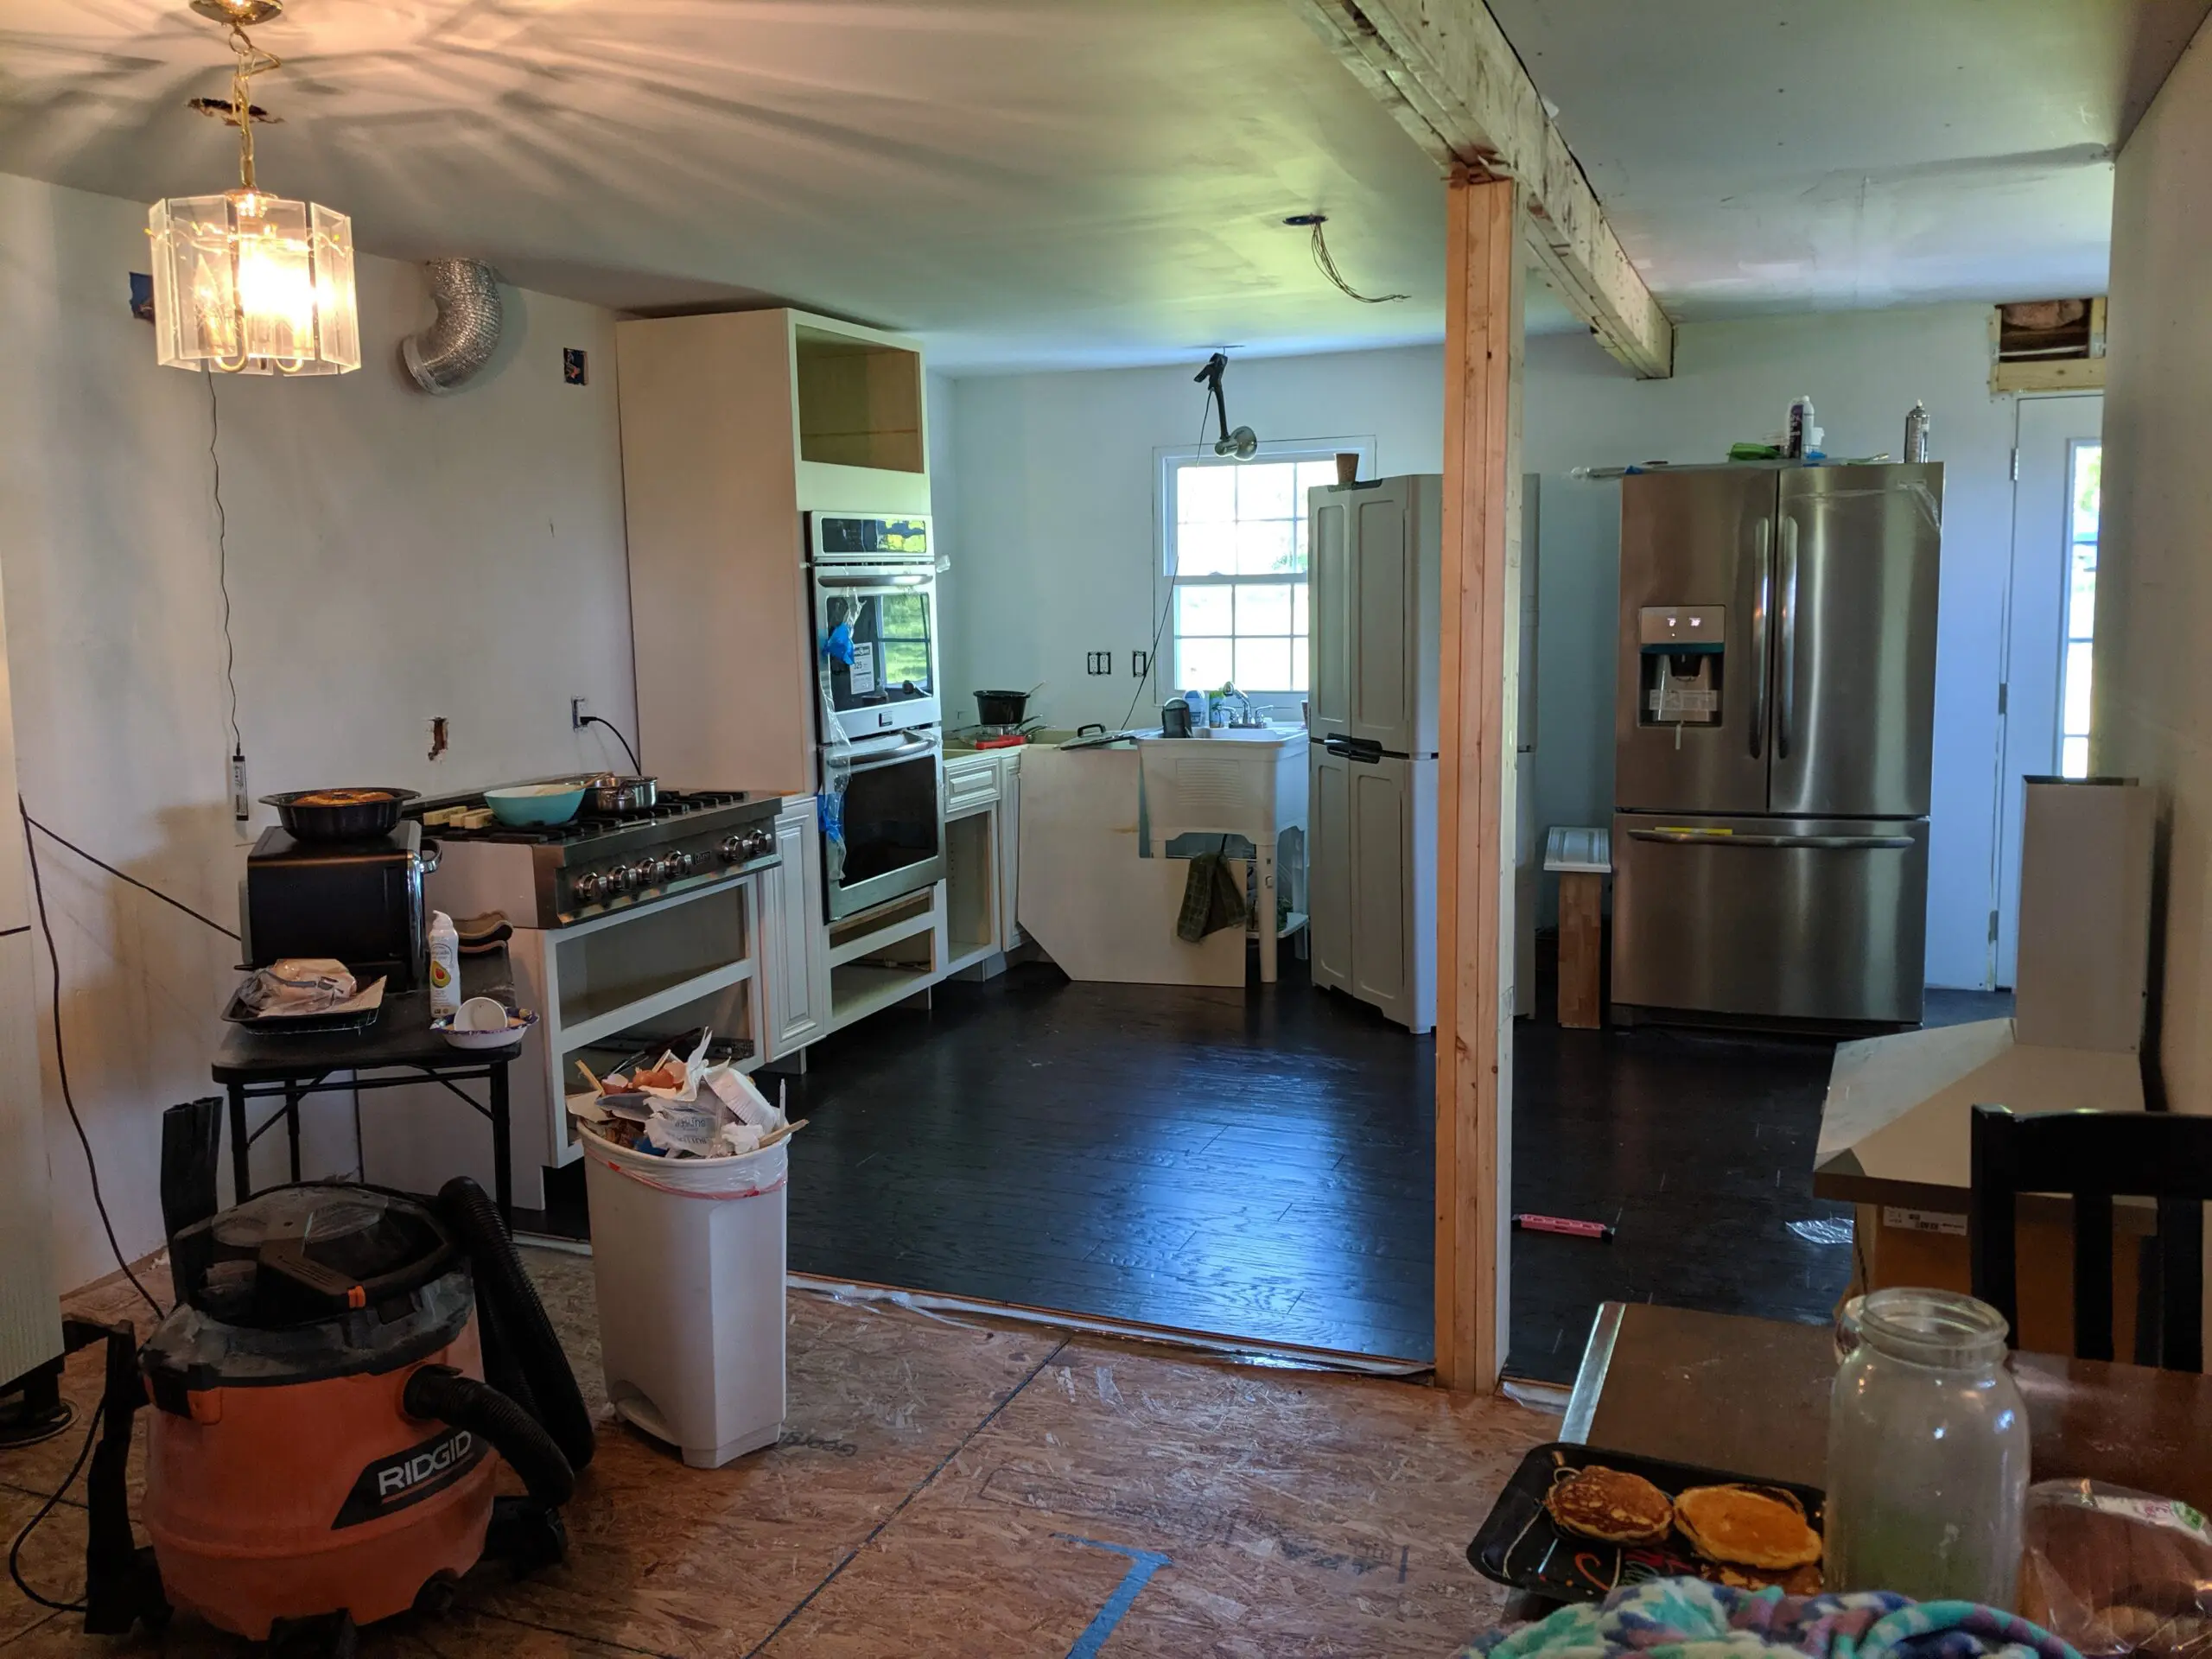
My rangetop became functional, however there was NO counter space anywhere, so it was still very difficult to cook at this stage.
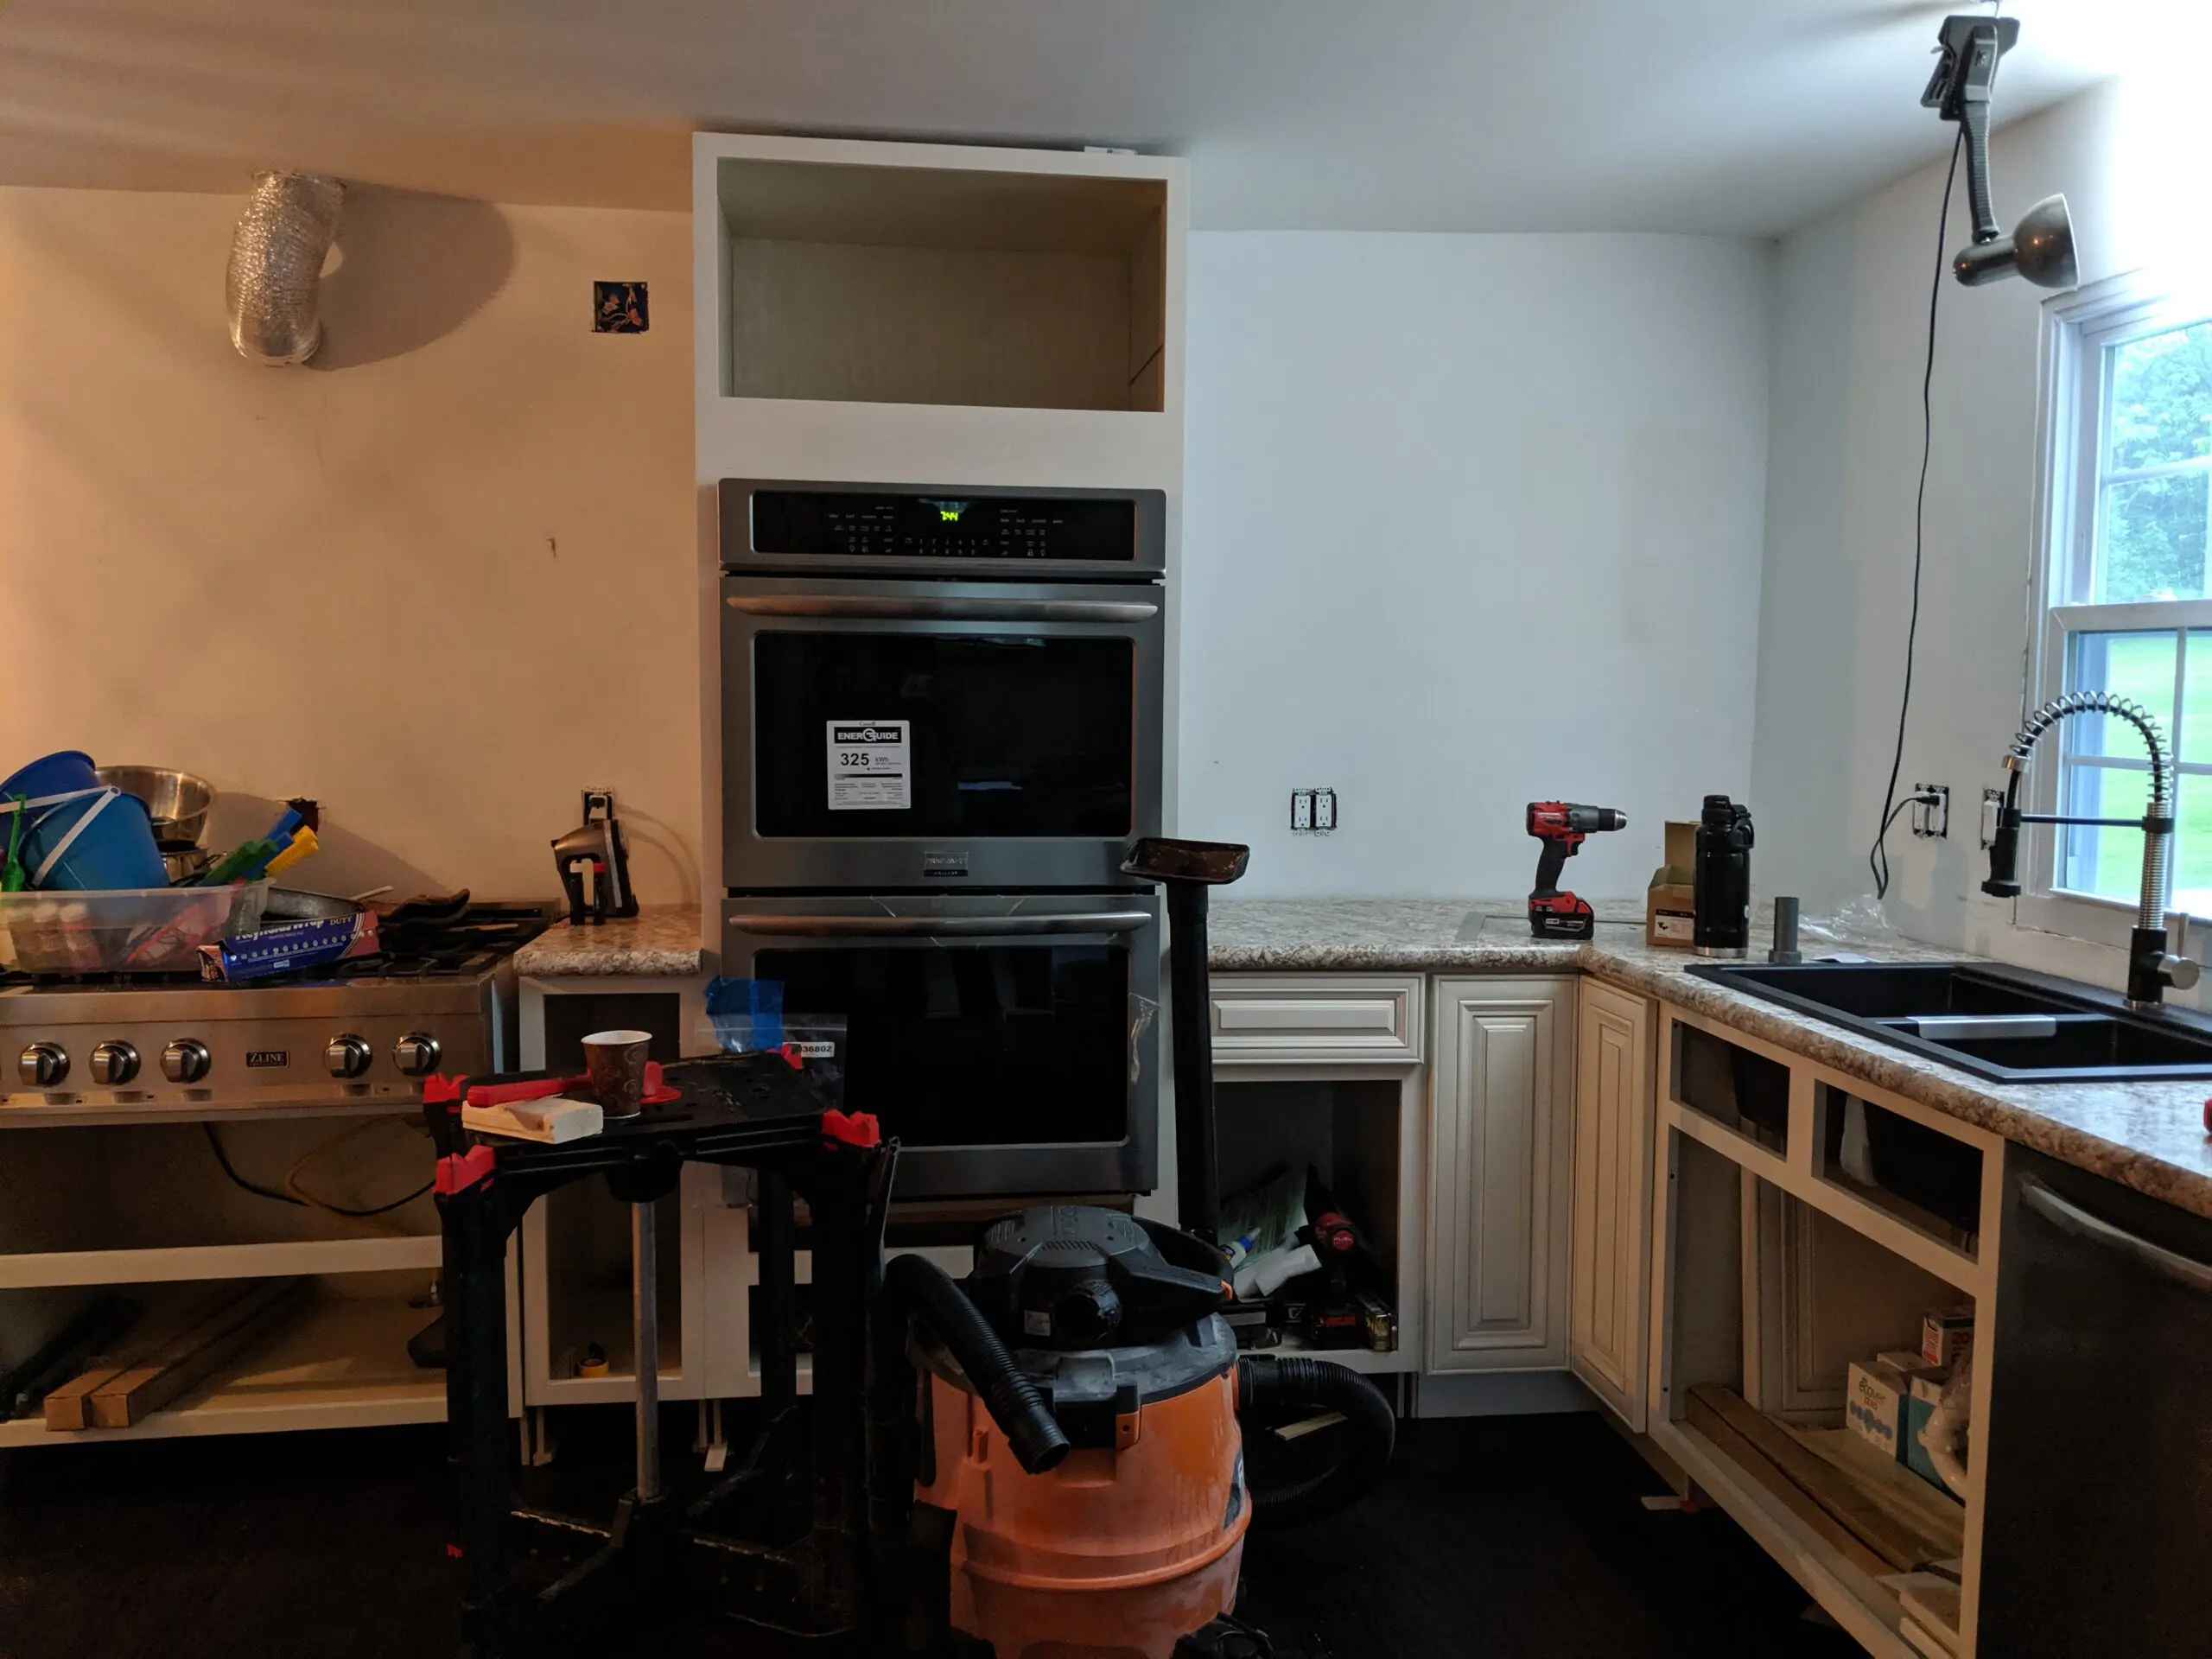
But here came the countertops! And the beautiful black granite sink with restaurant style faucet. Ryan was still leveling the cabinets at this point, which, if you’ve never done that in an old house, is HARD. This house was built in 1875 (or earlier, that was as far back as the records go) and NOTHING was square. Obviously.
The difference between renovating a house and building one
This is, (I imagine as we haven’t done the new house thing yet), a huge difference. When you’re renovating the house you live in, you have to live IN the process. Most often when you’re building a home, at the end when everything is built and beautiful, you move in and organize everything the way you want it.
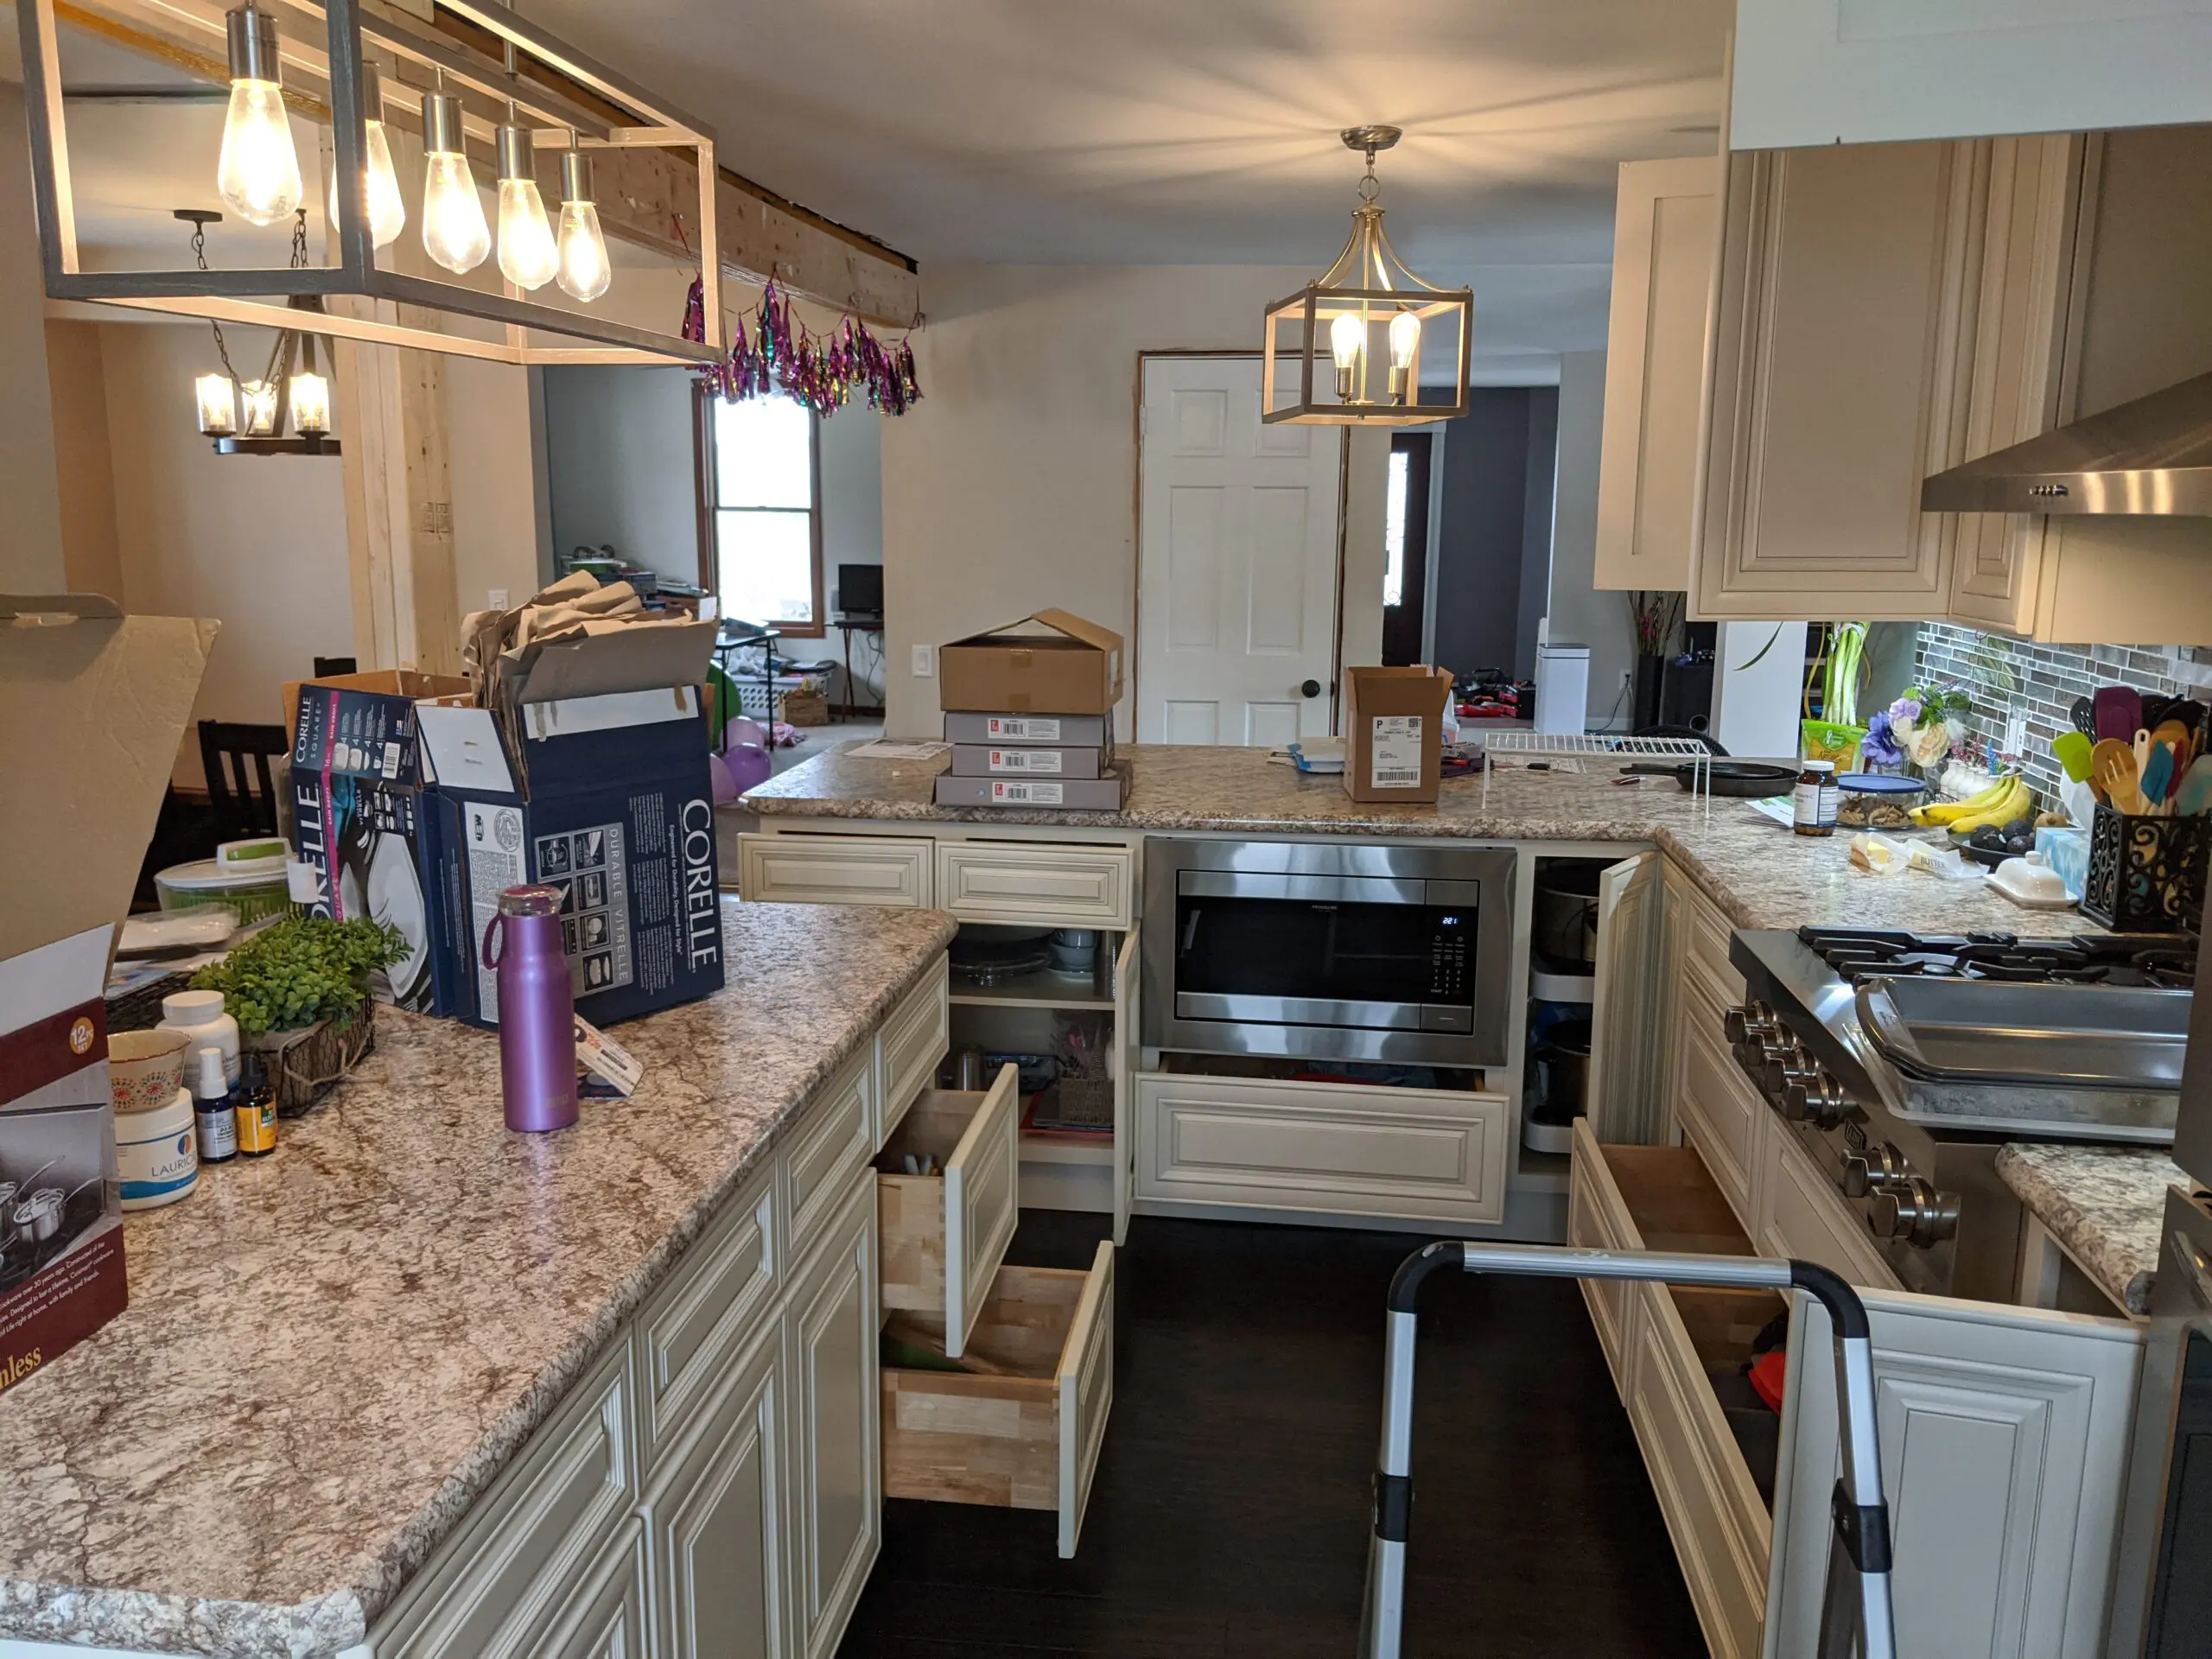
In a reno or a fixer, you’re ‘moving in’ constantly, just to get things out of the way. Here we moved things into the cabinets even before they had doors and drawers.
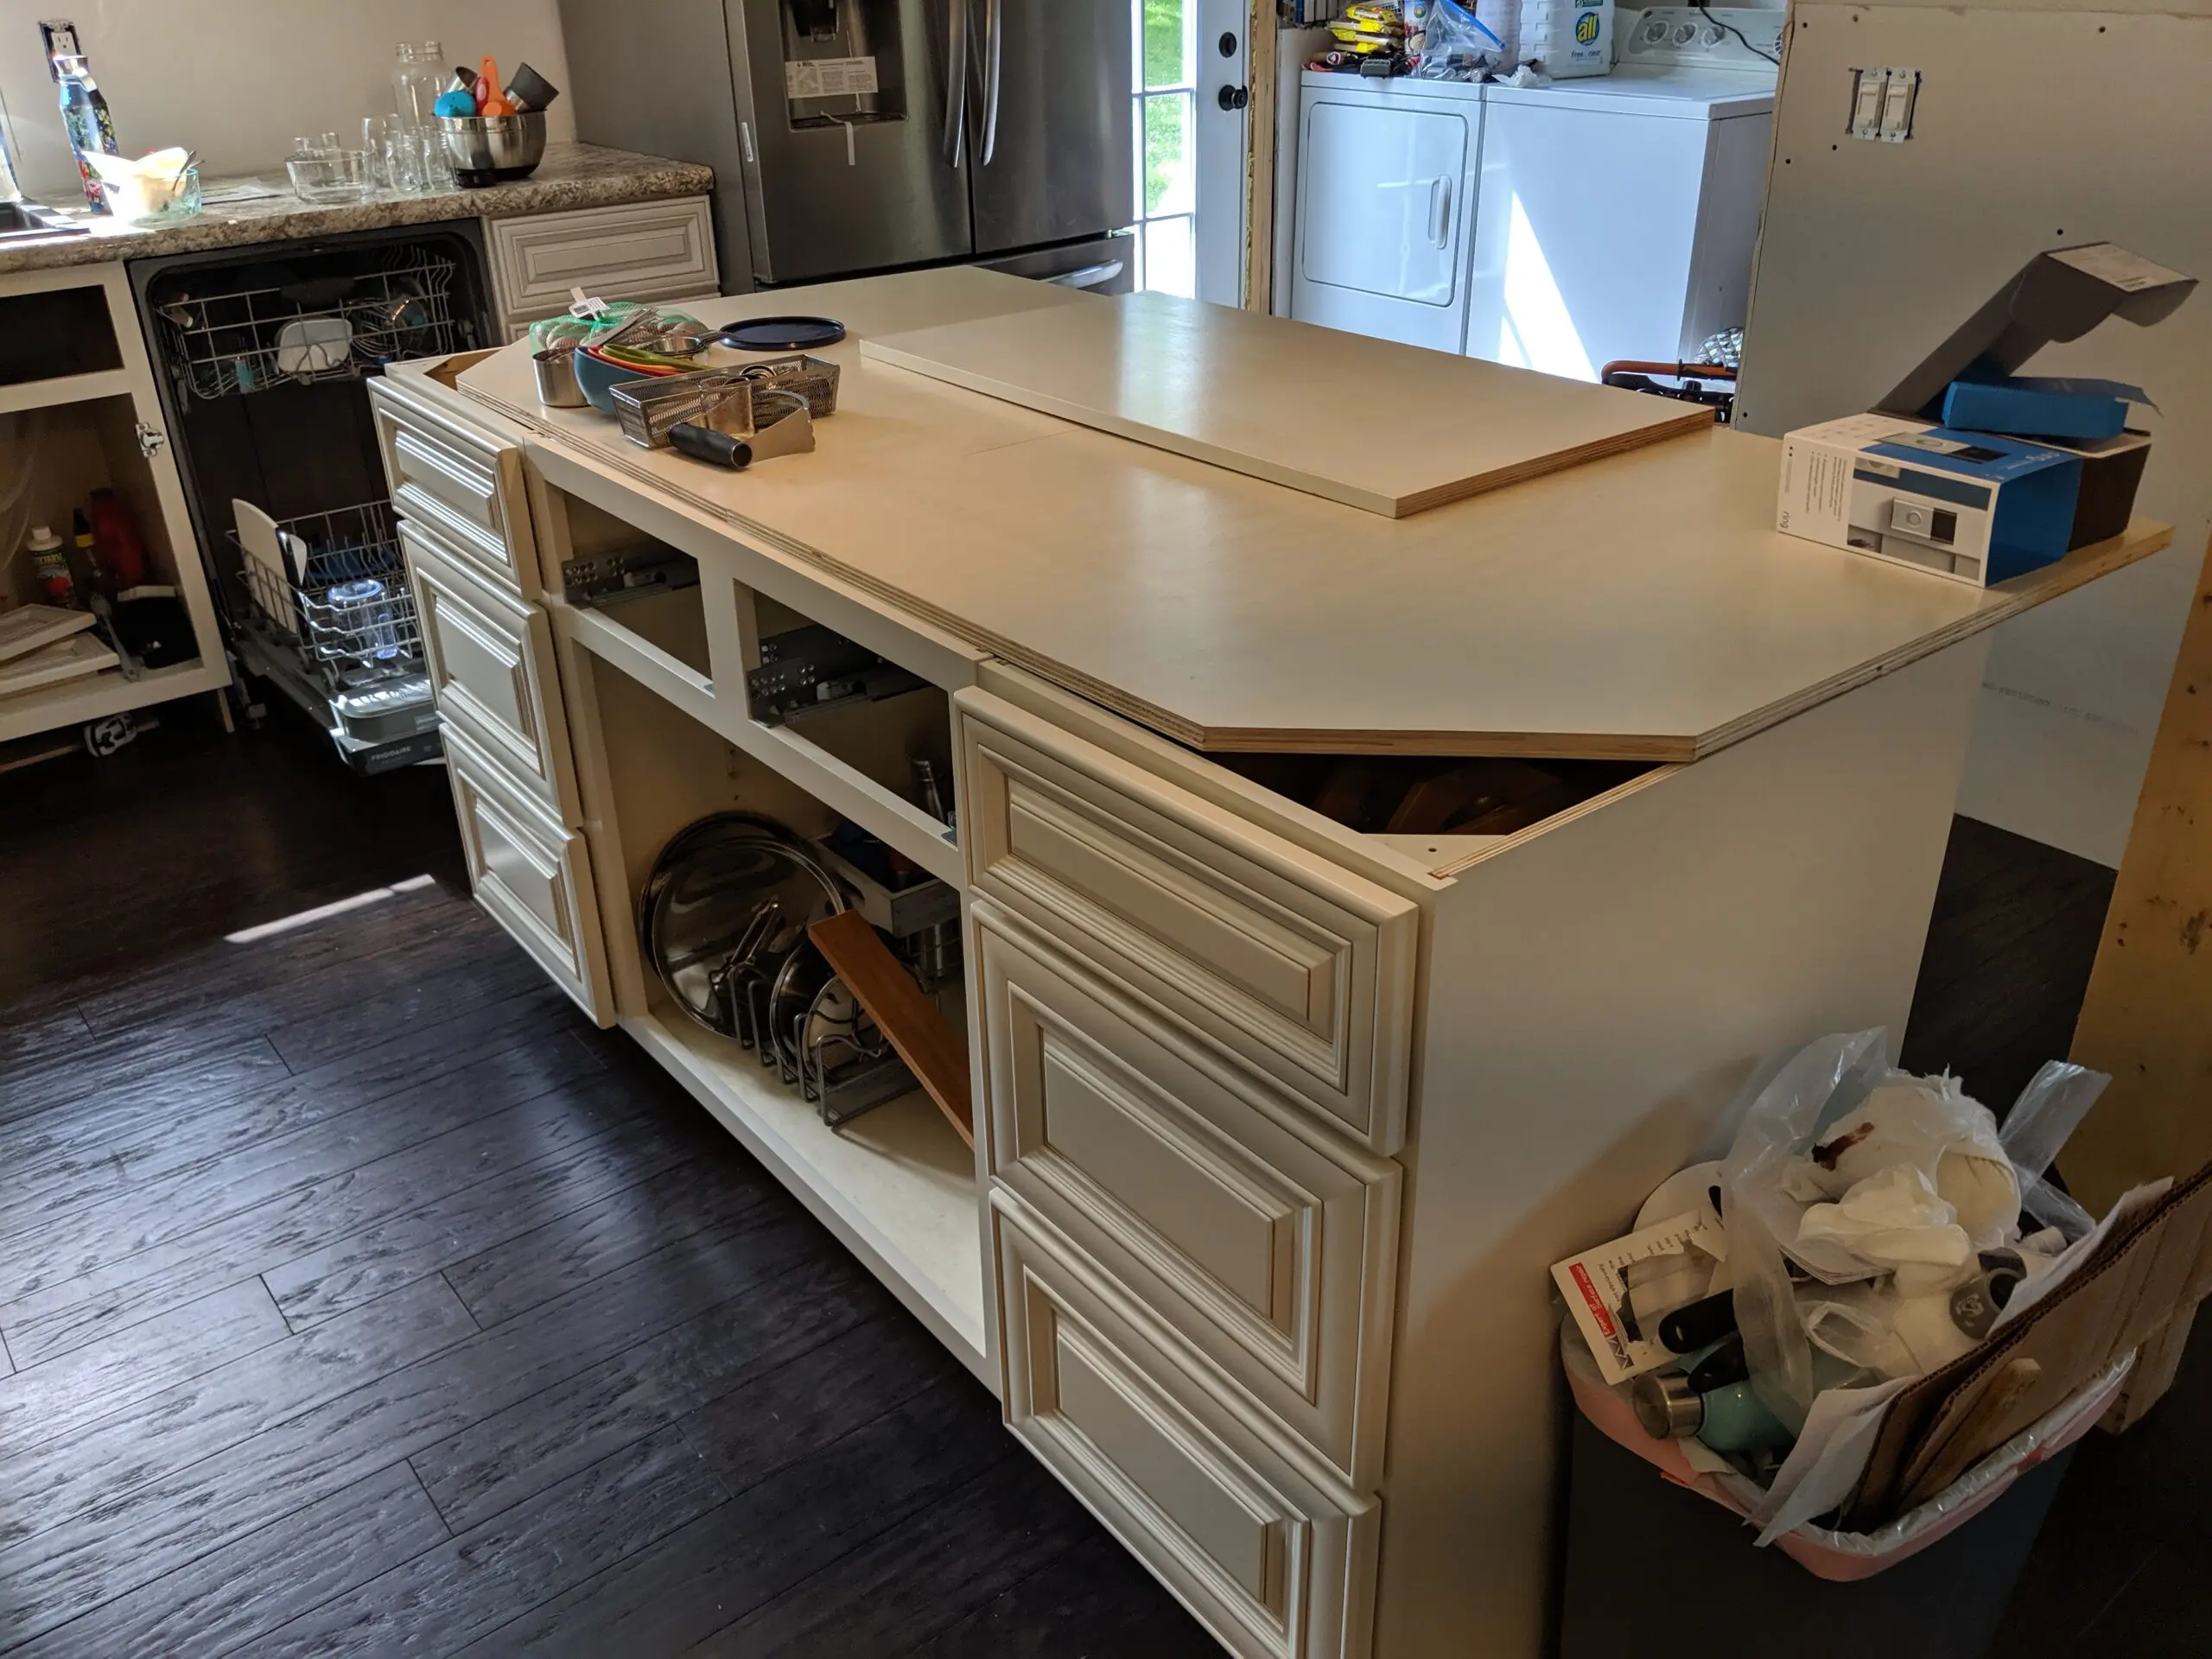
My father in law was a huge help for a lot of this project. Him and Mom made the hour and 45 minute drive many times to help get this wrapped up.
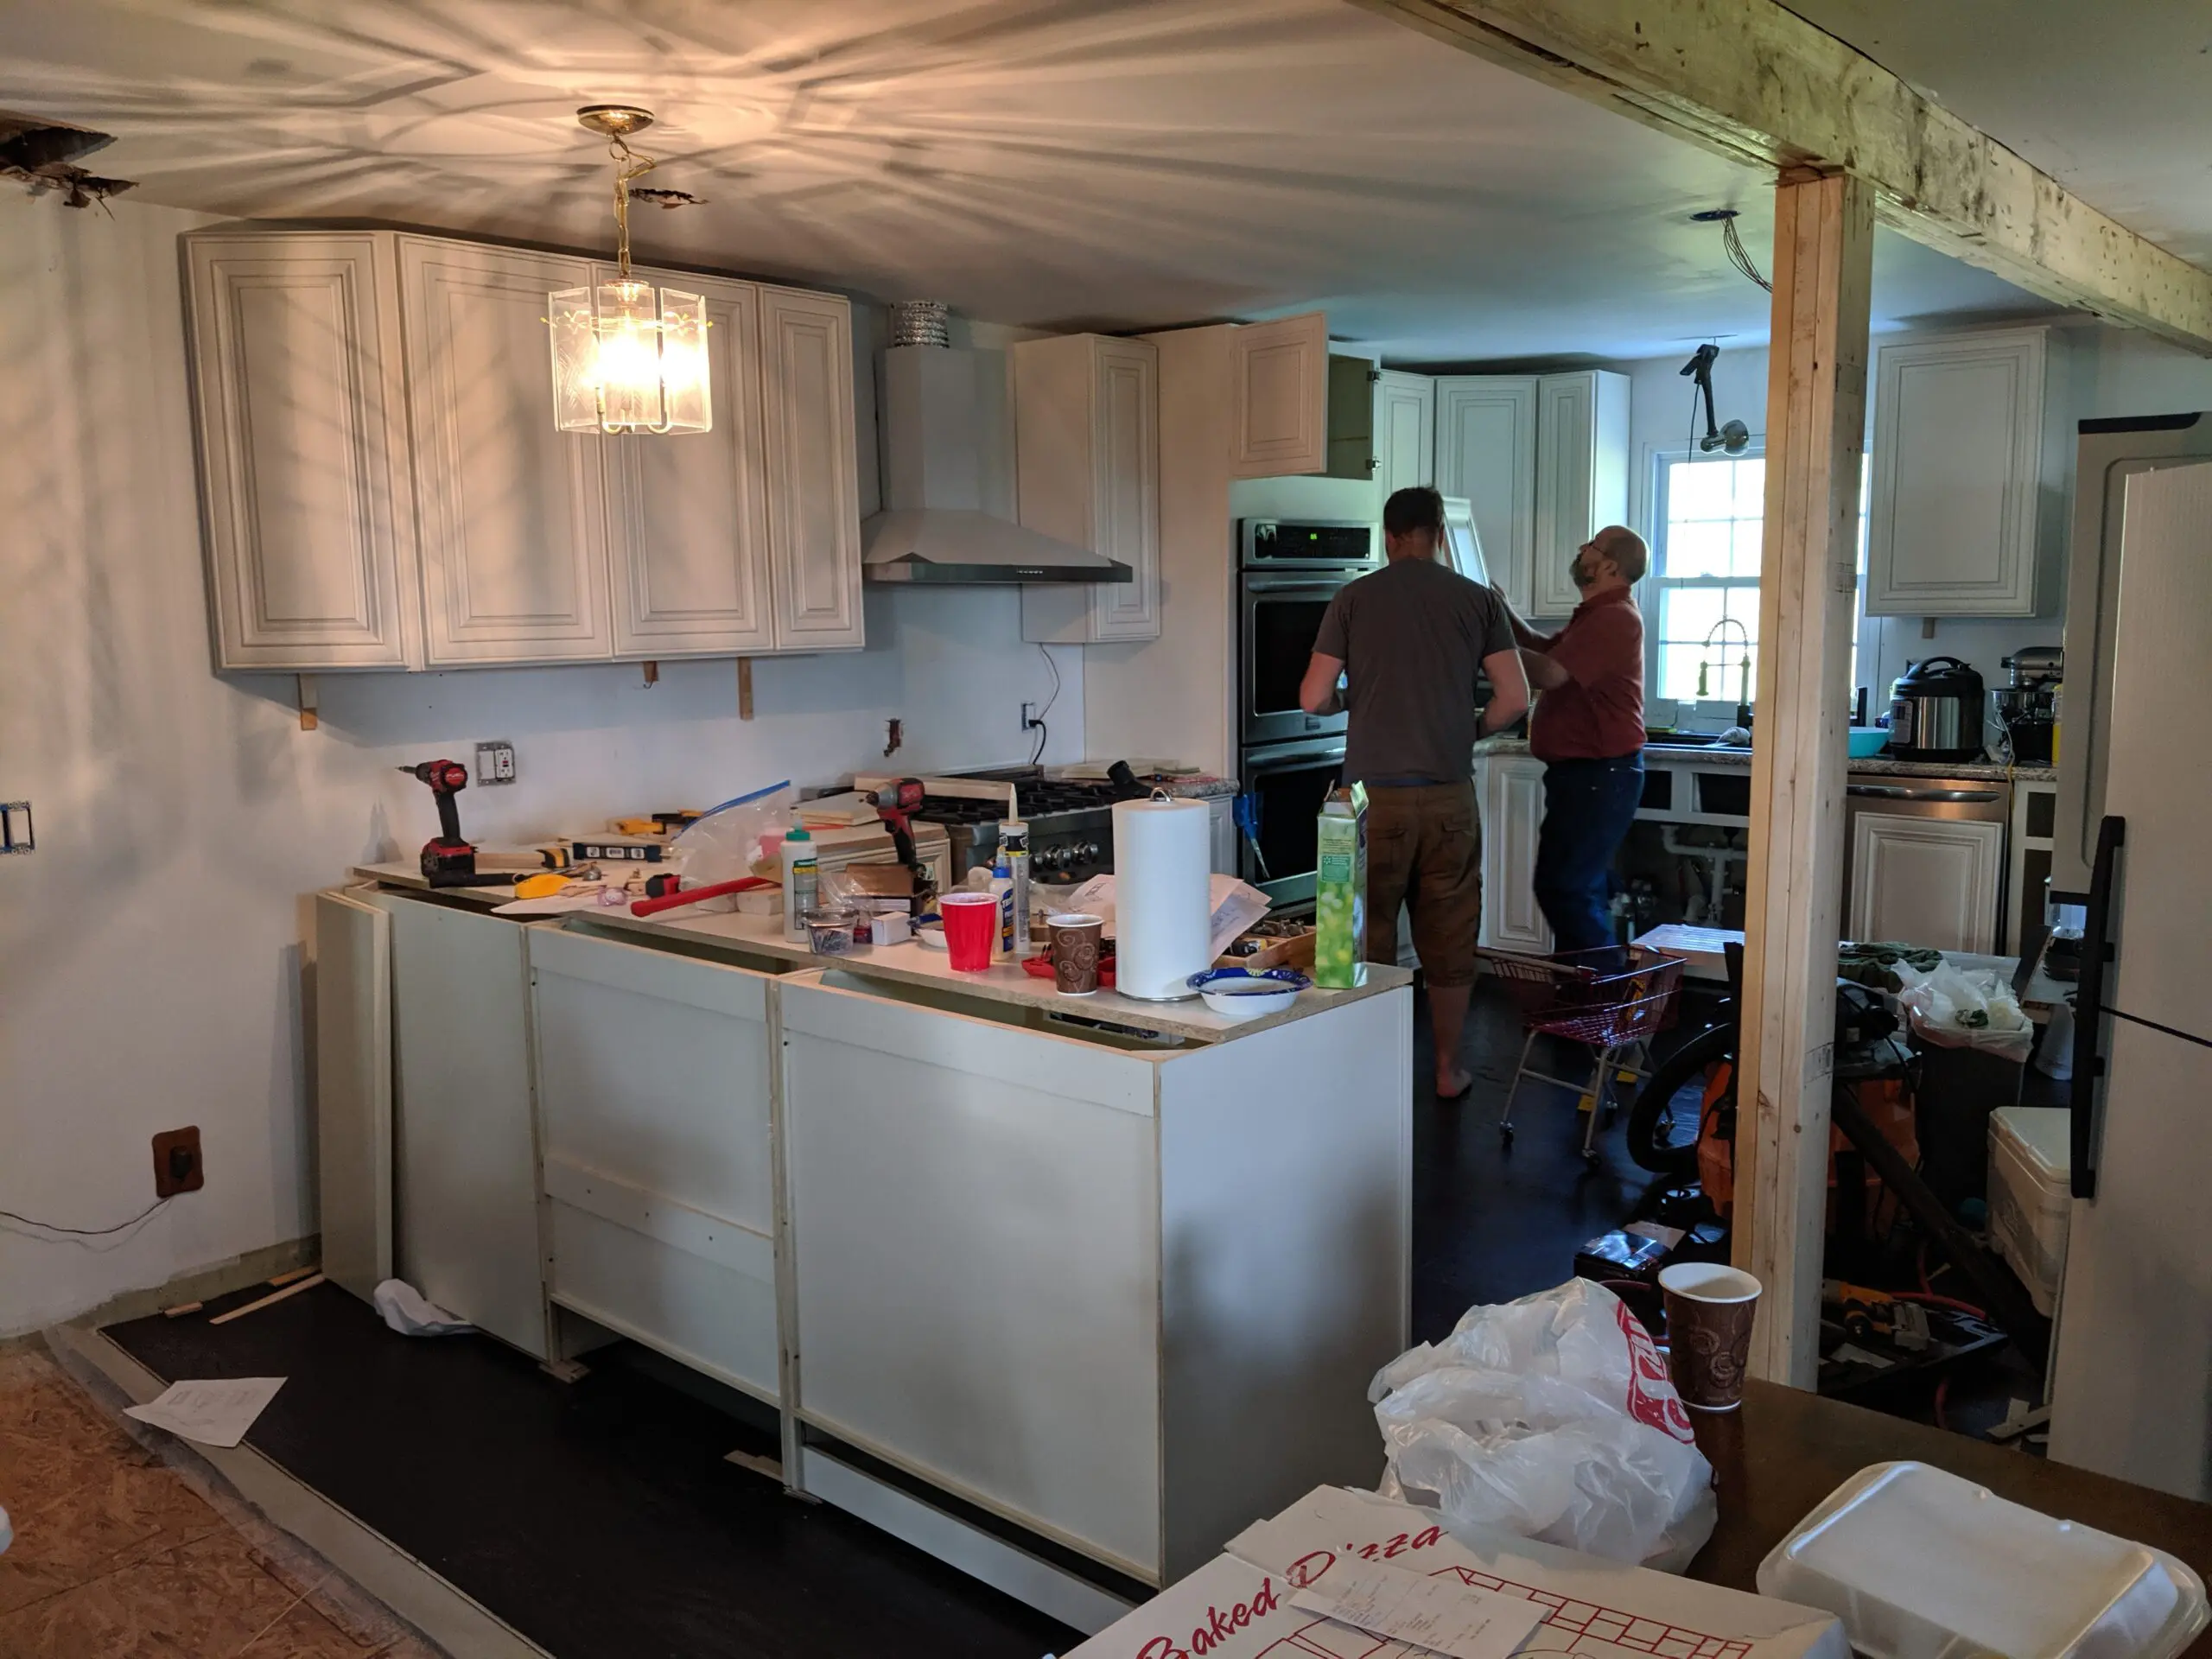
This is the gorgeous (expensive) tile I referenced over here about the huge ways we found to save money on this kitchen renovation.
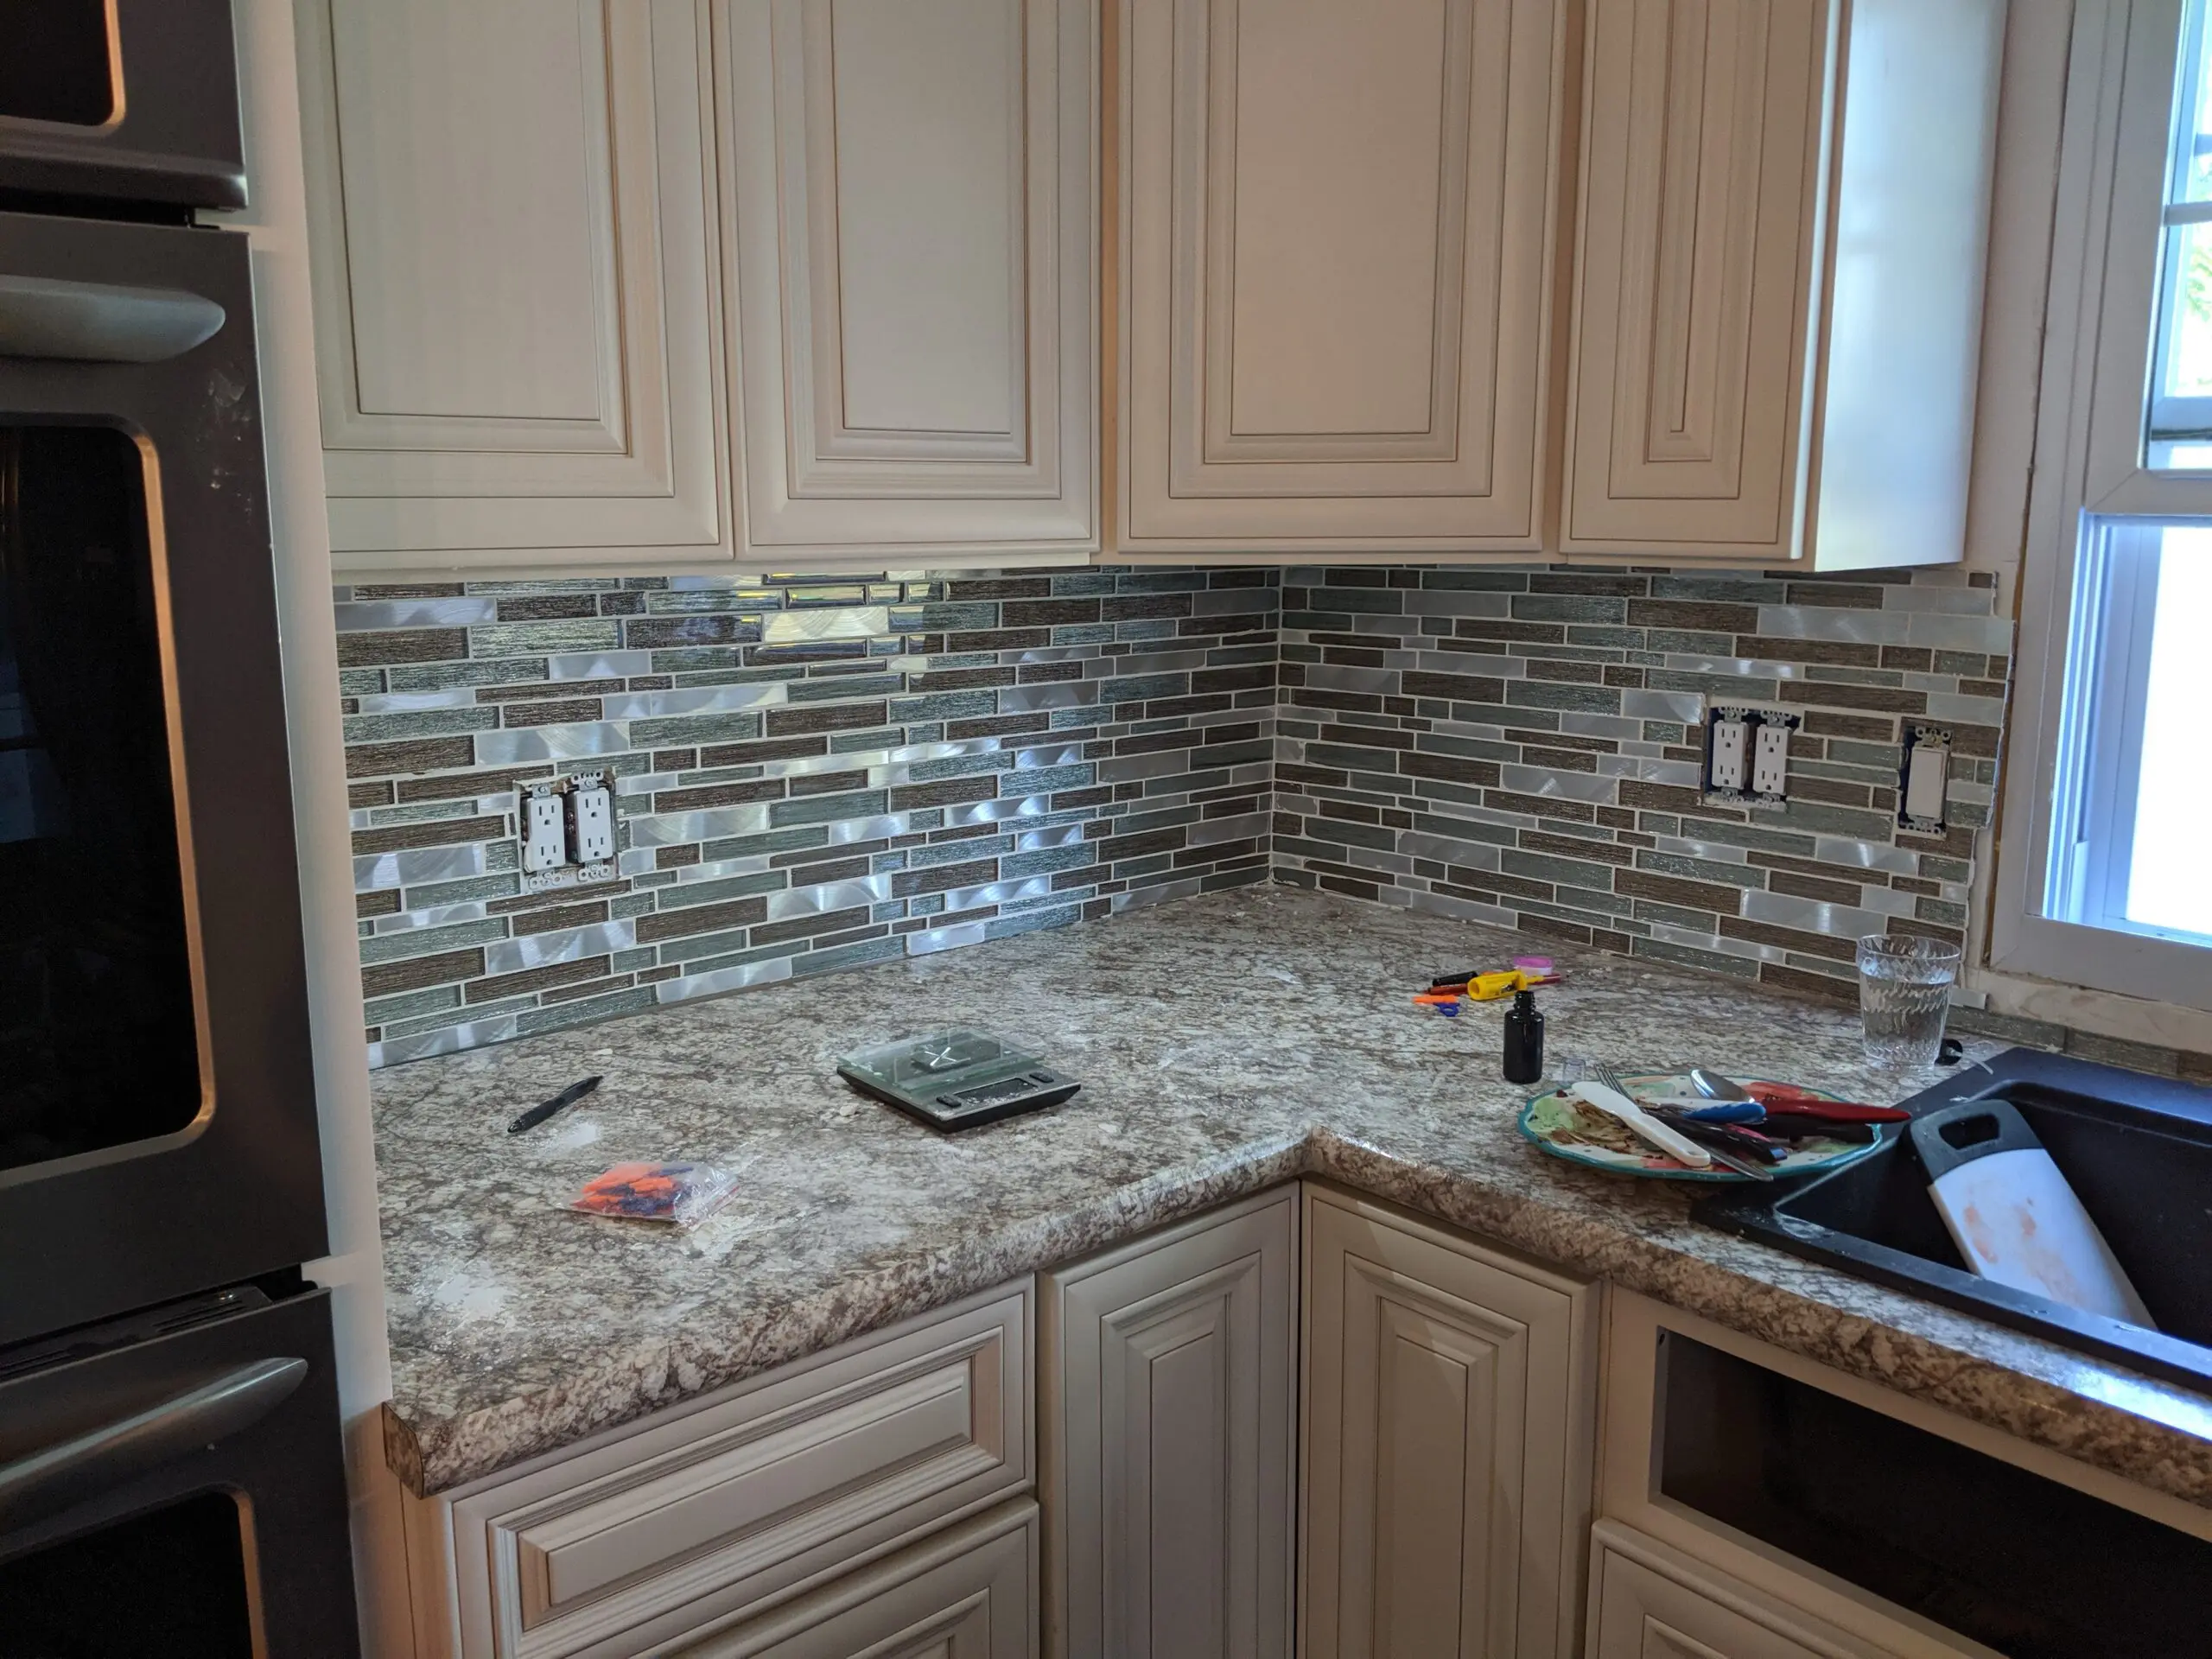
Look at what paint can do! I fell in love with this color when we bought it on a whim to use as a feature wall for the living room in Fixer #2. We were selling it and didn’t have enough matching paint. So far we’ve used it as a feature in the family room of this house and the kitchen.
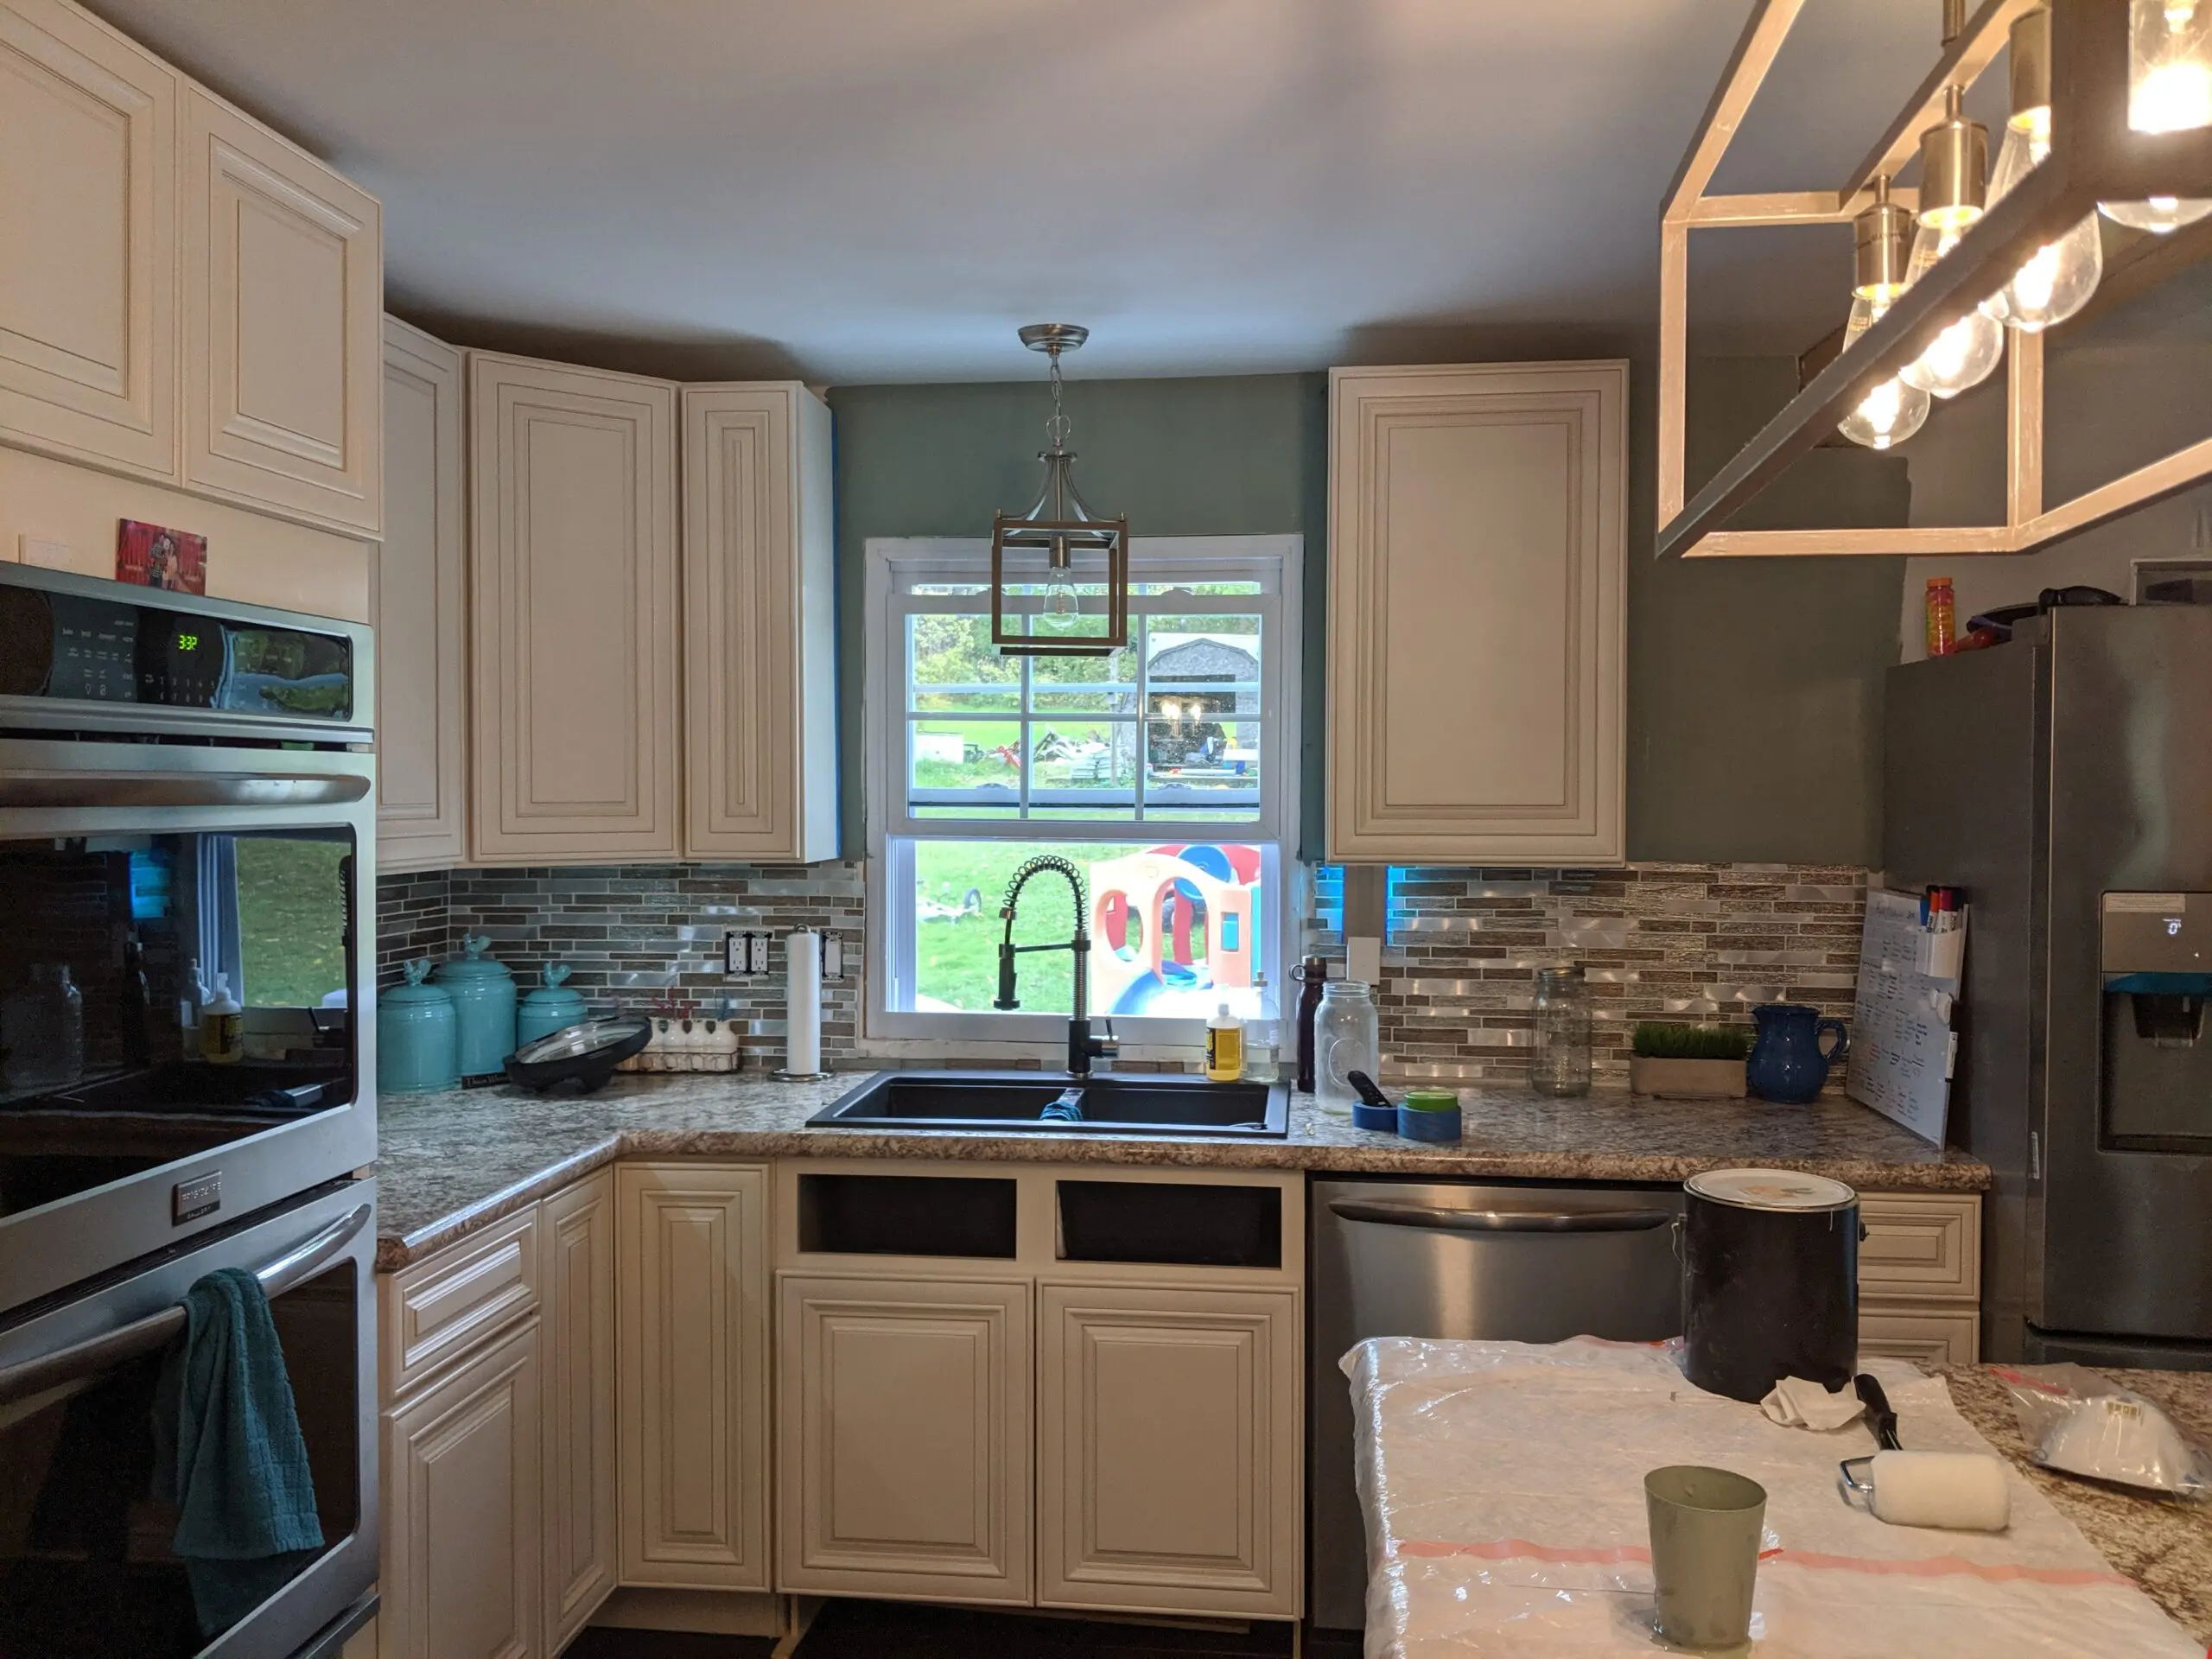
Here’s more ‘moving in’ in the the midst of major stuff still to be done. The beam was about to be wrapped, the cabinets needed hardware, the double oven cabinet needed trimmed out, and the island and peninsula were waiting on their backing.
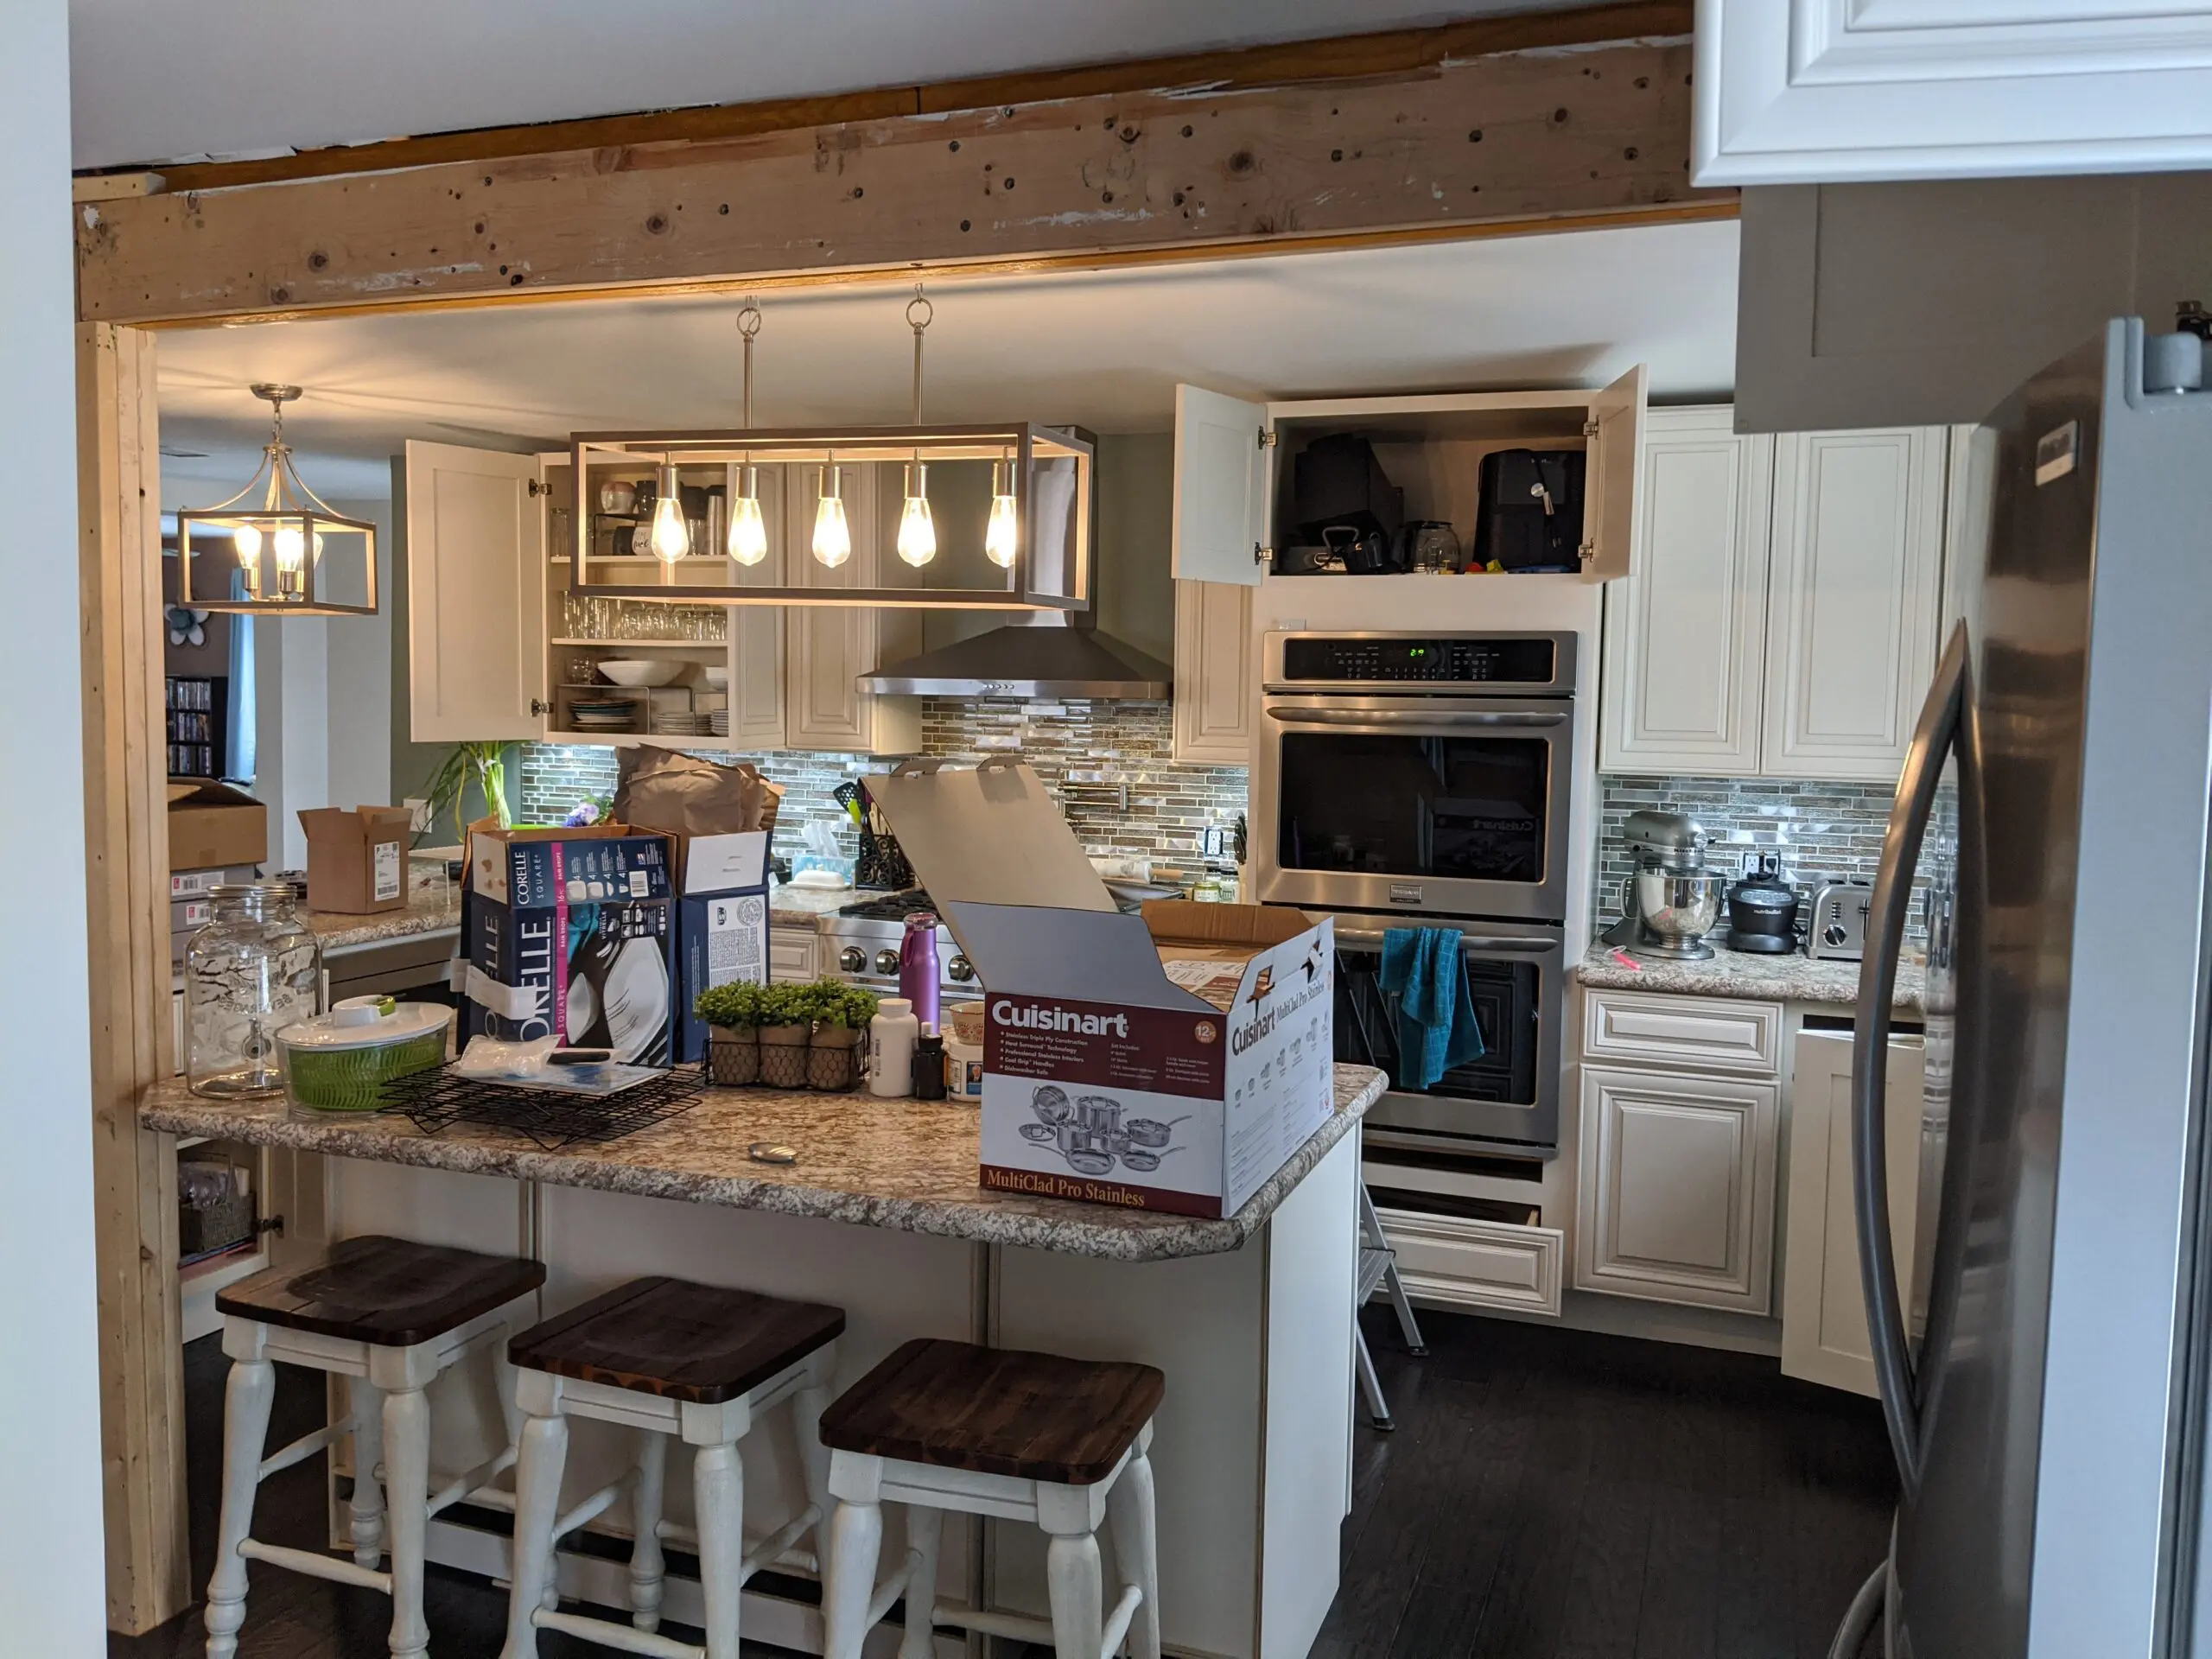
Oh, and the ceiling needed patched.
Notice the naked wall in the center of the picture below. That whole space was extremely BORING to look at when looking towards the front of the house (family room to the left, living to the right). So we made a feature wall out of it!
So without further ado, lets re-look at the befores and see the after!
Before:

After:
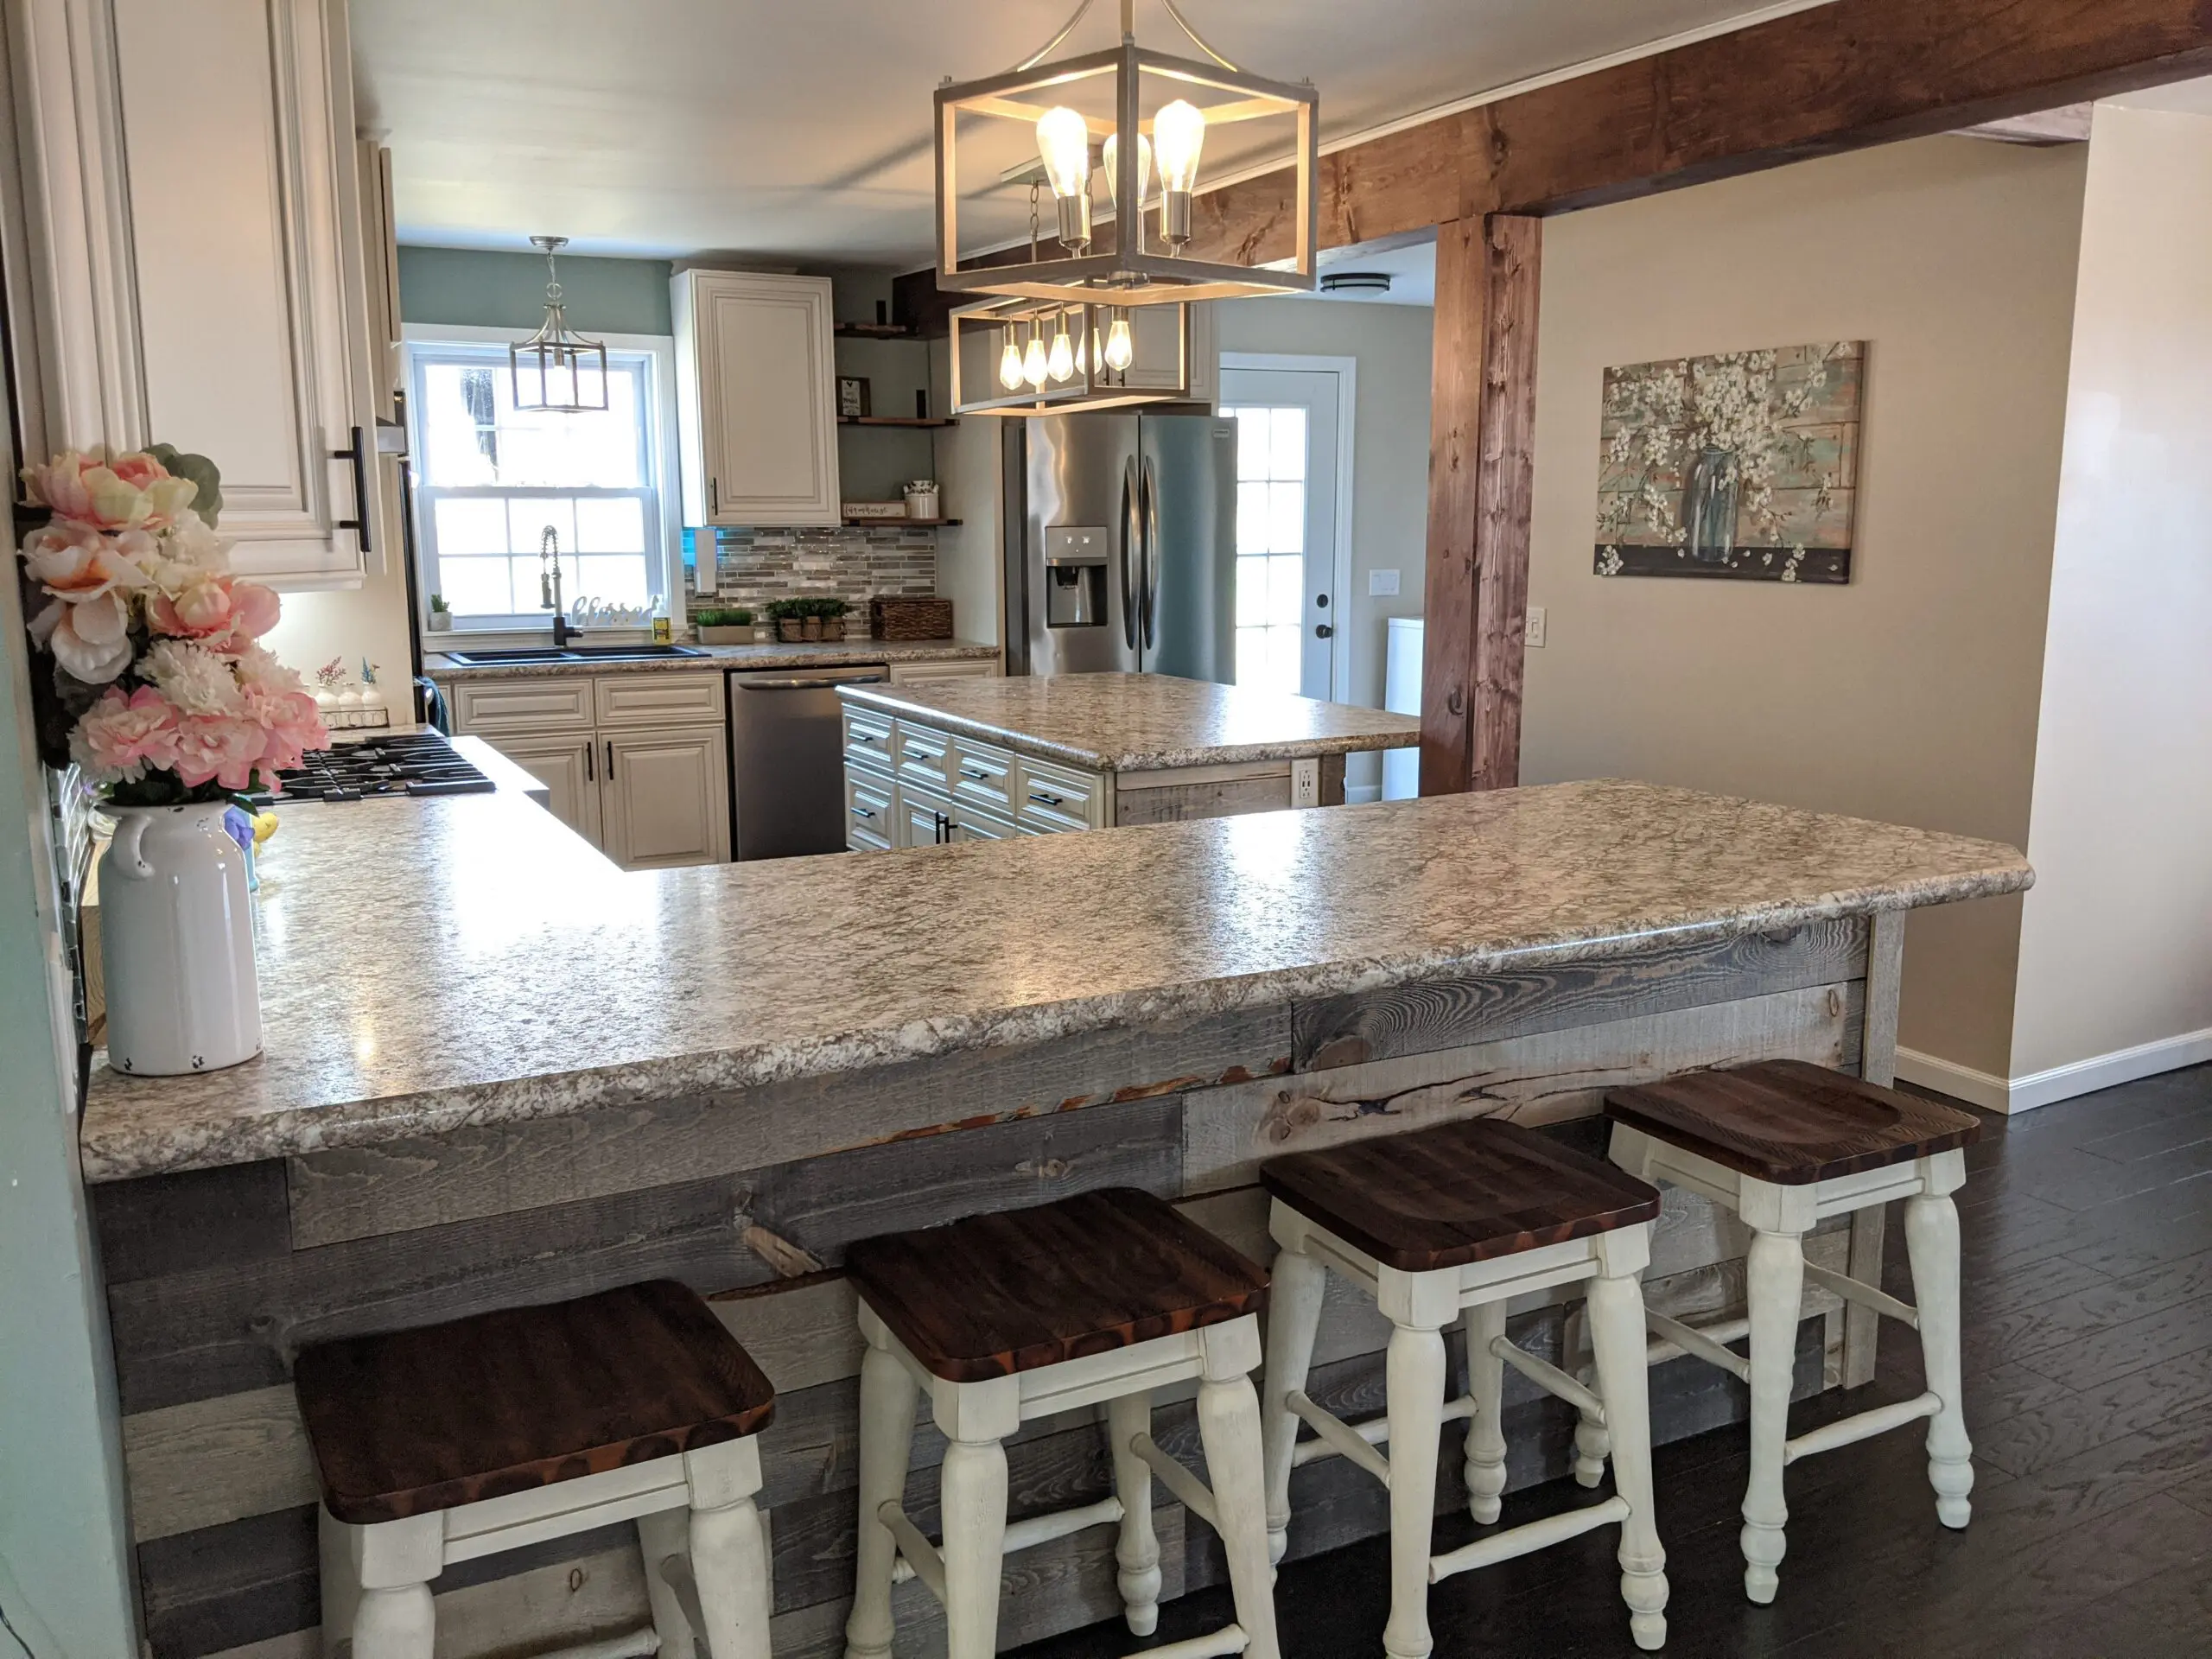

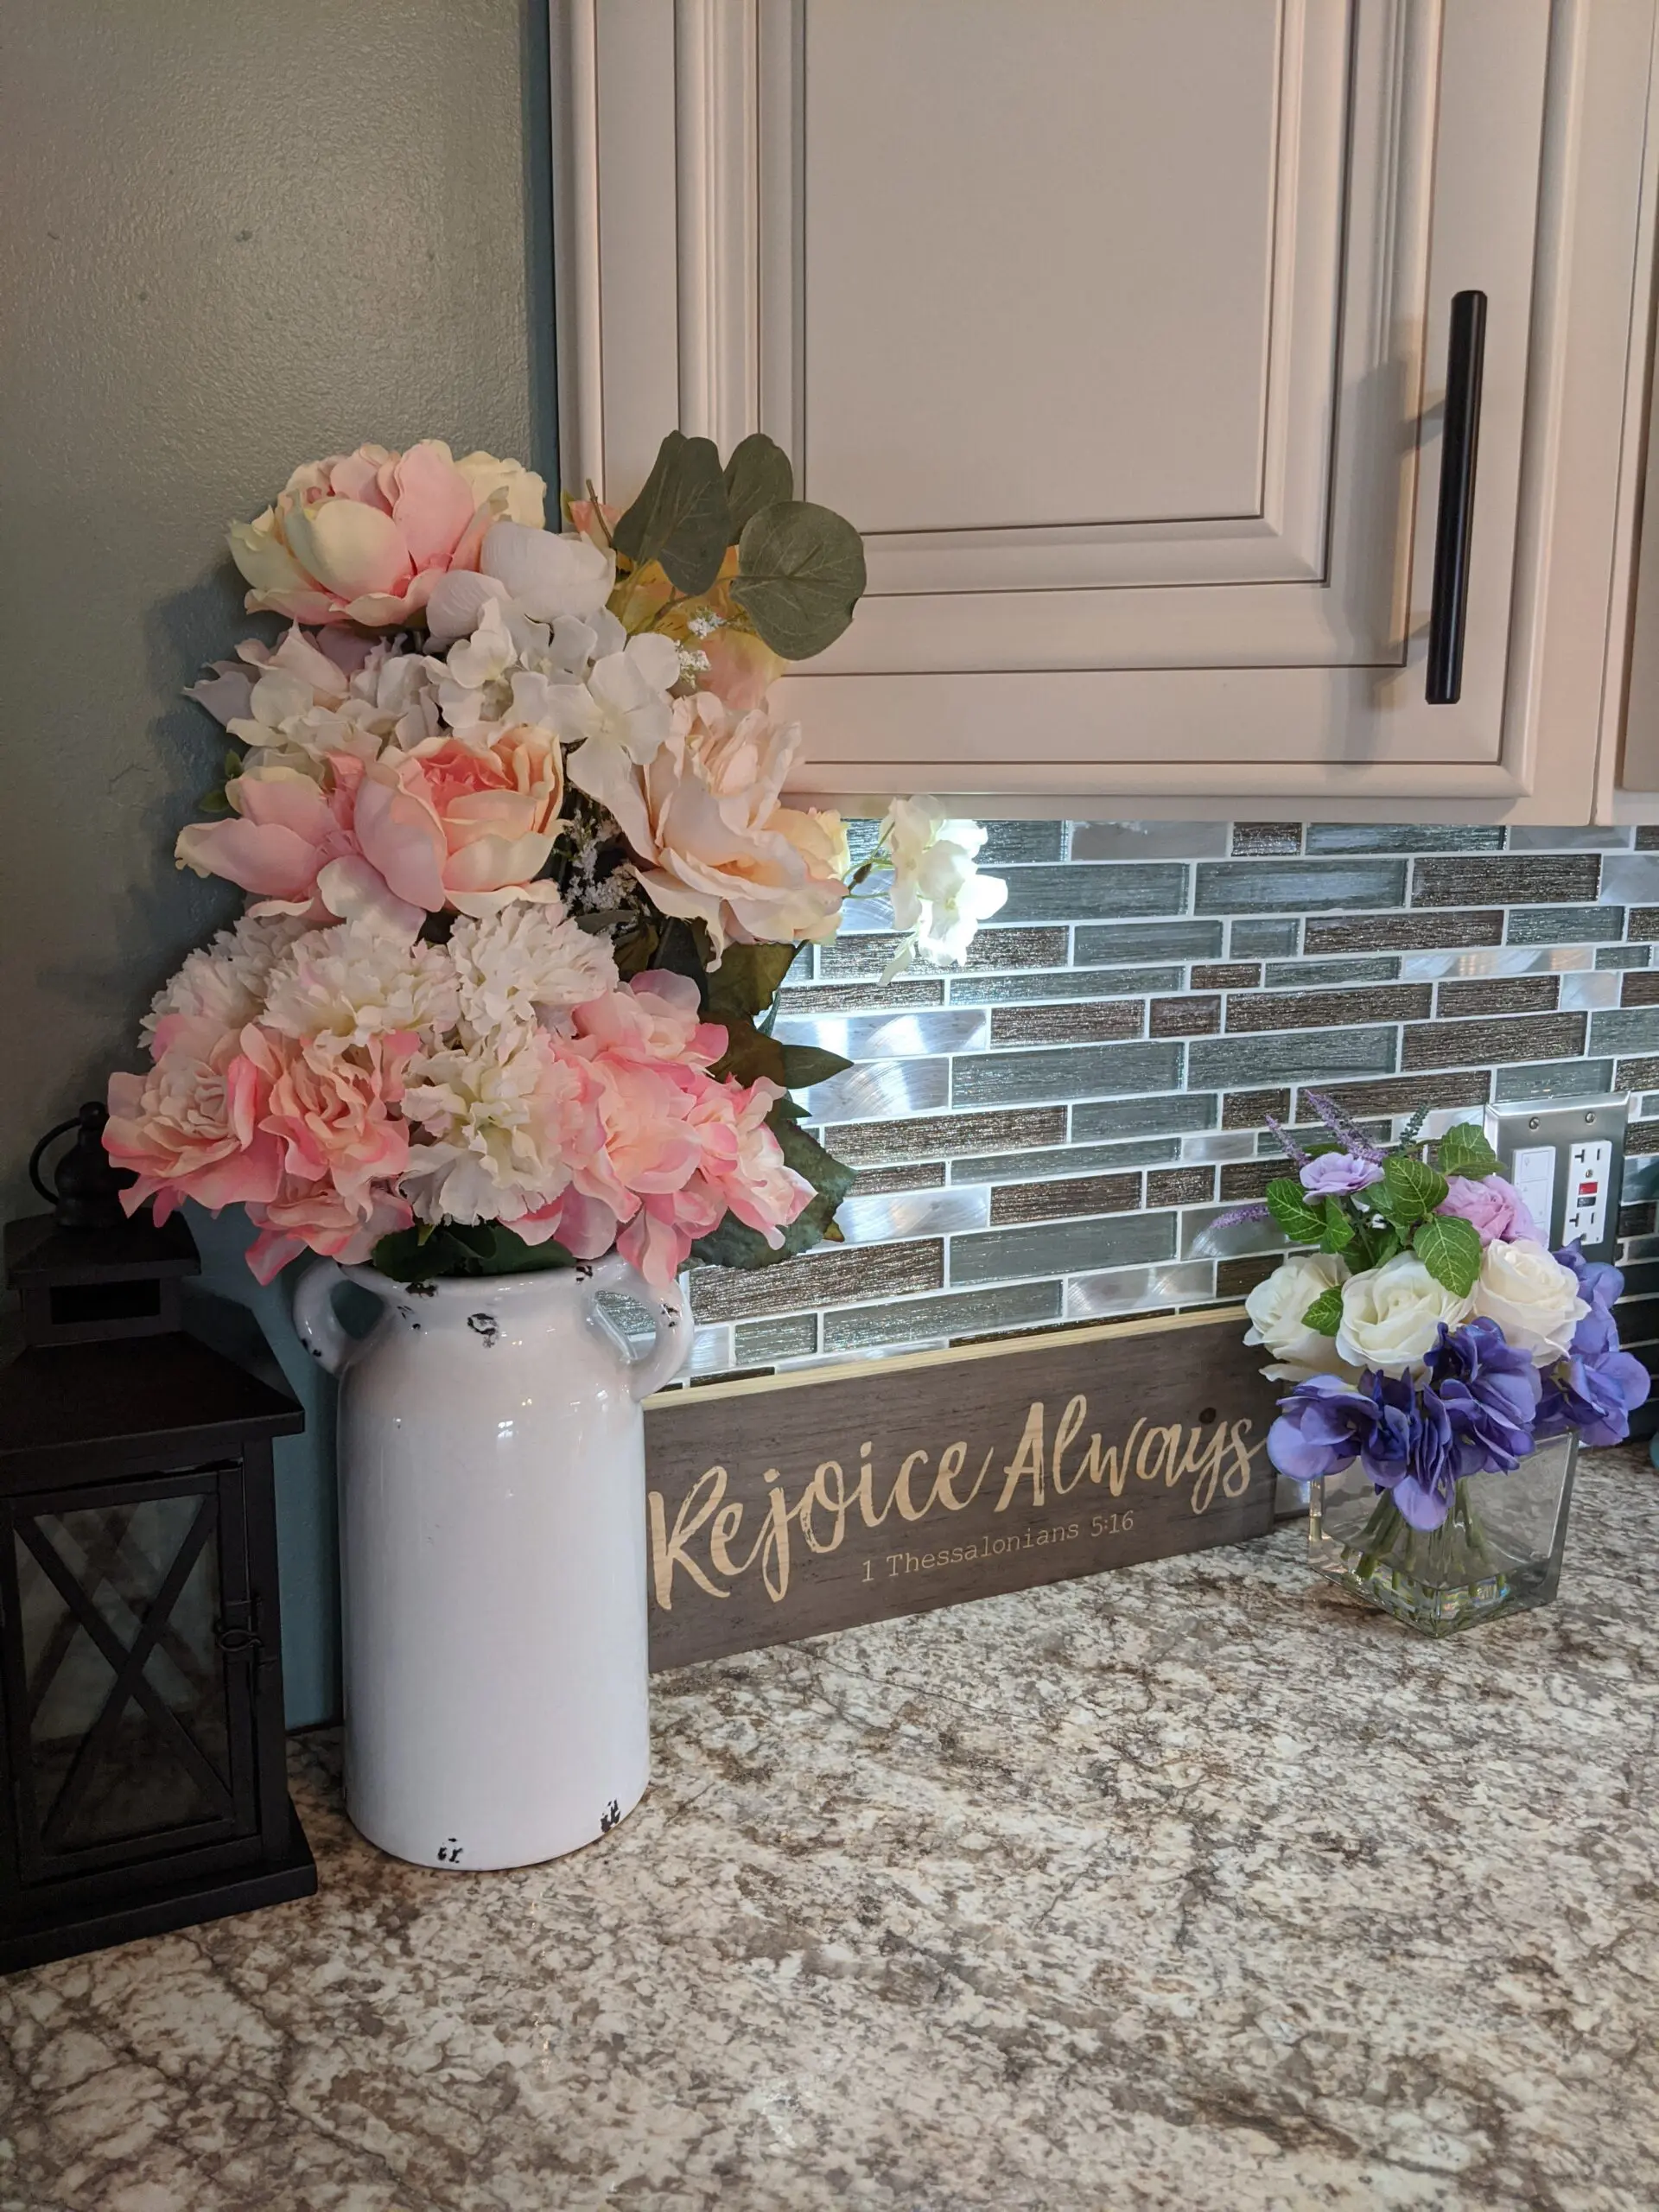
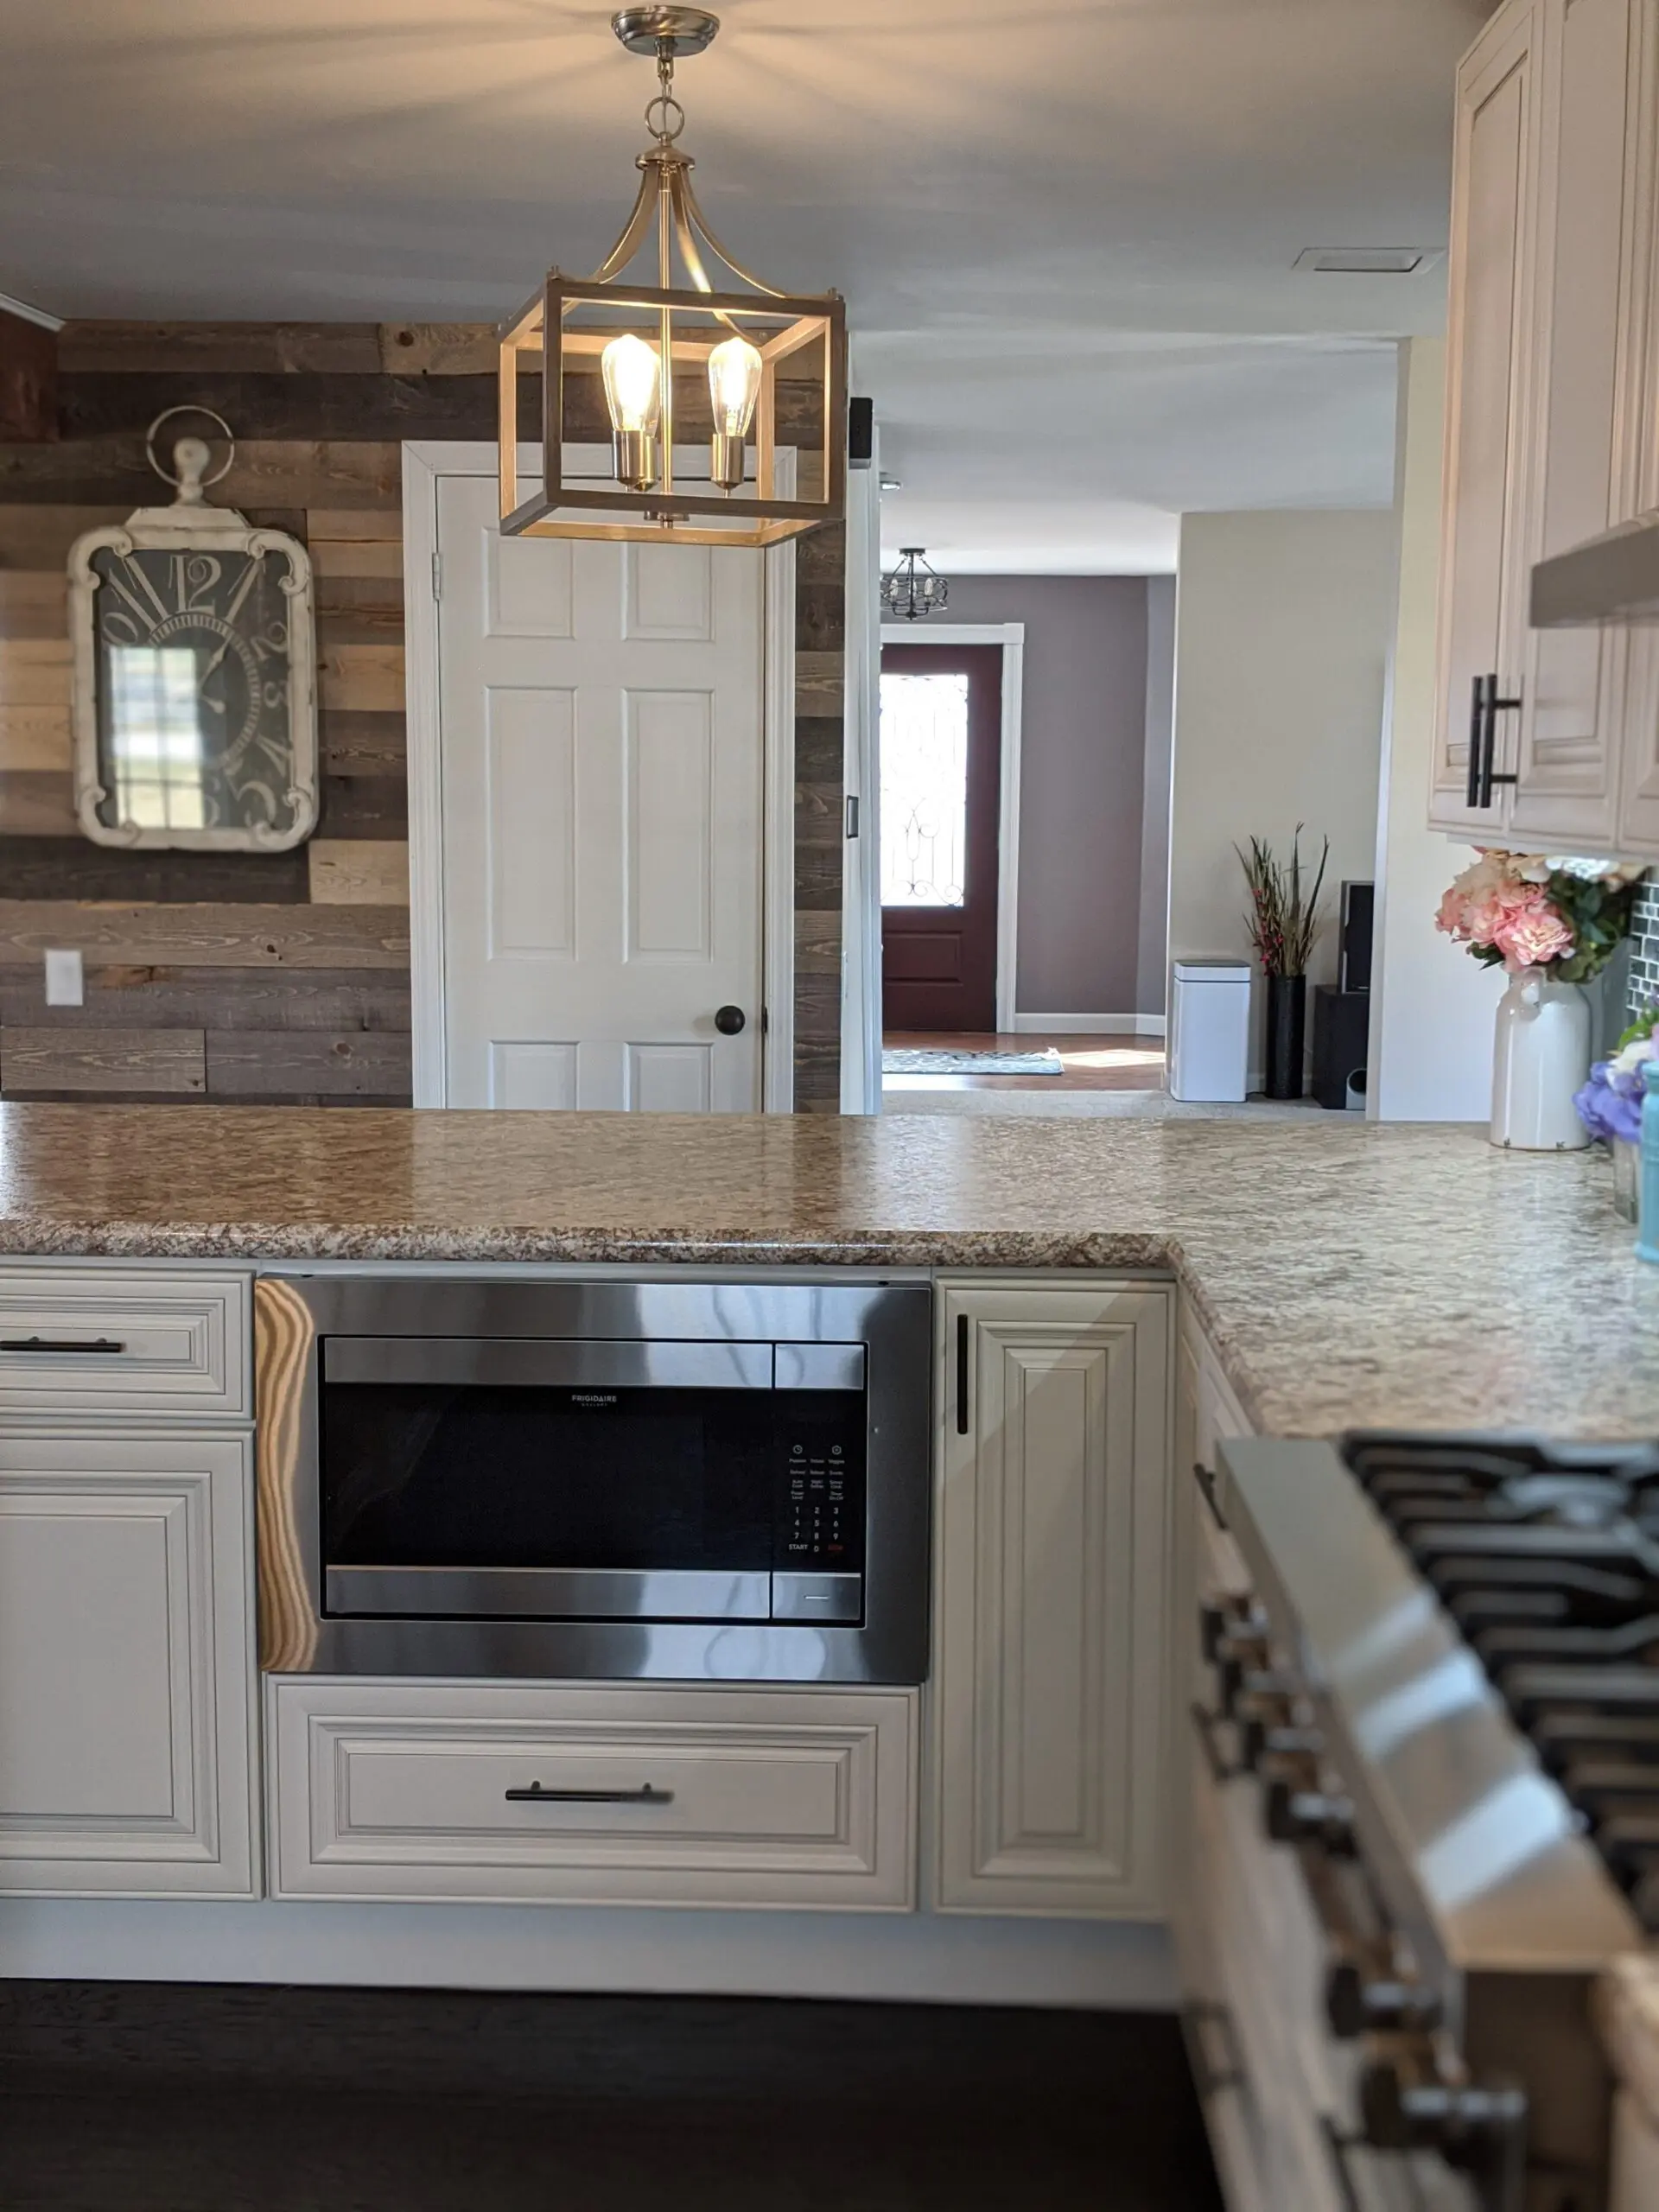


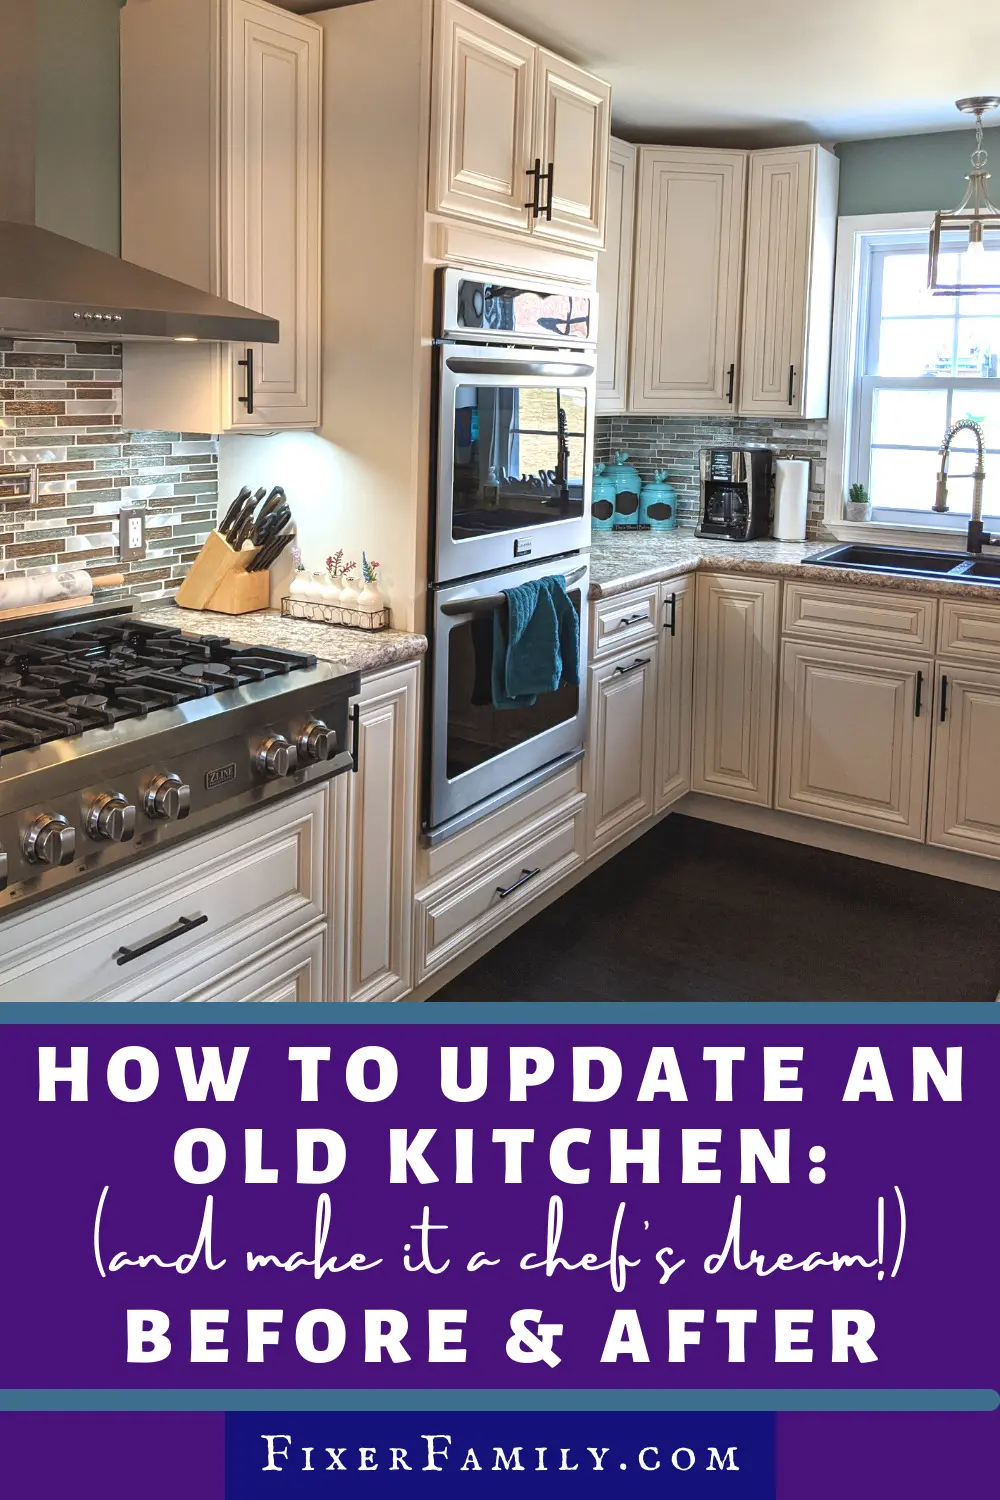
Out of five kitchen renovations, this is by far our favorite. This is what updating an old kitchen can look like.
Have you updated an old kitchen? We’d love to hear your experiences! Share them in the comments below.


